GF NF
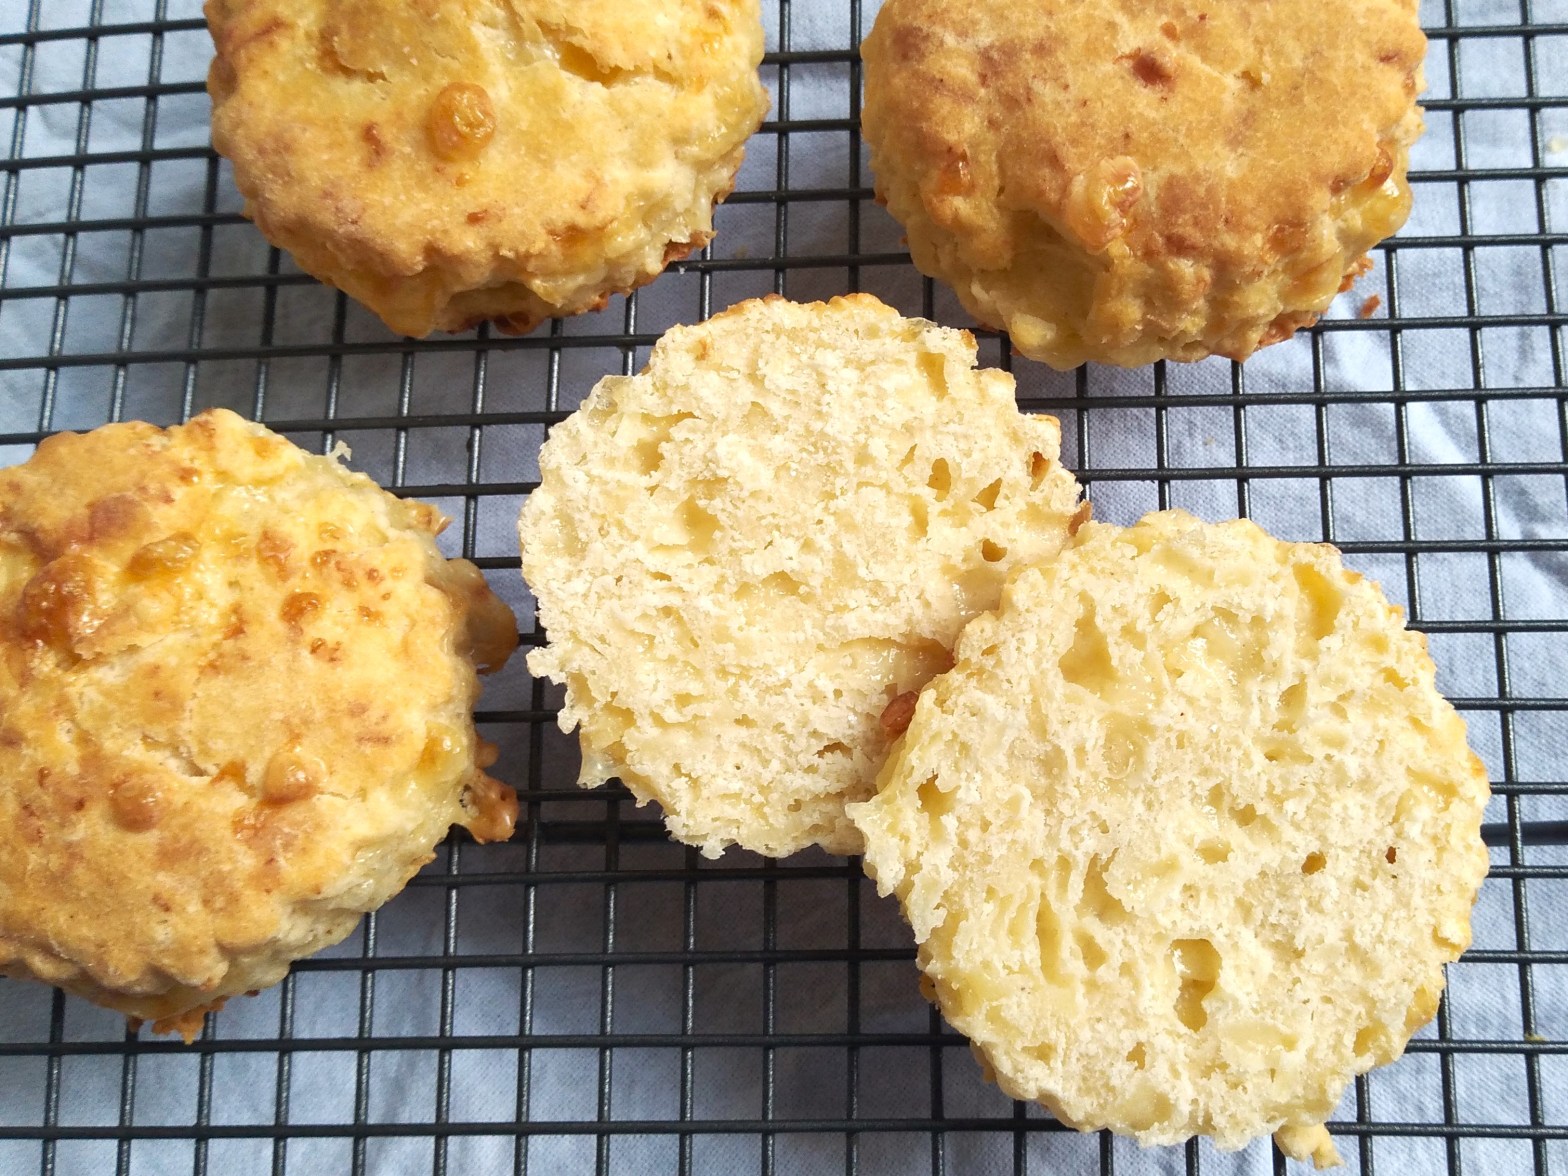
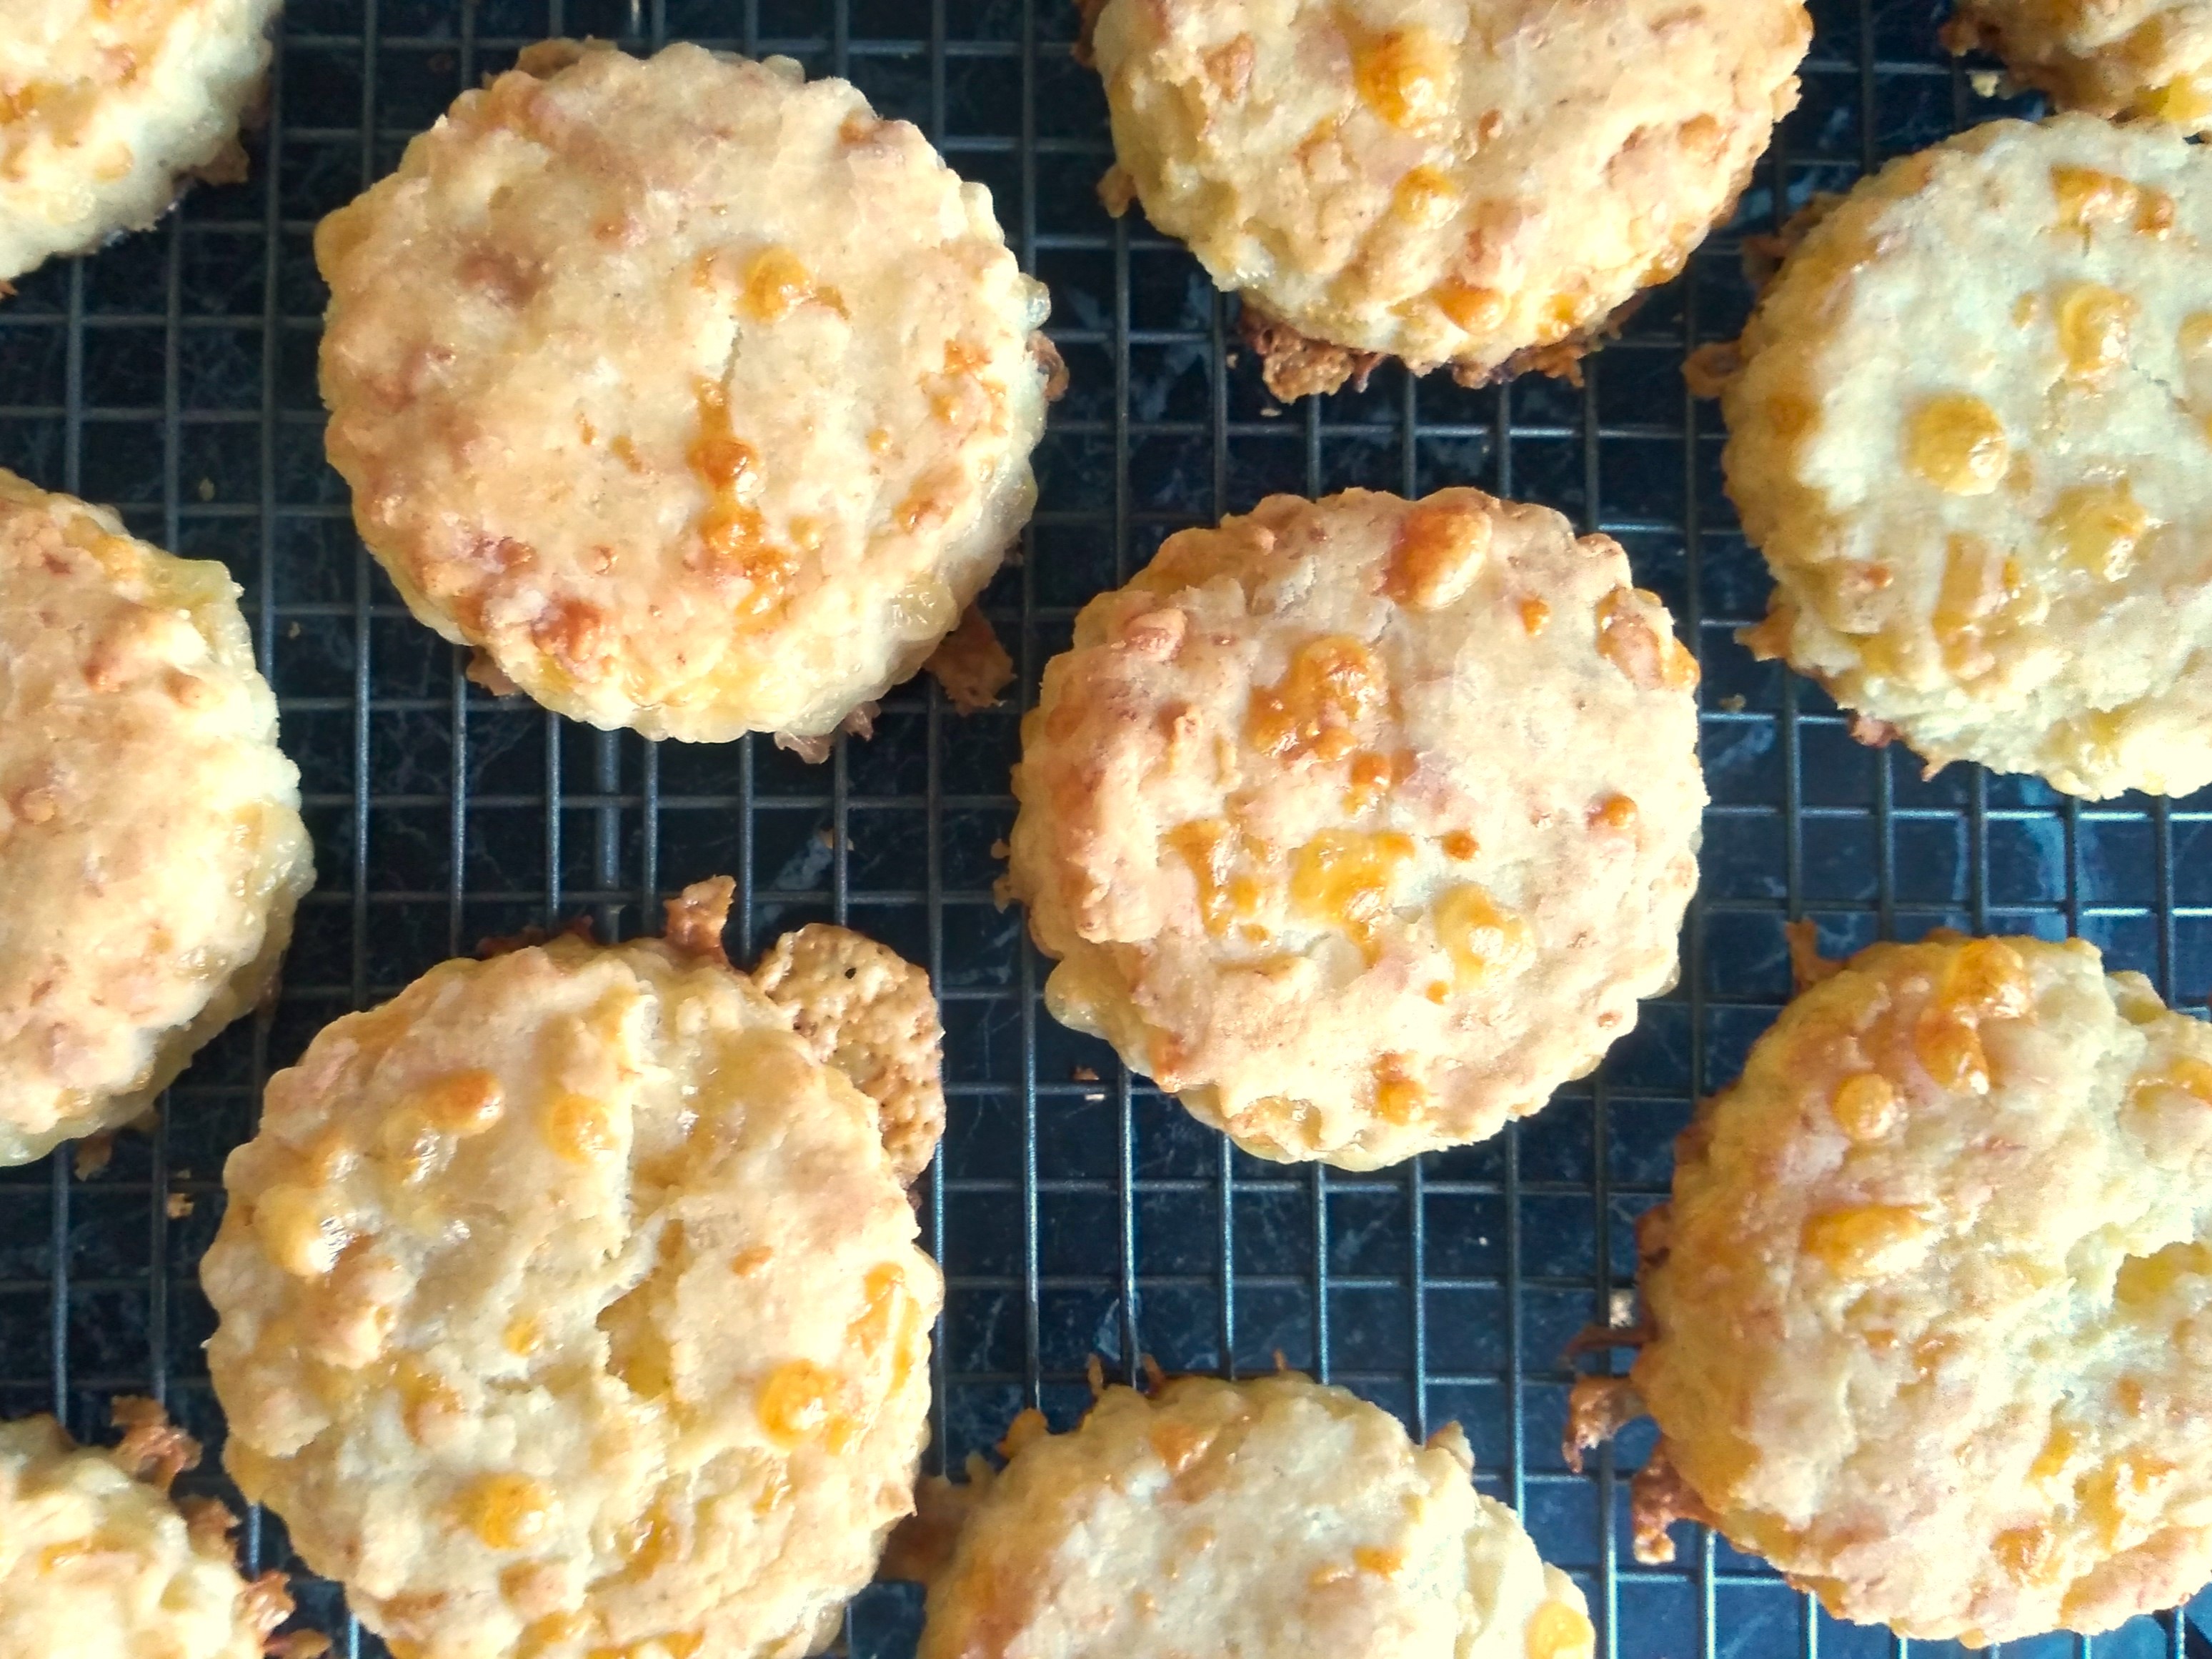
One of the many challenges I find with a gluten free diet is filling my kids’ lunchboxes with tasty, appetising food. Most often, they have gluten free bread or wraps but I’m not a huge fan of the shop-bought gluten free bread and wraps and I’m not always organised enough to have made bread or wraps in time. This week, I had half an hour before breakfast to come up with something for lunchboxes and ended up coming up with these. The first version just needed a small tweak and I’ve made them twice already and will probably default to them again multiple times over the coming week. This makes 20 small scones – for bigger scones, just adjust your cutter size and the baking time accordingly. This recipe is based on a 250 ml cup as equal to 1 cup. I recommend using the spoon and level method to measure the flour – spoon the flour into the measuring cup and then level it off with a butter knife.
What you need:
3 cups of gluten free flour (I used Countdown Free From Gluten Flour)
2 cups of grated cheese (I used Edam but any hard cheese will work)
1 tablespoon of baking powder
1 teaspoon of salt
½ cup of salted butter (preferably room temperature)
1 cup of milk
1 egg
White rice flour to prevent sticking when cutting out the scones (feel free to use a different flour if you prefer)
2 tablespoons of milk (optional, for brushing on the scones before baking)

What to do:
1. Preheat the oven to 180°C and line a large baking tray with baking paper.
2. Mix the flour, cheese, baking powder and salt together in a large bowl.
3. Cut the butter into large cubes. Add the butter to the bowl and rub thoroughly into the flour, cheese, baking powder and salt.
4. Add the milk and egg to the bowl and mix in thoroughly. Once mixed, cover the bowl and leave the dough to rest for 5 minutes (this will make it easier to roll out).
5. Sprinkle white rice flour on a clean counter. Carefully place some or all of the dough on the counter and roll out to a thickness of about 2 cm, using additional flour as needed to prevent sticking. Cut circles from the dough using a 6.5 cm diameter circle cutter. Reroll the dough and continue cutting circles until the dough has all been used up.
6. Place the dough circles on the lined baking tray (use two trays if needed), leaving about 1 cm between each circle. Lightly brush the top of each circle with milk.
7. Place the baking tray in the middle of the preheated oven for about 20 minutes or until the scones are golden brown and fully baked. The baking time may differ from this, particularly if you need to use more than one baking tray and cook a batch or batches higher or lower than the middle of the oven to fit them in together – in that case, just keep an eye on them and adjust the baking time accordingly after they have had about 15 minutes in the oven.
8. Once baked, remove the scones from the oven and leave to cool on a cooling rack before eating and enjoying!

