

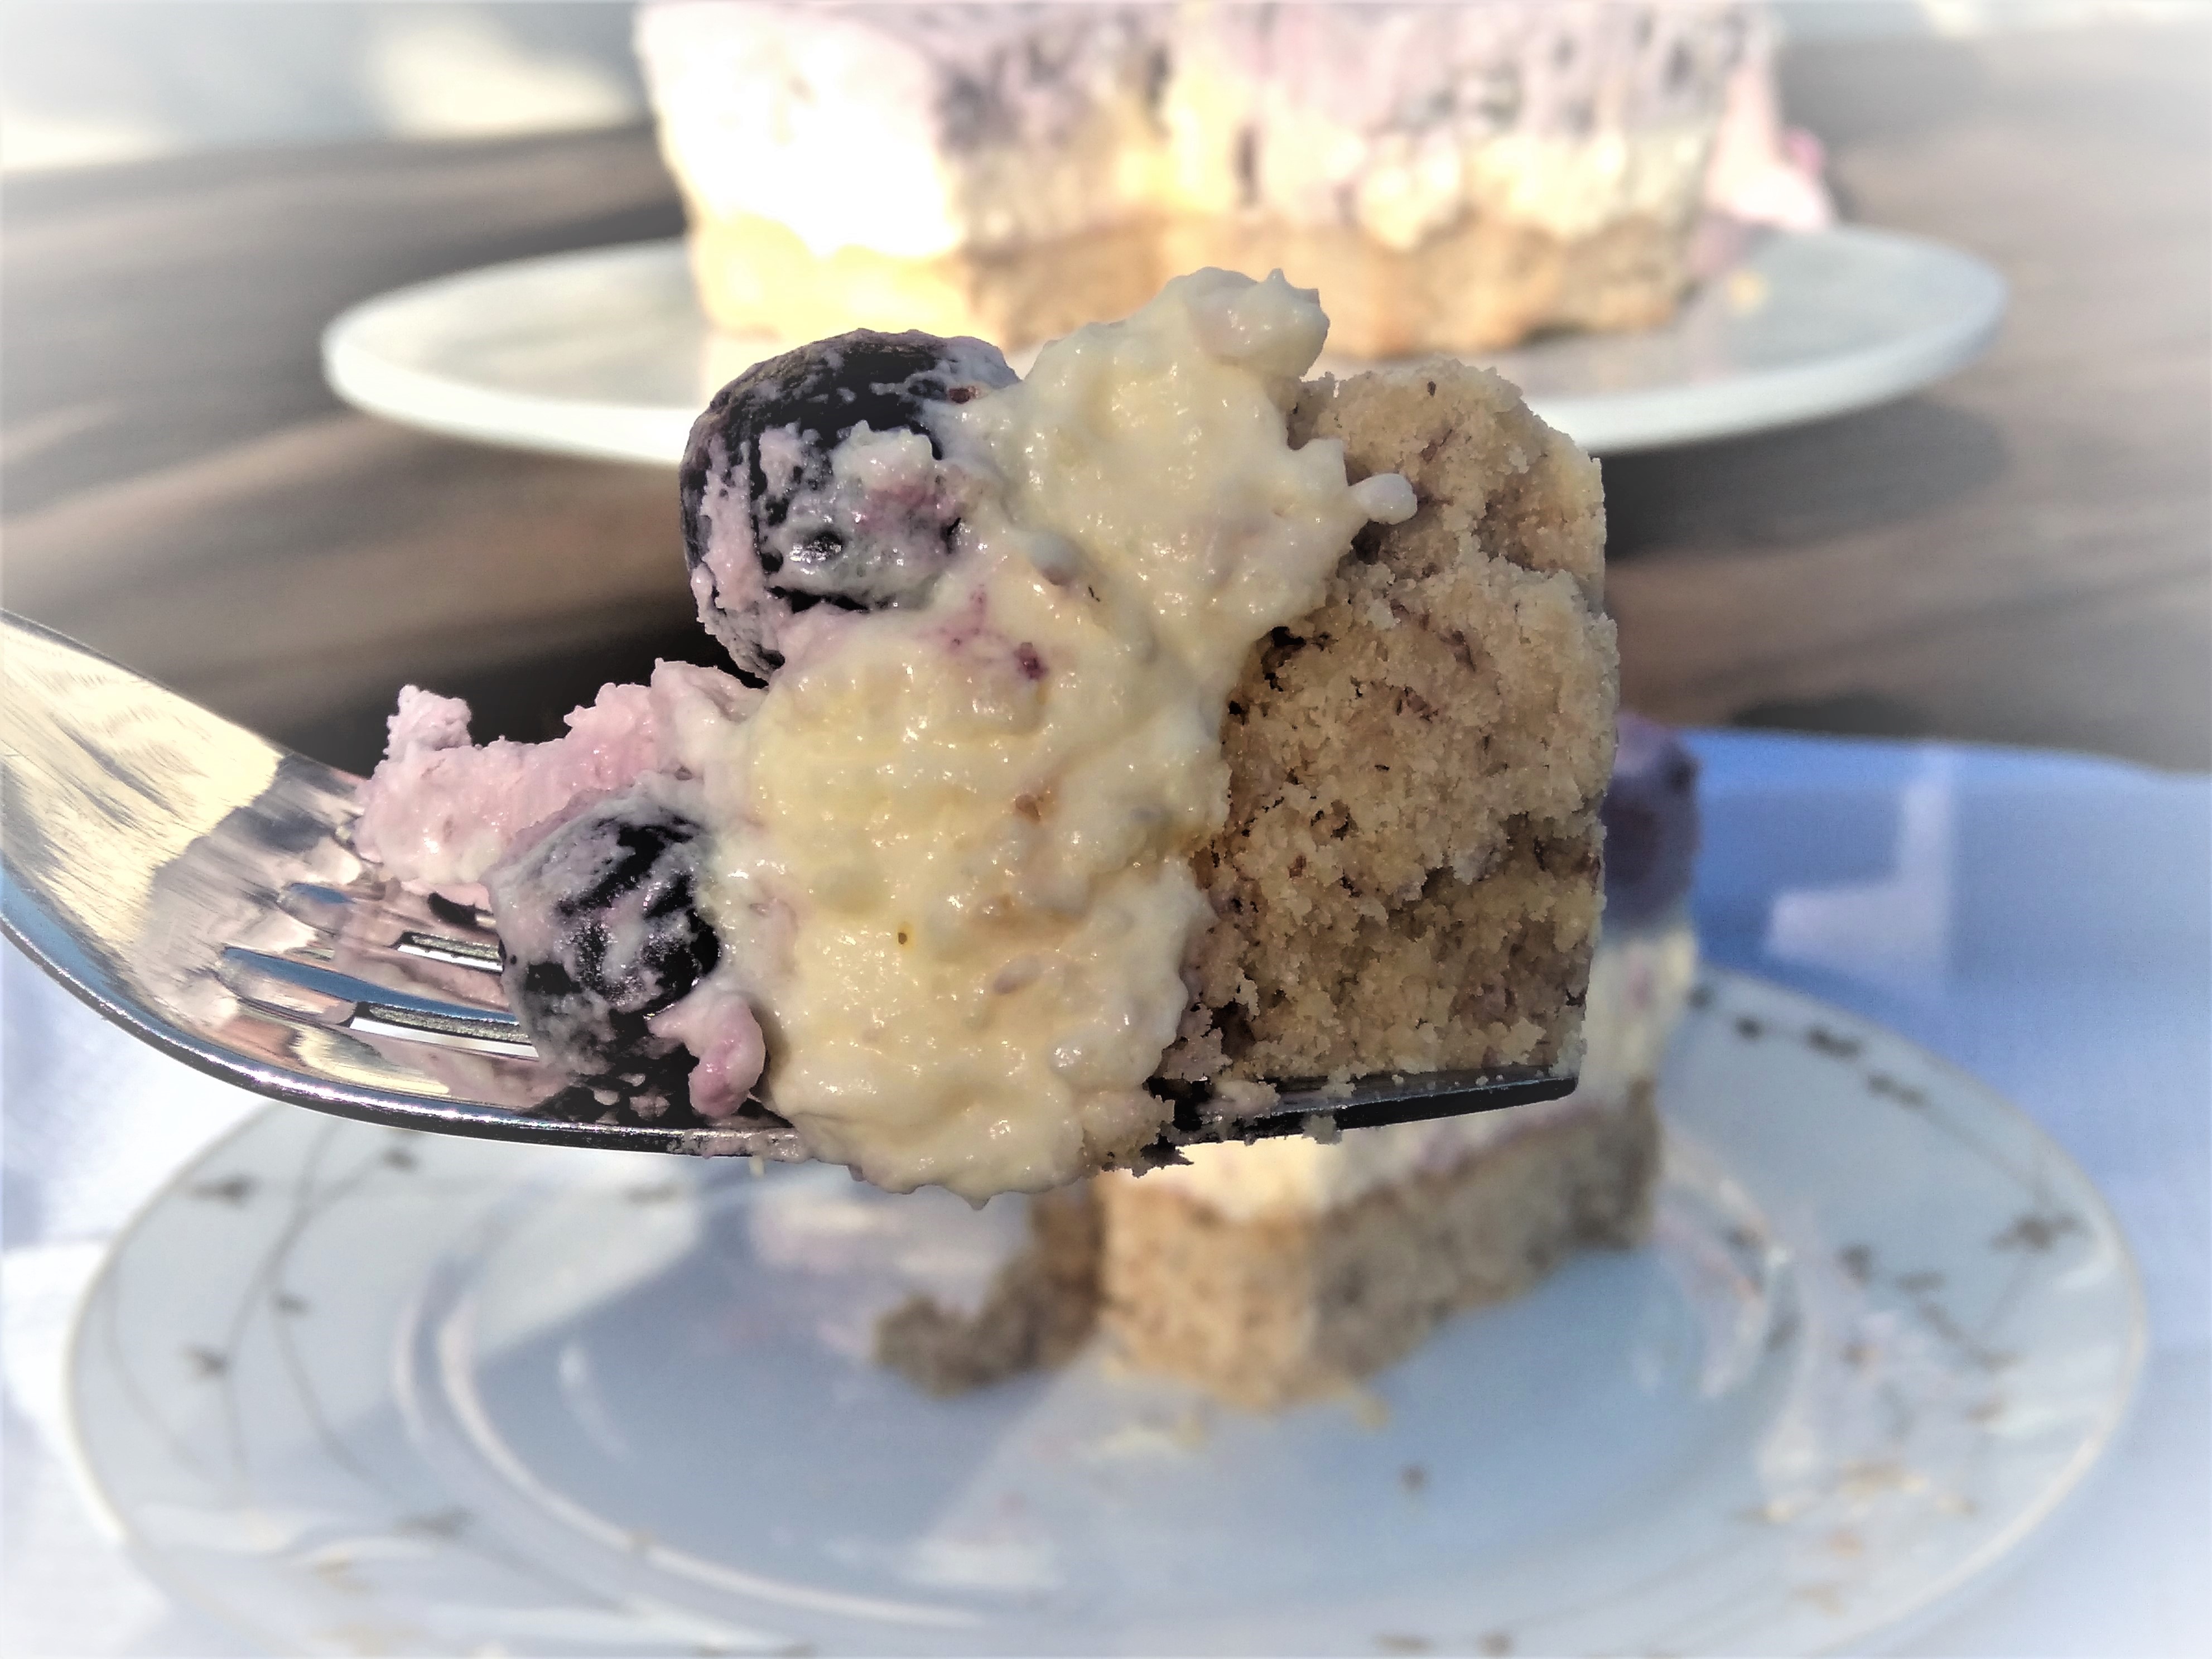
I love cheesecake, but I don’t make it often as my love of cheesecake makes it very hard to resist going back for “just a bit more” and then suddenly there is only half a cheesecake left and I am feeling a bit sick. So it had been a long time since I last made cheesecake when I decided that cheesecake would be ideal for a shared lunch at our church. I bought ingredients and set about making it in my all-too-frequent, throw-some-ingredients-in-without-measuring-and-hope-for-the-best manner, adjusting as I went along and making sure there was enough for a large cheesecake for the rest of my family to contribute to the meal (I am the only coeliac) and a small one so that I could pack and take some for myself (side note for the non-coeliacs – it is very normal for a coeliac to take their own food in a separate container to shared meals as the risk of cross-contamination is too great). The blueberry layer here was initially accidental – I intended for it to be a coulis-type sauce on top and then added too much gelatine and needed rescue efforts in the form of cream and more blueberries as the gelatine taste was overwhelming!
On the day of the shared lunch, I ended up staying home with sick kids and my husband took the large cheesecake to share…and came home telling me how much it had been enjoyed and that he had said that I would put the recipe on my blog. This was a bit of a problem given my original lack of measuring but the cheesecake lover in me was happy to experiment. It took 5 more cheesecakes and much despair over gelatine setting incorrectly and I am still not sure that this is as good as the original, but it is the closest I can get!
I have modified my original ingredients so that the recipe below makes enough for one large cheesecake, made in a normal size (not mini) round cake tin. It doesn’t matter too much what diameter tin you use – that will just change the thickness of the layers and I am sure good and delicious uses can be found for any leftovers from each layer that don’t make it into the final cheesecake! The cup measurements below are all based on a 250 ml cup as equal to 1 cup. This base is also a good base for other cheesecake or tart-like concoctions if you need one! The base should be made at least a couple of hours before the remaining cheesecake layers, to allow sufficient time for it to cool completely before adding the cheesecake layers. The base could also be made the day before the other layers are made and then left in the cake tin, with cling film or a cloth placed over the top of the cake tin once the base has cooled, somewhere dry and cool until the remaining layers are made. Once fully made, the cheesecake should be stored in the fridge. The cheesecake (all the layers, not just the base) can be completed the night before or morning of the day it is to be eaten. IT should still taste good a couple of days after it has been made, although the base may get a bit soggy. I can’t say what happens after that because it has never lasted that long in our house!
What you need for the base:
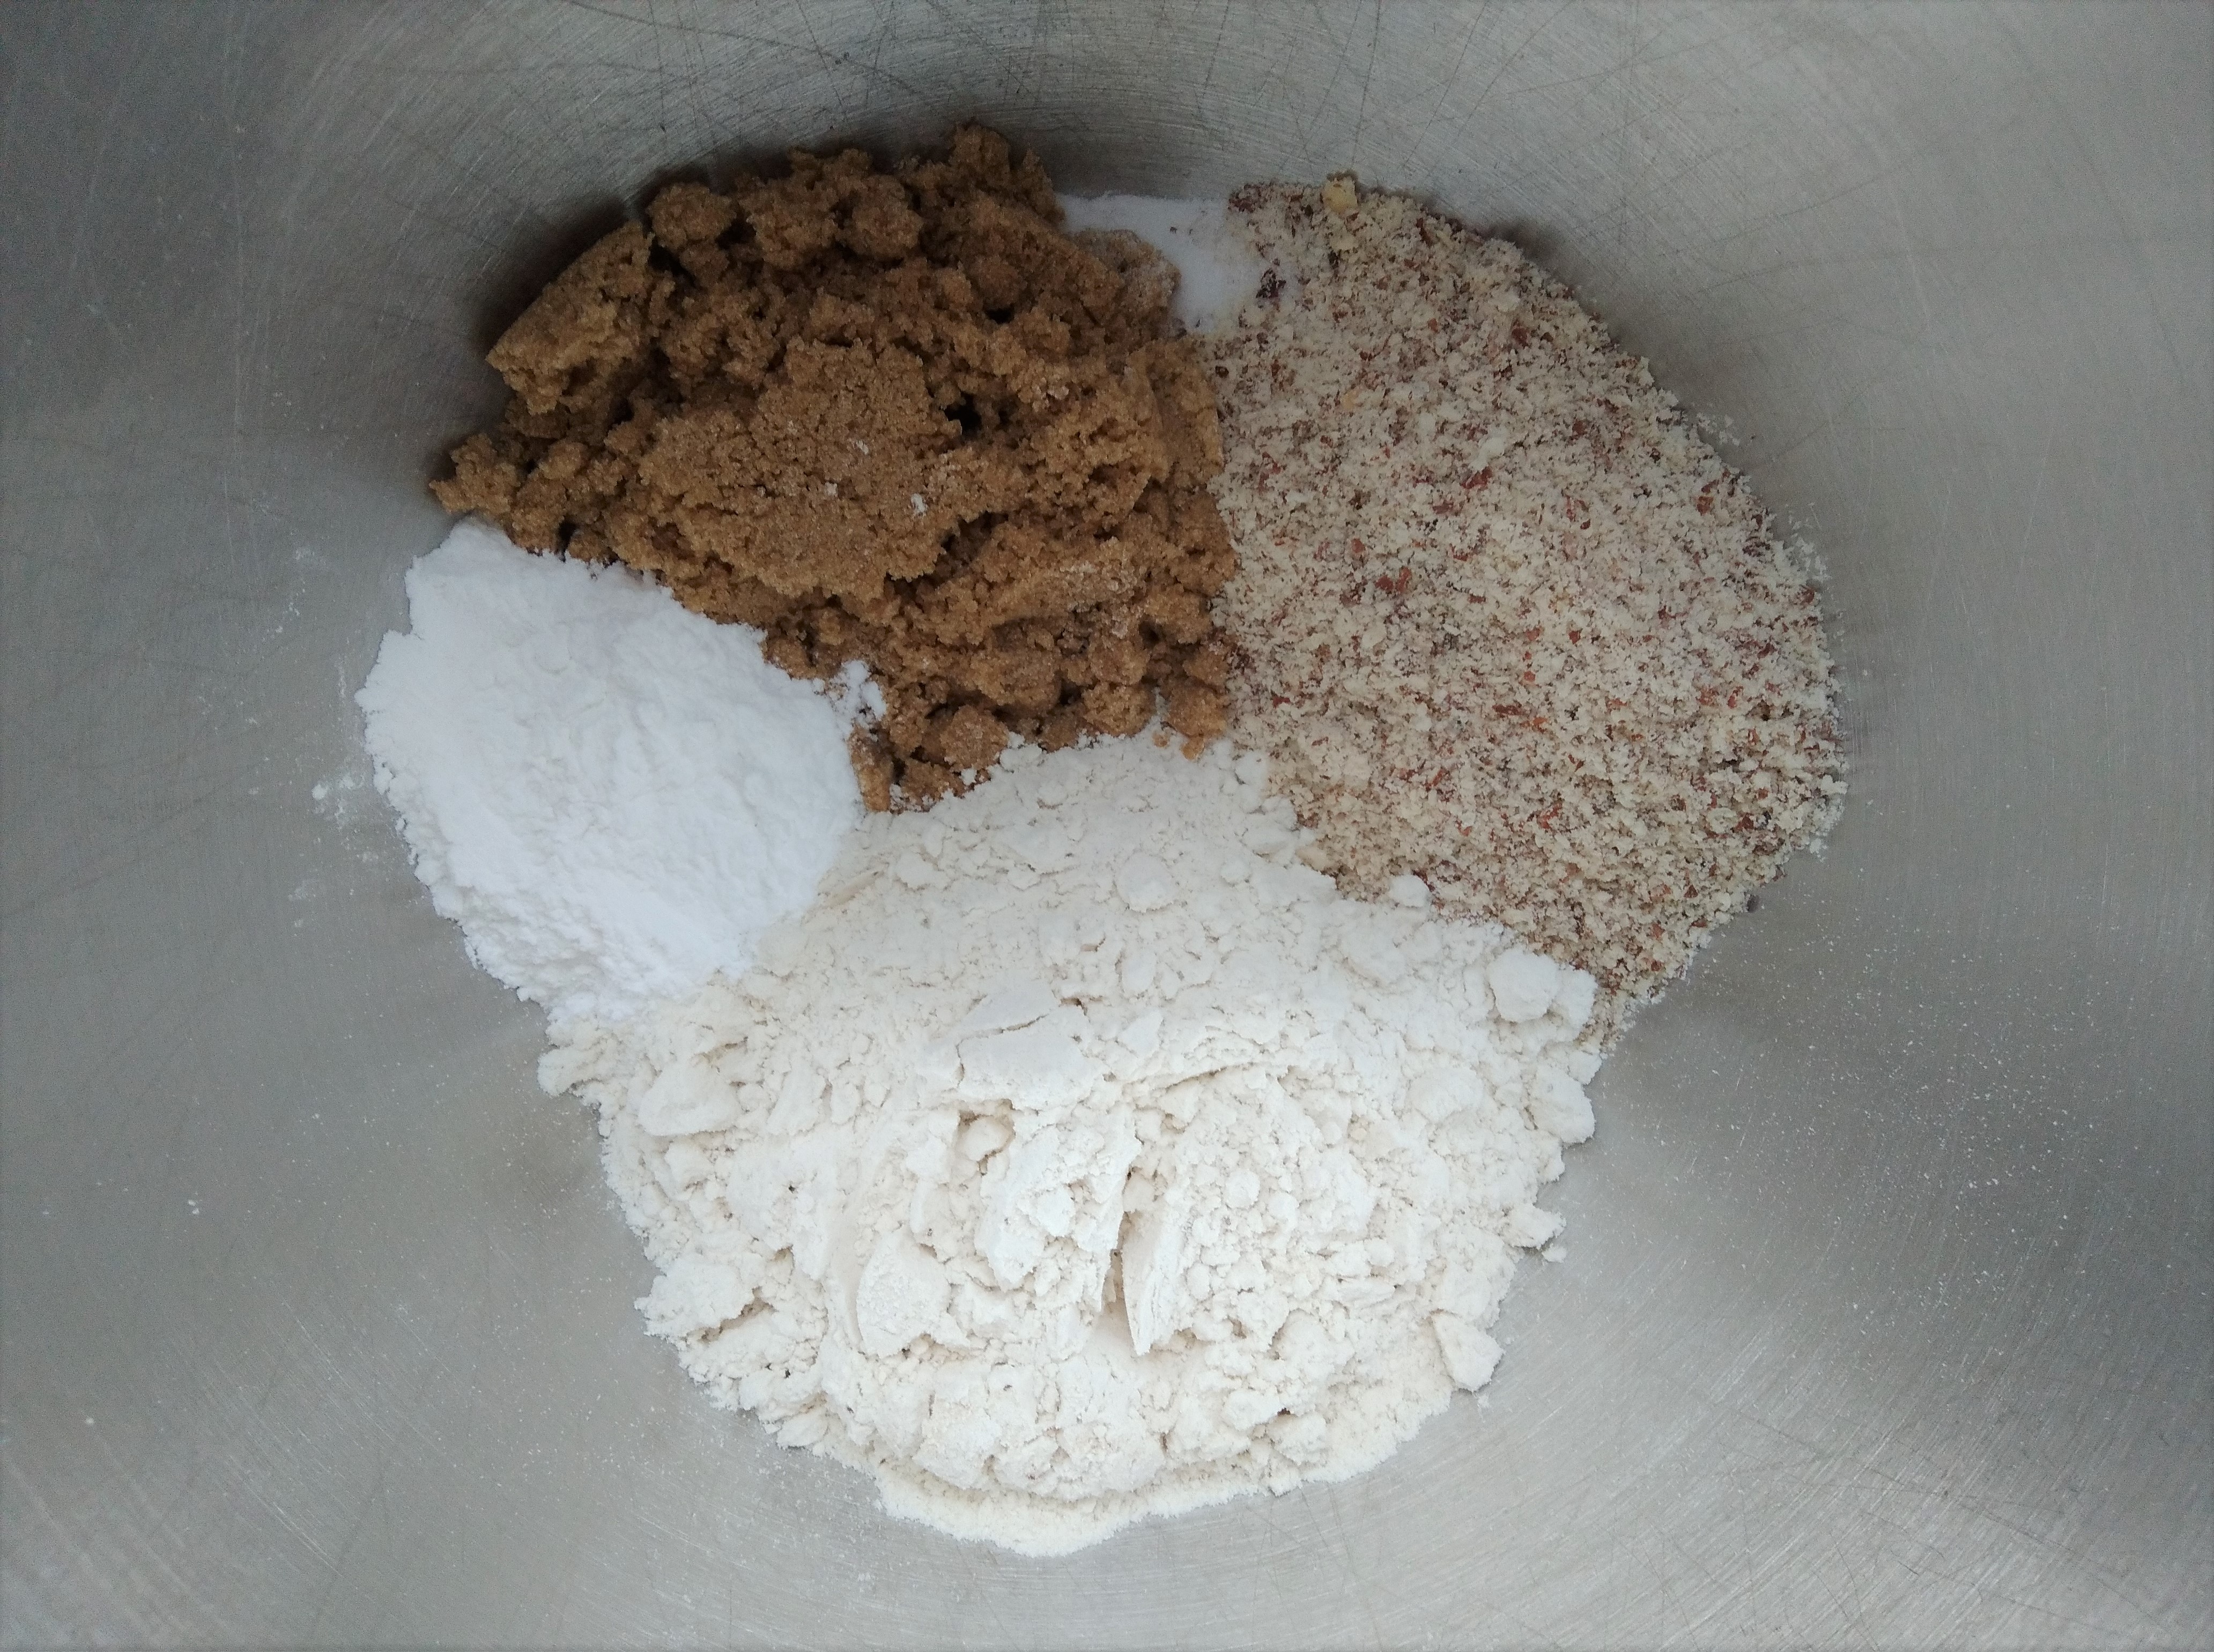
1 cup of brown rice flour
1 cup of almond meal
1/2 cup of brown sugar
1 tablespoon of baking powder
Pinch of salt
1/2 cup of butter, melted
What you need for the vanilla layer:
250 grams of cream cheese
1 1/2 cups of icing sugar (feel free to increase this if you prefer a sweeter cheesecake)
1 tablespoon of vanilla essence
2 cups of cream, divided into 3 portions of 1 cup, 1/2 cup and 1/2 cup
2 dessertspoons of powdered gelatine
What you need for the blueberry layer:
1 cup of cream
3 cups of frozen blueberries
3 tablespoons of hot water
2 tablespoons of lemon juice
2 tablespoons of sugar
2 tablespoons of powdered gelatine
What to do for the base:
1. Turn the oven on to 150*C fan to pre-heat and line the bottom of a spring-form cake tin with baking paper and grease the sides of the tin with butter.
2. Put the brown rice flour, almond meal, brown sugar, baking powder and salt in a large bowl and add the melted butter.

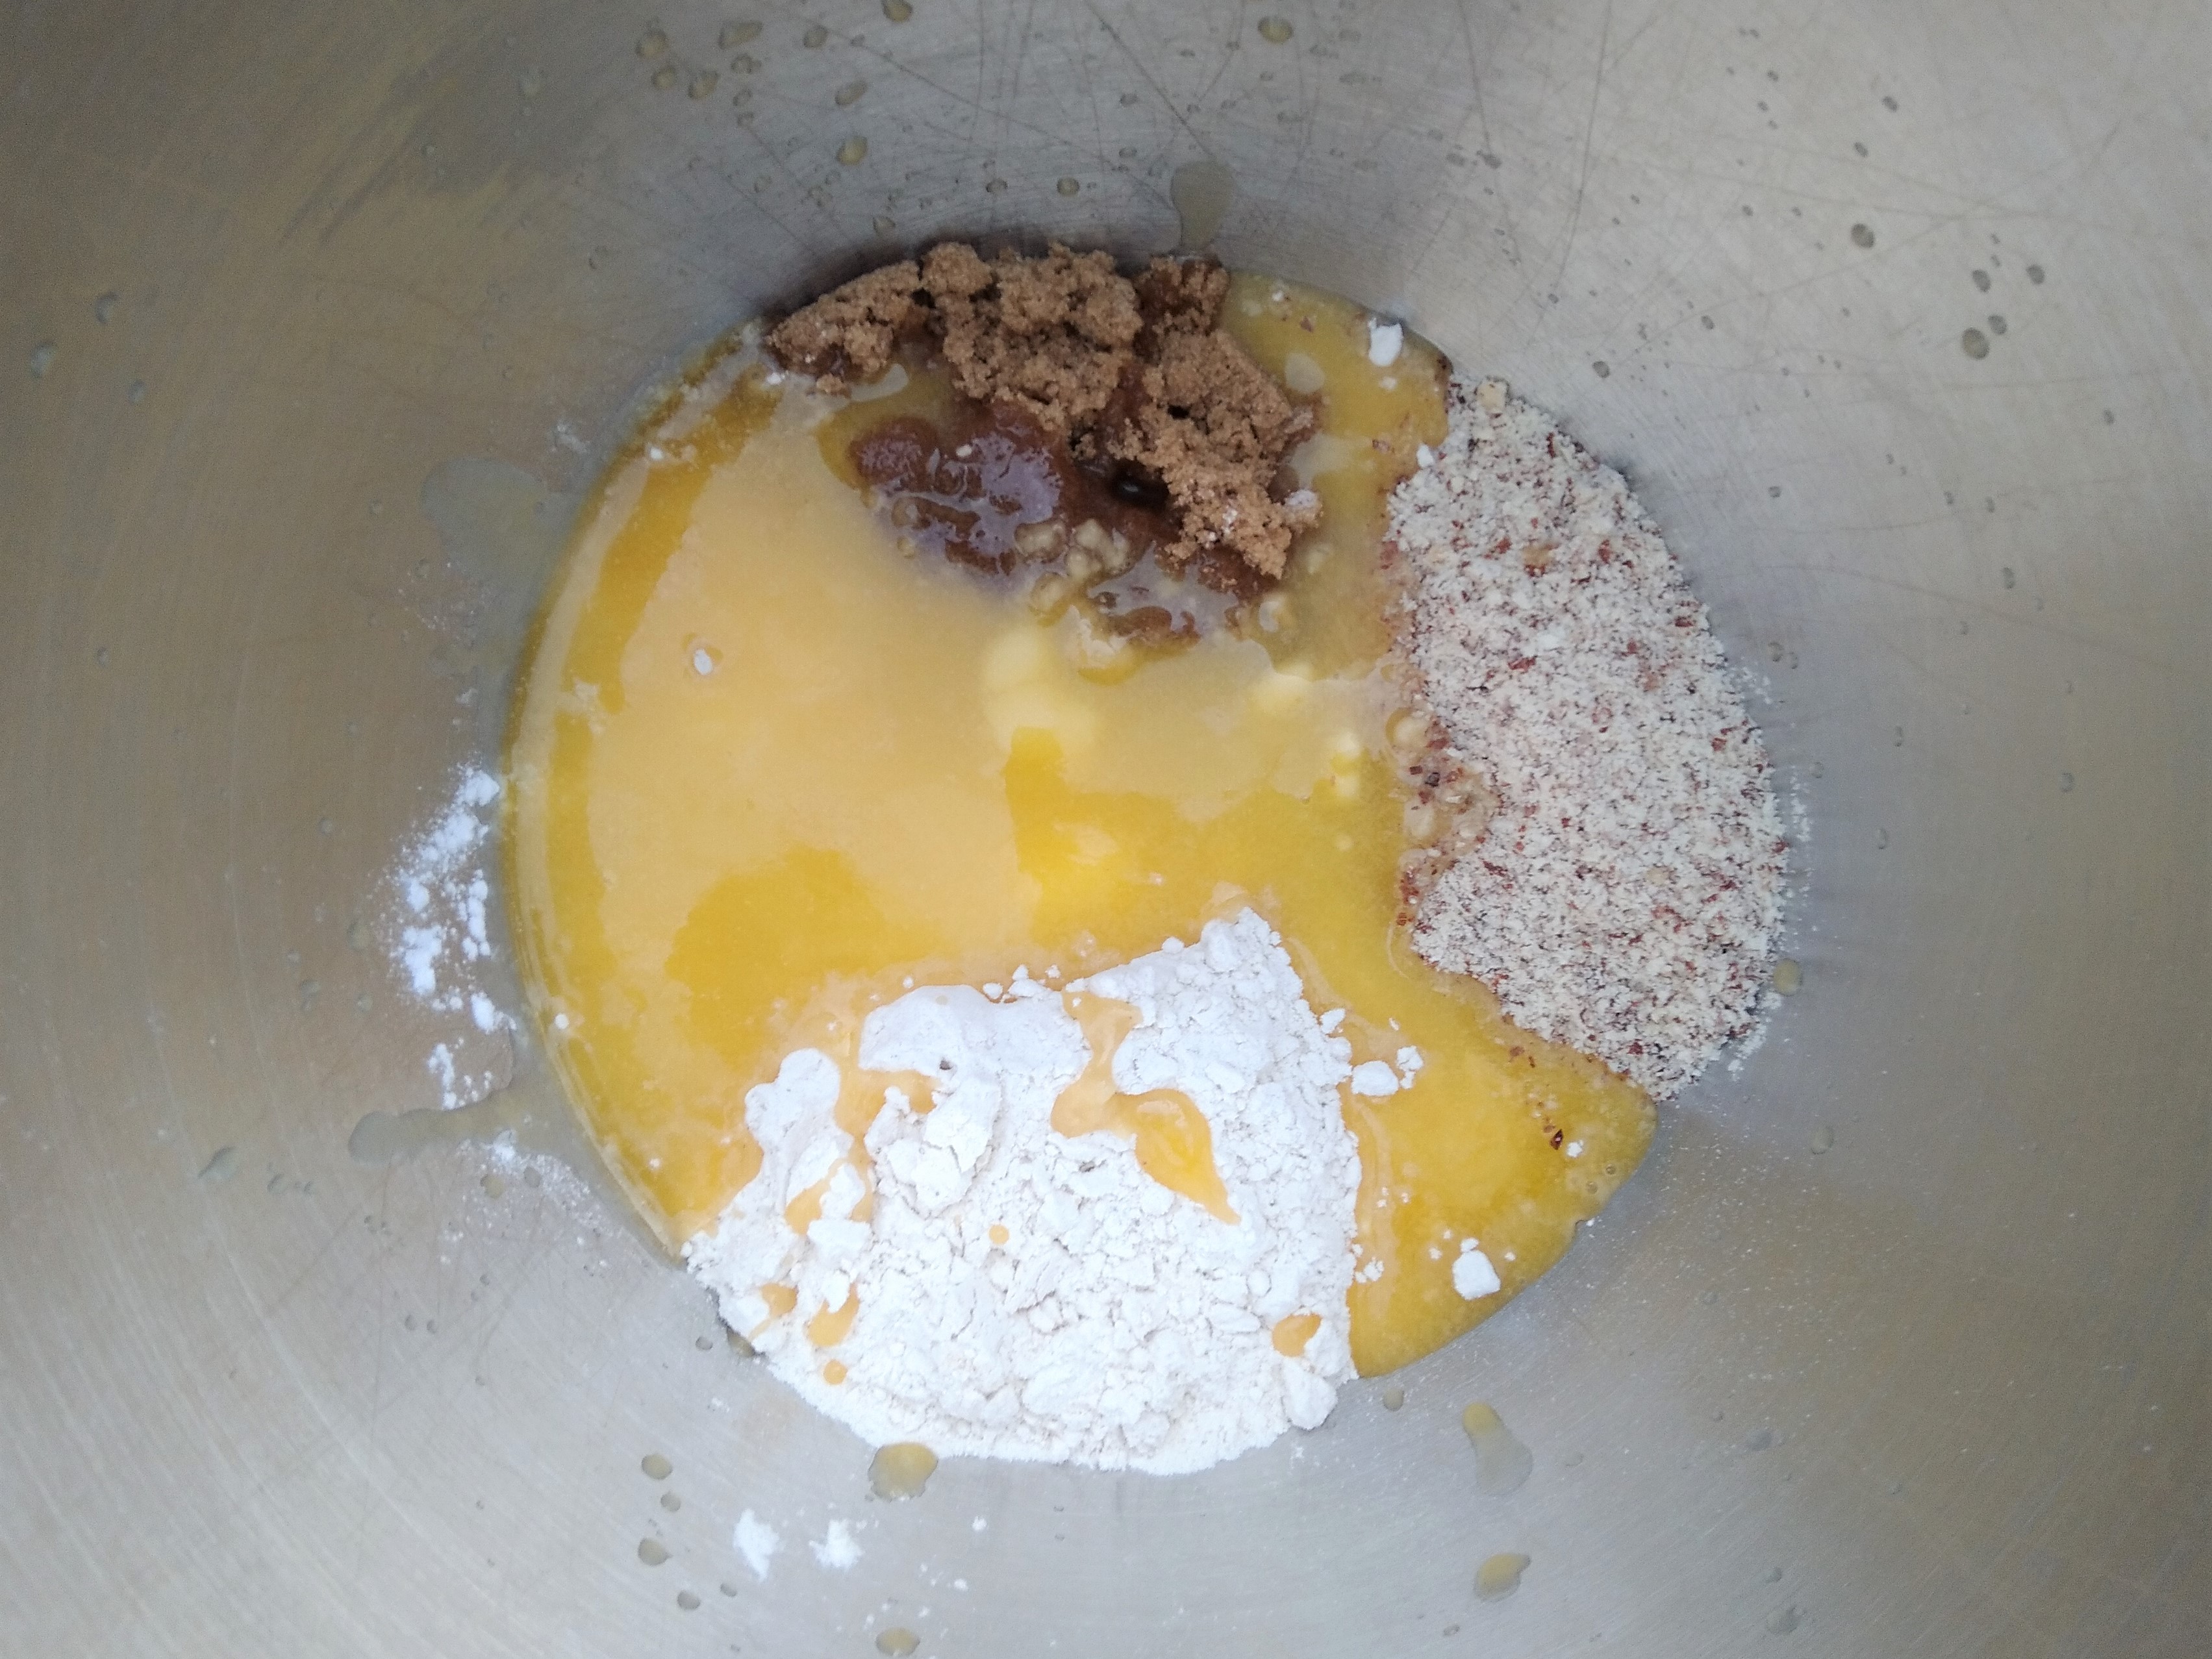
3. Mix the dry ingredients and butter together well, until the dough starts to come together as a reasonably cohesive ball. I found this took a bit longer than I expected and it looked quite crumbly and not cohesive for a while before it started coming together.
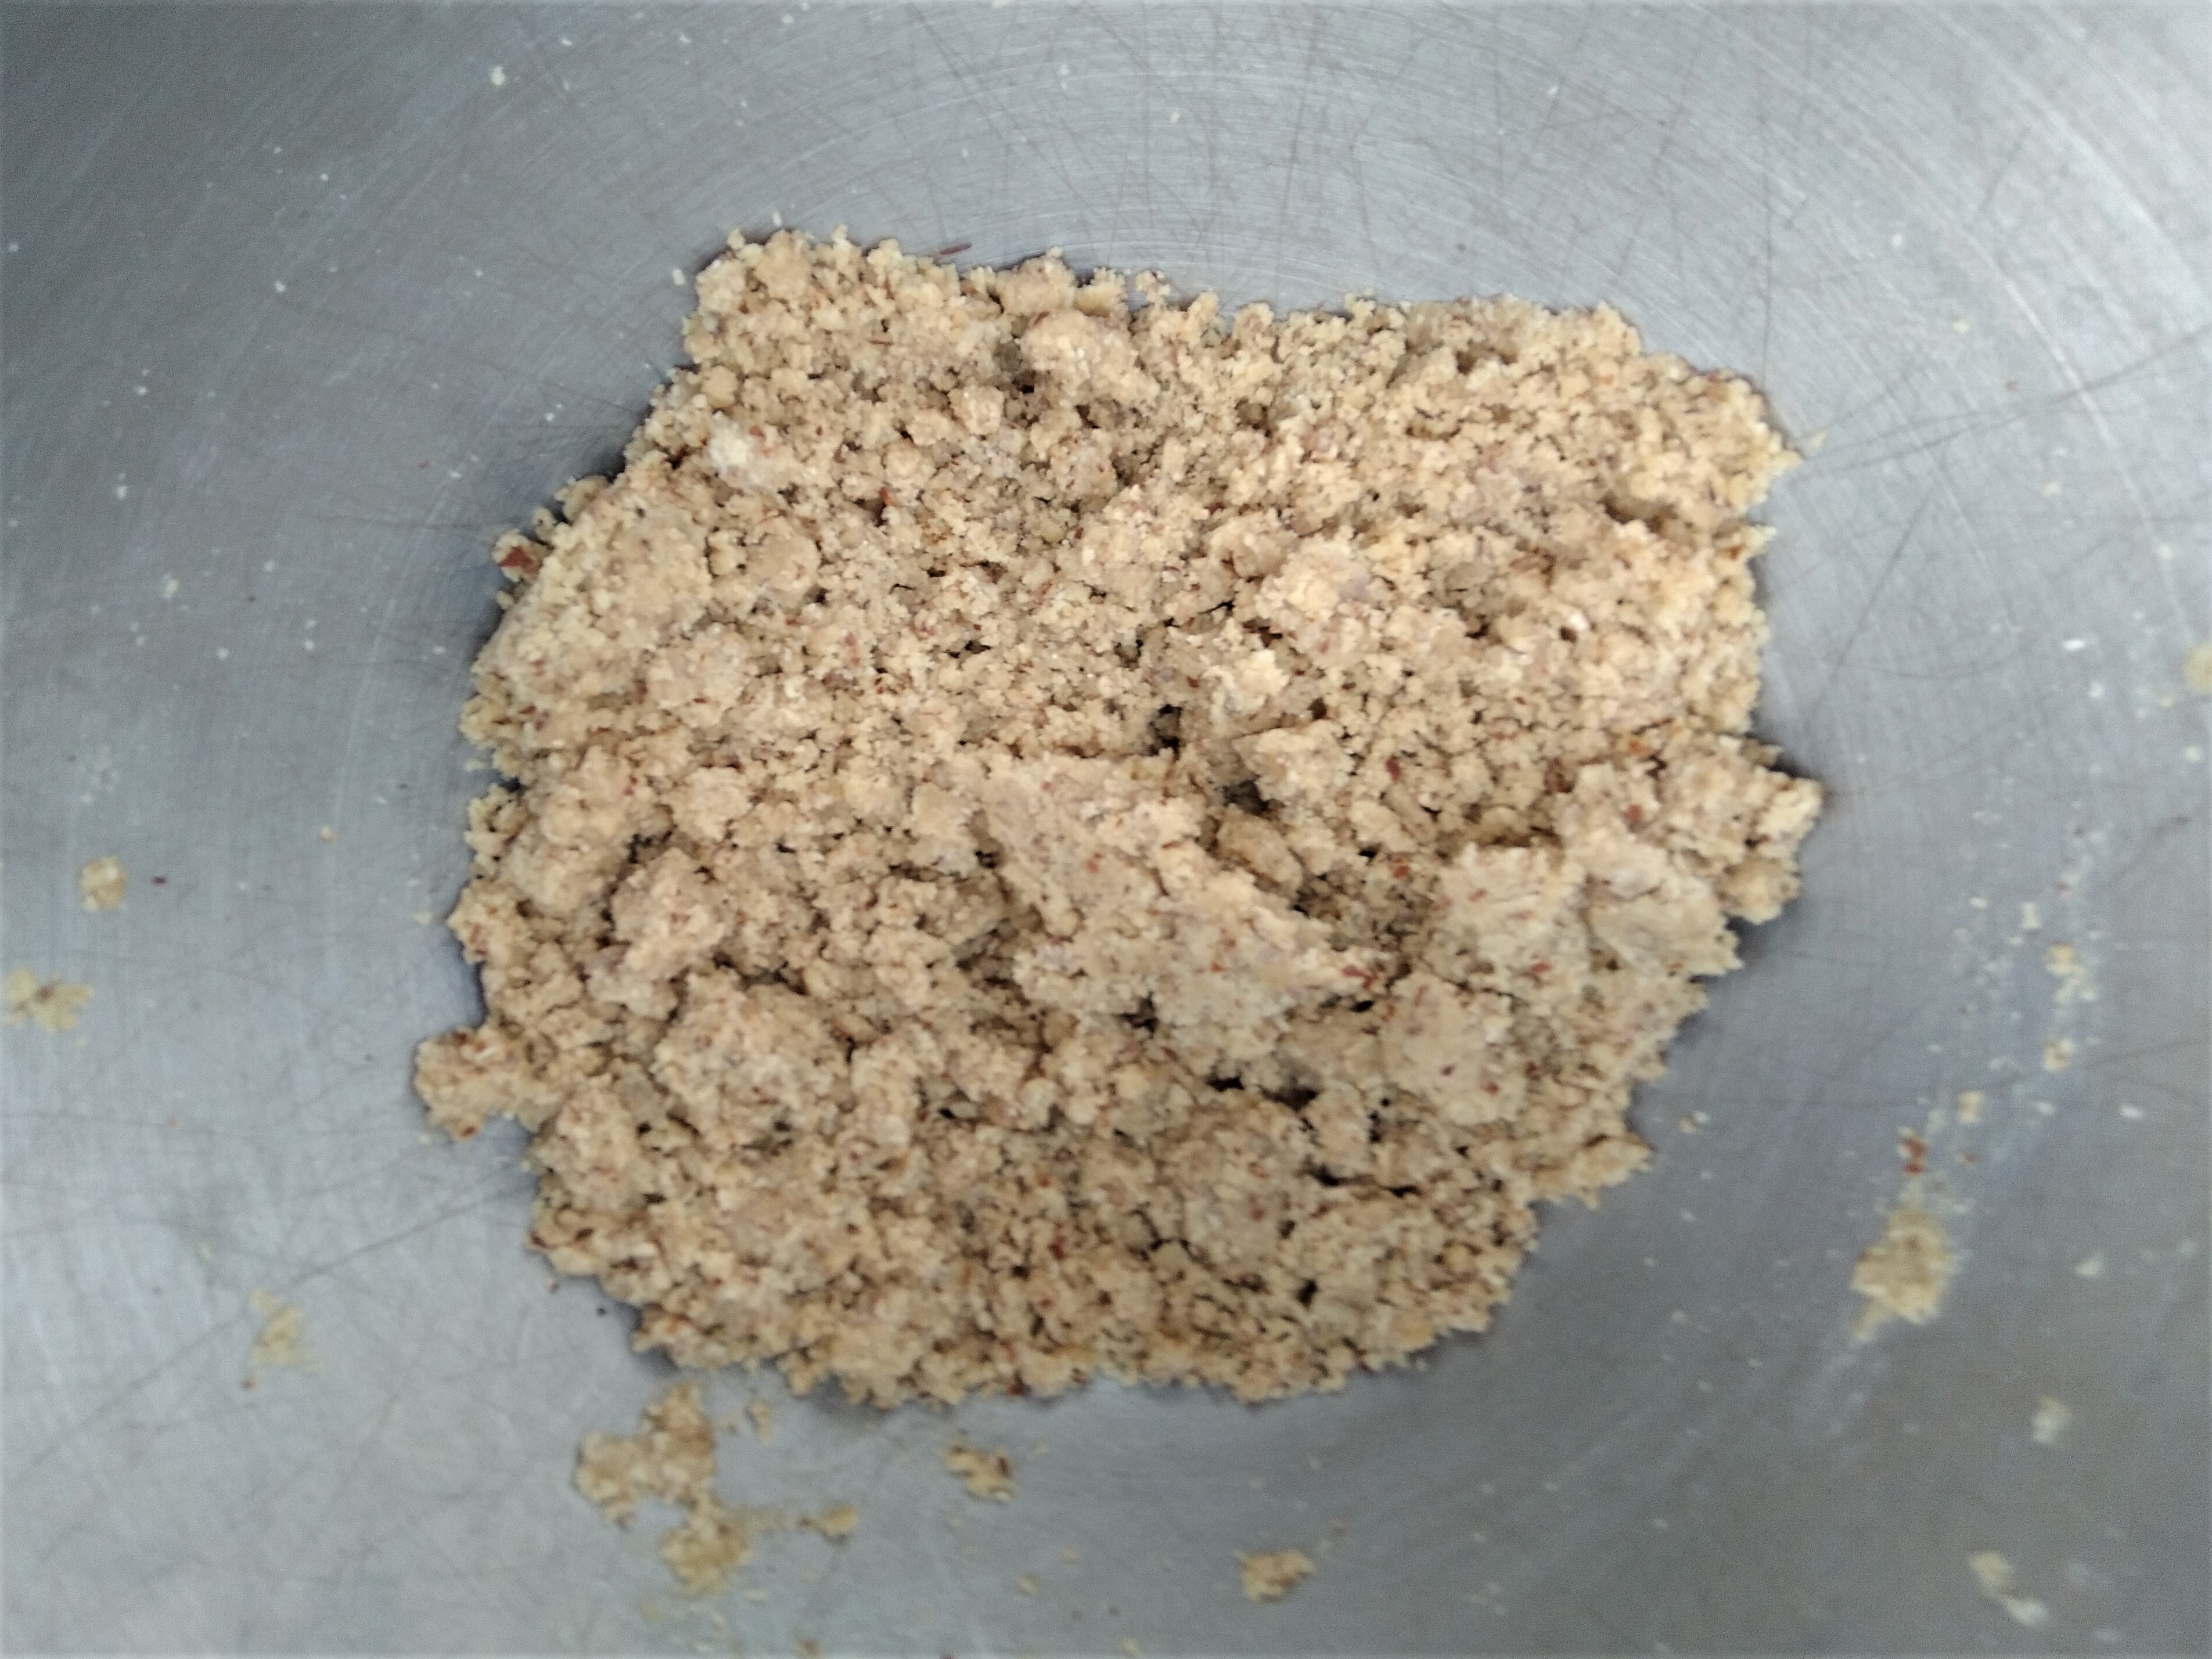
4. Once the dough has come together, press it into an oven layer at the bottom of the lined cake tin and put into the middle of the pre-heated oven to bake for about 10 minutes or until golden brown and baked.

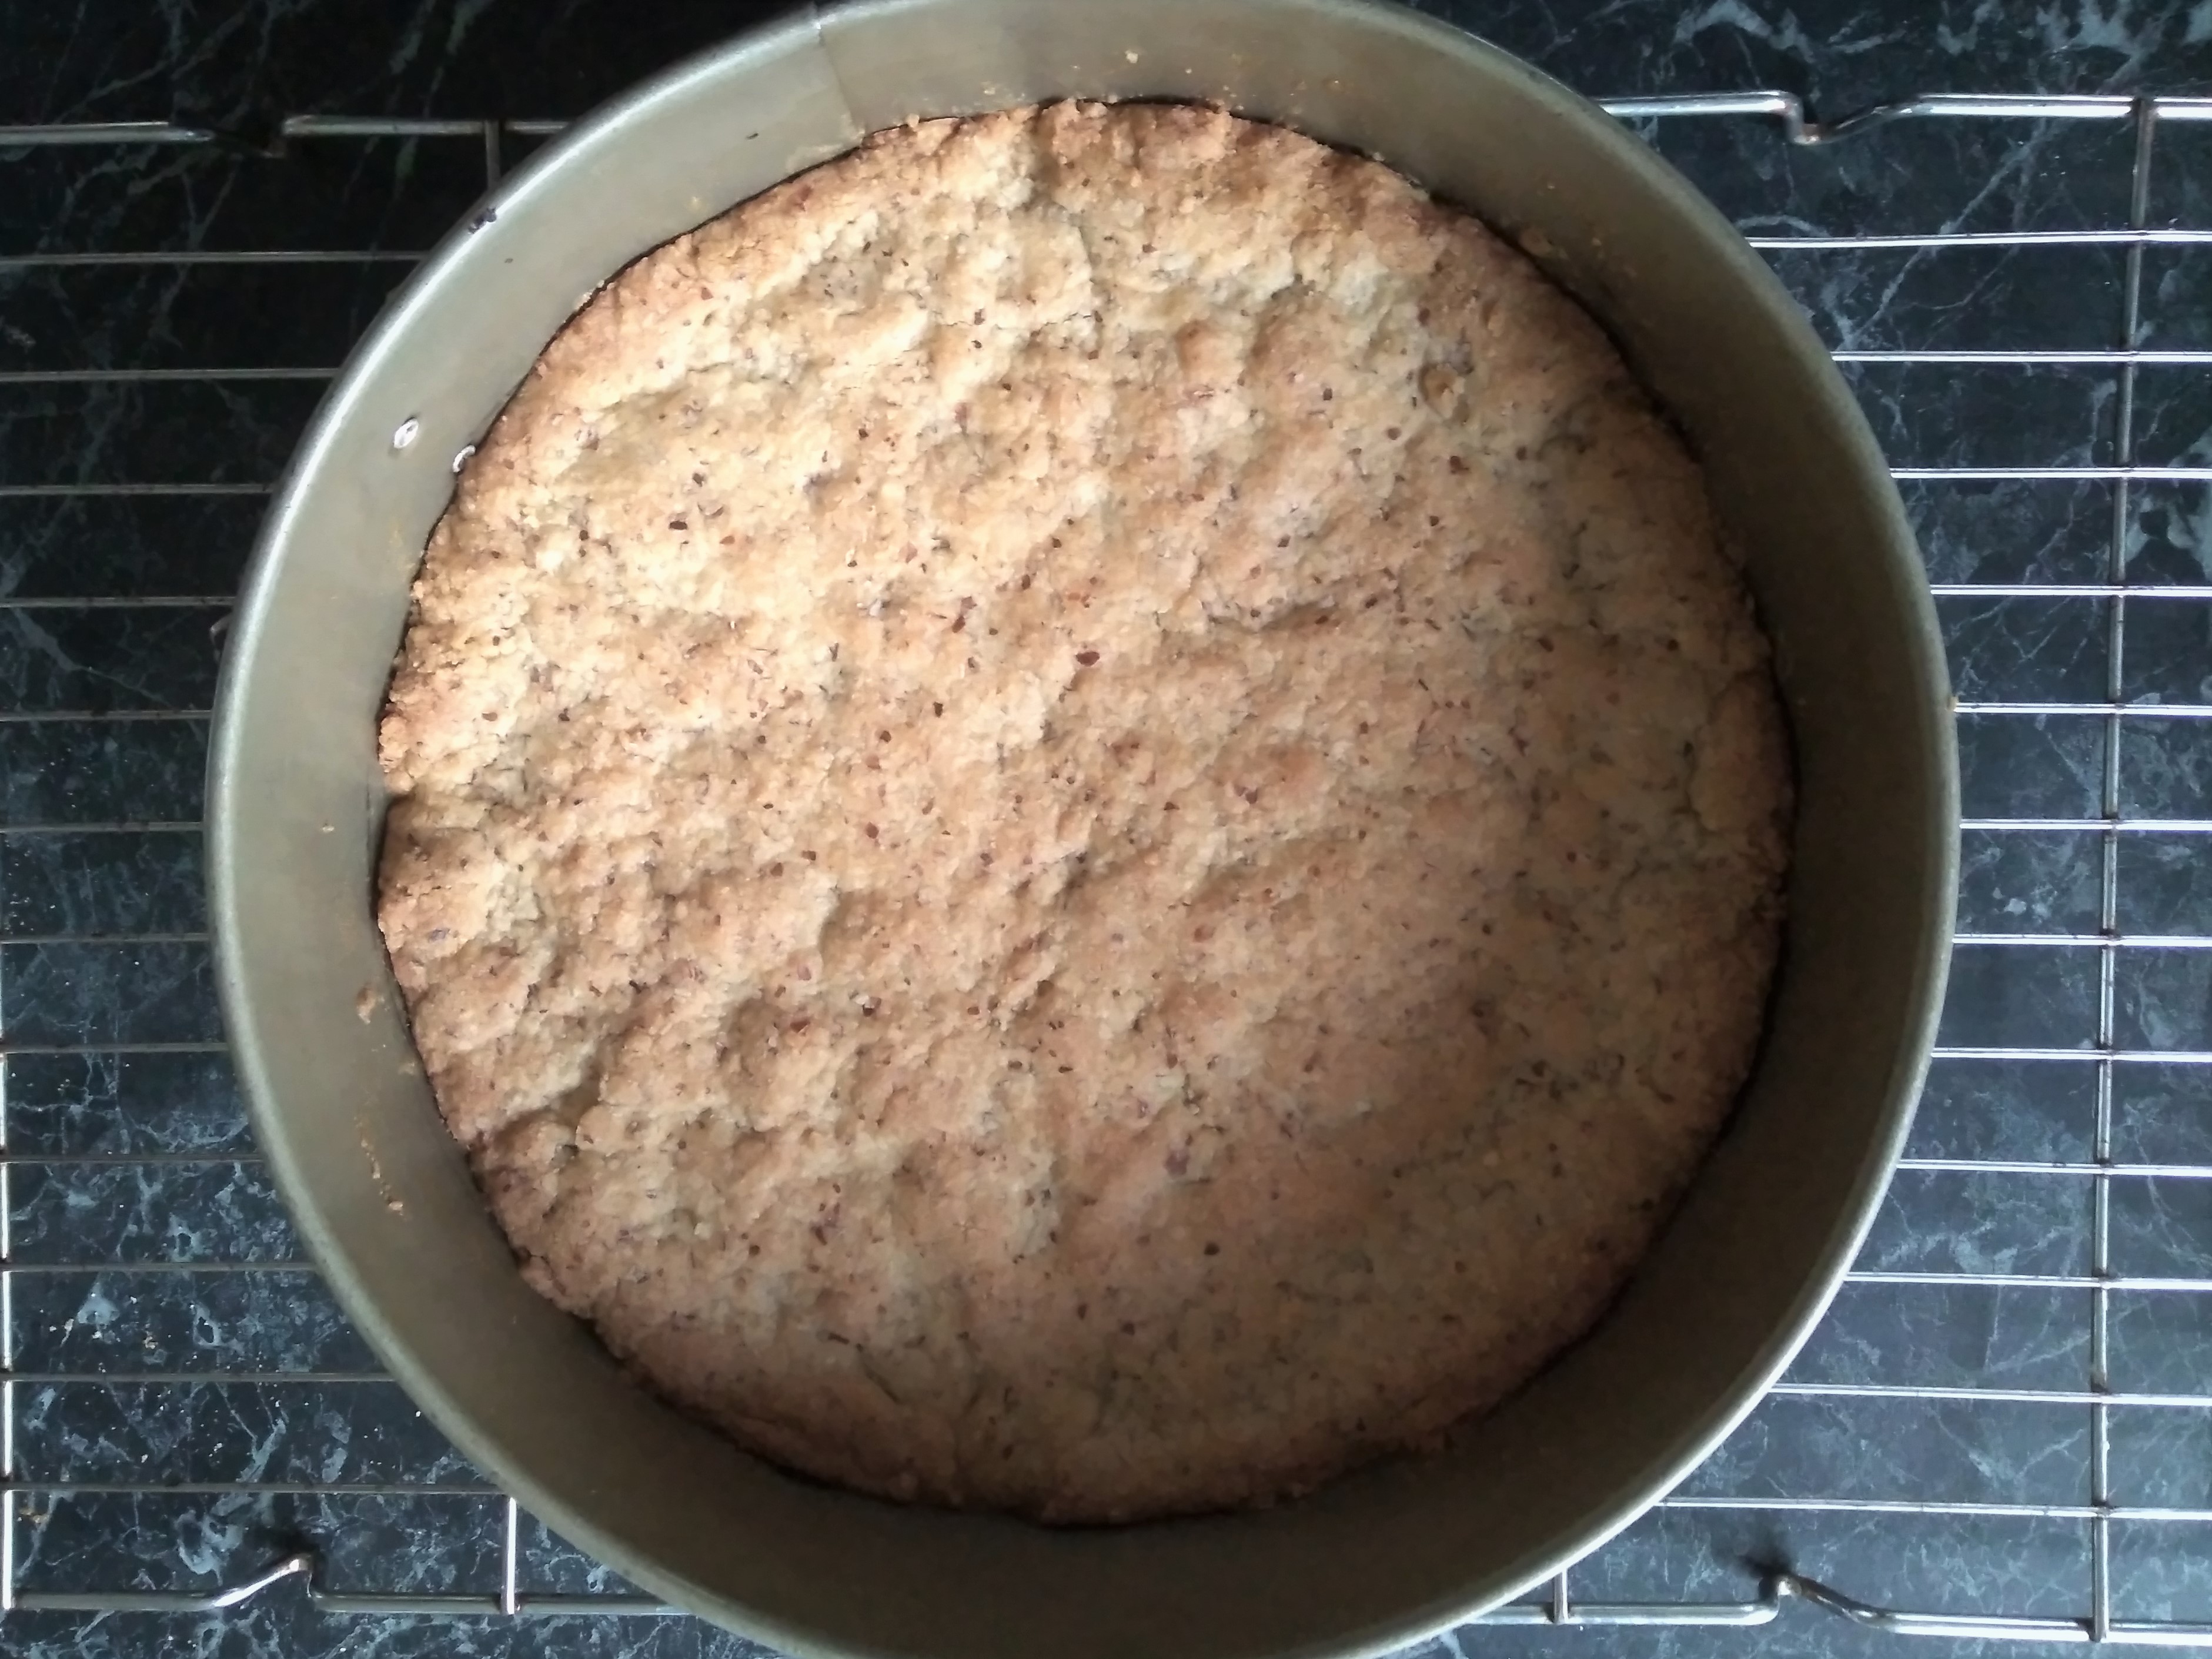
5. Once baked, remove the base from the oven and leave somewhere to cool completely.
What to do for the vanilla layer:
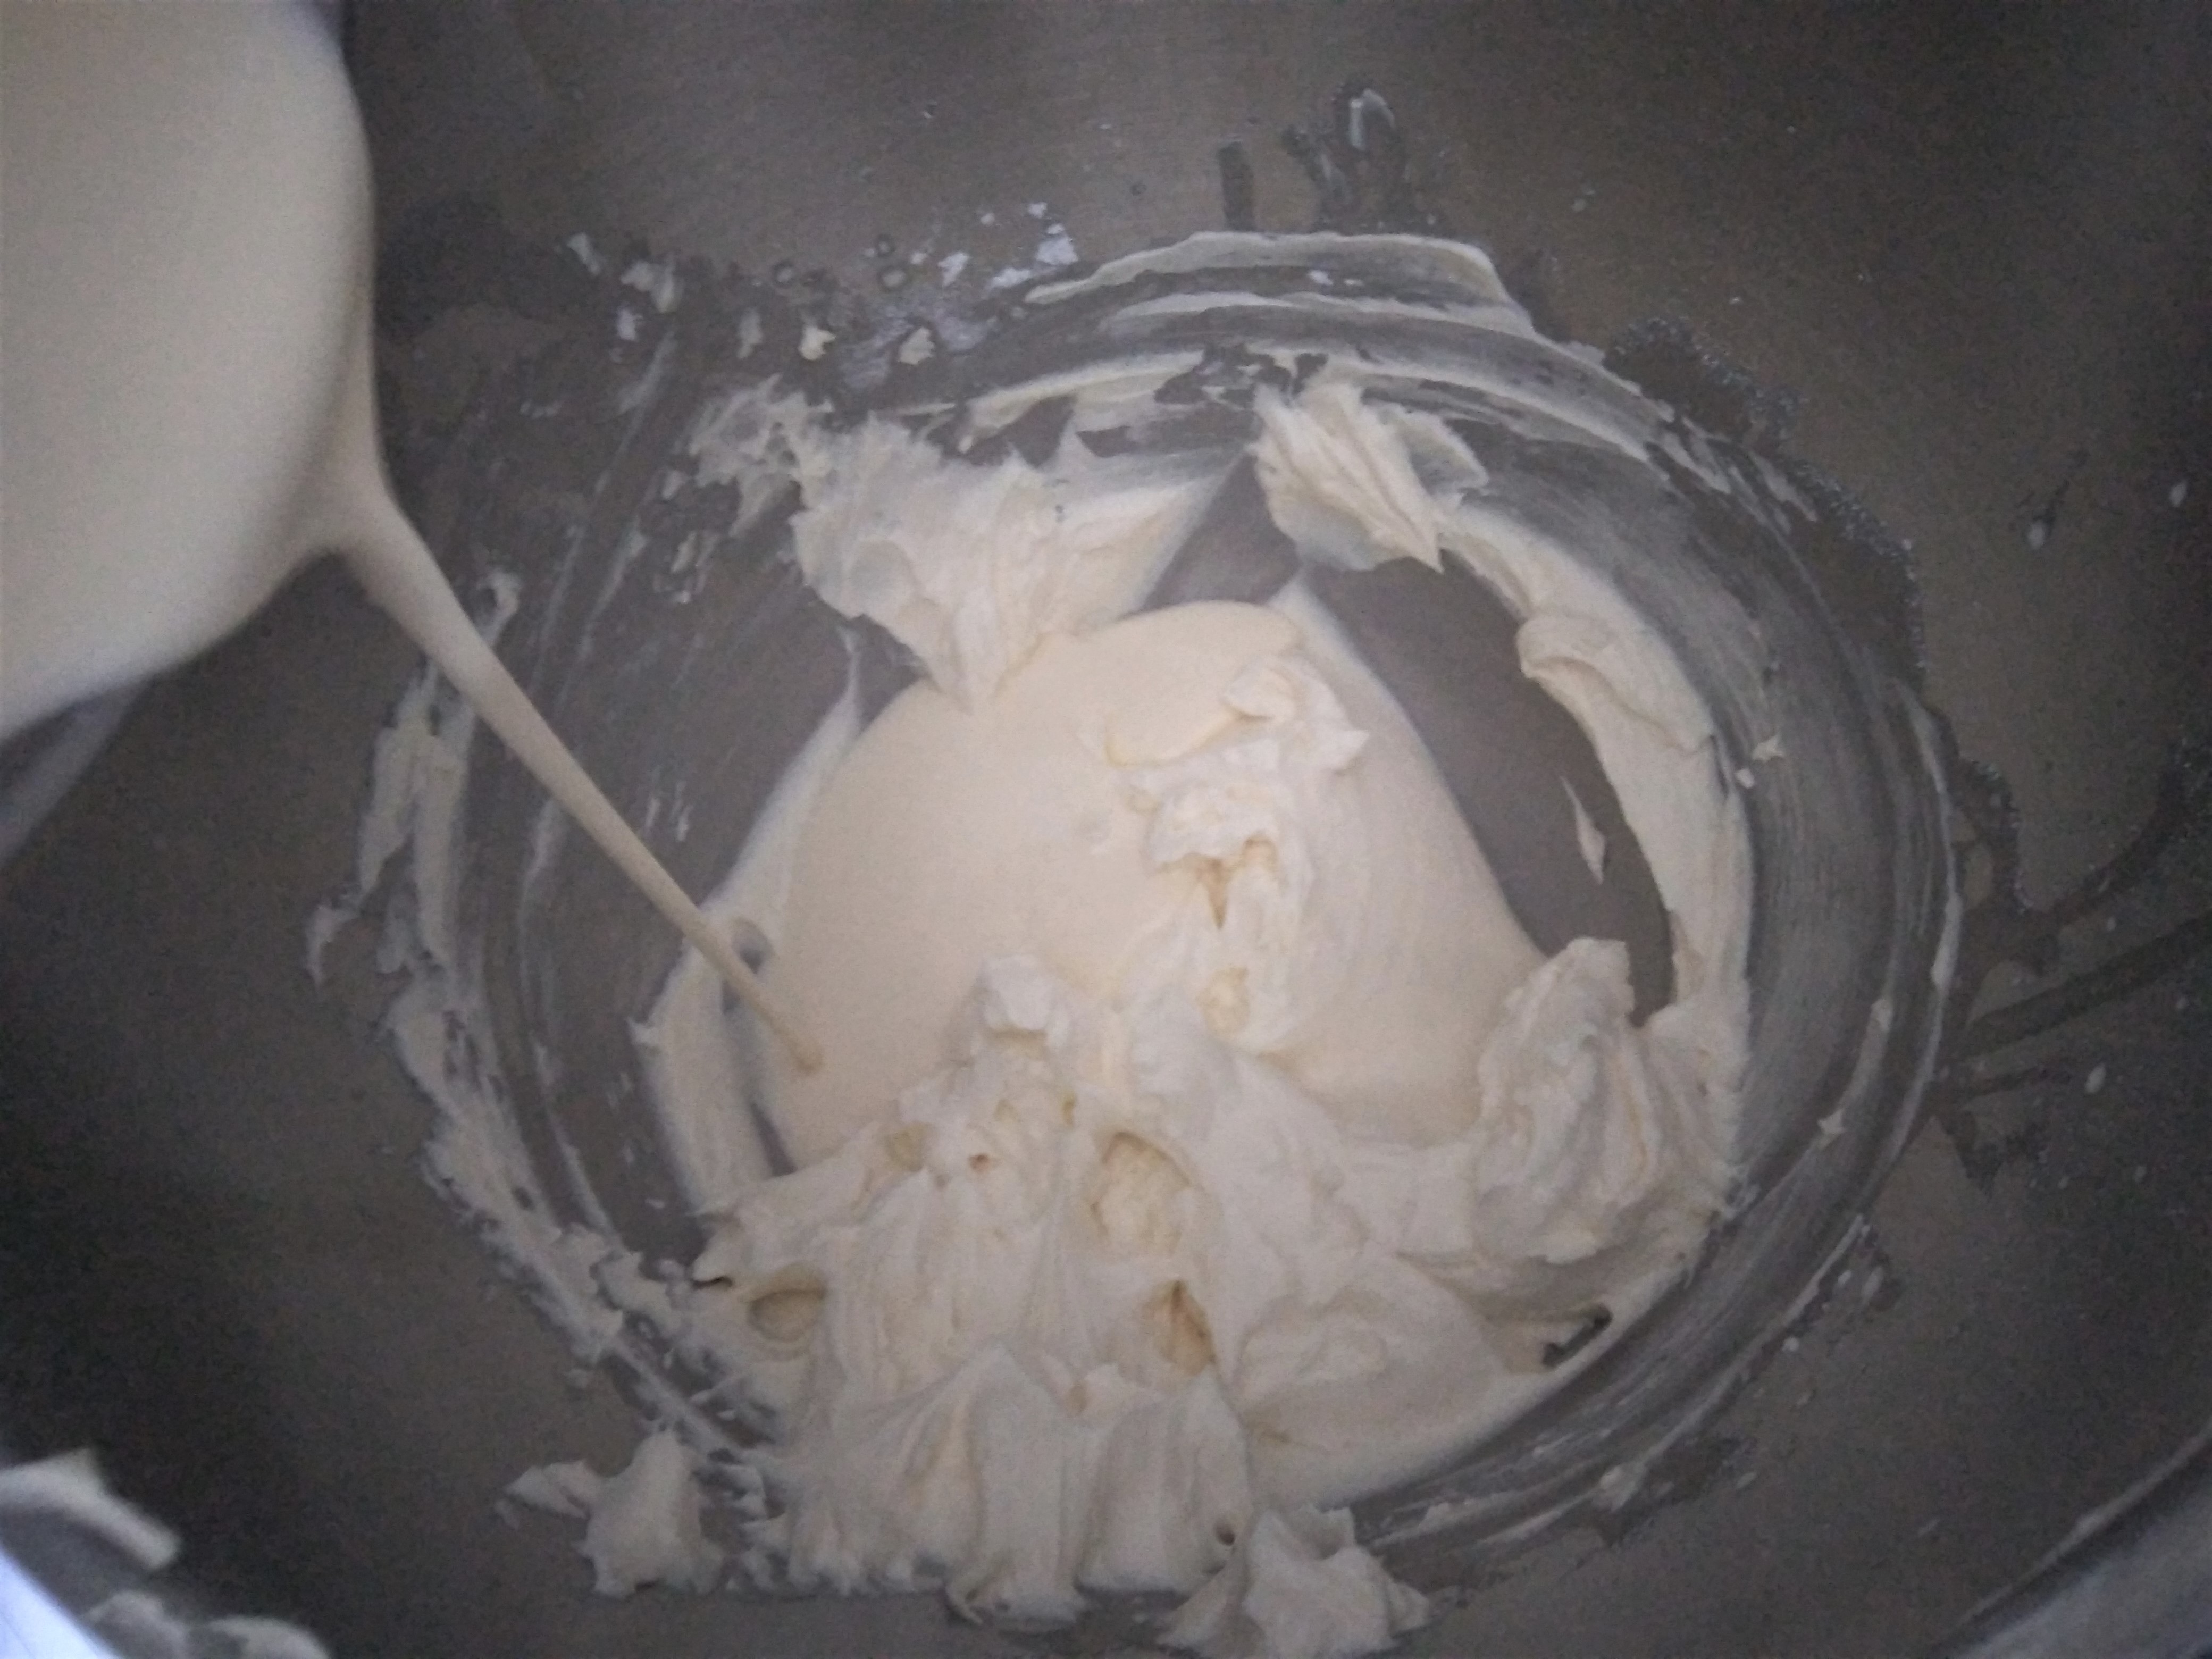
1. Place the cream cheese, icing sugar and vanilla essence in a large bowl and beat until well combined. Add a cup of the cream to the bowl and beat well until the mixture is light and airy and starting to stiffen. I use my stand mixer for this but an electric hand mixer would be fine too. Put the bowl to one side while the gelatine is prepared.


2. Gently heat 1/2 cup of cream in a saucepan until the cream at the edges of the pan are bubbling slightly and the cream is warm.
3. Once the cream is warm, turn off the heat and then sprinkle the gelatine over the top of the cream in the saucepan in an even layer, and then beat it vigorously with a whisk until the gelatine is fully dissolved into the cream.


4. Add the final 1/2 cup of cold cream to the saucepan and stir thoroughly with the whisk. If the cream and gelatine mixture in the saucepan is lukewarm after adding the final 1/2 cup of cold cream to it, proceed with the next step straightaway. If not, set the pan aside until the cream/gelatine mixture is lukewarm but don’t wait too long as it will start setting if it cools too much!

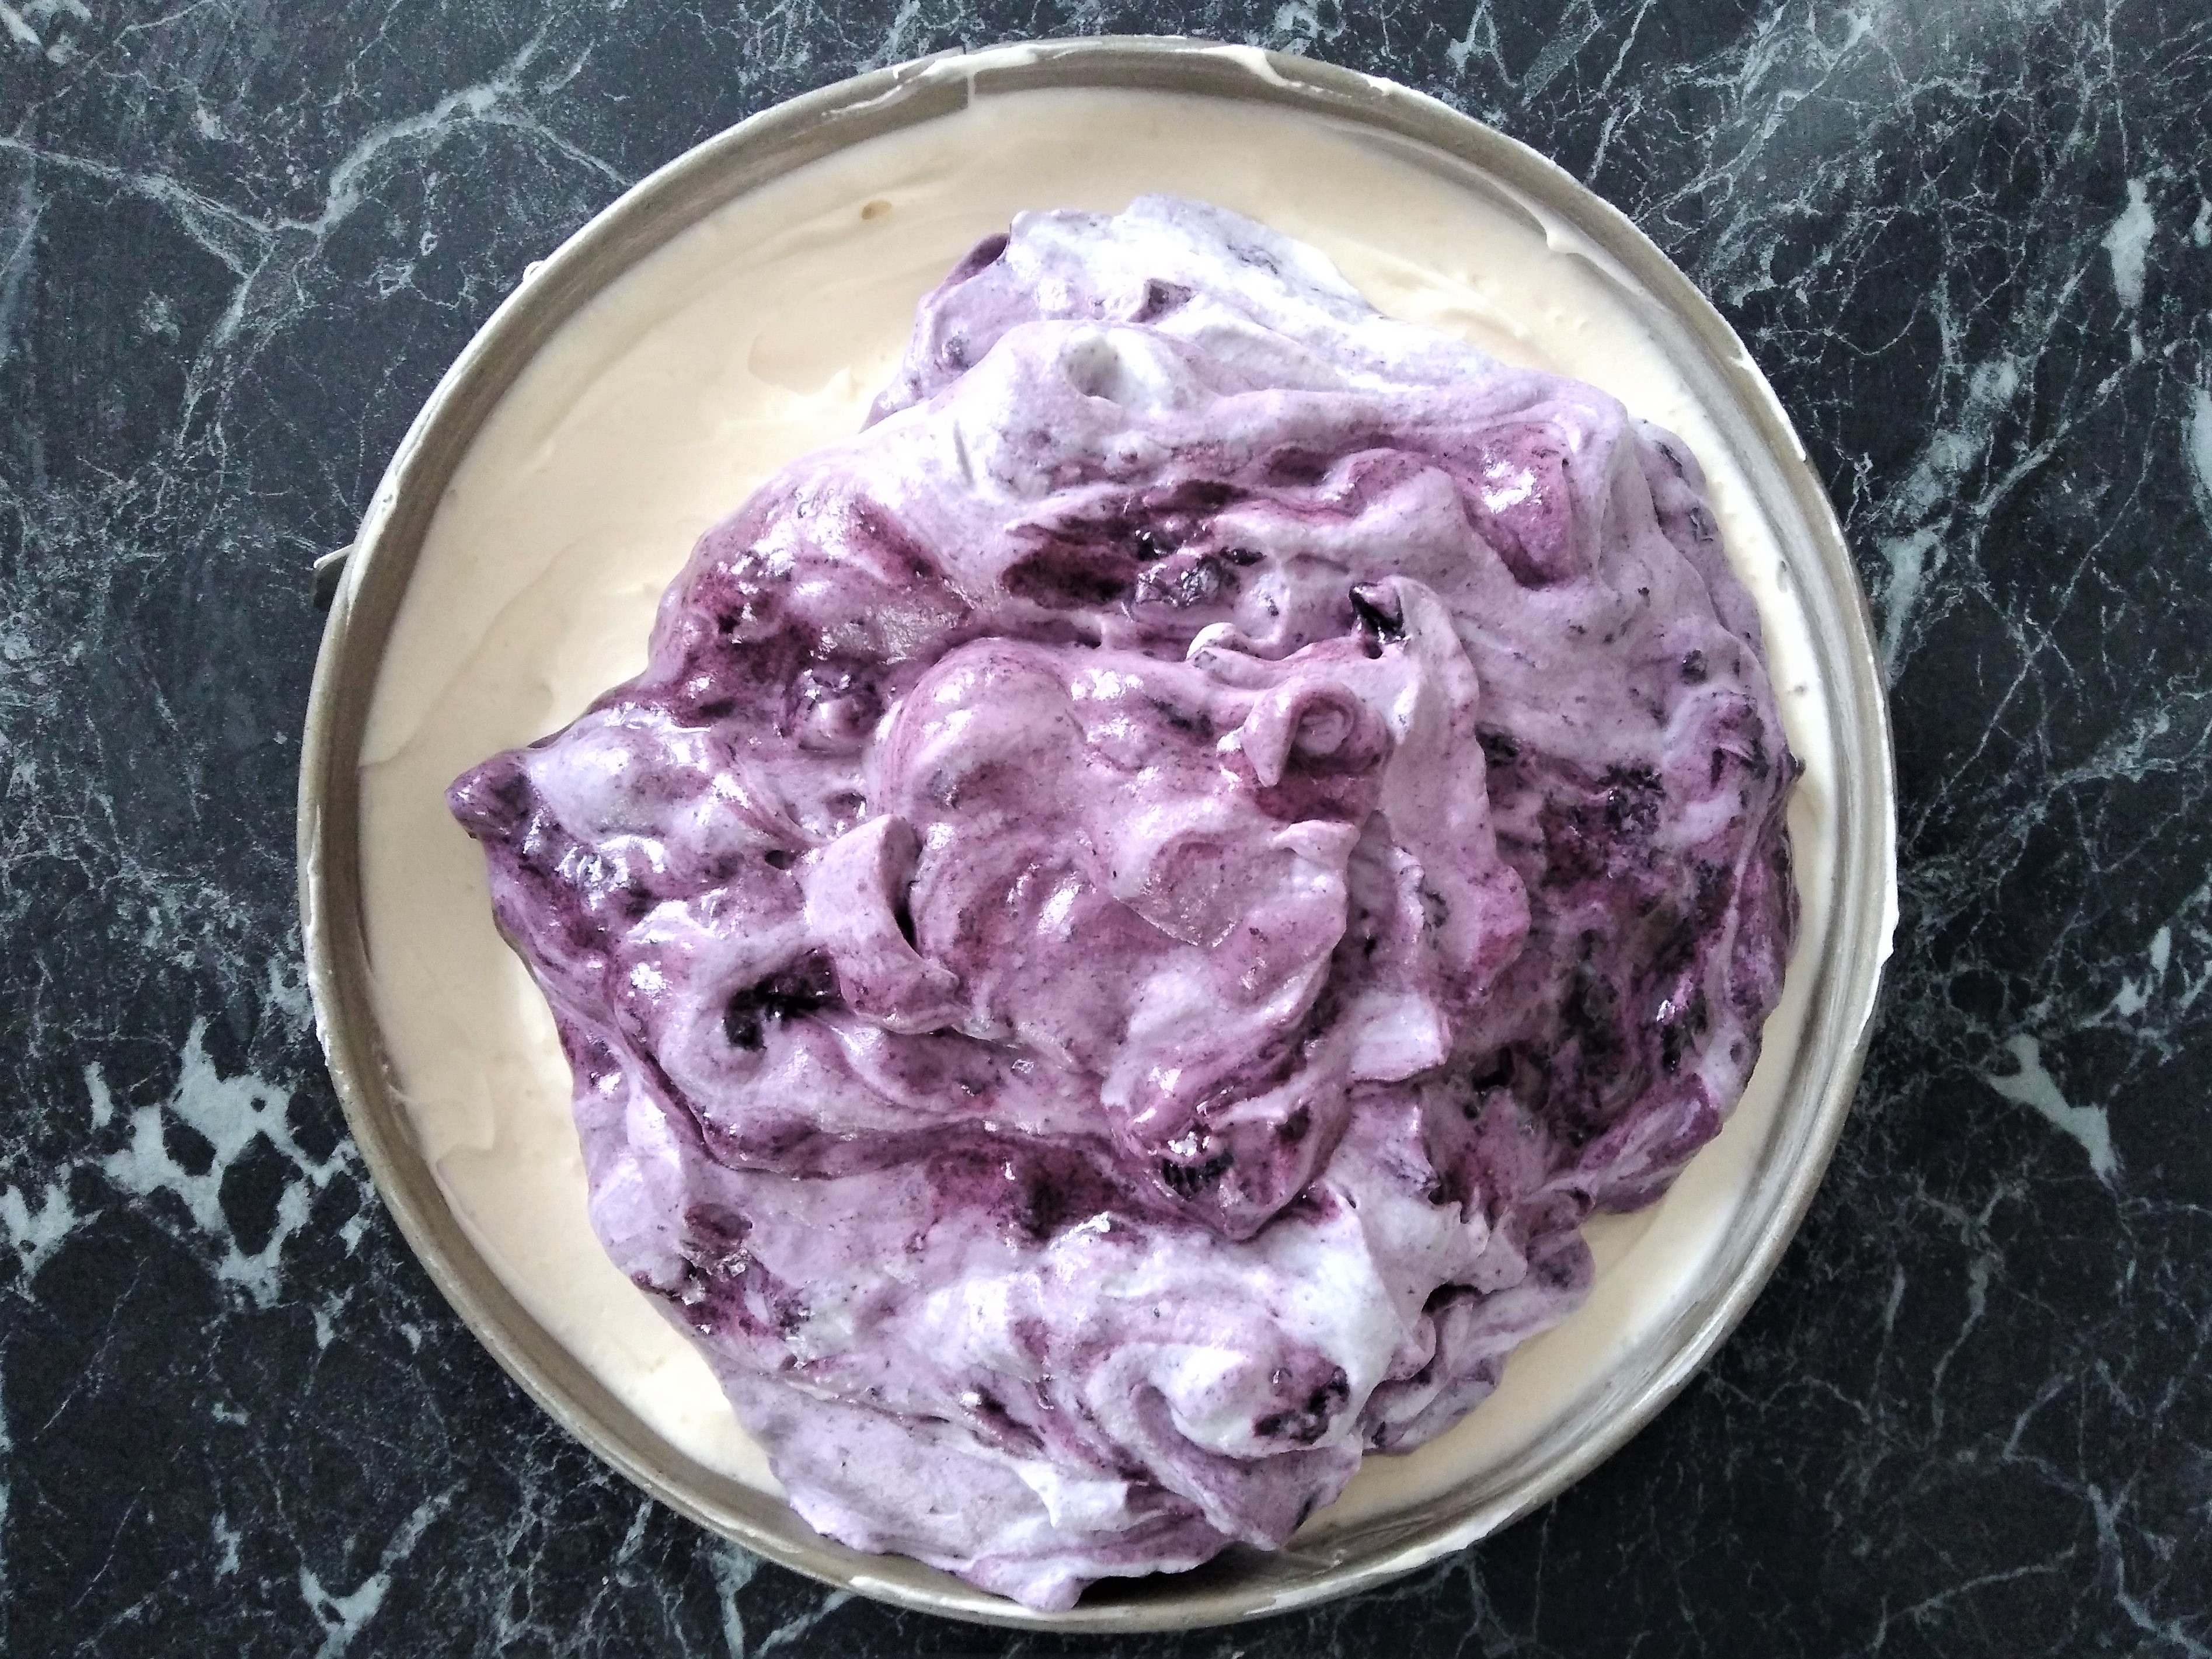
5. Pour the cream/gelatine into the beaten cream cheese/cream/sugar/vanilla essence mixture in the large bowl and beat again until everything is thoroughly combined and the mixture is stiff, but be careful and watch it as it will turn to butter if you beat it for too long (I speak from experience!). If the gelatine starts setting during the mixing process, it may make small lumps in your mixture (you can see these in the photos at the start of this blog post). The cheesecake should still set with these and it will taste okay but if you want a smooth cheesecake and it has gone lumpy, pass it through a sieve before continuing to the next step.
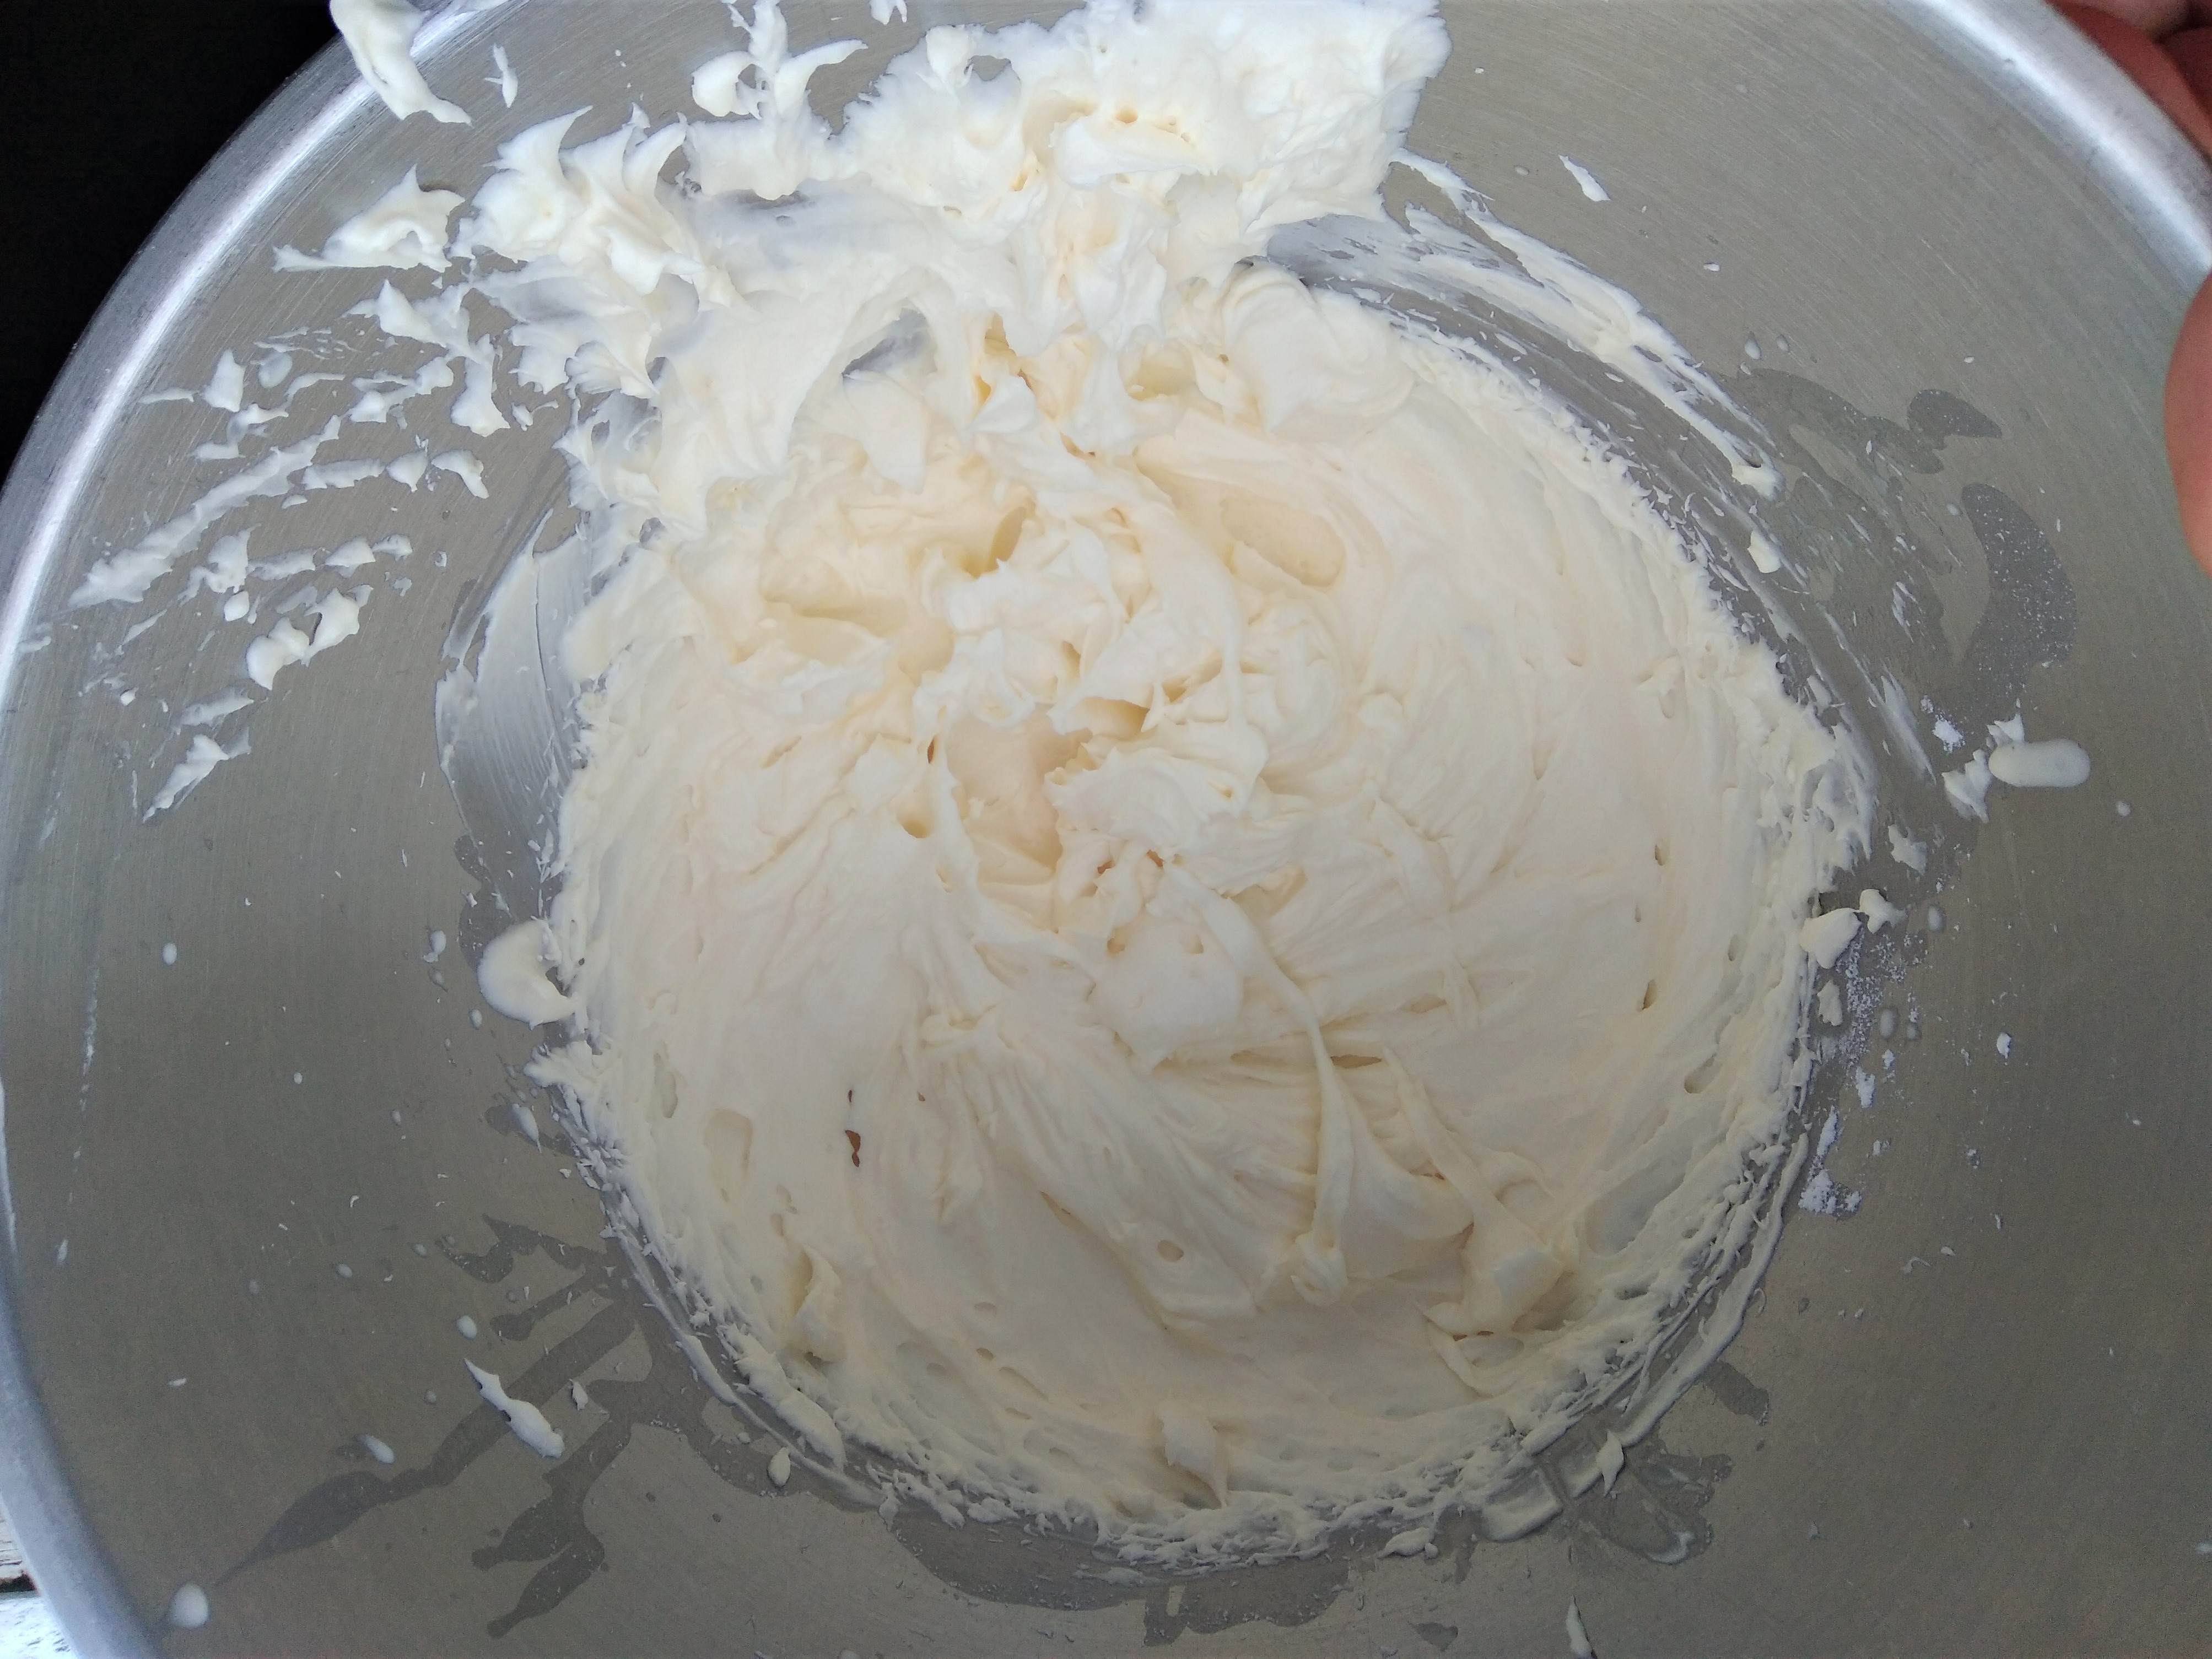
6. Spread the cream cheese and cream mixture in an even layer on top of the cheesecake base, making sure the top of this layer is 1 cm or more below the top of the cake tin, to ensure there is space for the blueberry layer.

What to do for the blueberry layer:
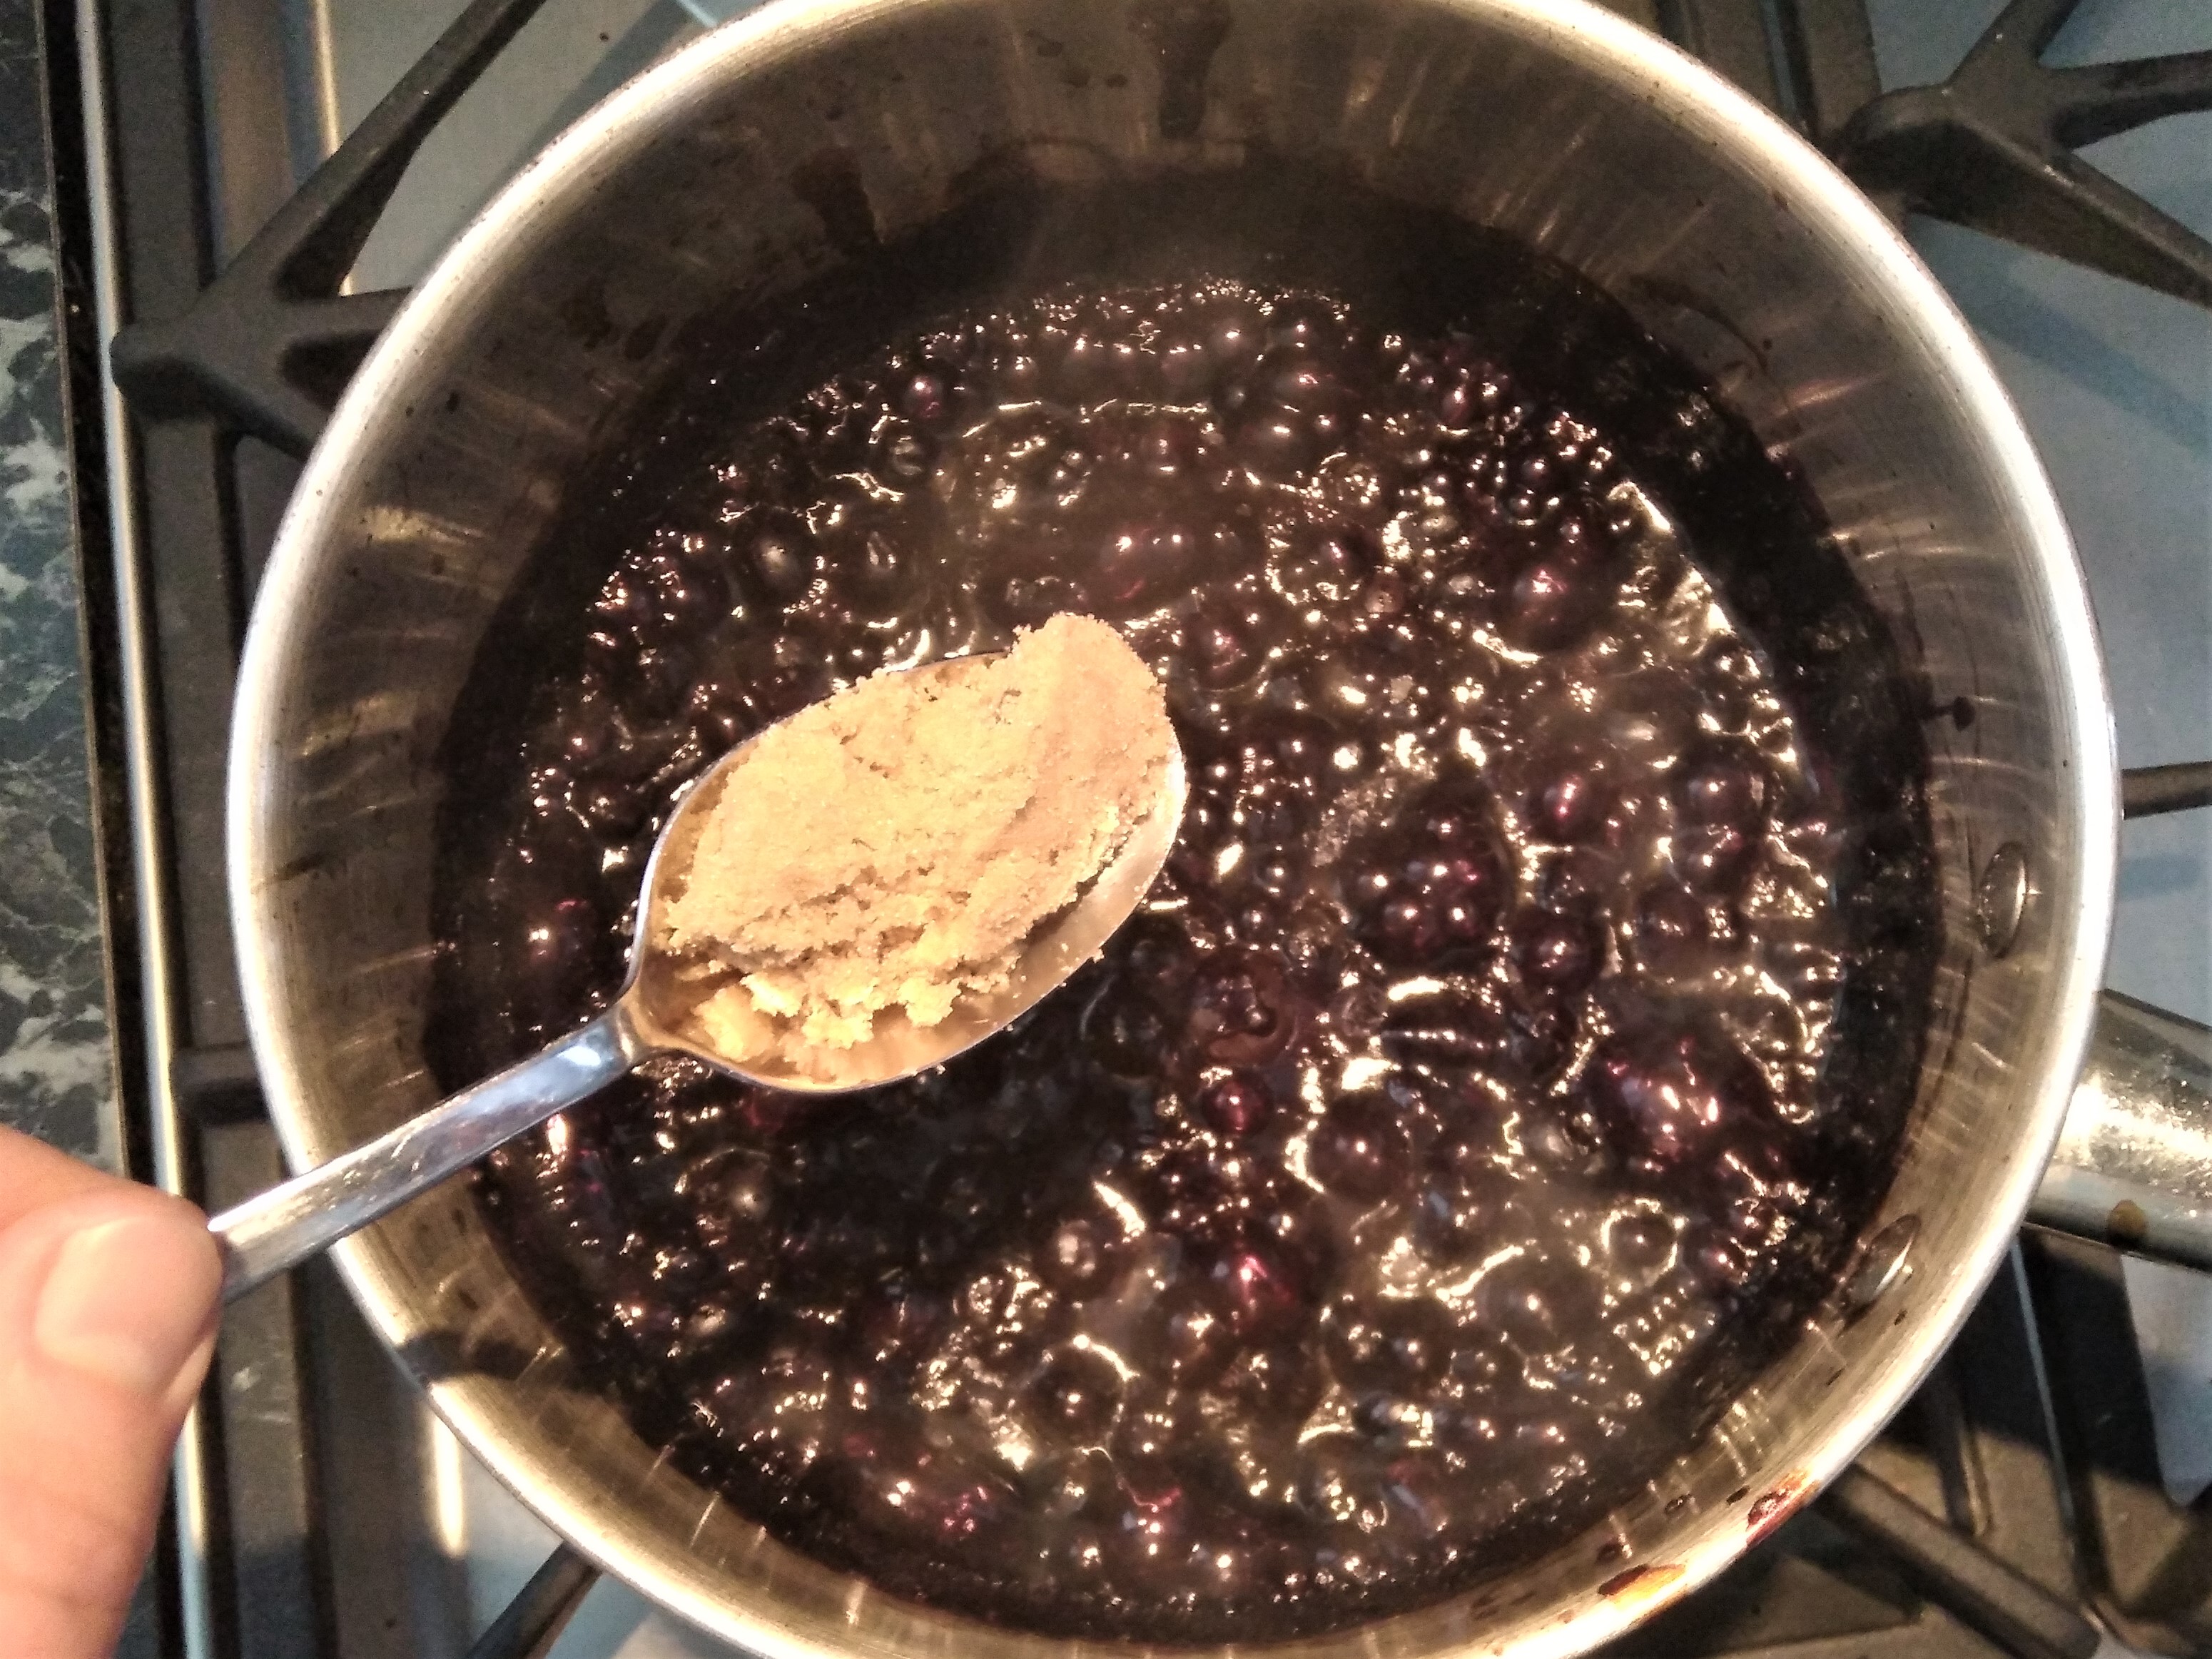
1. Heat the blueberries, water and lemon juice together in a pan on the stove over a medium heat, stirring occasionally. Once the blueberries have defrosted and started to break open and spill their juices into the mixture, stir in the sugar and then simmer until the mixture has reduced by about a quarter.
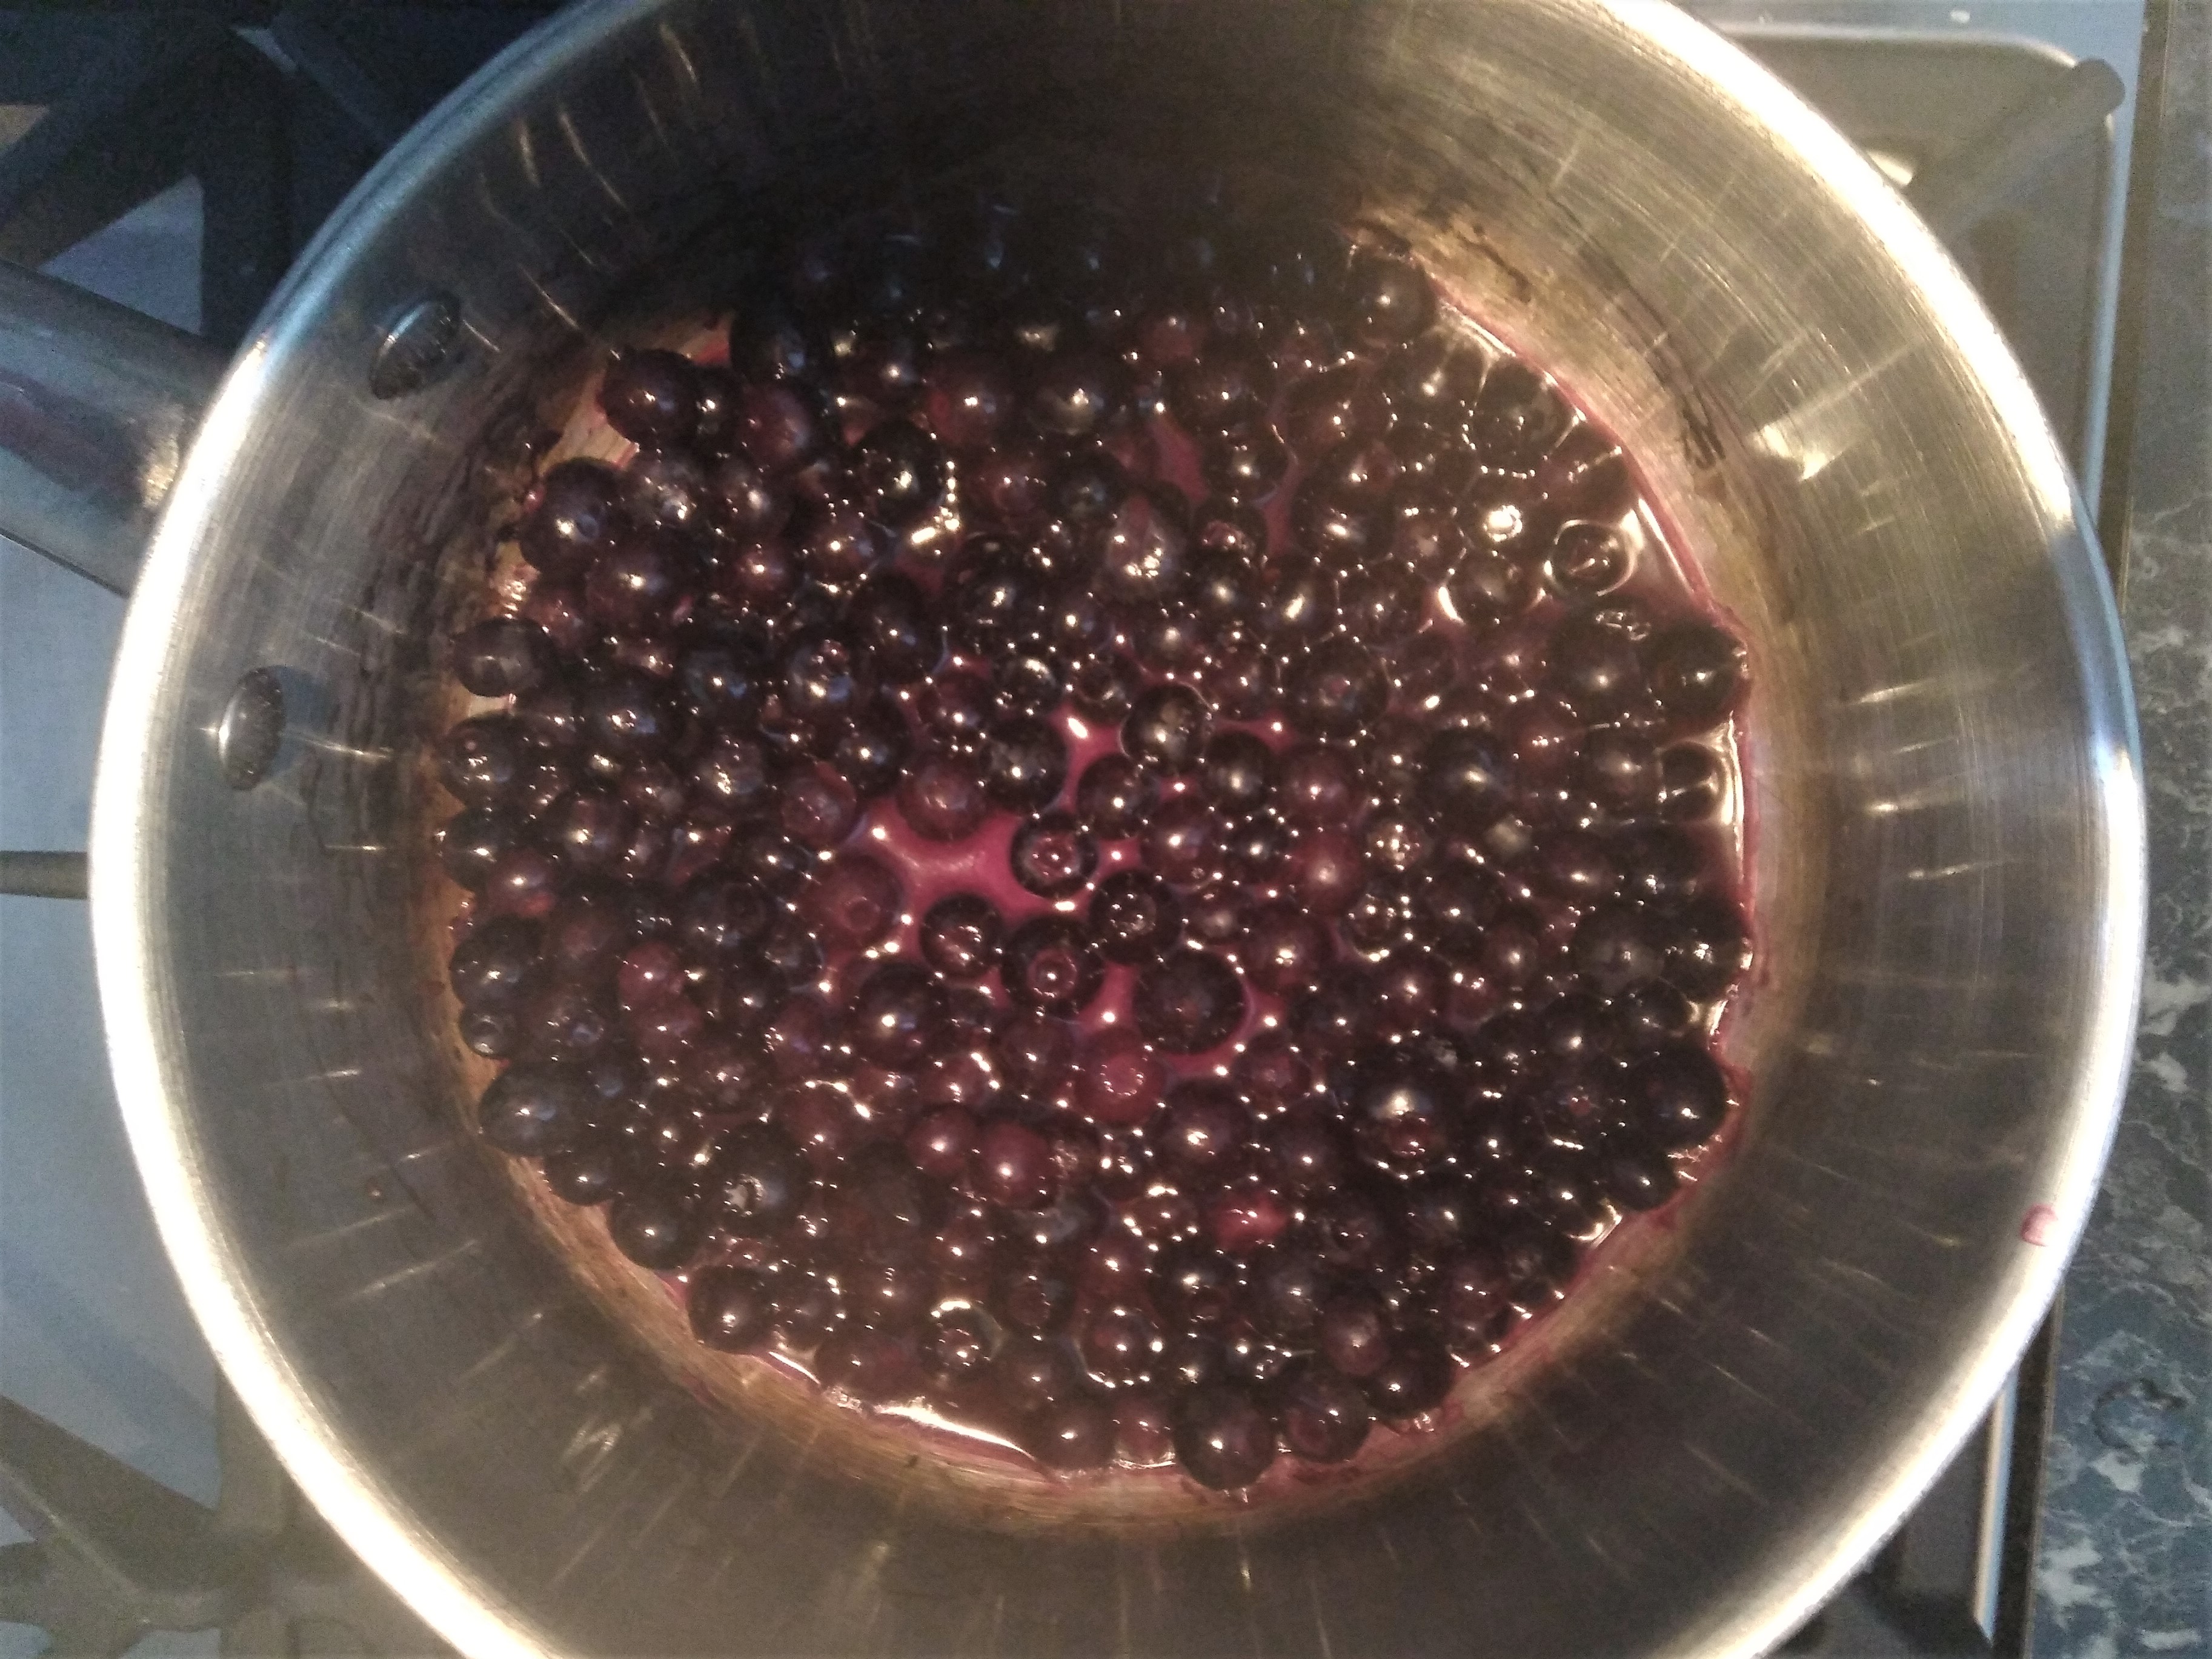
2. Once the mixture has reduced turn off the heat and remove the pan from the stove. Sprinkle the gelatine evenly over the top of the blueberry mixture and then mix it in well with a whisk.

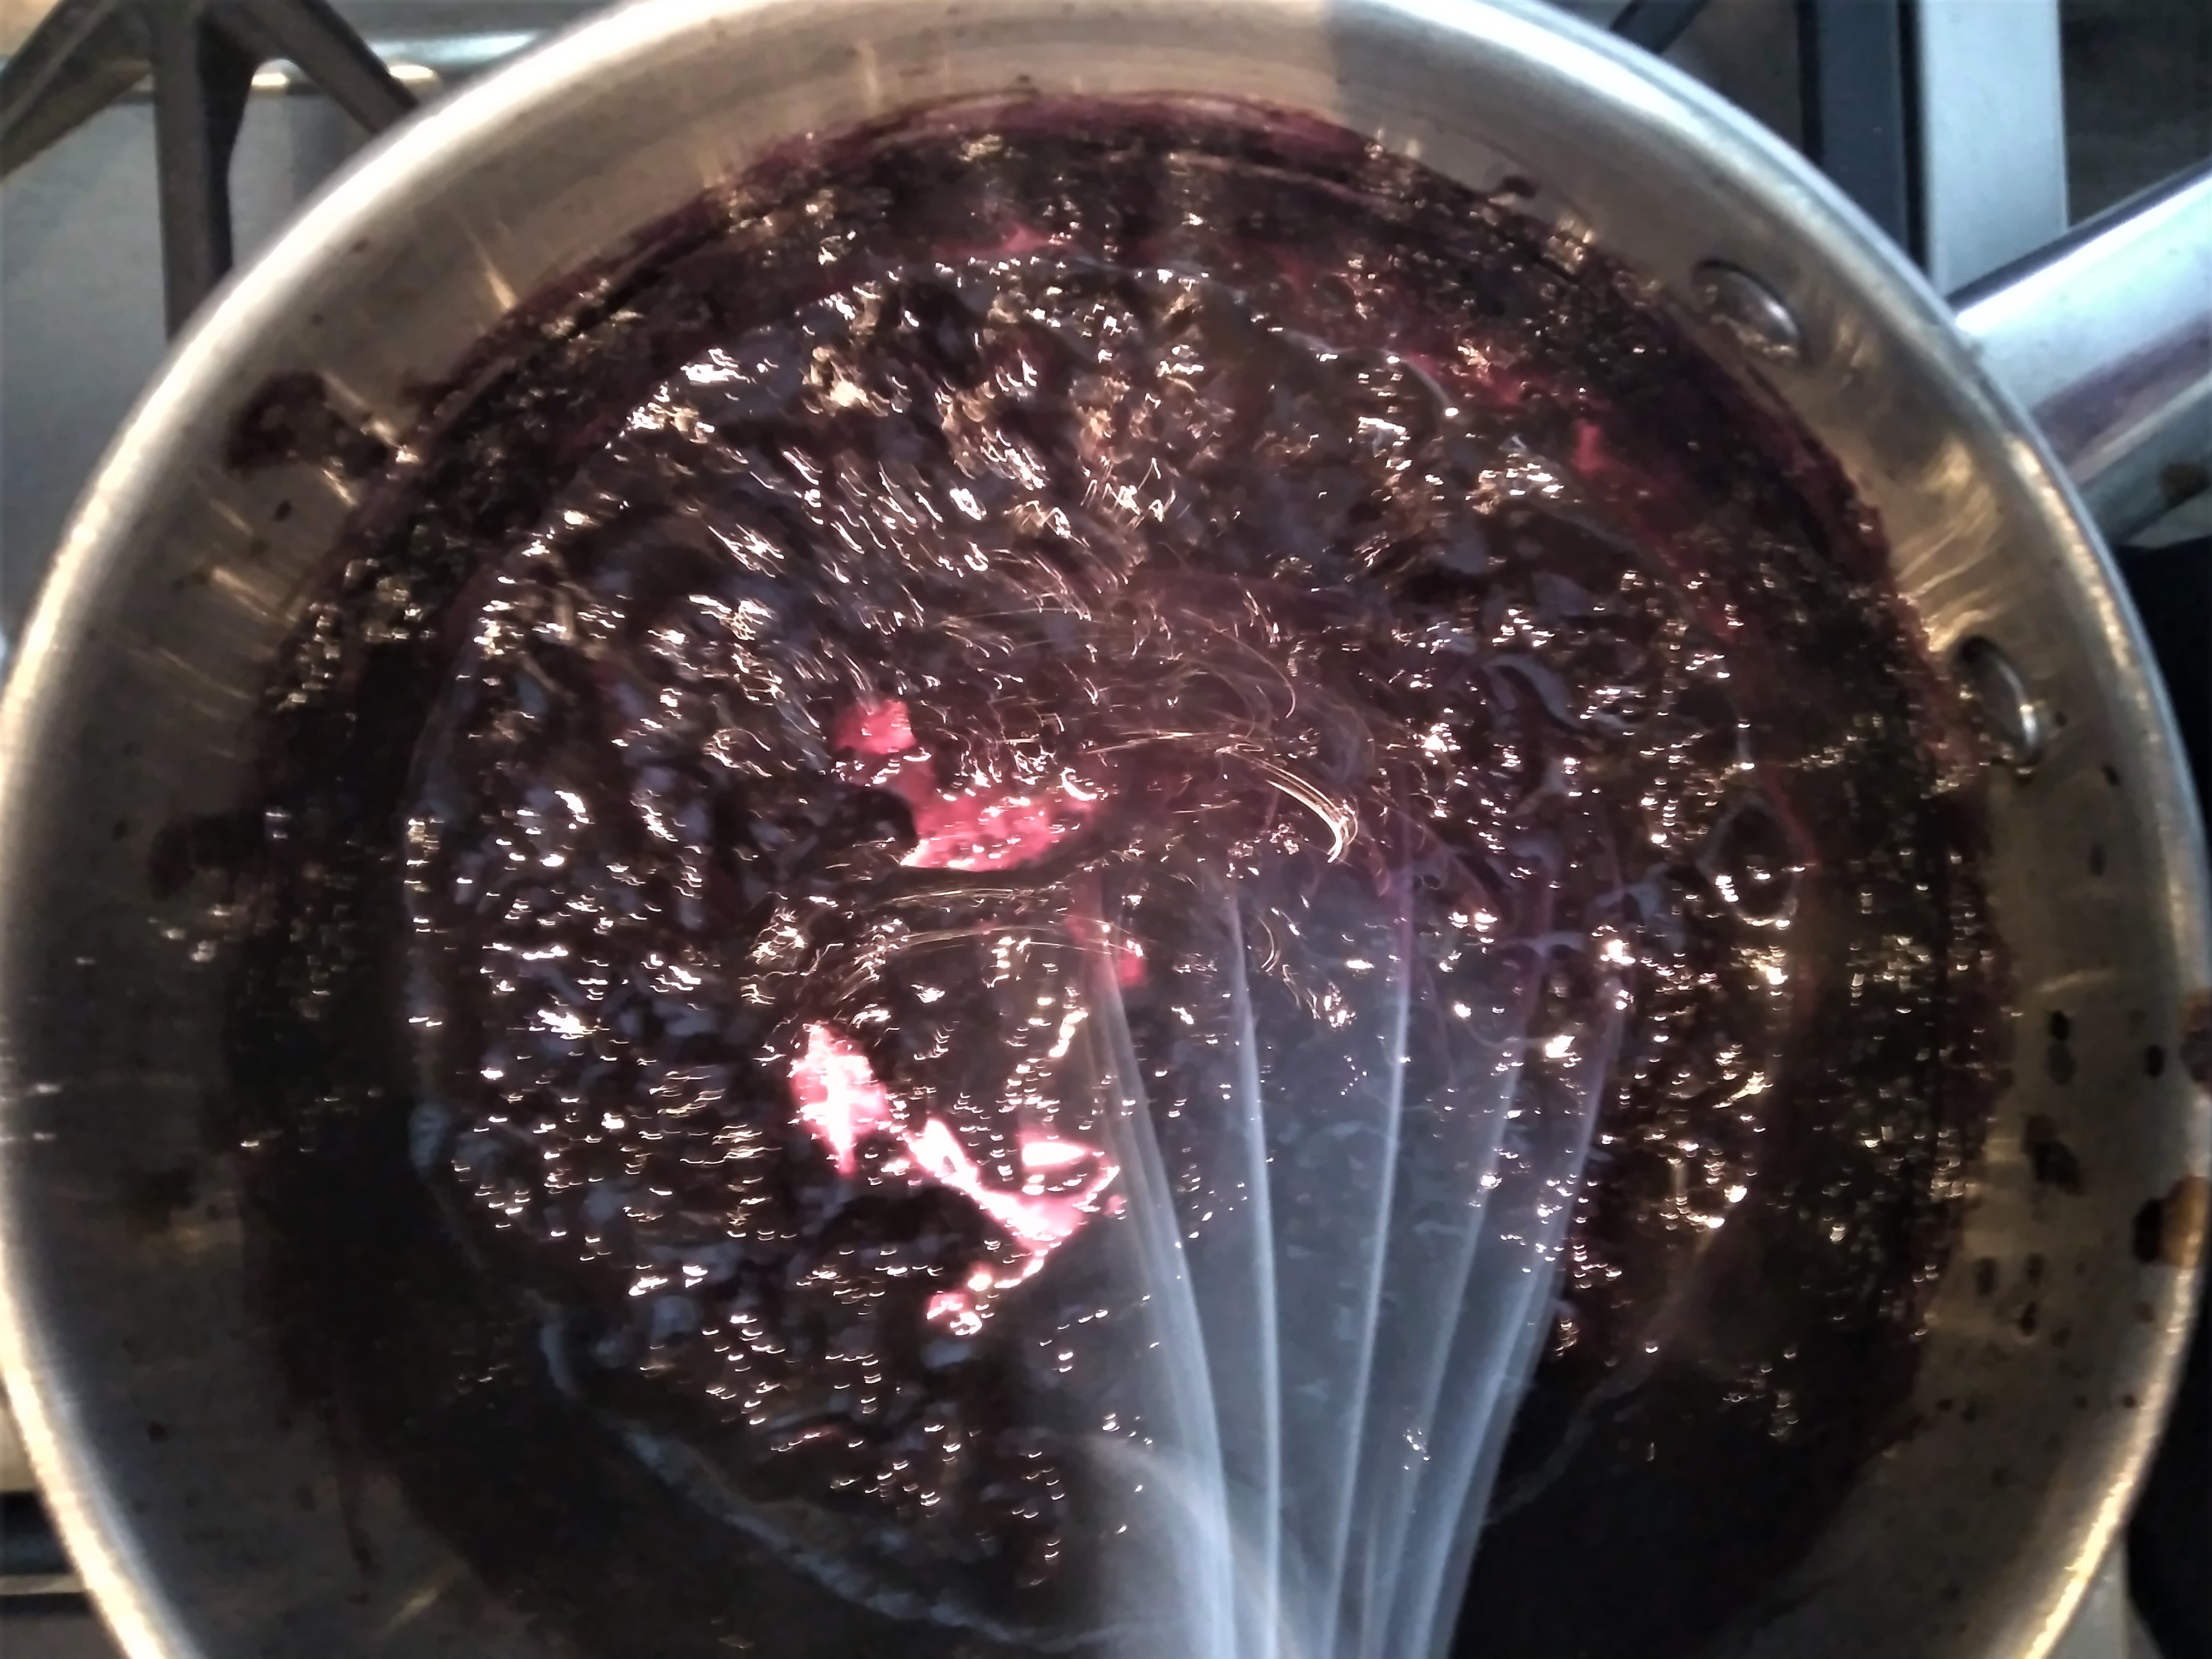
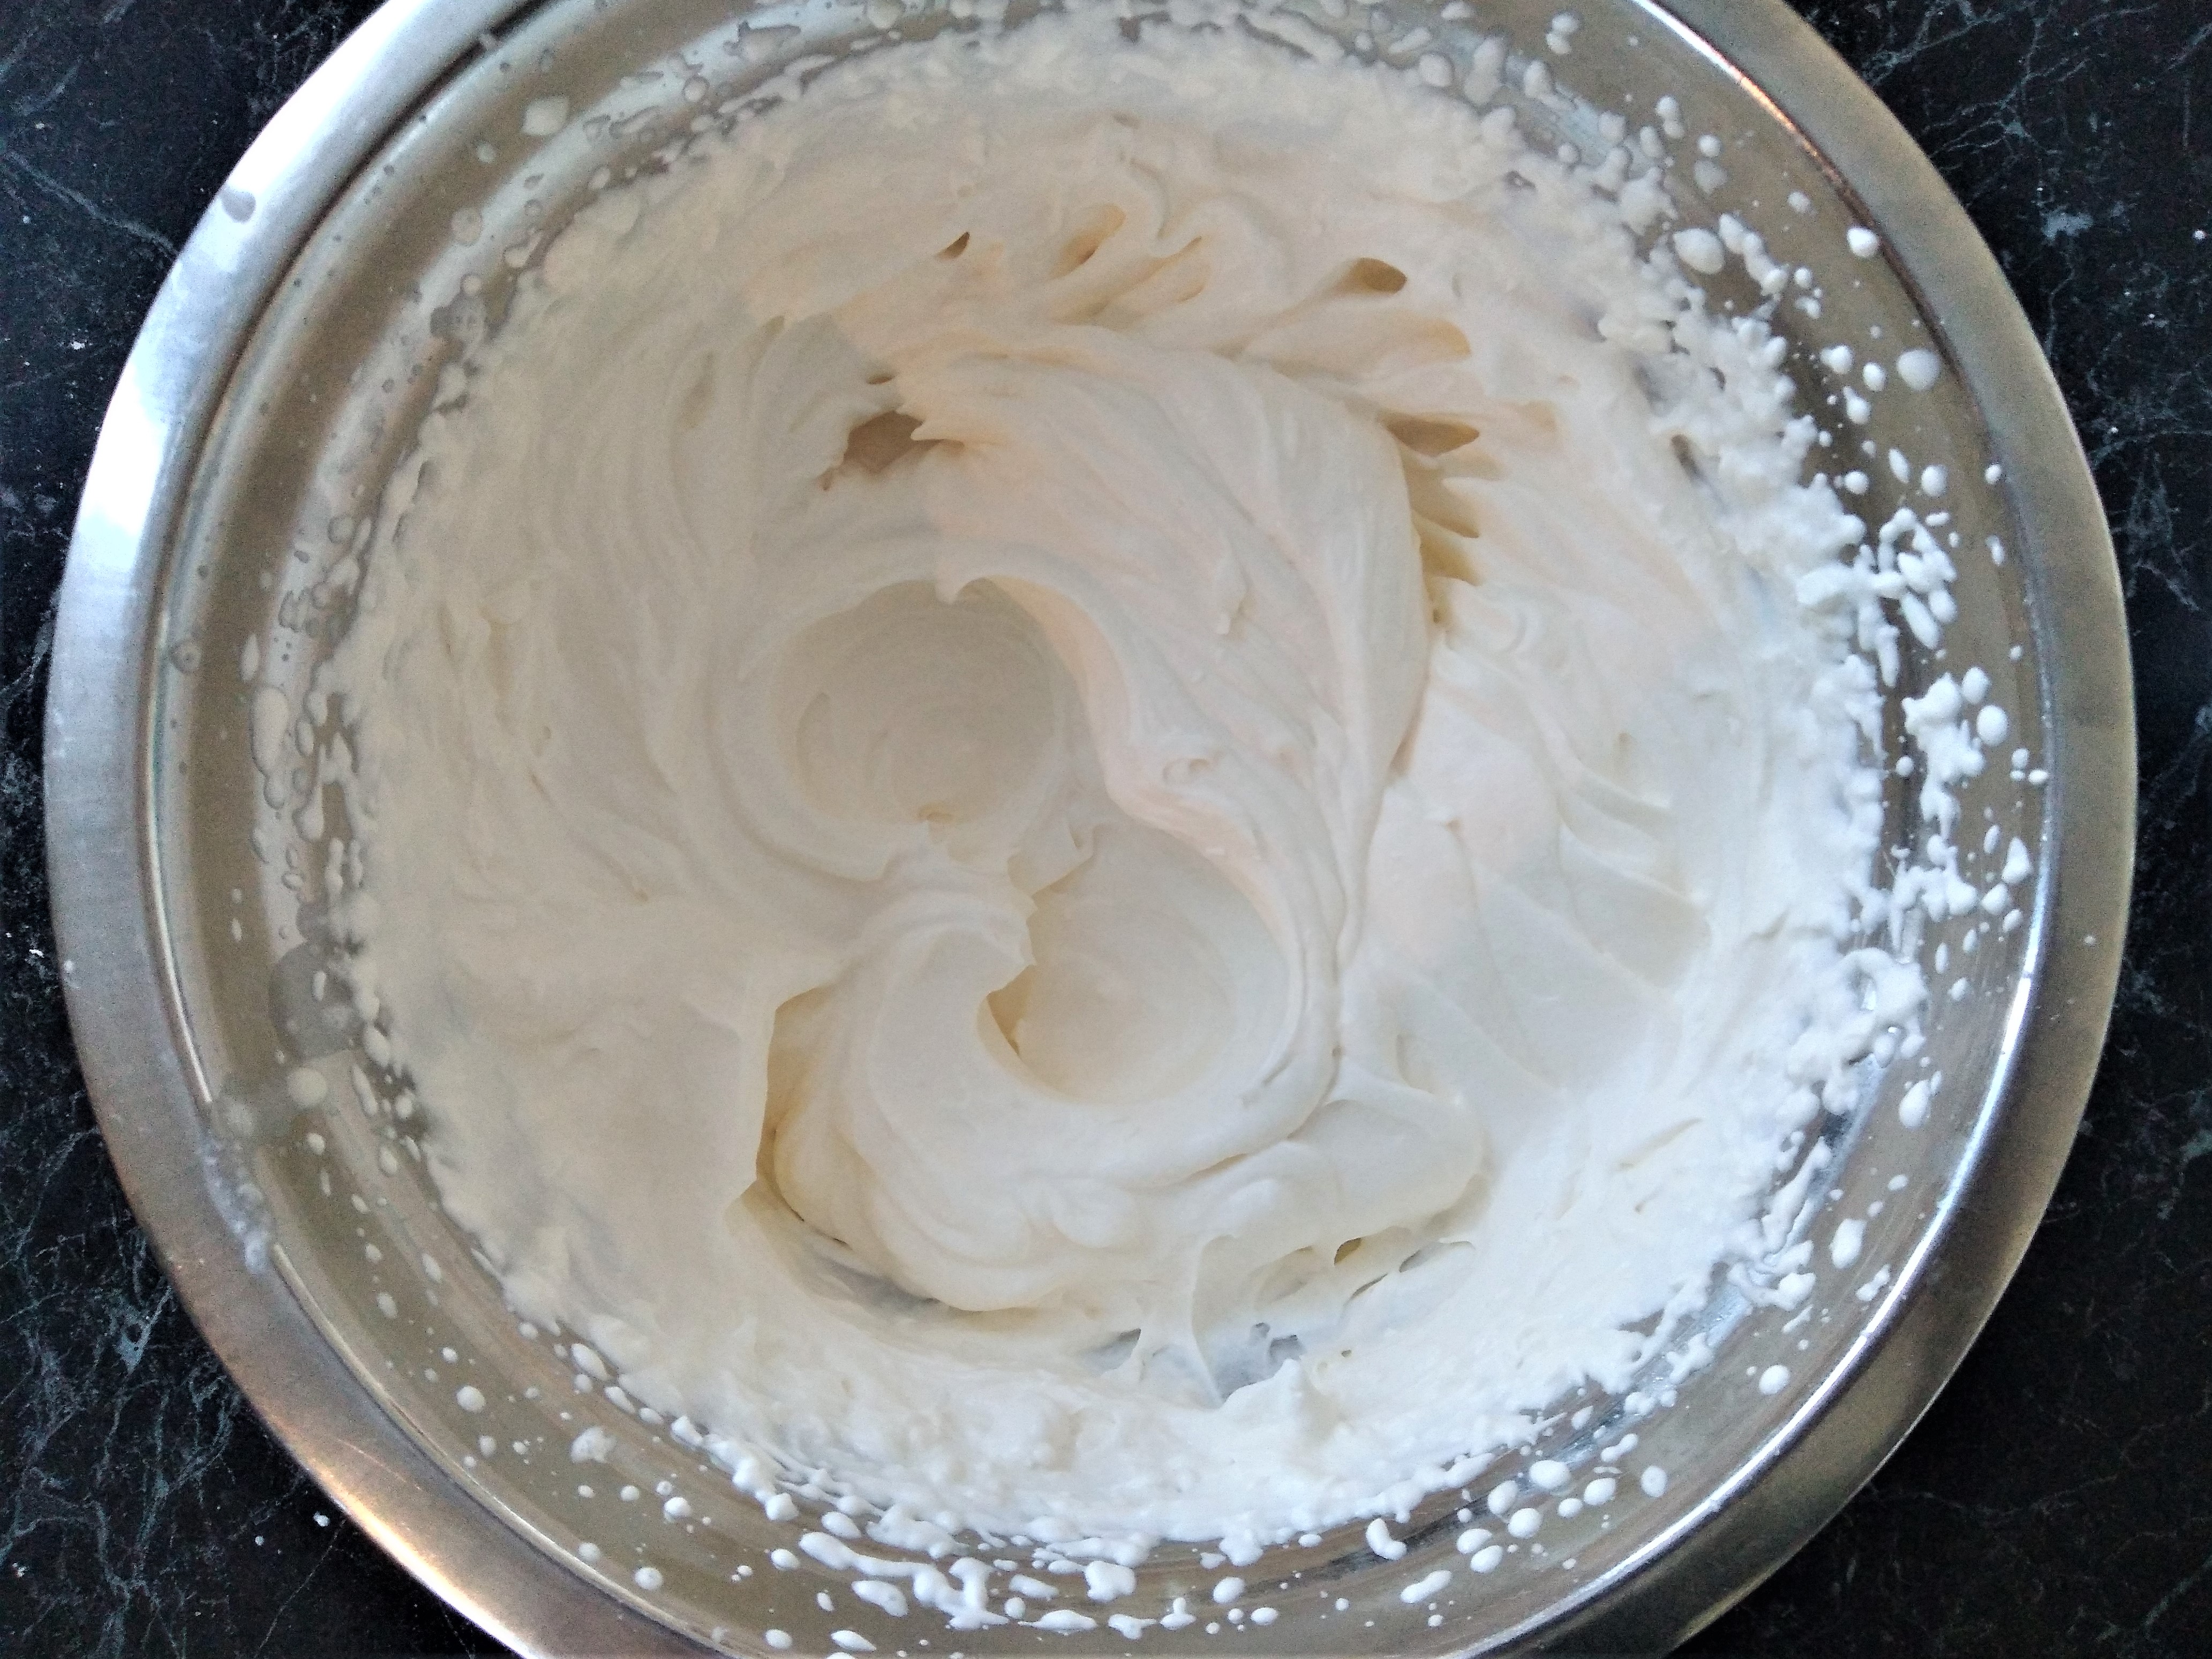
3. Leave the blueberry mixture in the pan to cool to room temperature. While it is cooling, beat the cream until stiff in a large, clean bowl.
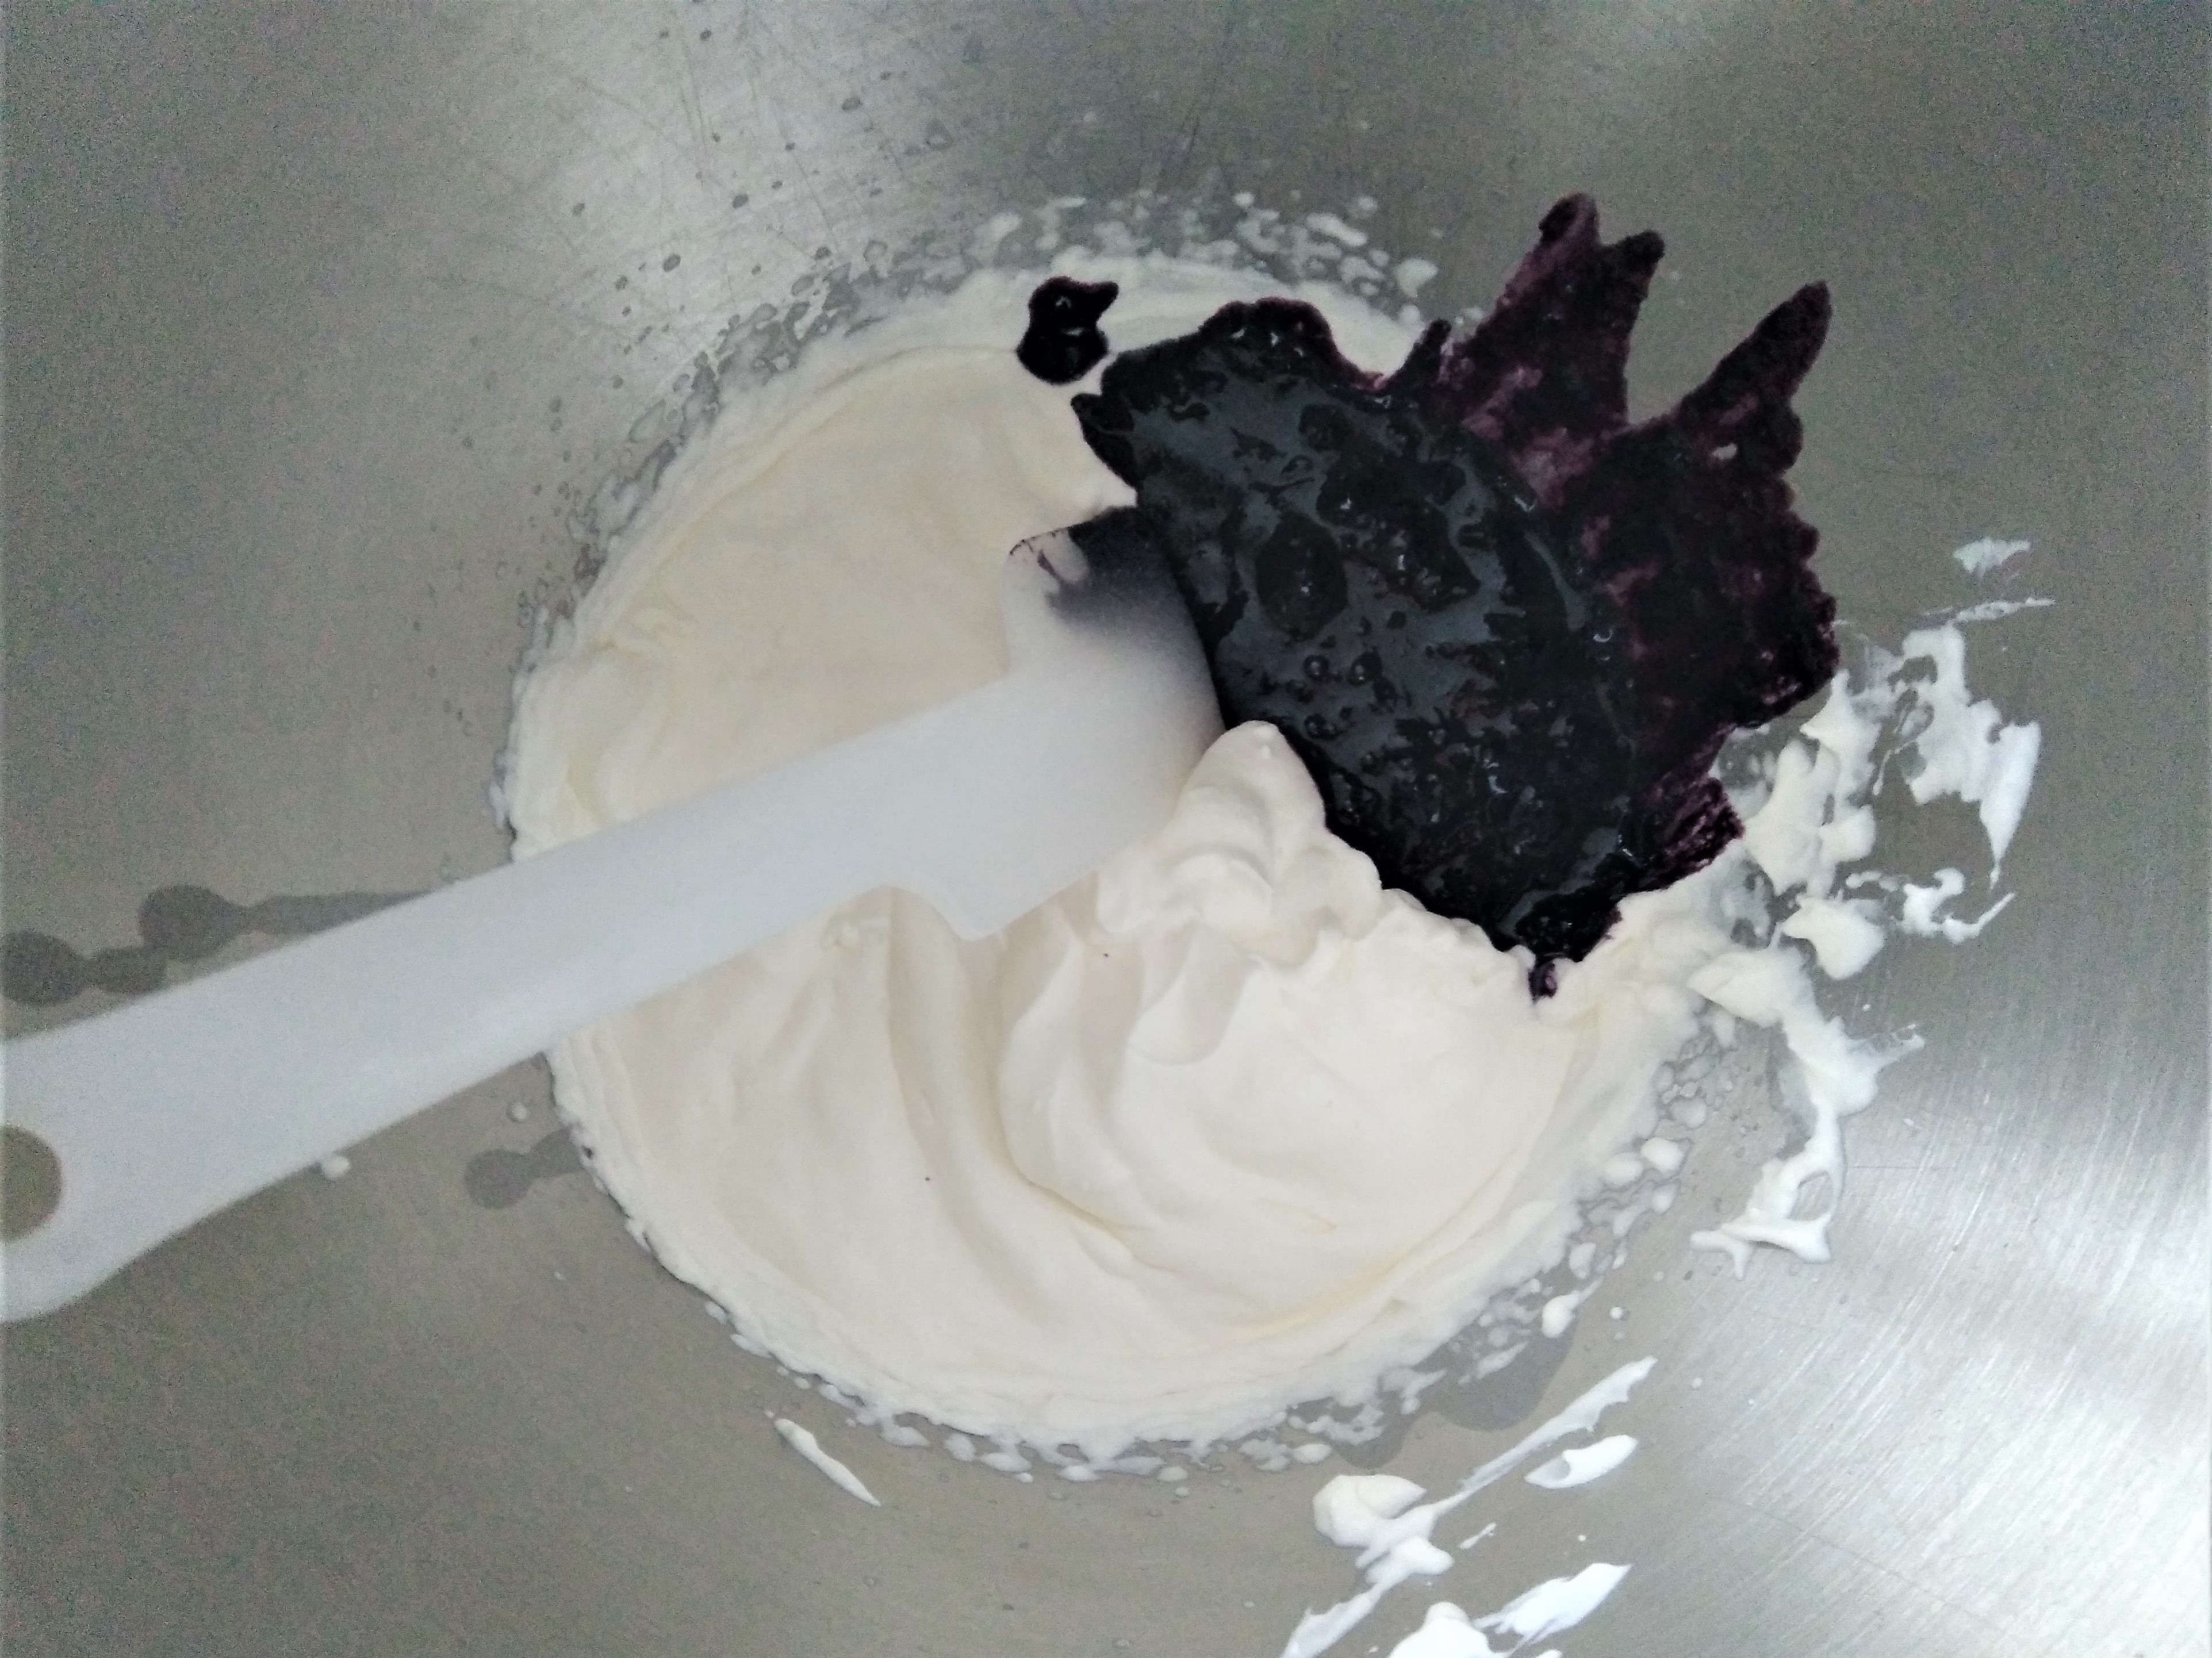
4. When the blueberry mixture has cooled to room temperature, pour it into the bowl with the cream. Roughly fold together the blueberry mixture and the cream to make a marbled effect. The cream may lose some of its airiness as the blueberry mixture won’t be cold but I found that the gelatine set too early if I let it cool too much.

5. Spoon the blueberry/cream mixture over the vanilla layer and leave in the fridge to set.

6. Once the blueberry layer has set, you can enjoy the cheesecake or save it for later if you have that much self-control!


