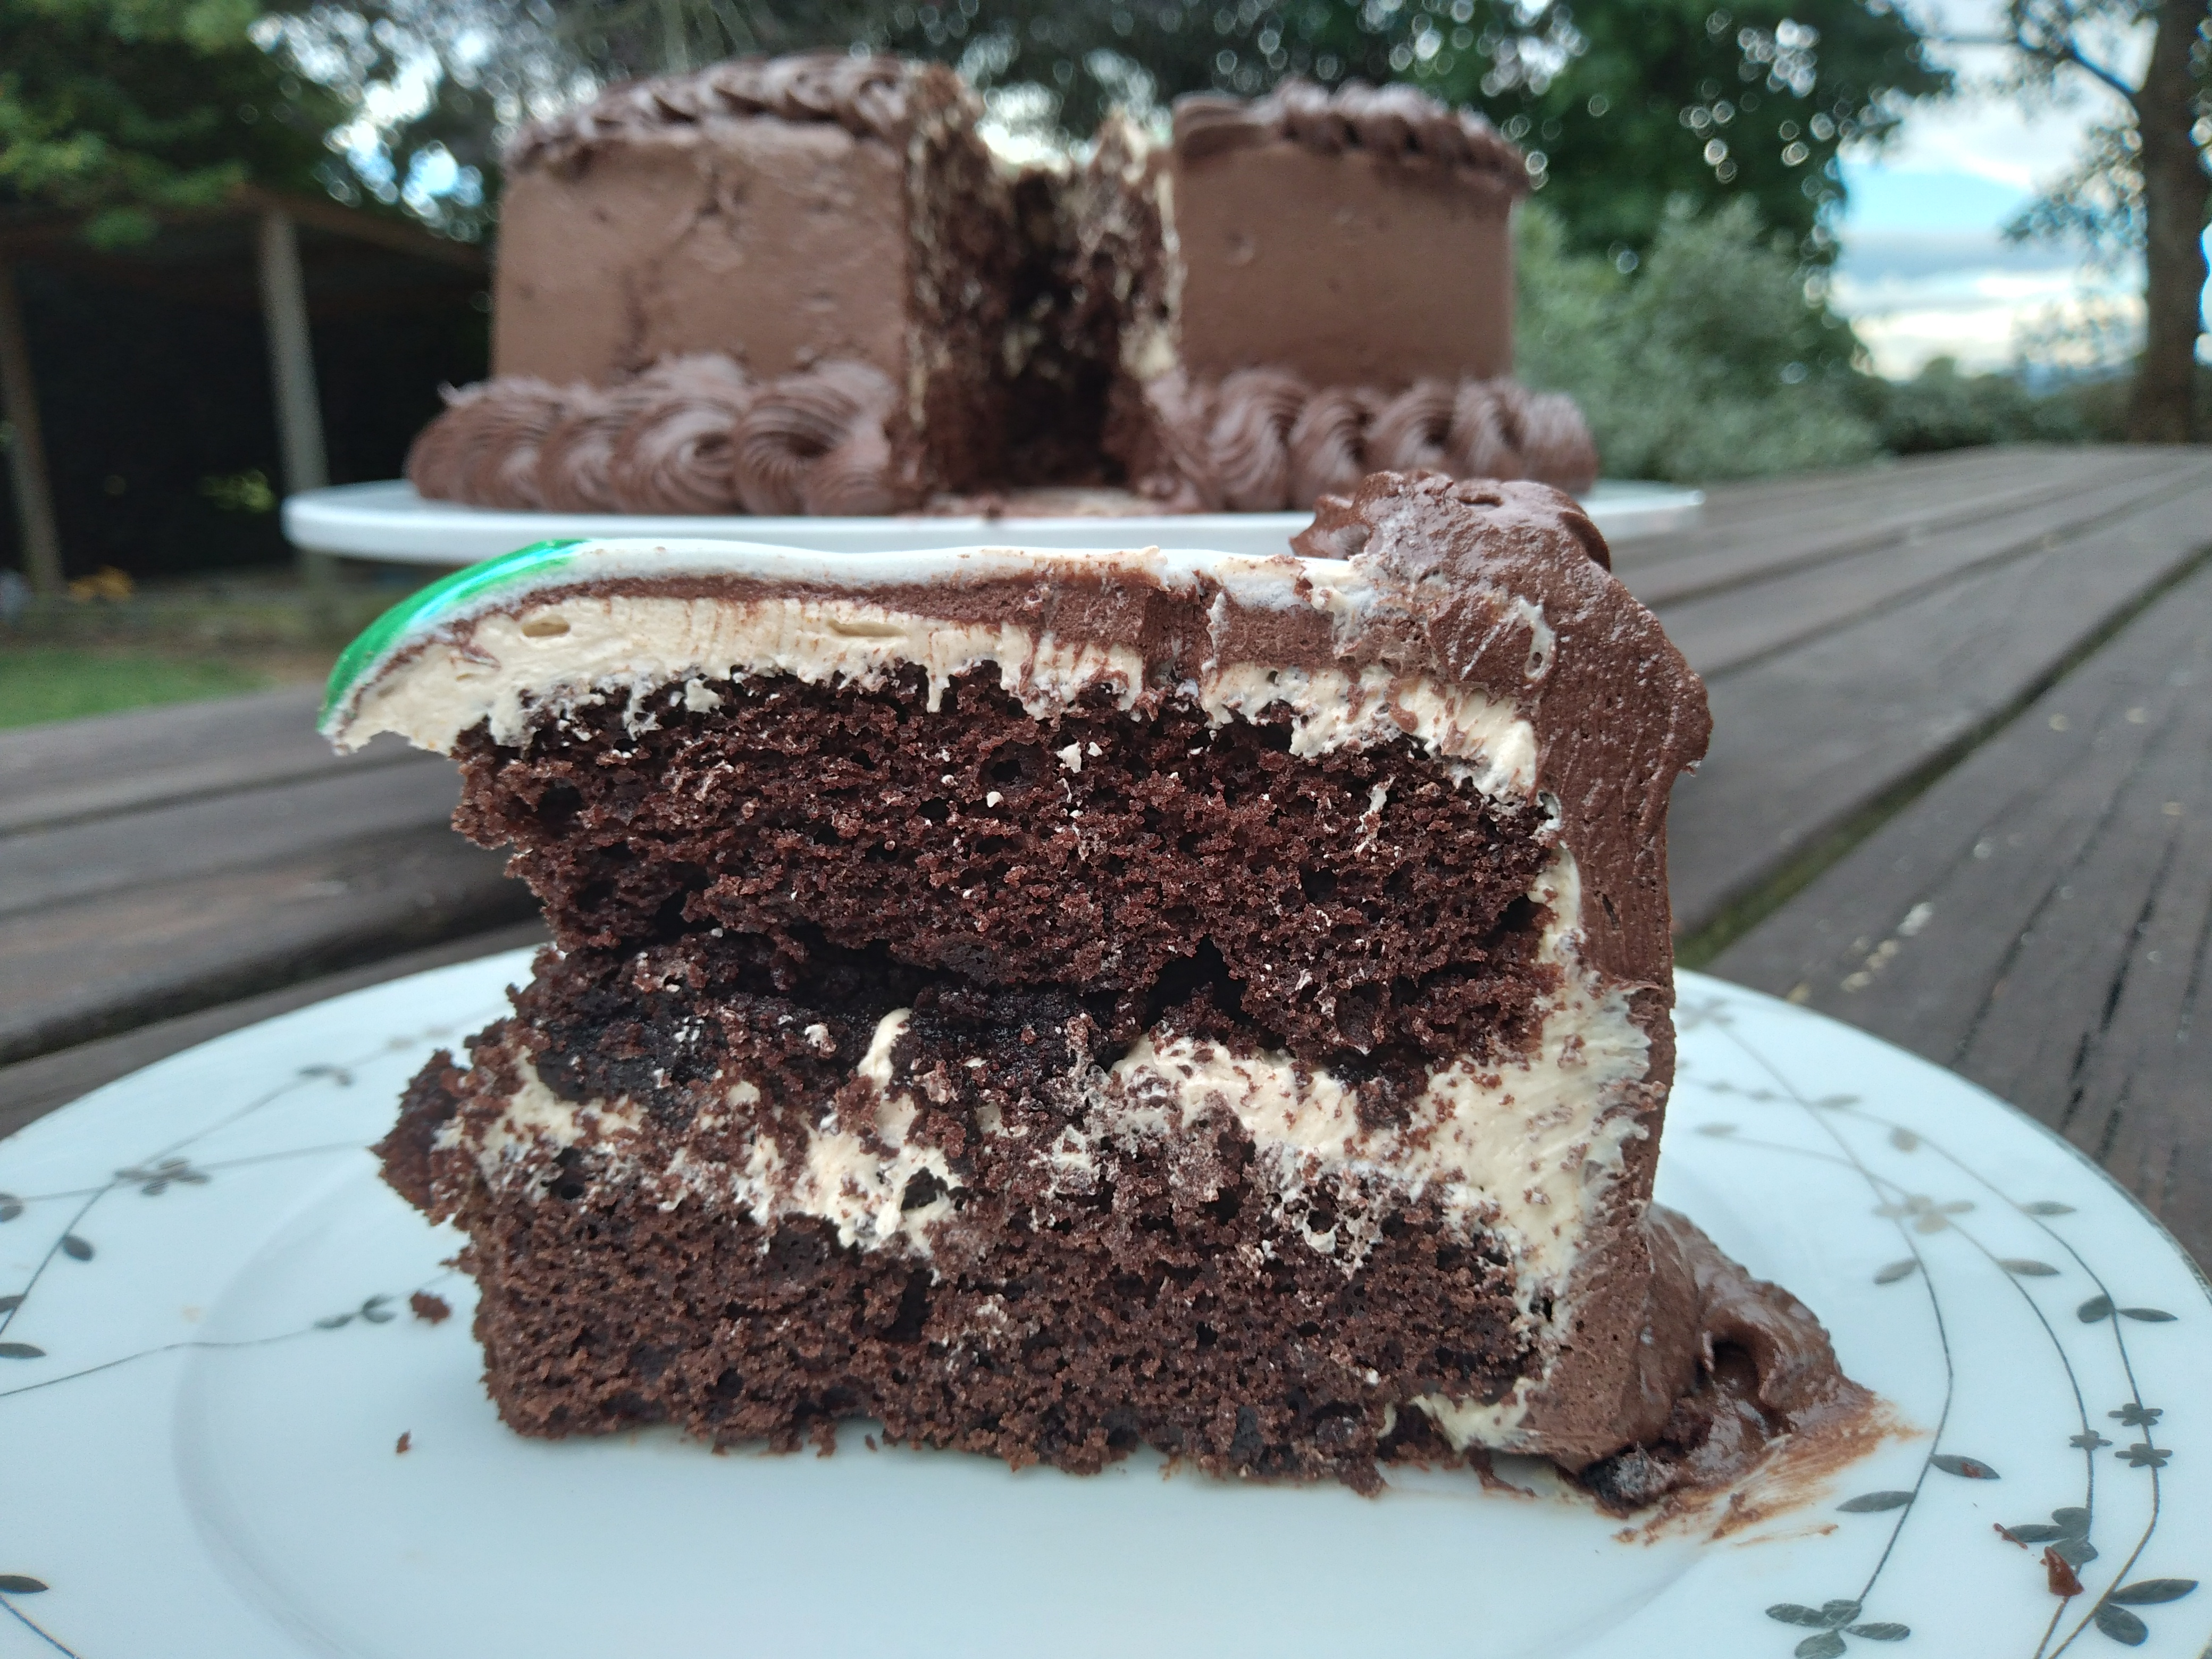
When my son told me that he wanted a chocolate cake with peanut butter and honey between the layers for his birthday, I was not at all convinced. But then I thought about how to adapt his preference into a flavoured icing and this light, fluffy, dreamy icing ended up coming together and working beautifully with the chocolate cake. I’m starting to think that peanut butter and honey might not be such a bad icing flavour after all!
This recipe makes enough to sandwich together at least a two layer 23 cm round cake and to crumb coat it. Both times I have made this, I have done a final icing layer with chocolate ganache, which has complimented the cake and icing beautifully! Adjust the salt and icing sugar according to your tastes, whether or not your peanut butter is already salted, and how stiff you want the final icing to be (more icing sugar will make it stiffer).

What you need:
3 egg yolks
¼ cup of honey
¼ cup of white sugar
¾ cup of smooth peanut butter
1 ½ cups of soft butter
½ teaspoon of salt
¼ cup of icing sugar
What to do:
1. Heat together in the top of a double boiler the egg yolks, honey and sugar, whisking continuously until the mixture is light, fluffy and thick. This should take 5 to 10 minutes.
2. Tip the egg/honey/sugar mixture into a large bowl and immediately whisk in the peanut butter (this is easier to add while the mixture is still warm).
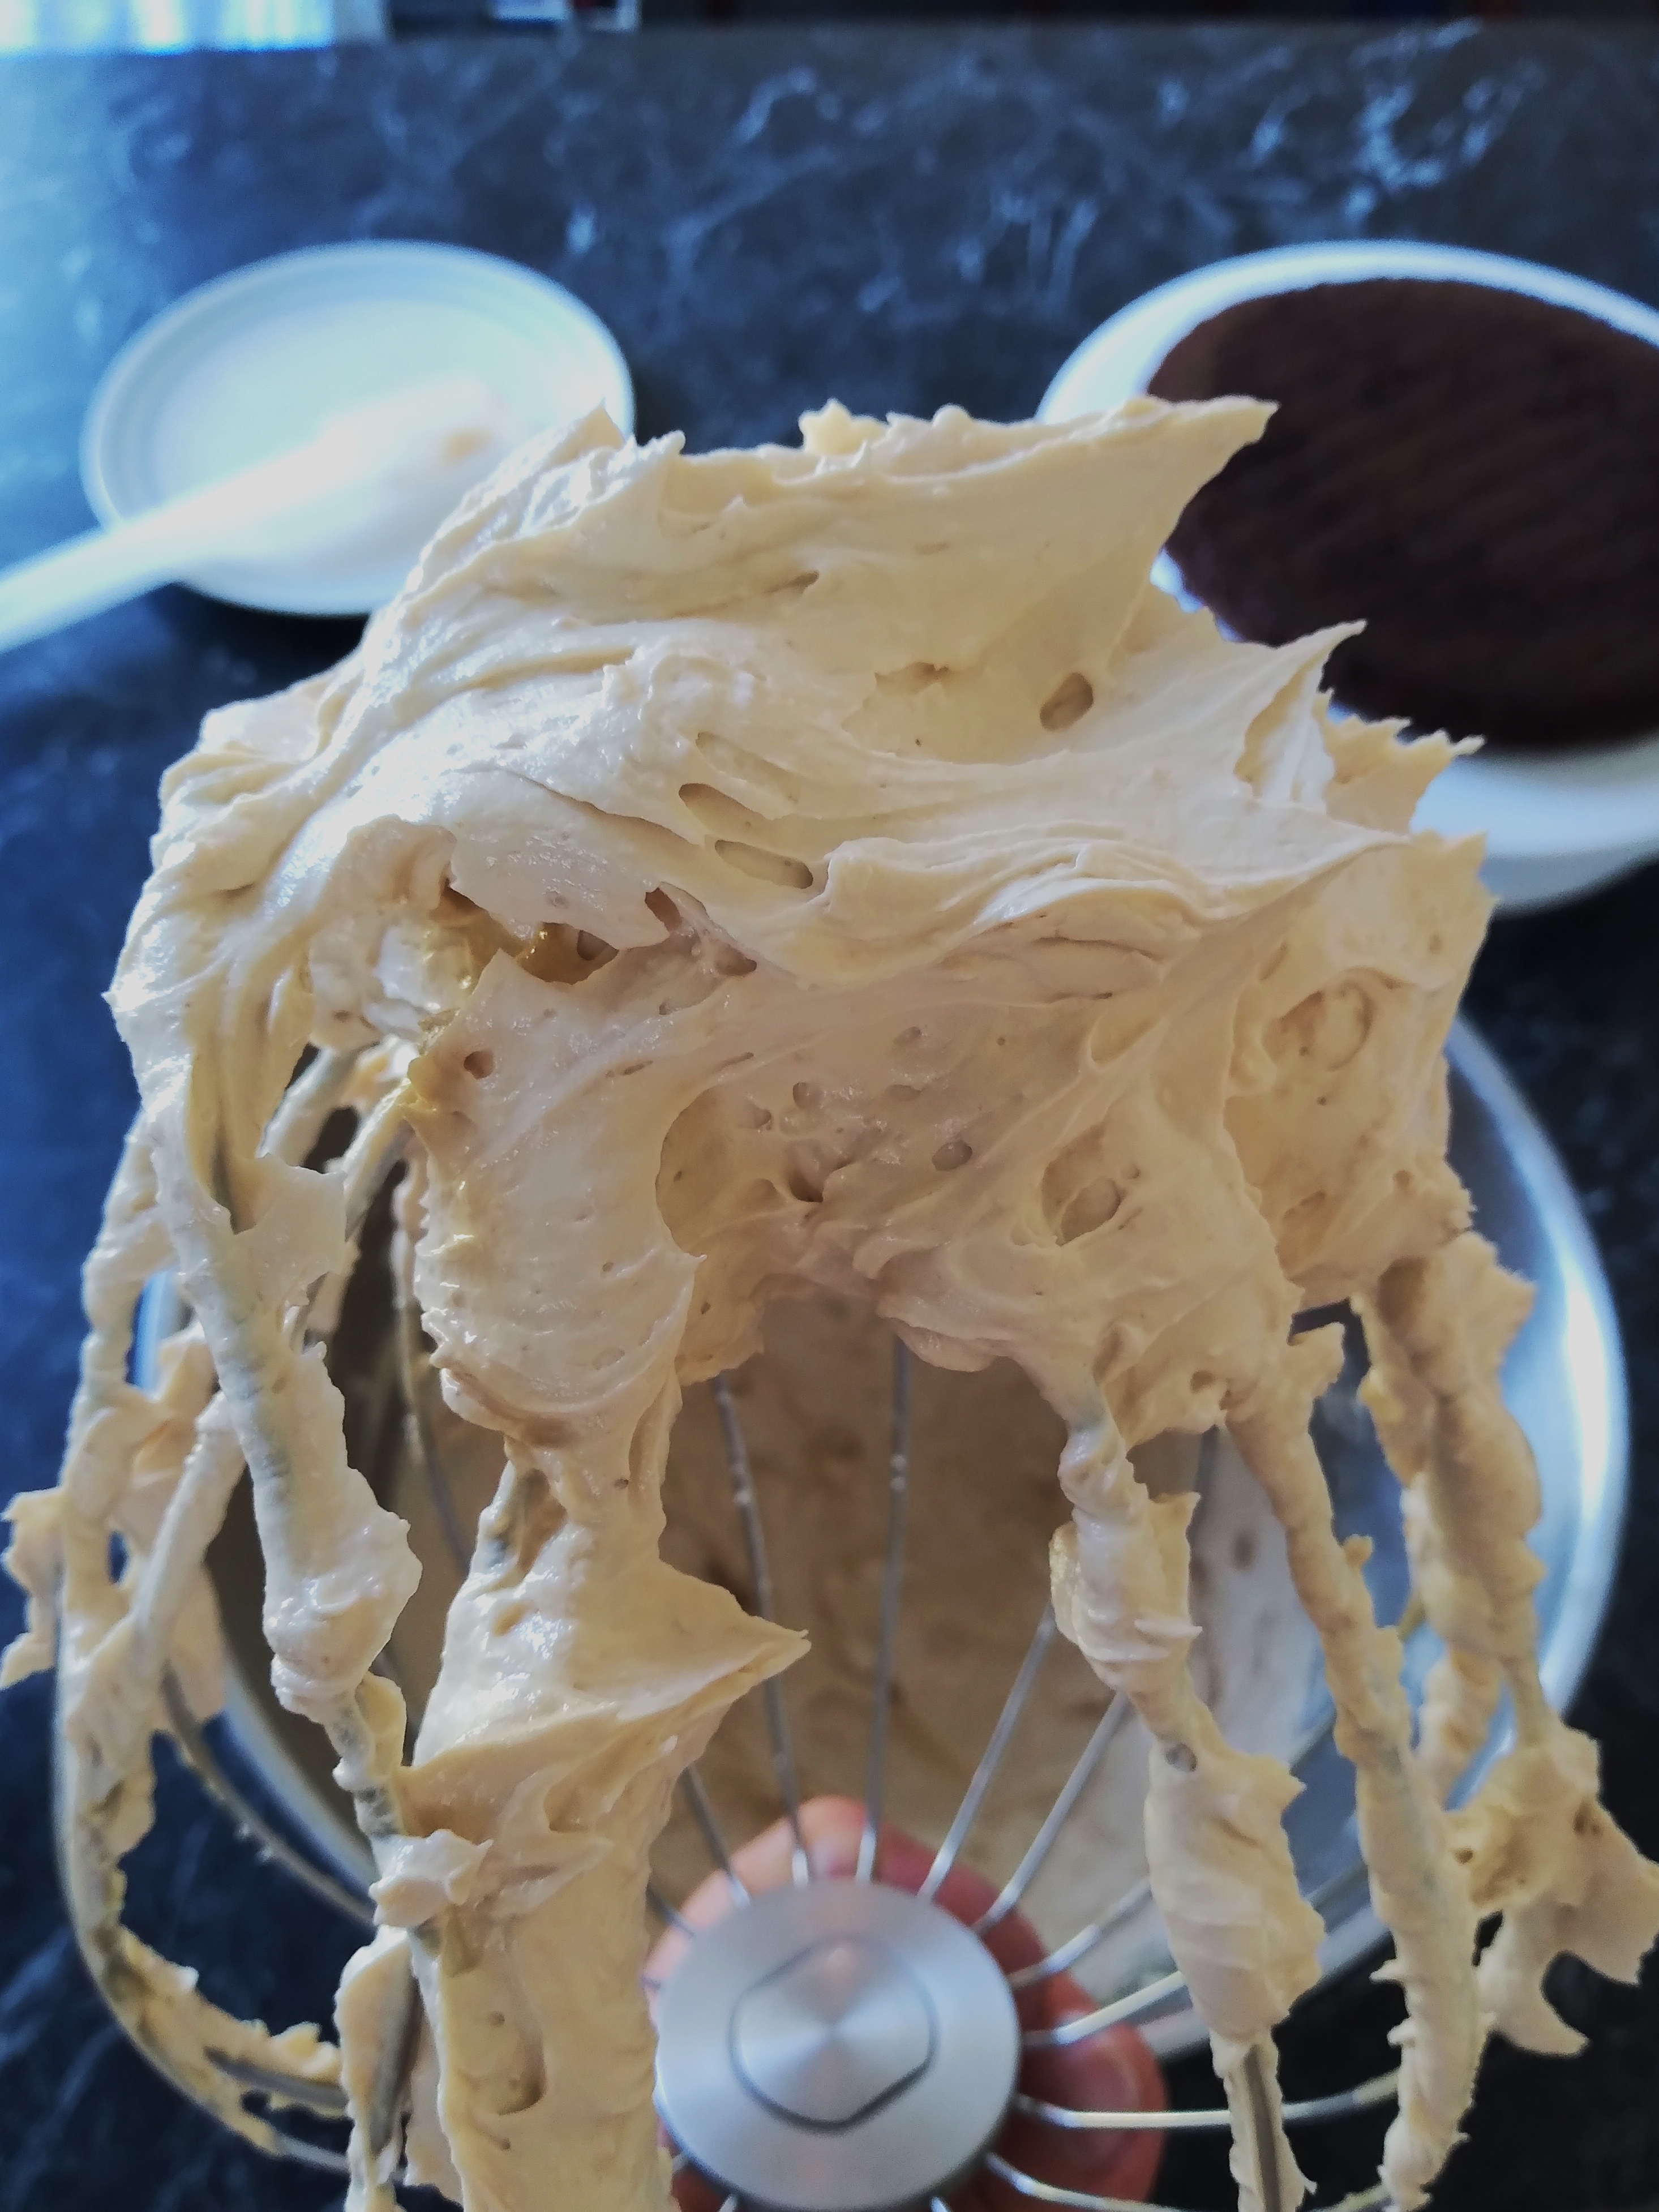
3. Allow the mixture to cool and then beat in the butter, salt and icing sugar. Continue beating until the mixture is thick and stiff. I did this with the whisk attachment for my stand mixer, but you could also do it with a handheld electric beater. If the icing isn’t stiff enough after beating thoroughly, add more icing sugar in small amounts (1 -2 tablespoons at a time), fully incorporating it into the mixture before adding more. If you would prefer not to add more icing sugar, you could also try cooling the mixture in the fridge for 20 minutes and then beating it again, but bear in mind that it may lose structure once assembled with the cake if the room temperature is warm.
4. Once you’re happy with the icing consistency, ice your cakes and enjoy!