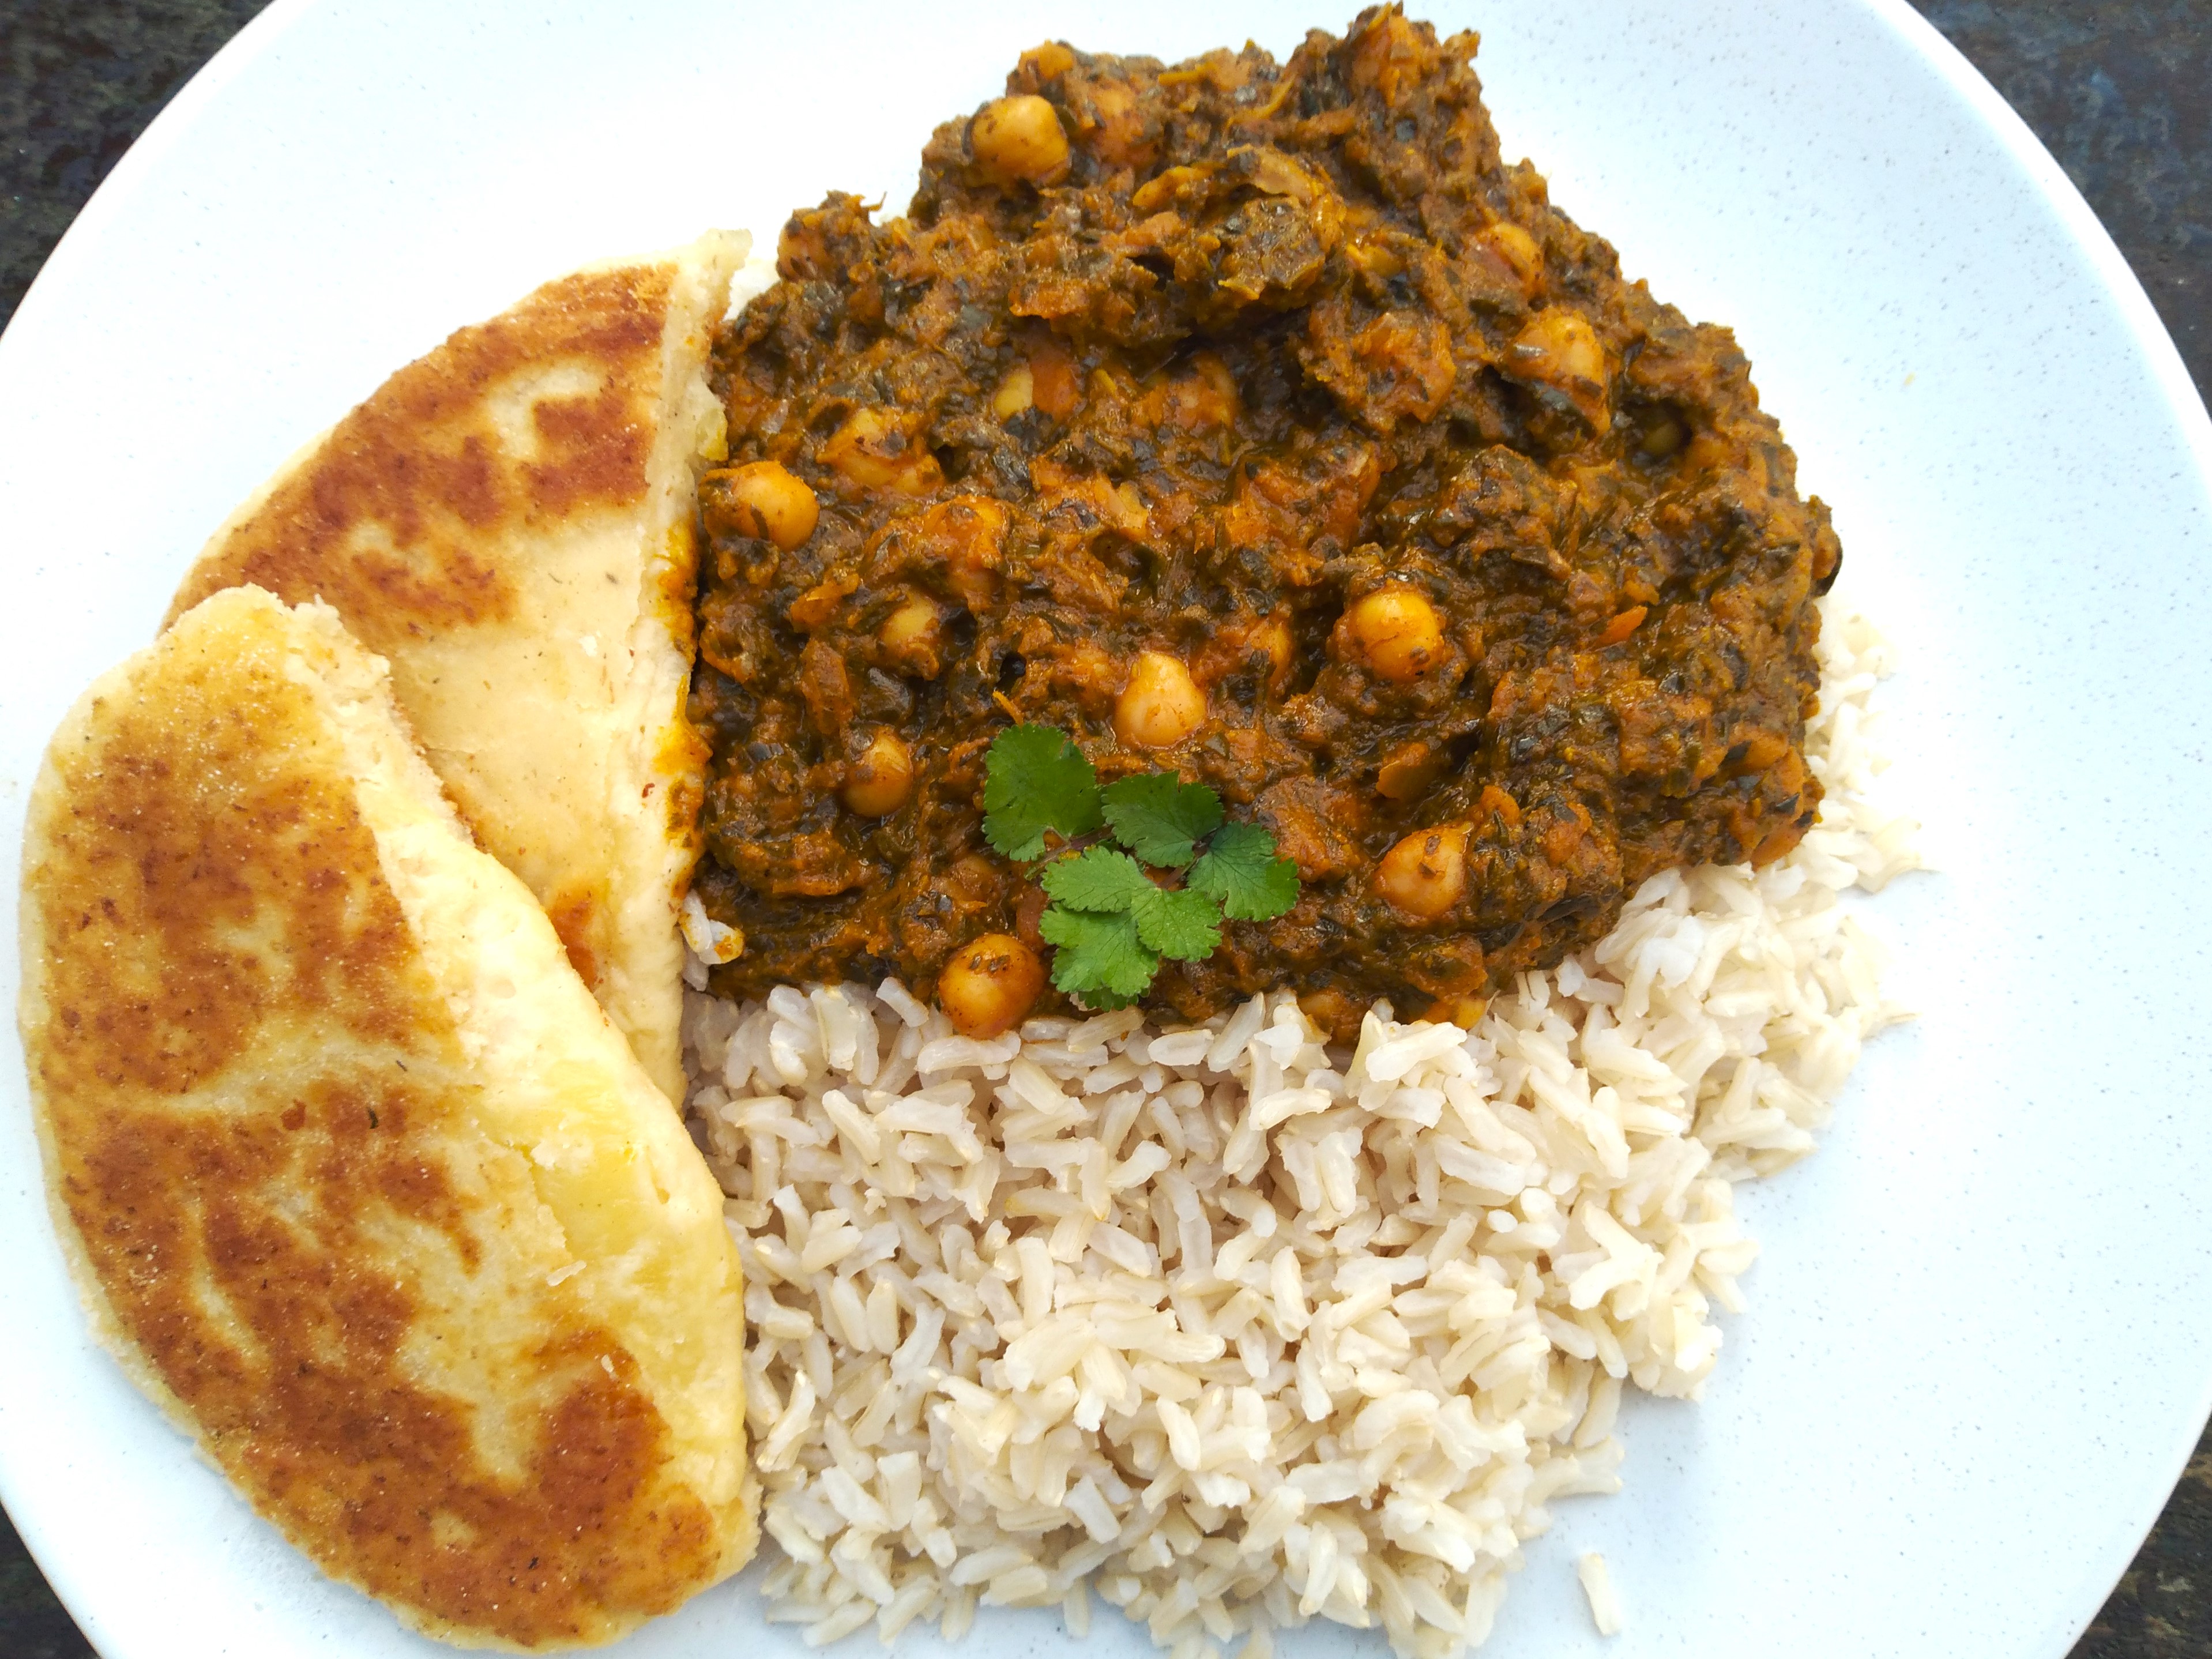
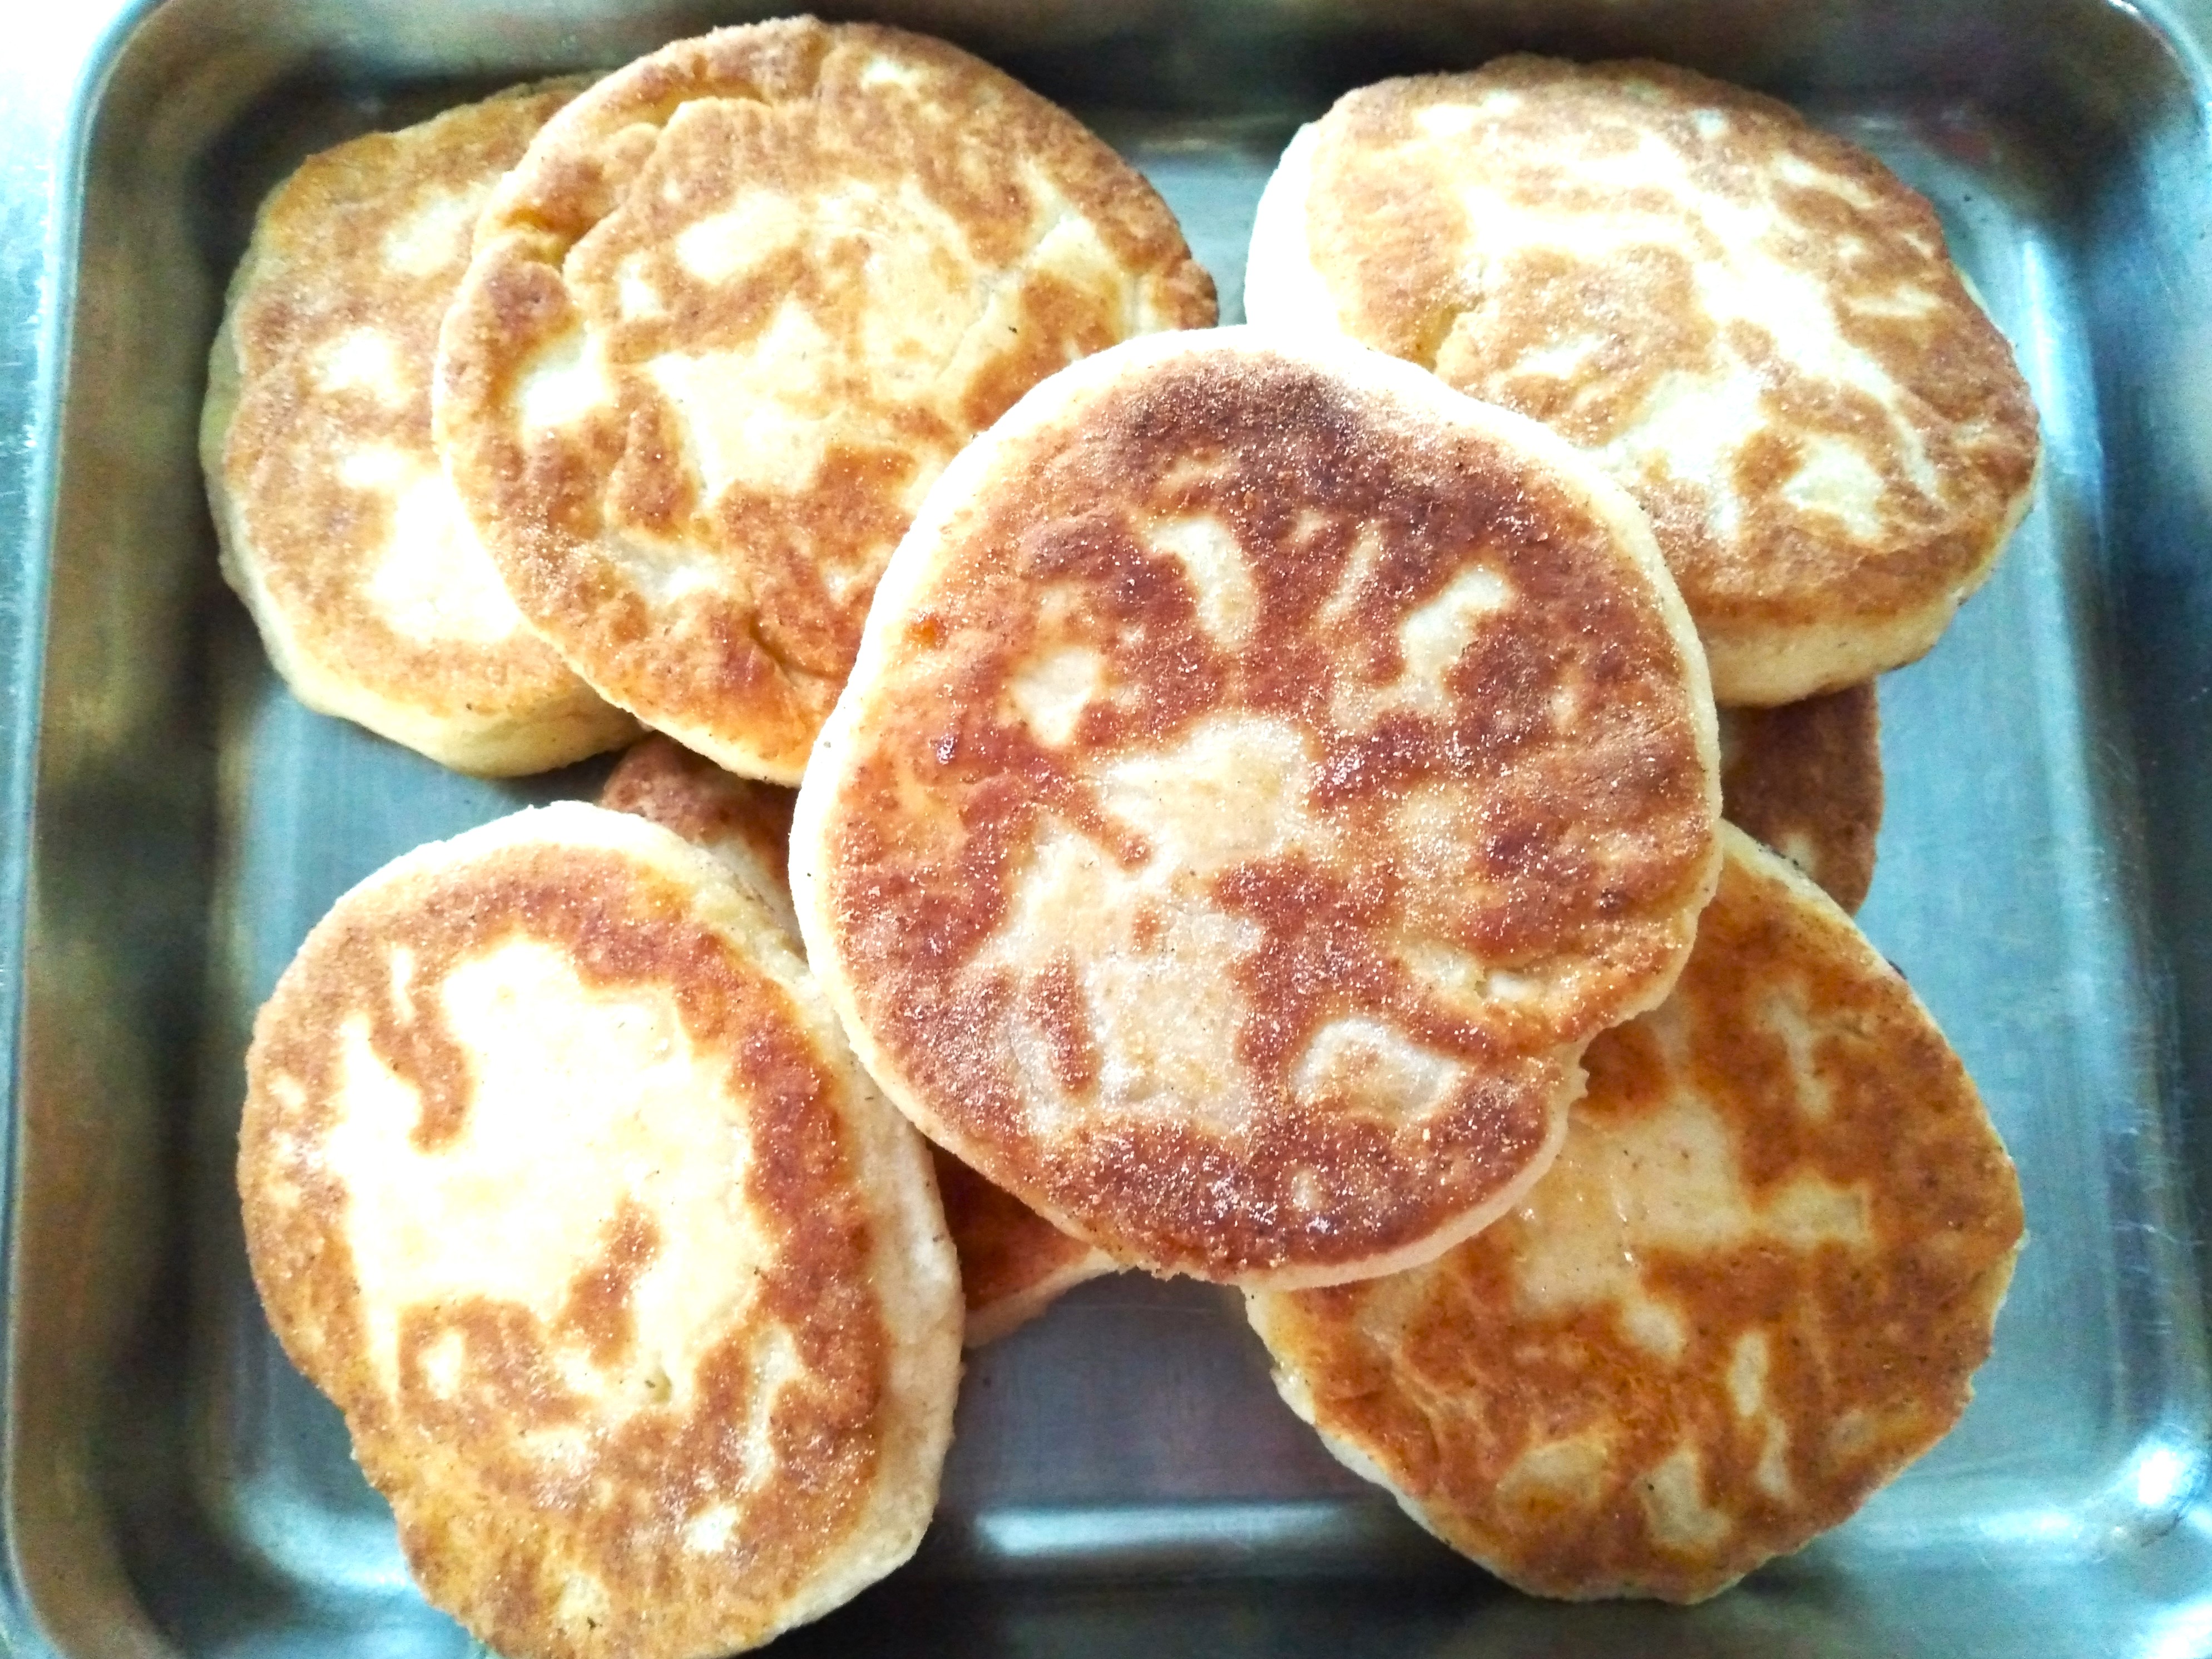
These little pockets of yumminess were the result of an experiment to try to create an alternative to gluteny cheese and garlic naans, for friends who were coming over for curry and particularly enjoyed cheese and garlic naans with their curries. It was only partway through the meal, after a slightly too long pause, that they politely pointed out that although these are tasty, they are not in fact naans as naans are a flatbread and these were distinctly risen, light and fluffy – hence the name not-naan. The fact that they are not naans has thankfully not put these friends off them, as they have been subsequently requested for other meals at our house, which, coming from gluten-eaters, is about the highest accolade something that is gluten free can receive! I like to serve these with a homemade curry, such as the chickpea and spinach curry that I posted recently.

This recipe is based on a 250 ml cup as equal to 1 cup. The recipe makes about 8 not-naans. These are best eaten warm soon after cooking (keep cooked ones warm in a low oven while you finish making them) or freeze to reheat and eat later. I recommend measuring the ingredients using the spoon and level method (spoon the ingredients into the cup and then level it off with a knife or the back of a spoon instead of scooping directly into the cup measures) as this is more accurate when baking by volume.
What you need:
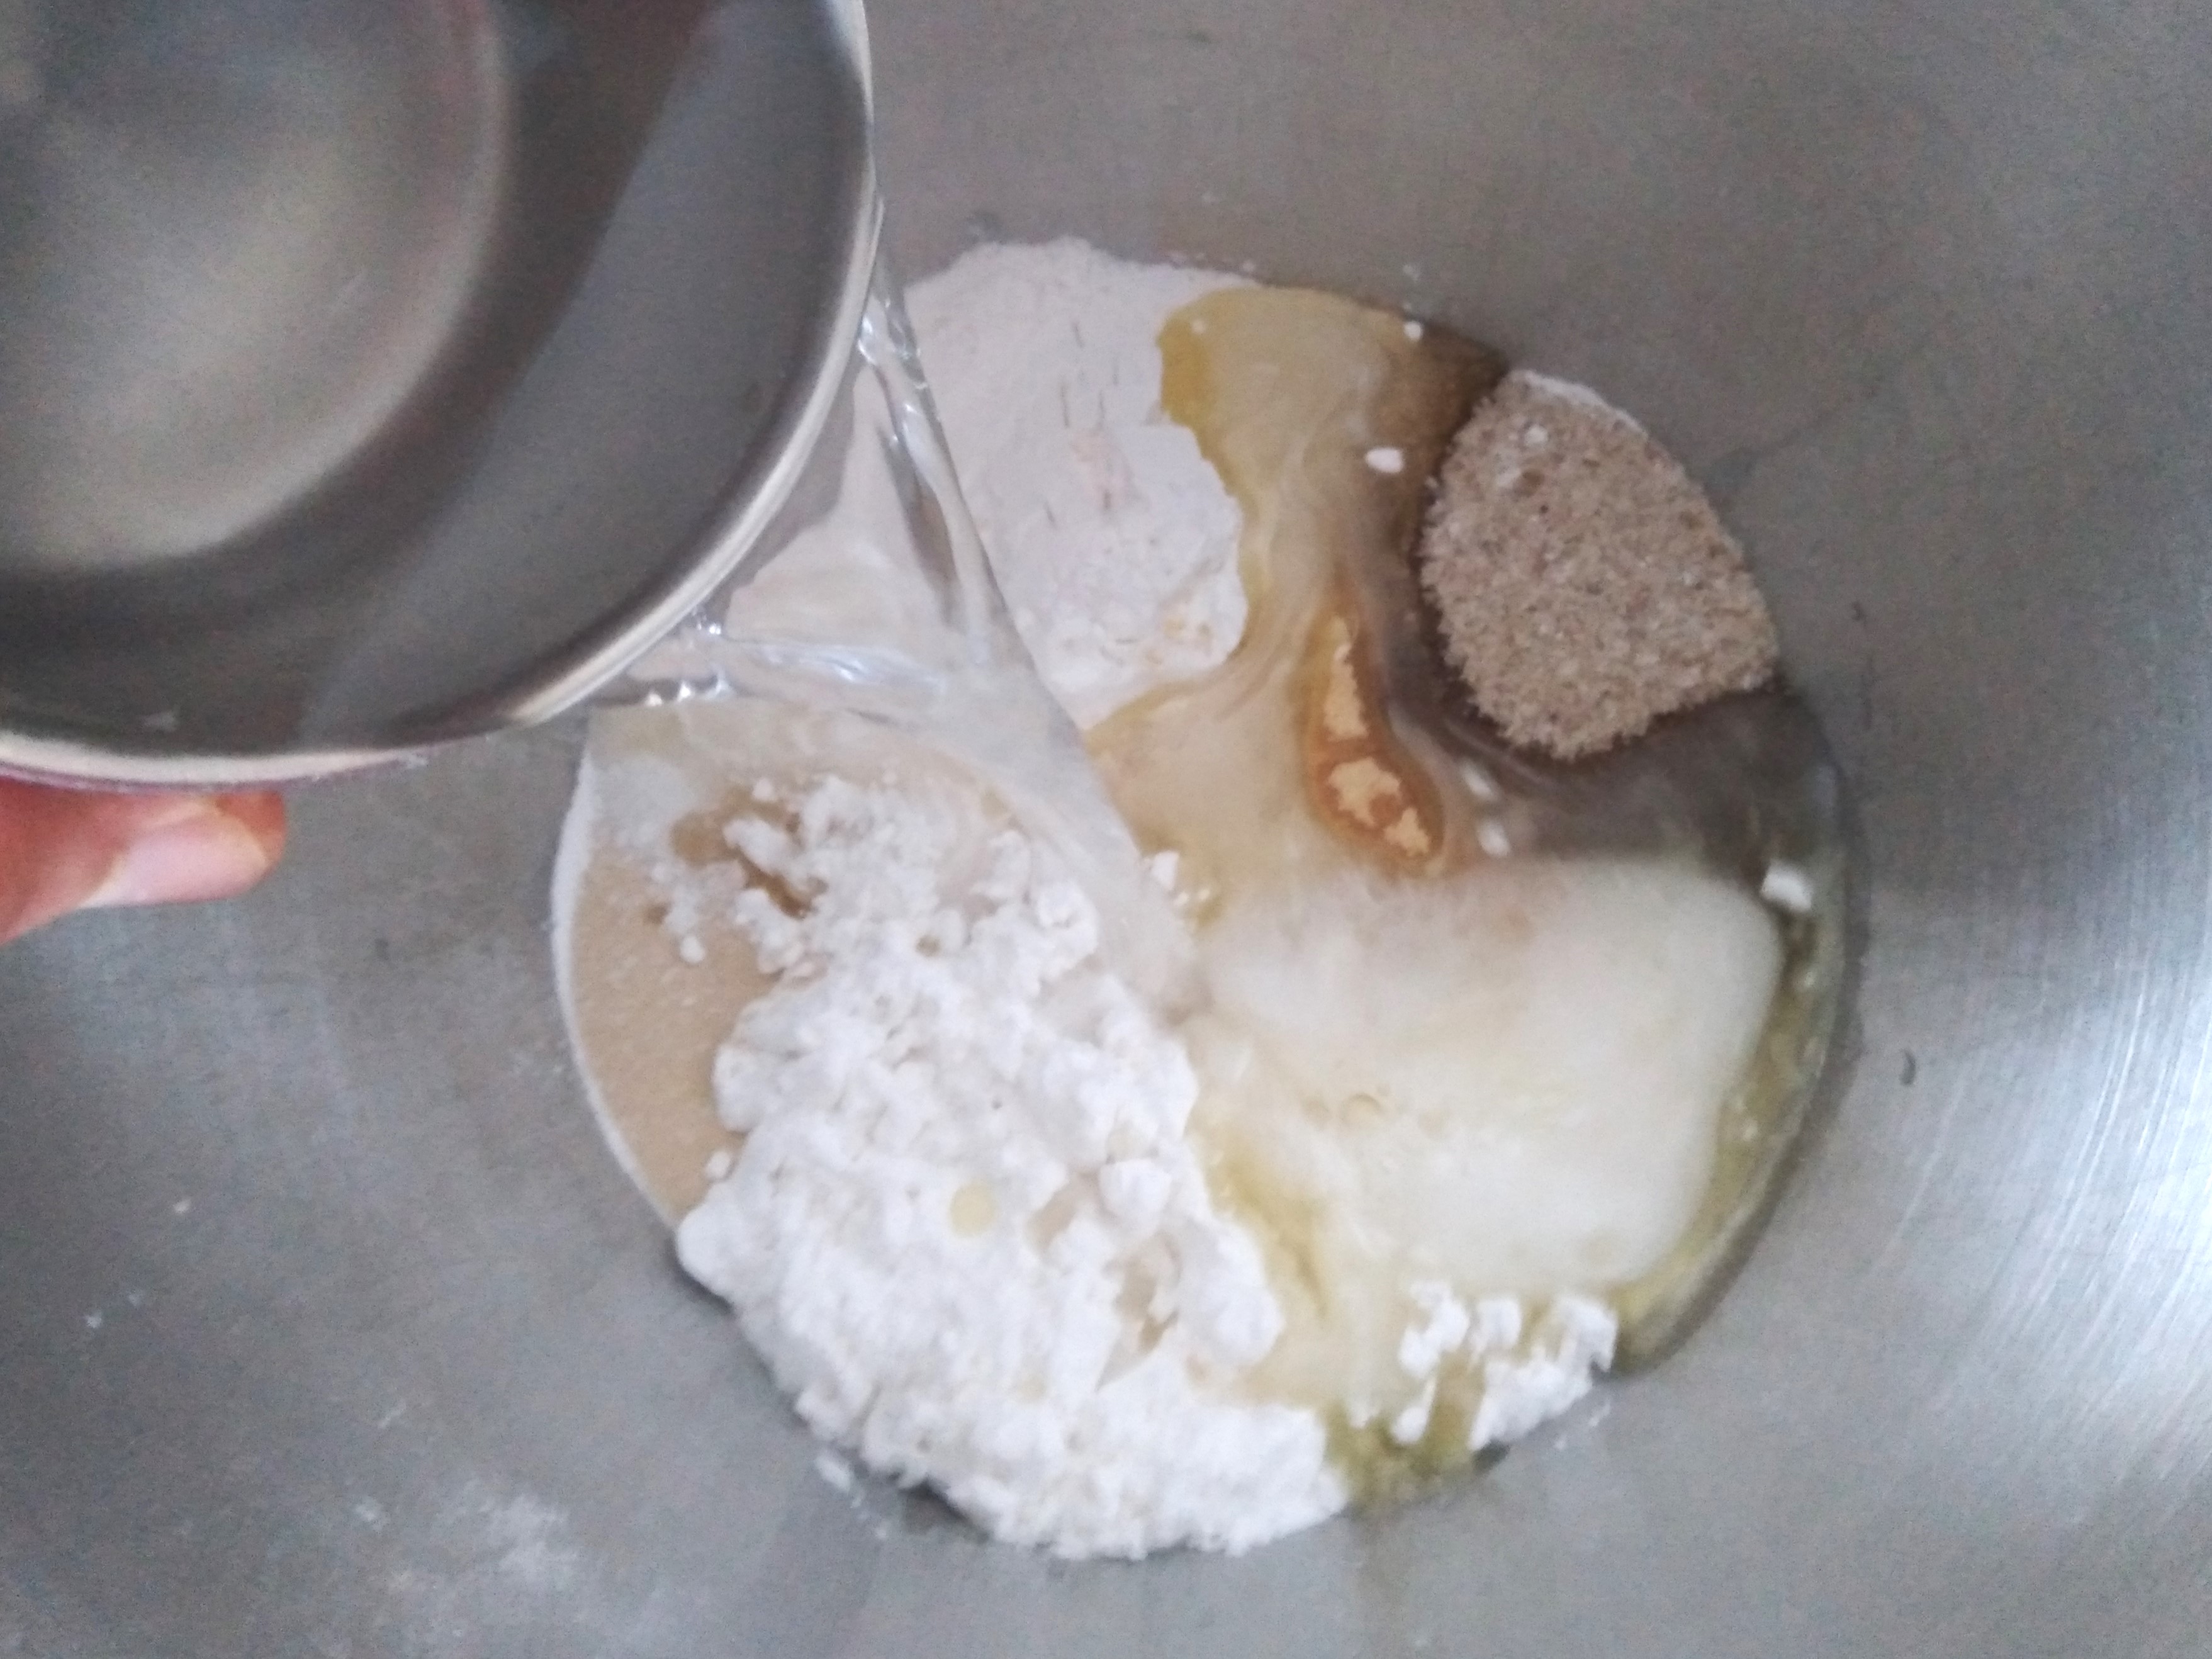
3 eggs
1 cup of white rice flour, plus extra for flouring while shaping the not-naans
1 ¼ cups of tapioca starch
¾ cup of potato starch
5 tablespoons of psyllium husk
2 teaspoons of instant dry yeast (also called dried active yeast in some countries; if using other yeast, activate it first in the mixing bowl with the sugar and some of the water listed below and then add all the other ingredients to the bowl with the activated yeast)
1 dessertspoon of sugar
1 teaspoon of salt
1 tablespoon of baking powder (ensure gluten free)
1 ½ teaspoons of garlic powder
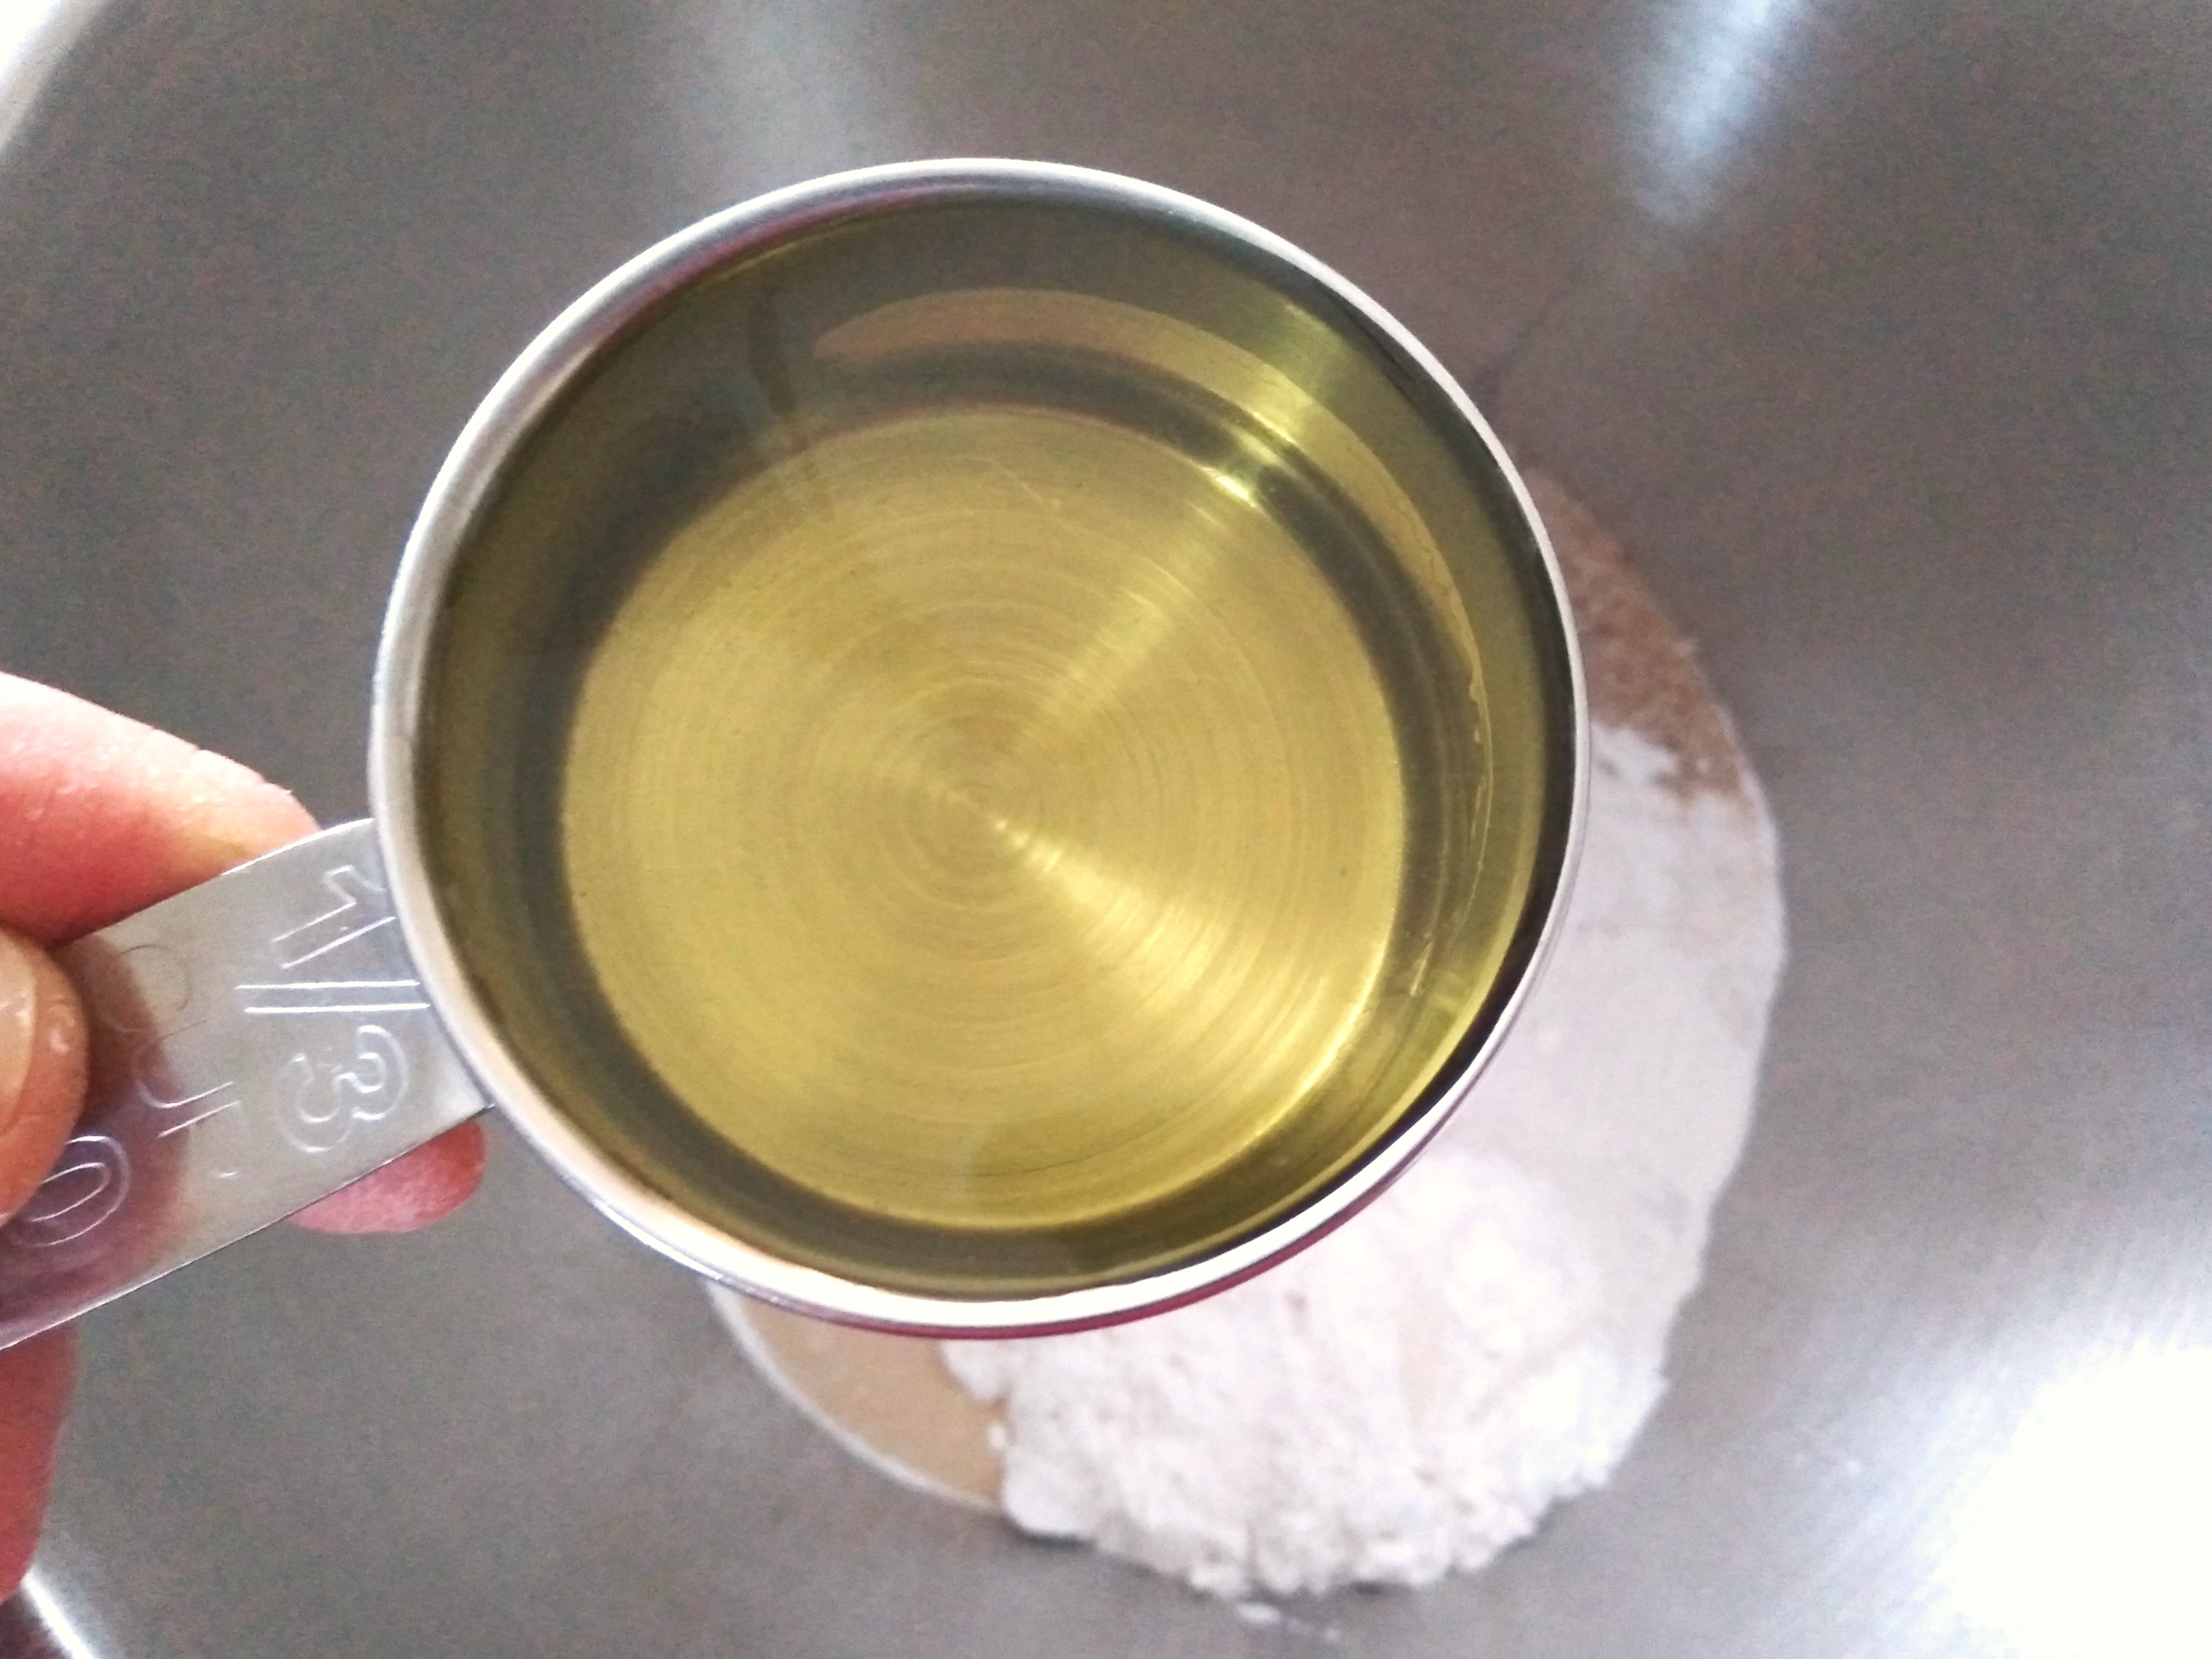
1/3 cup of neutral oil (I prefer sunflower oil or mild olive oil)
1 cup of lukewarm water
2 (or more for extra cheesy) of grated cheese – we like Edam, Colby or Cheddar but use whatever hard cheese you like best
Oil for frying
What to do:
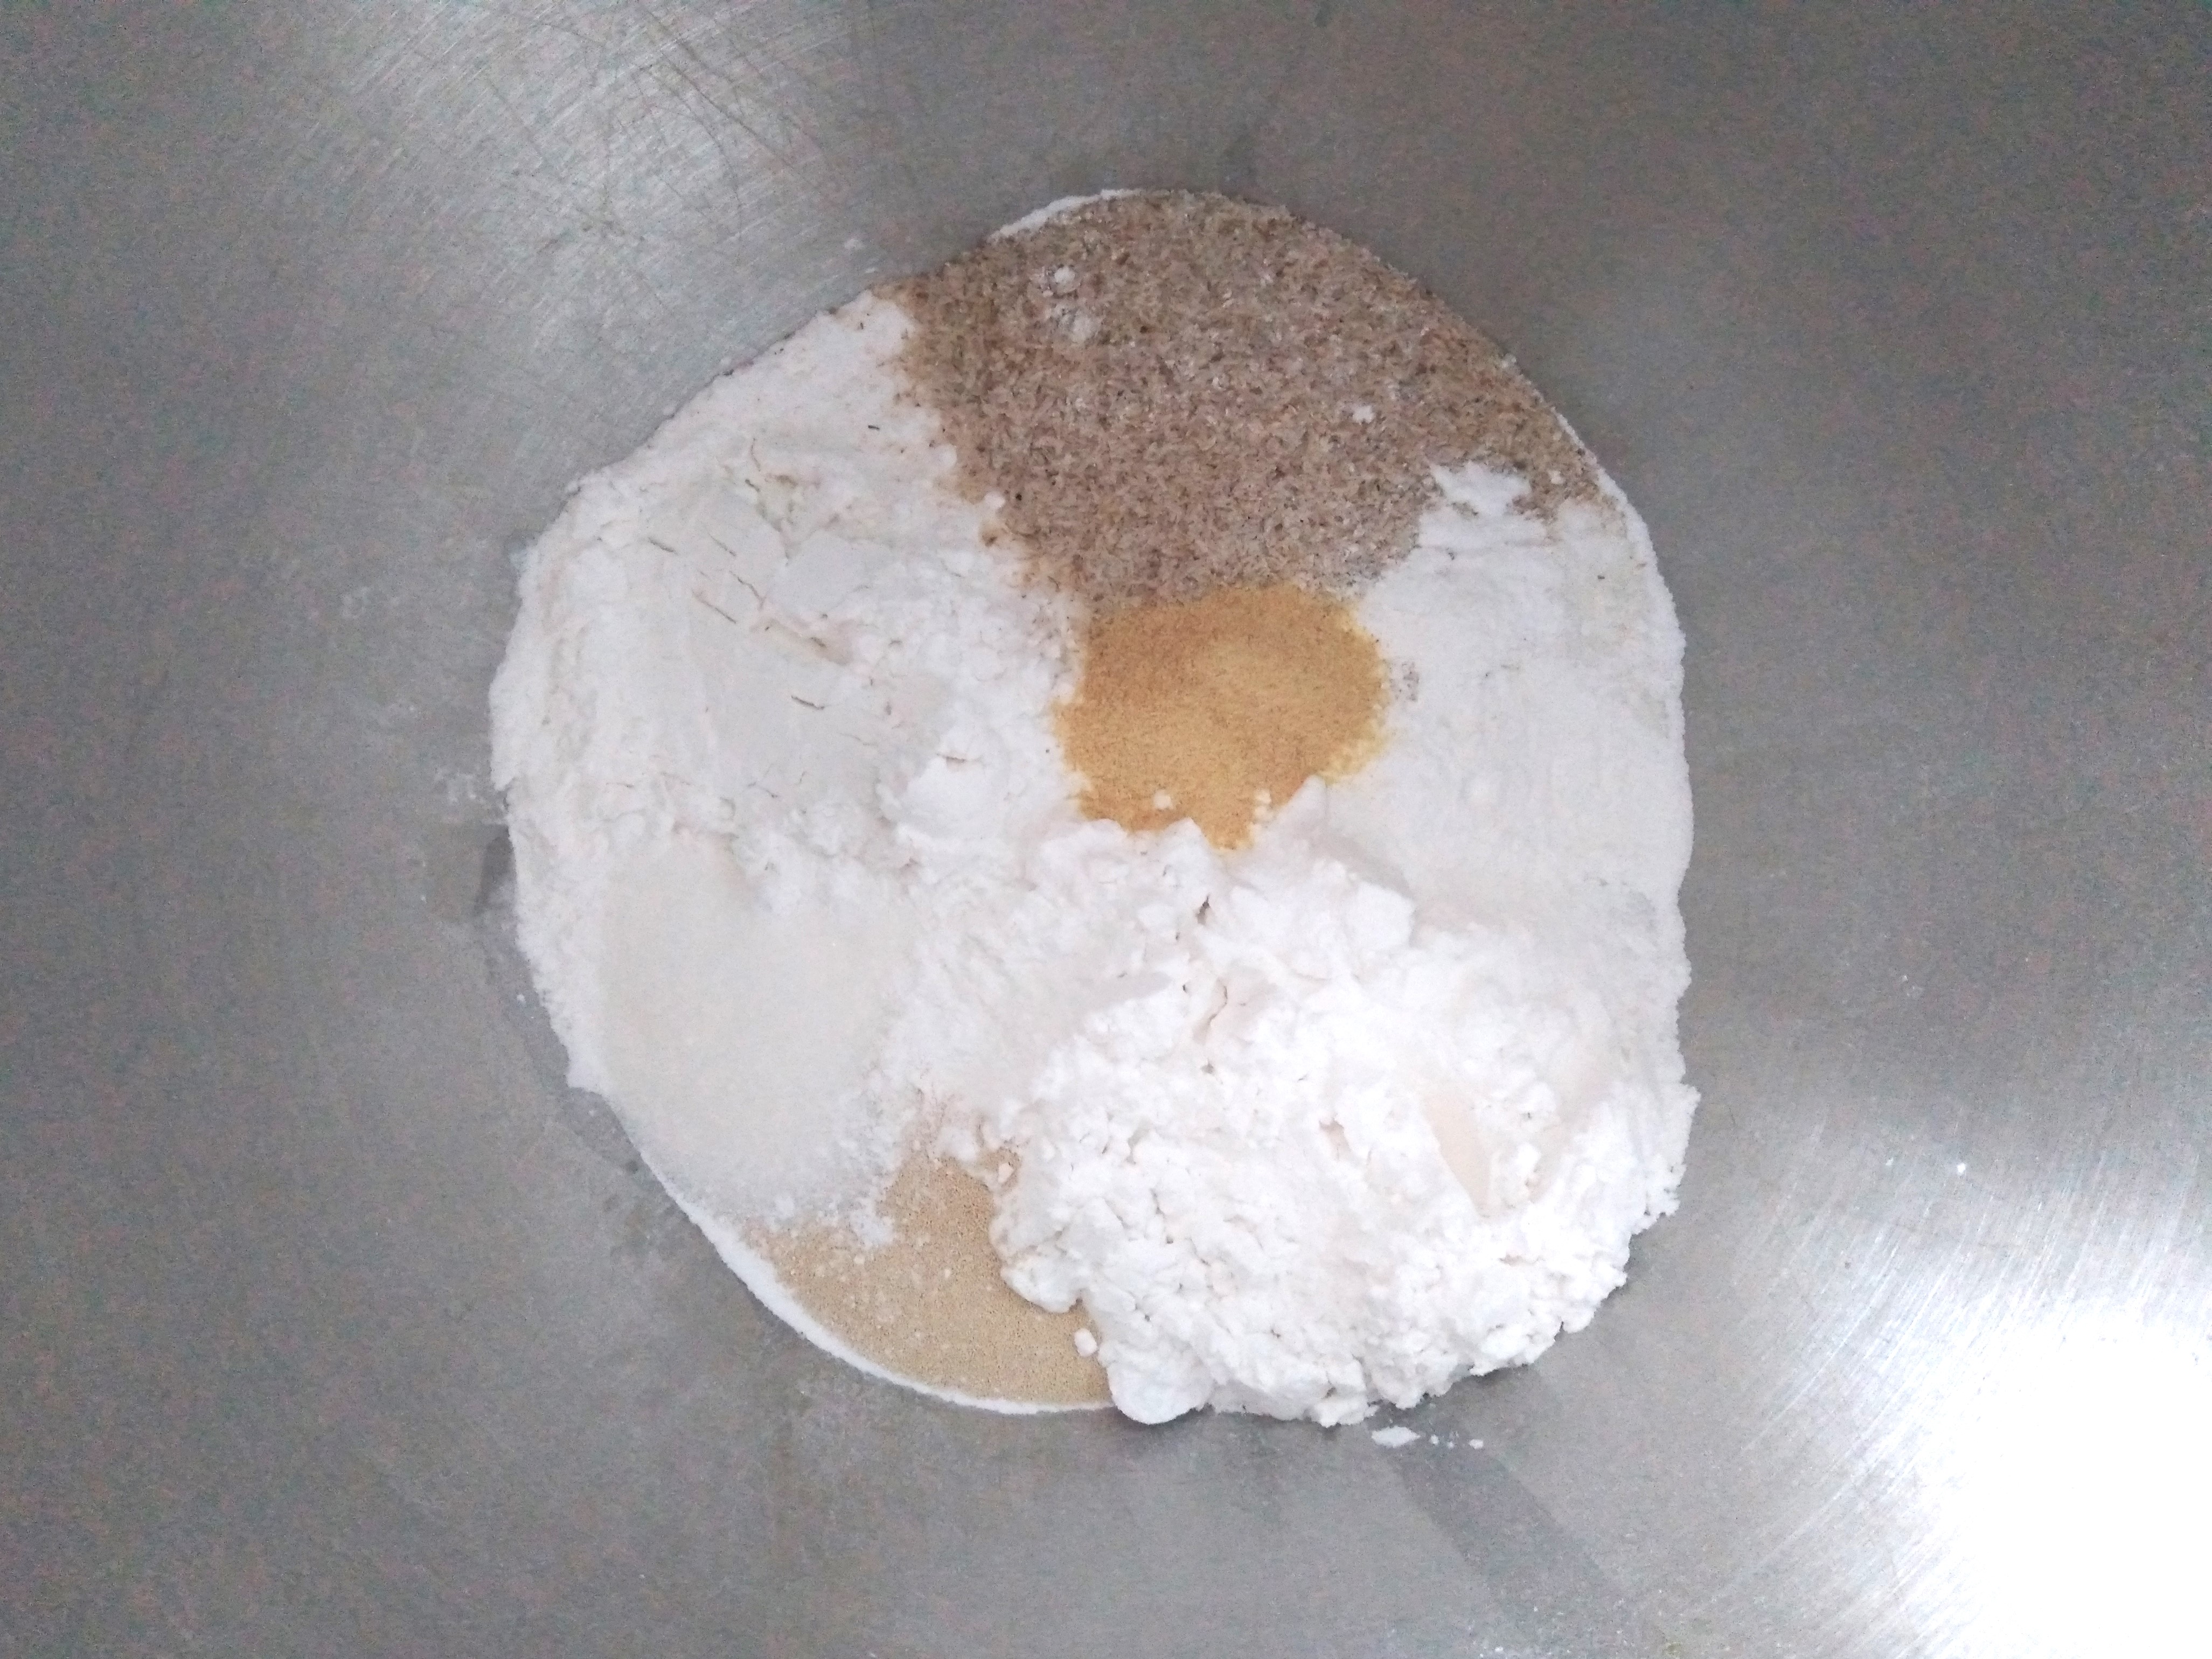
1. Mix together in a large bowl the eggs, white rice flour, tapioca starch, potato starch, psyllium husk, yeast, sugar, salt, baking powder, garlic powder, oil and water. I usually put the salt in the opposite side of the bowl to the yeast to avoid them mixing before the salt is well-diluted with the other ingredients and potentially killing the yeast. I mix this with my stand mixer as that is easy and quick, but you can mix it with a handheld electric mixer or by hand with a whisk or wooden spoon if you prefer.

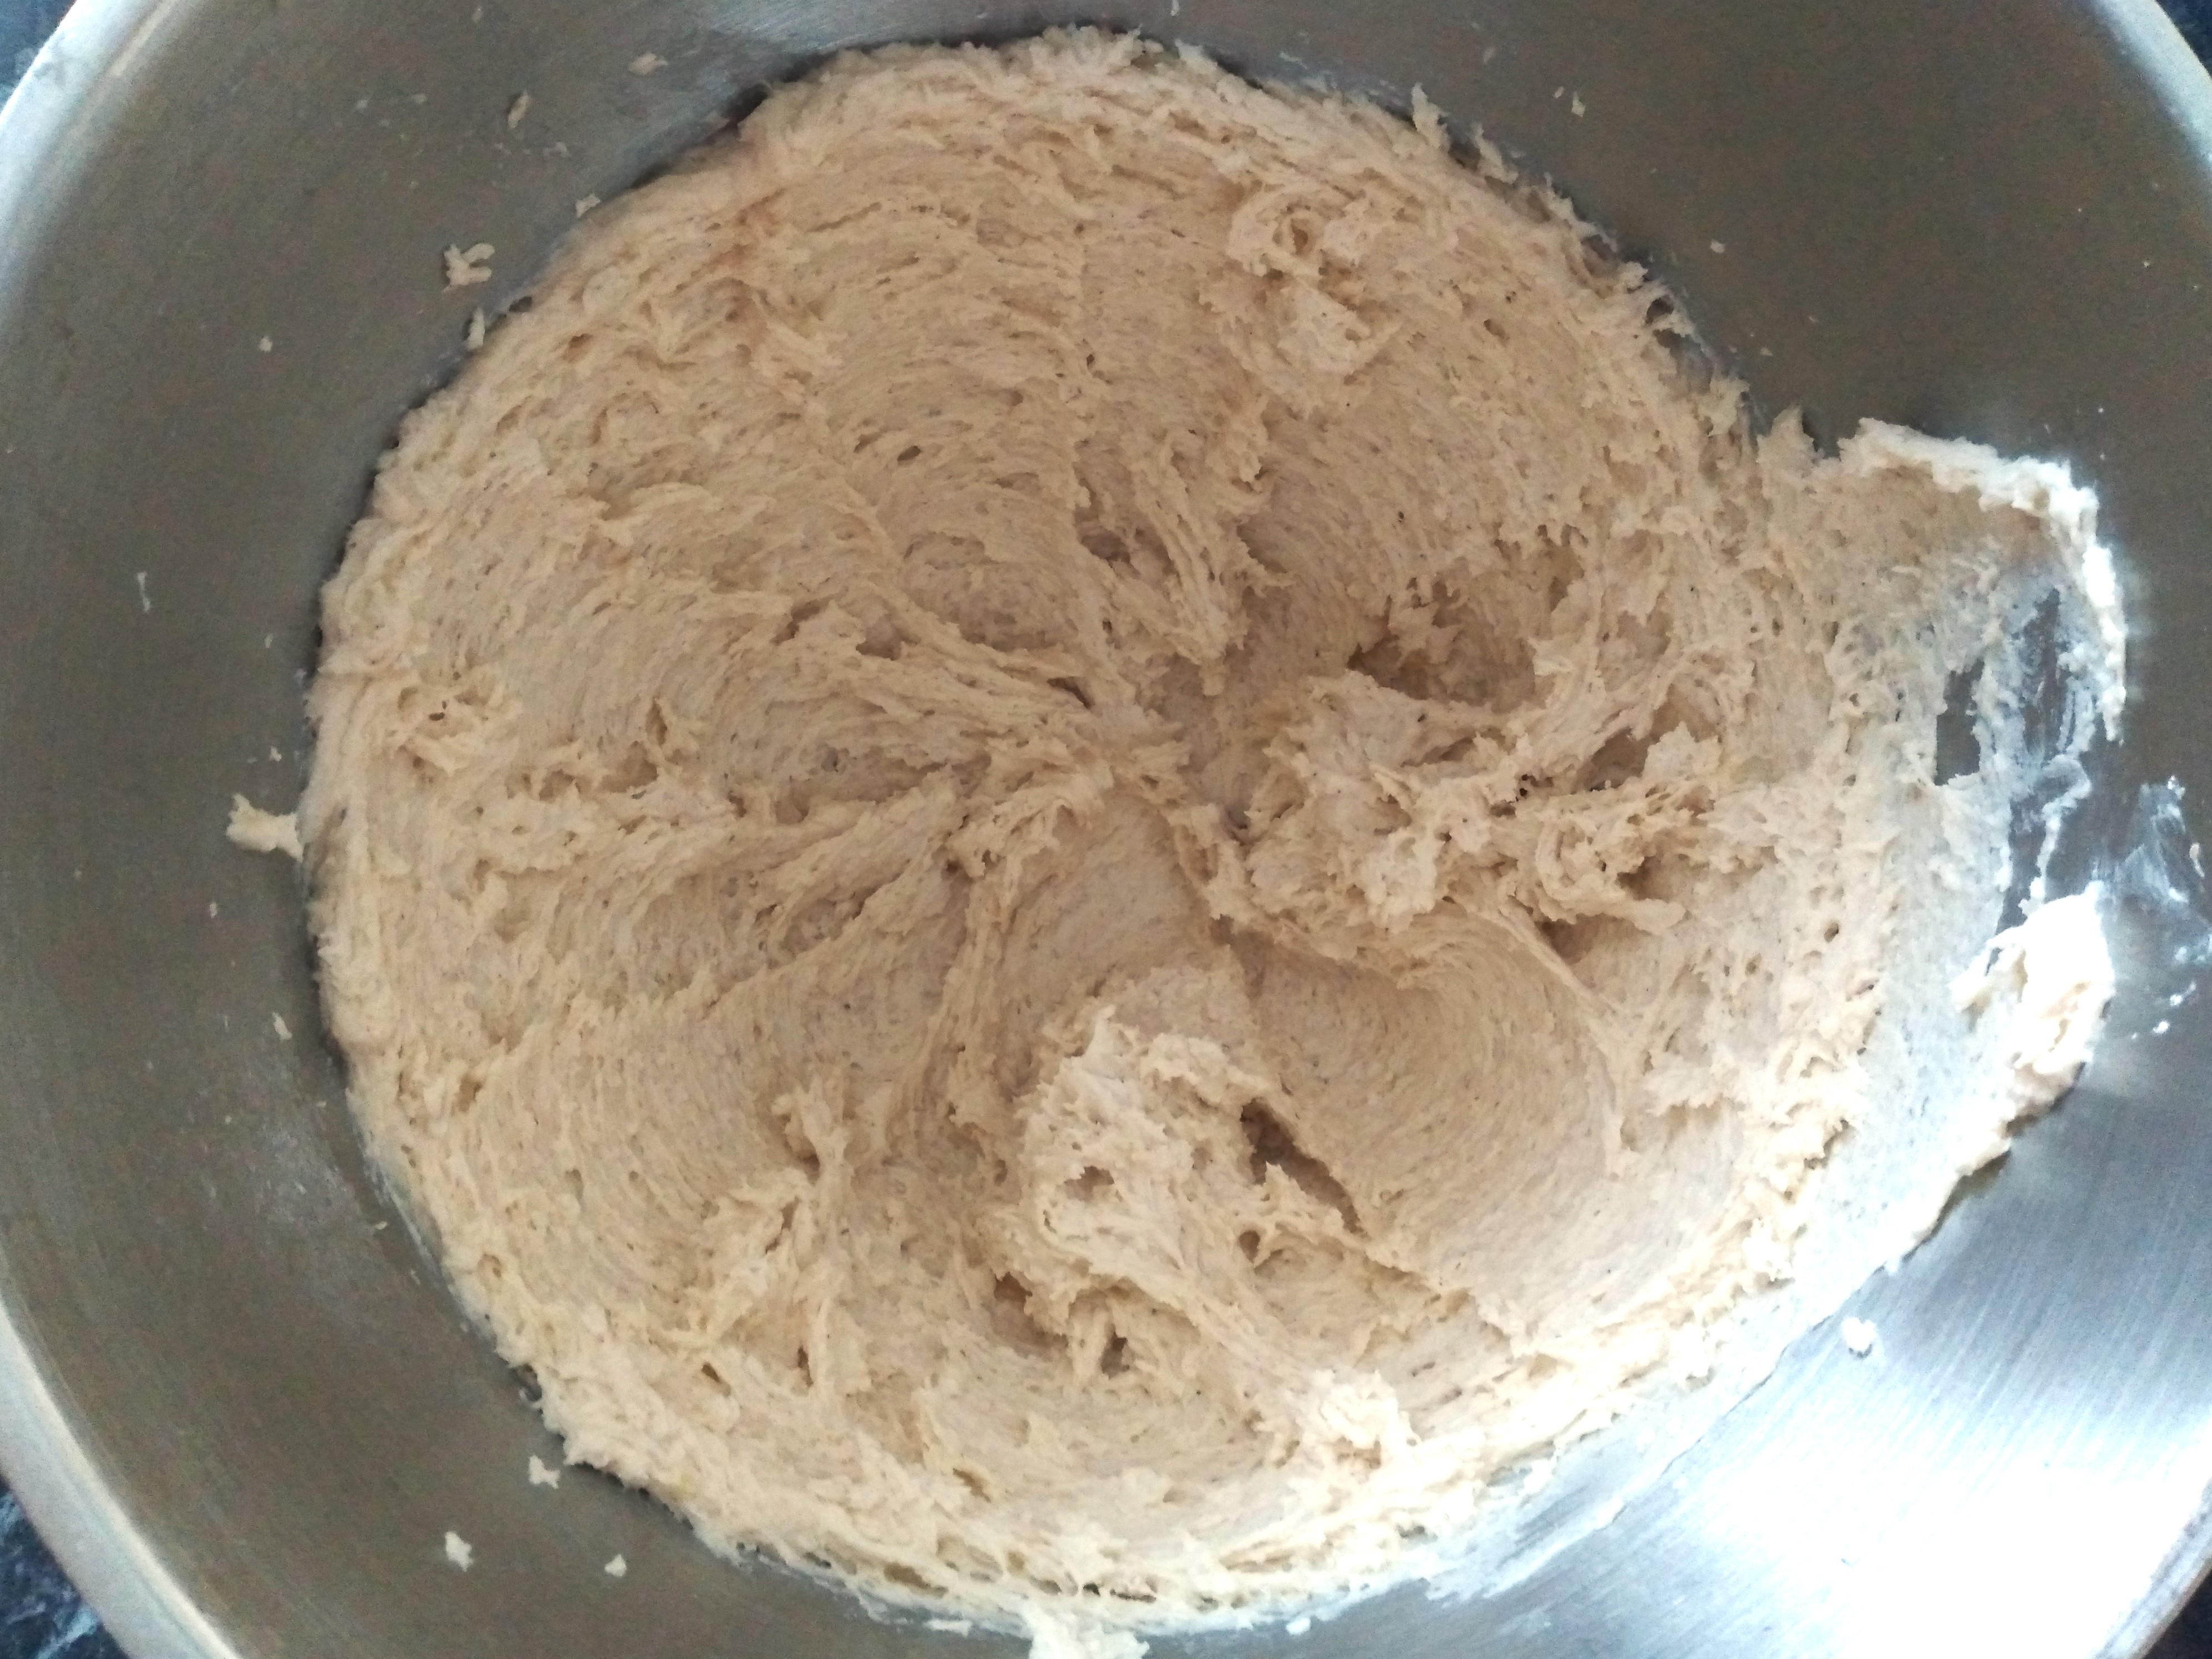
2. Once mixed, cover the bowl with a clean cloth and set aside for 5 to 10 minutes to rest.
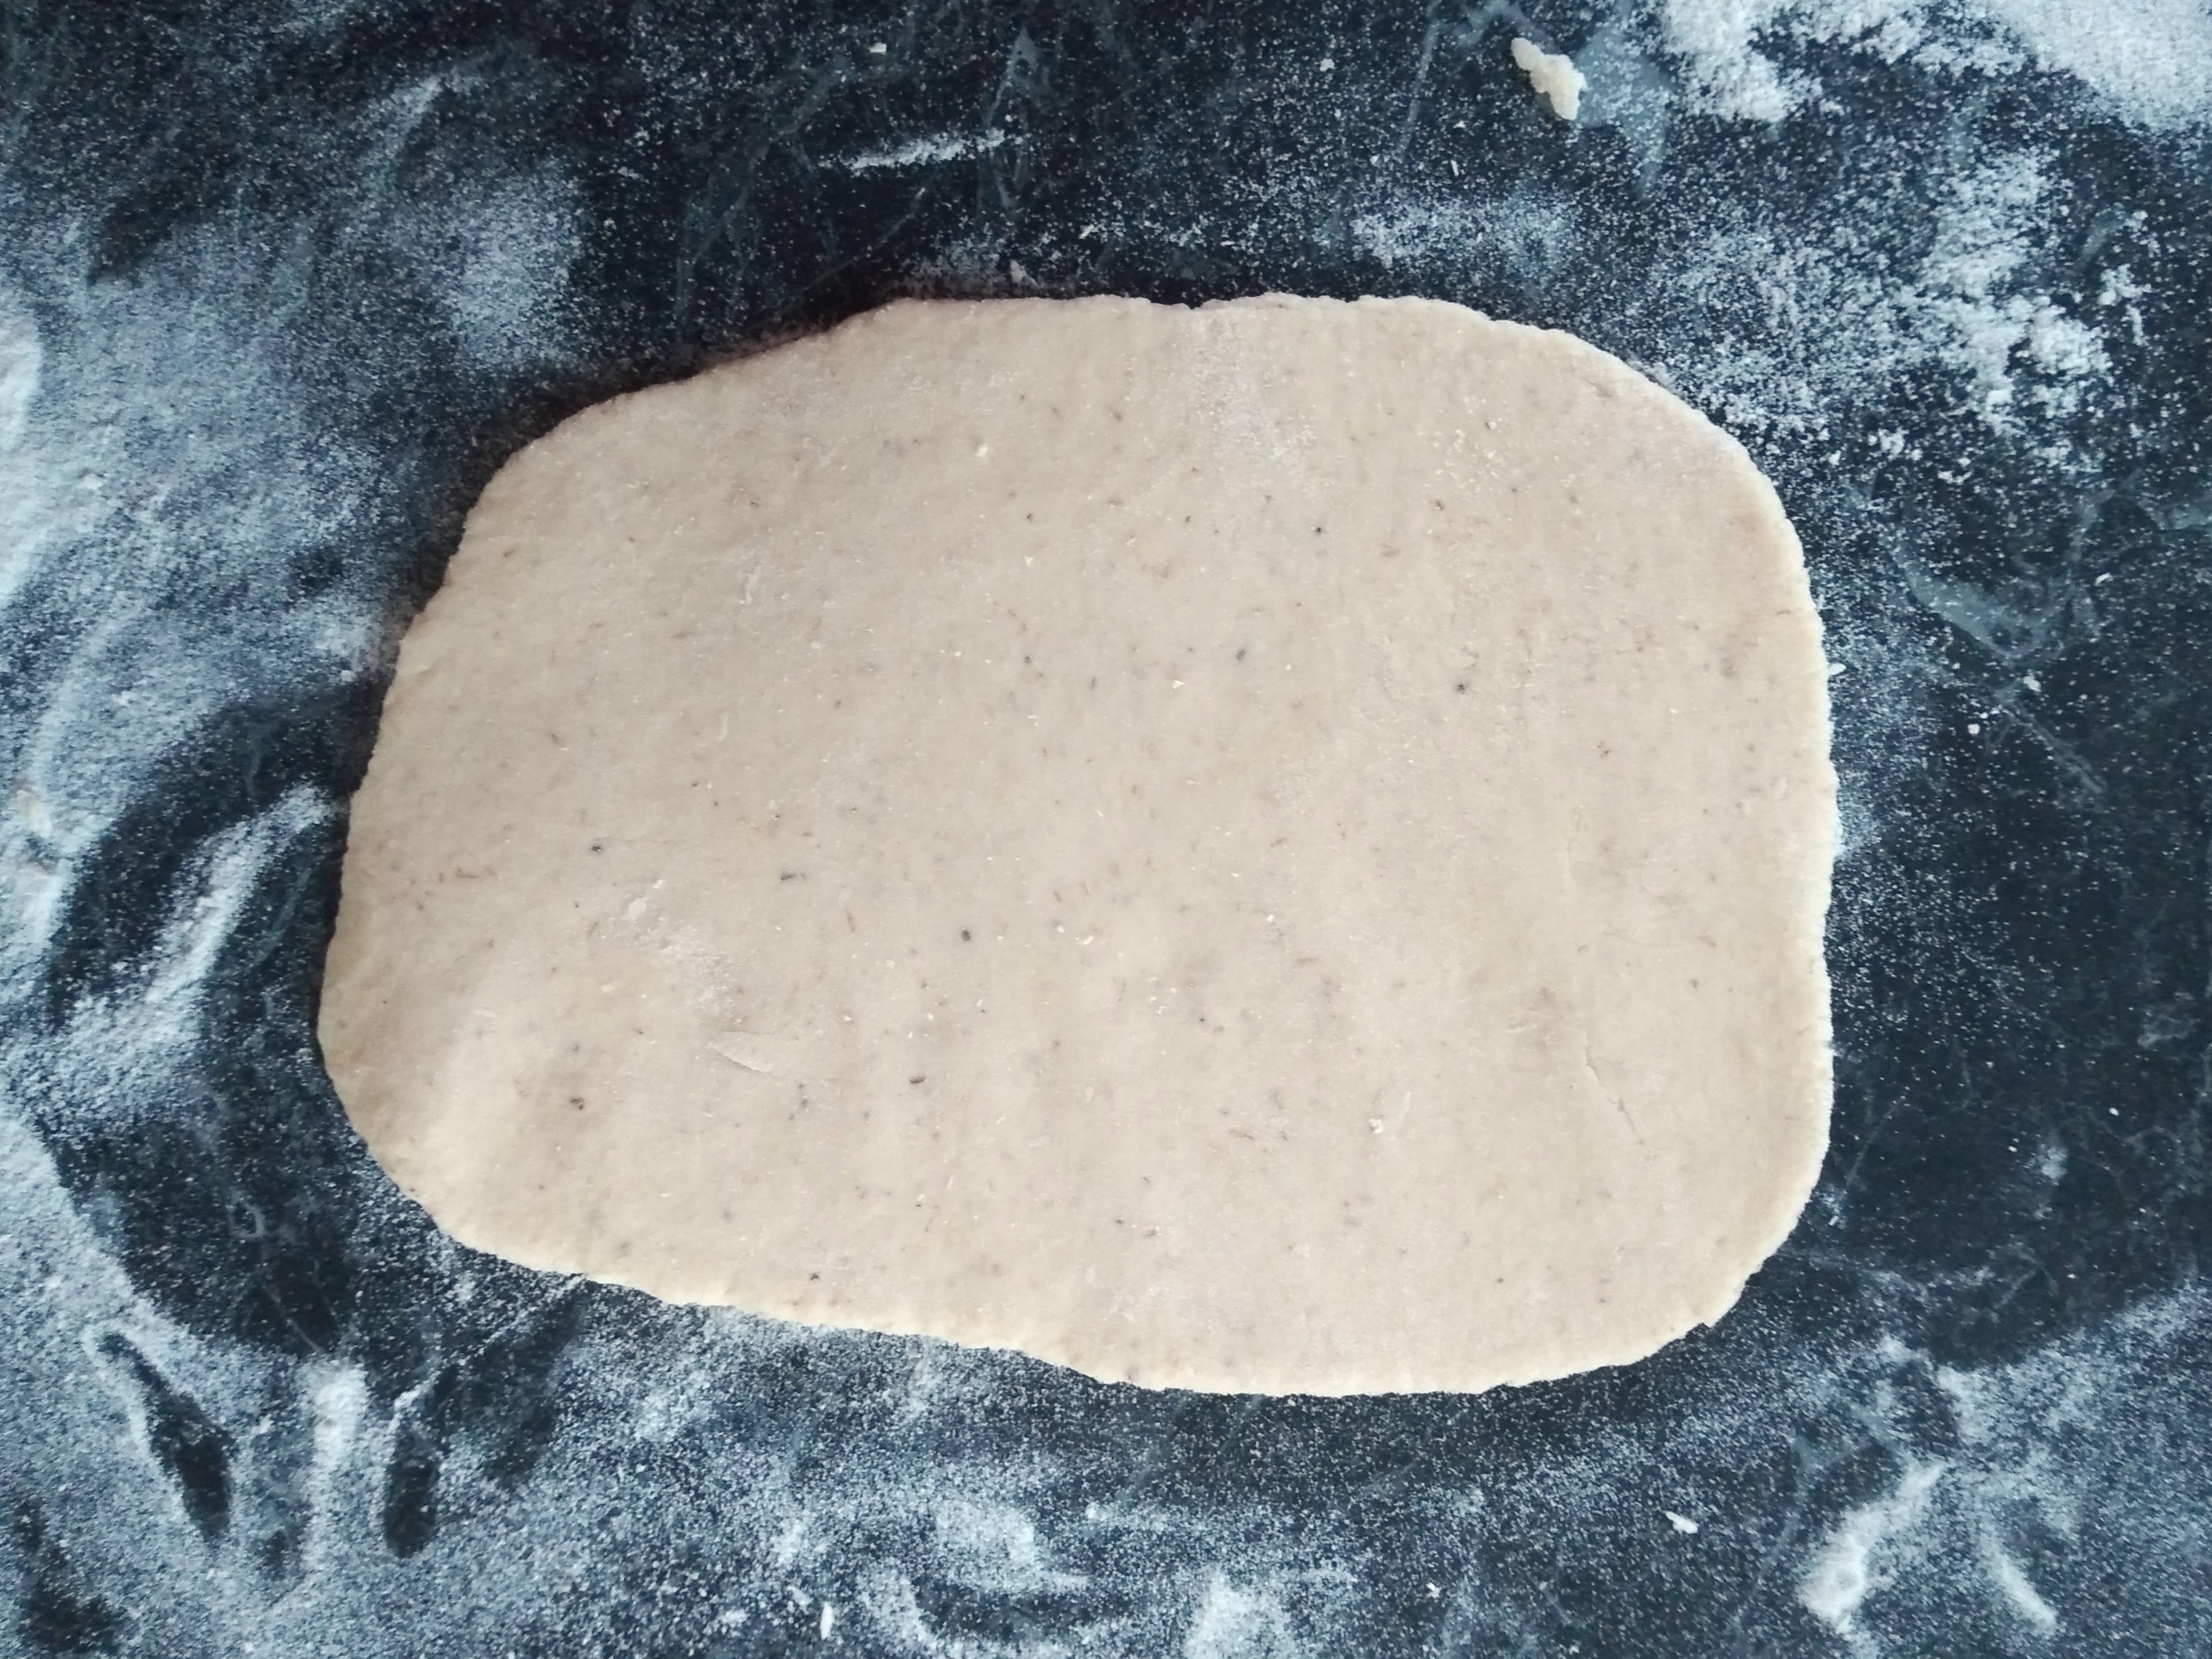
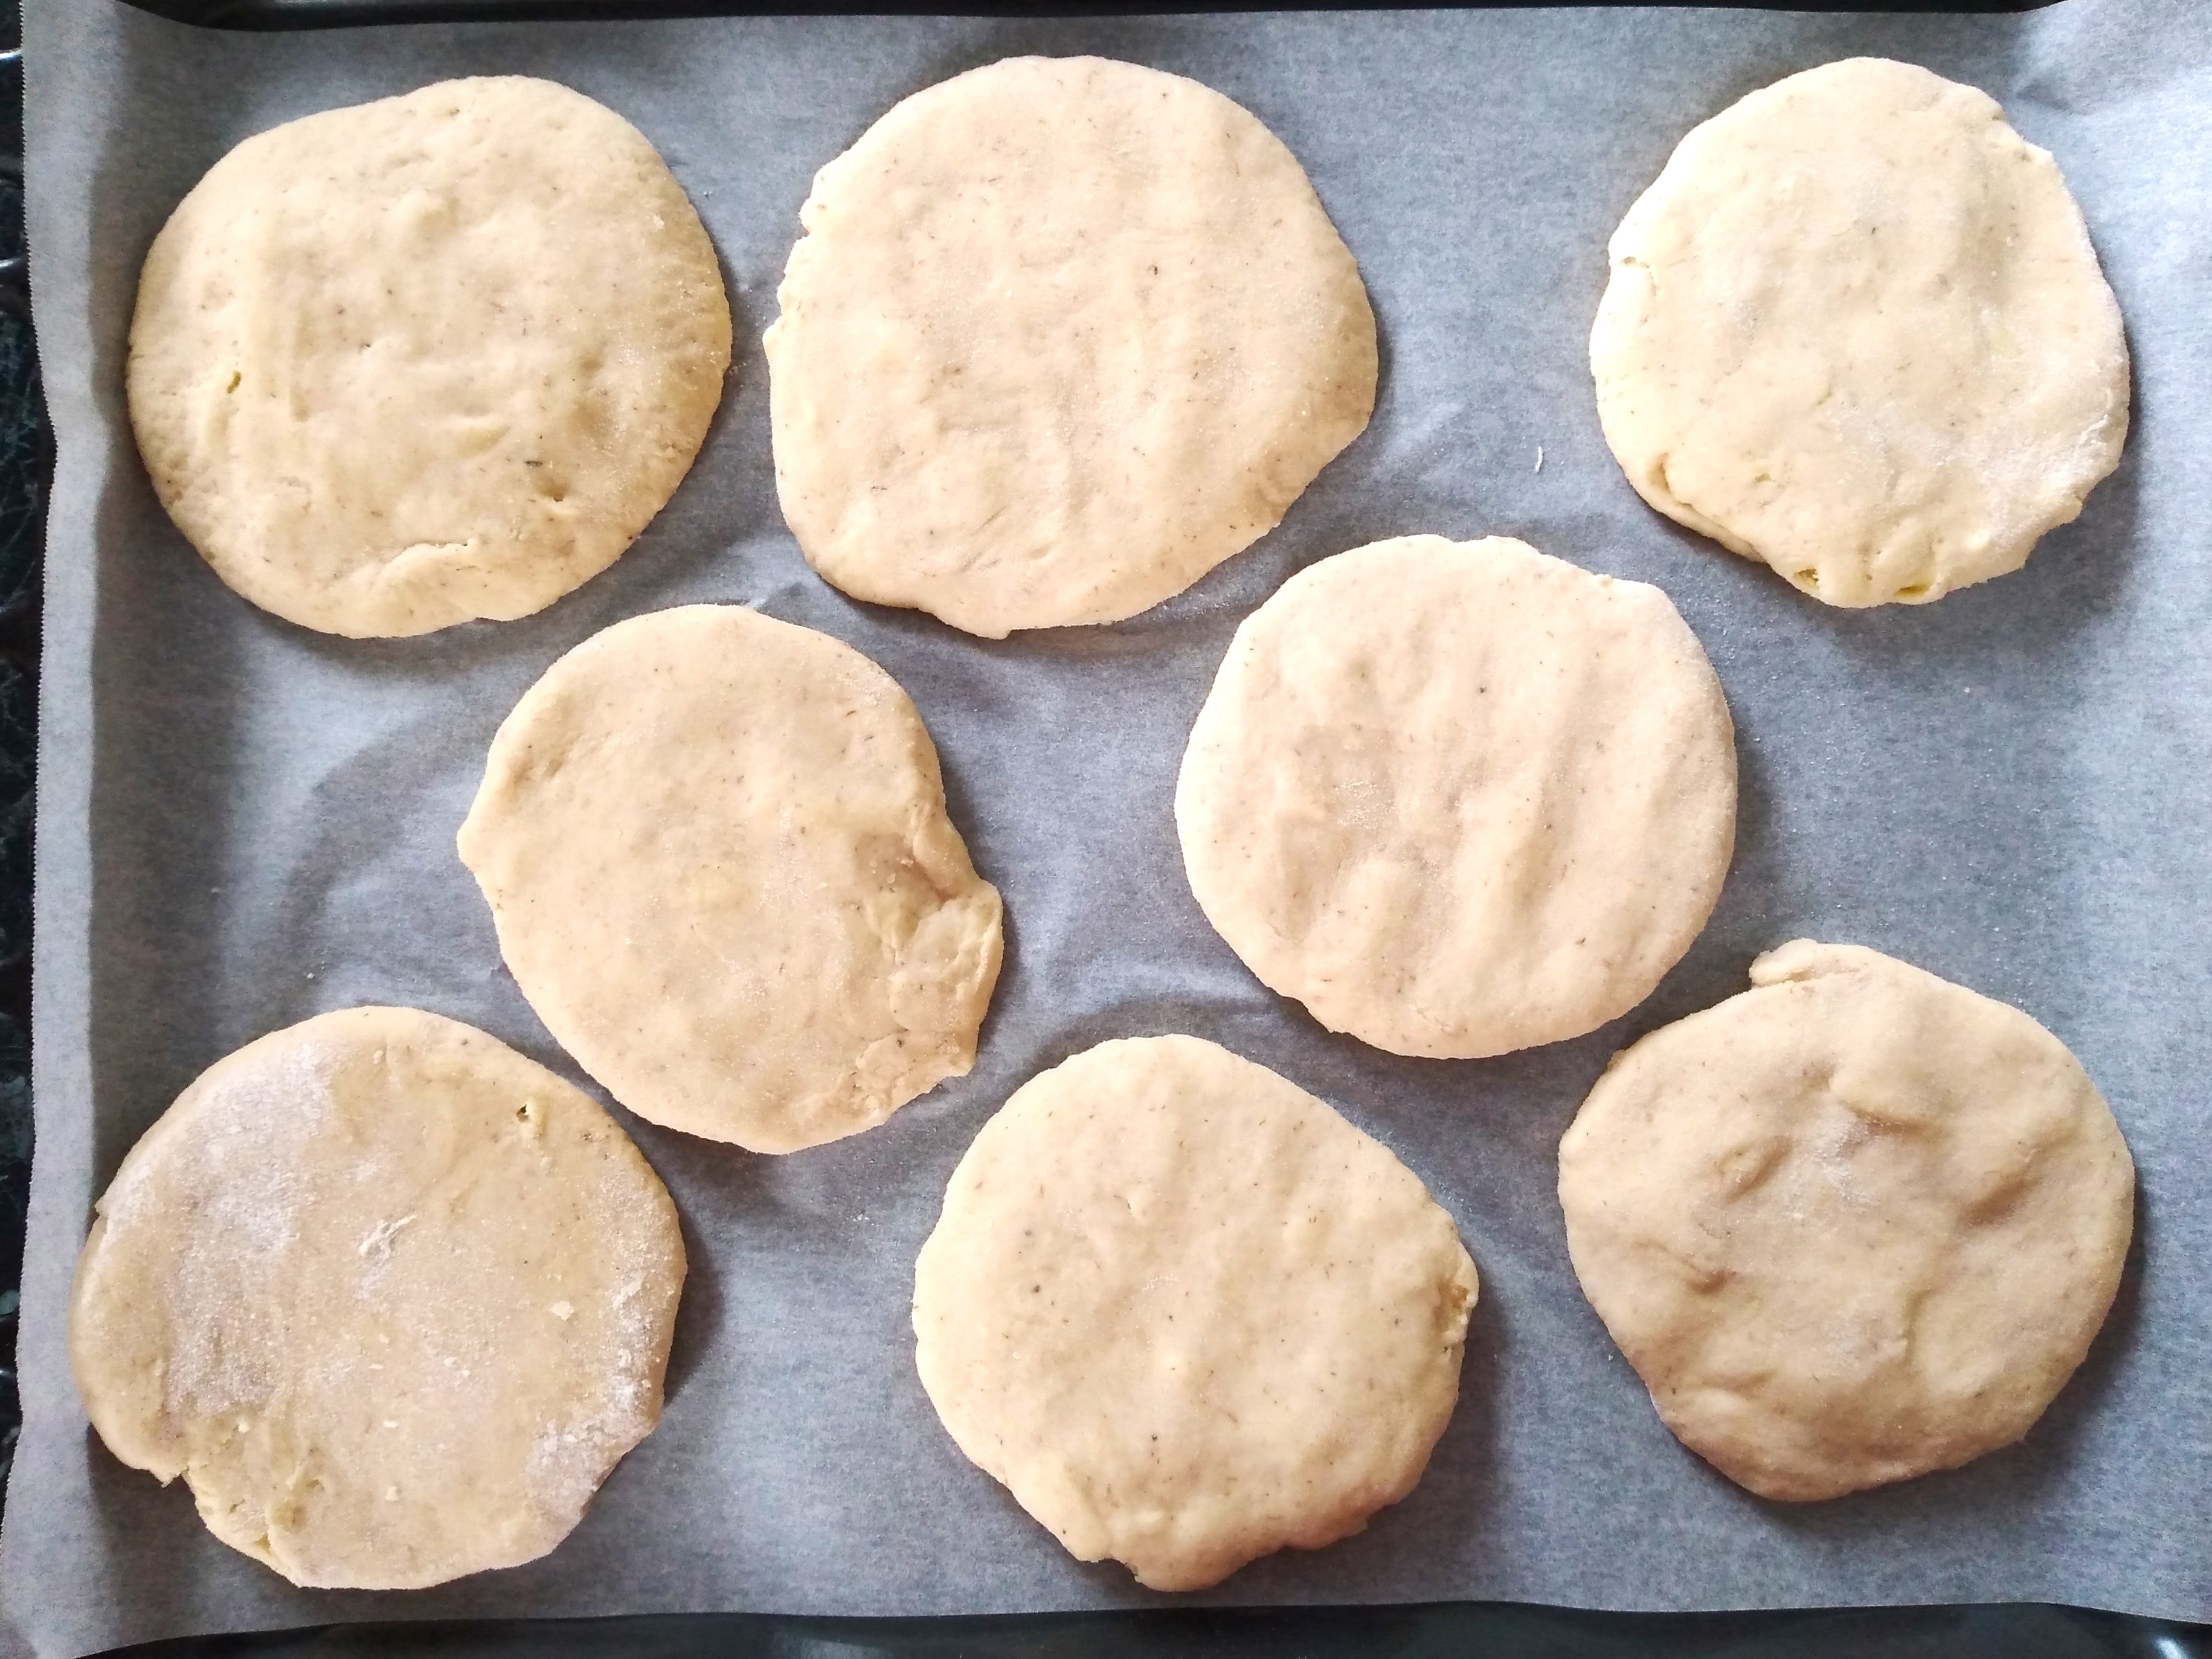
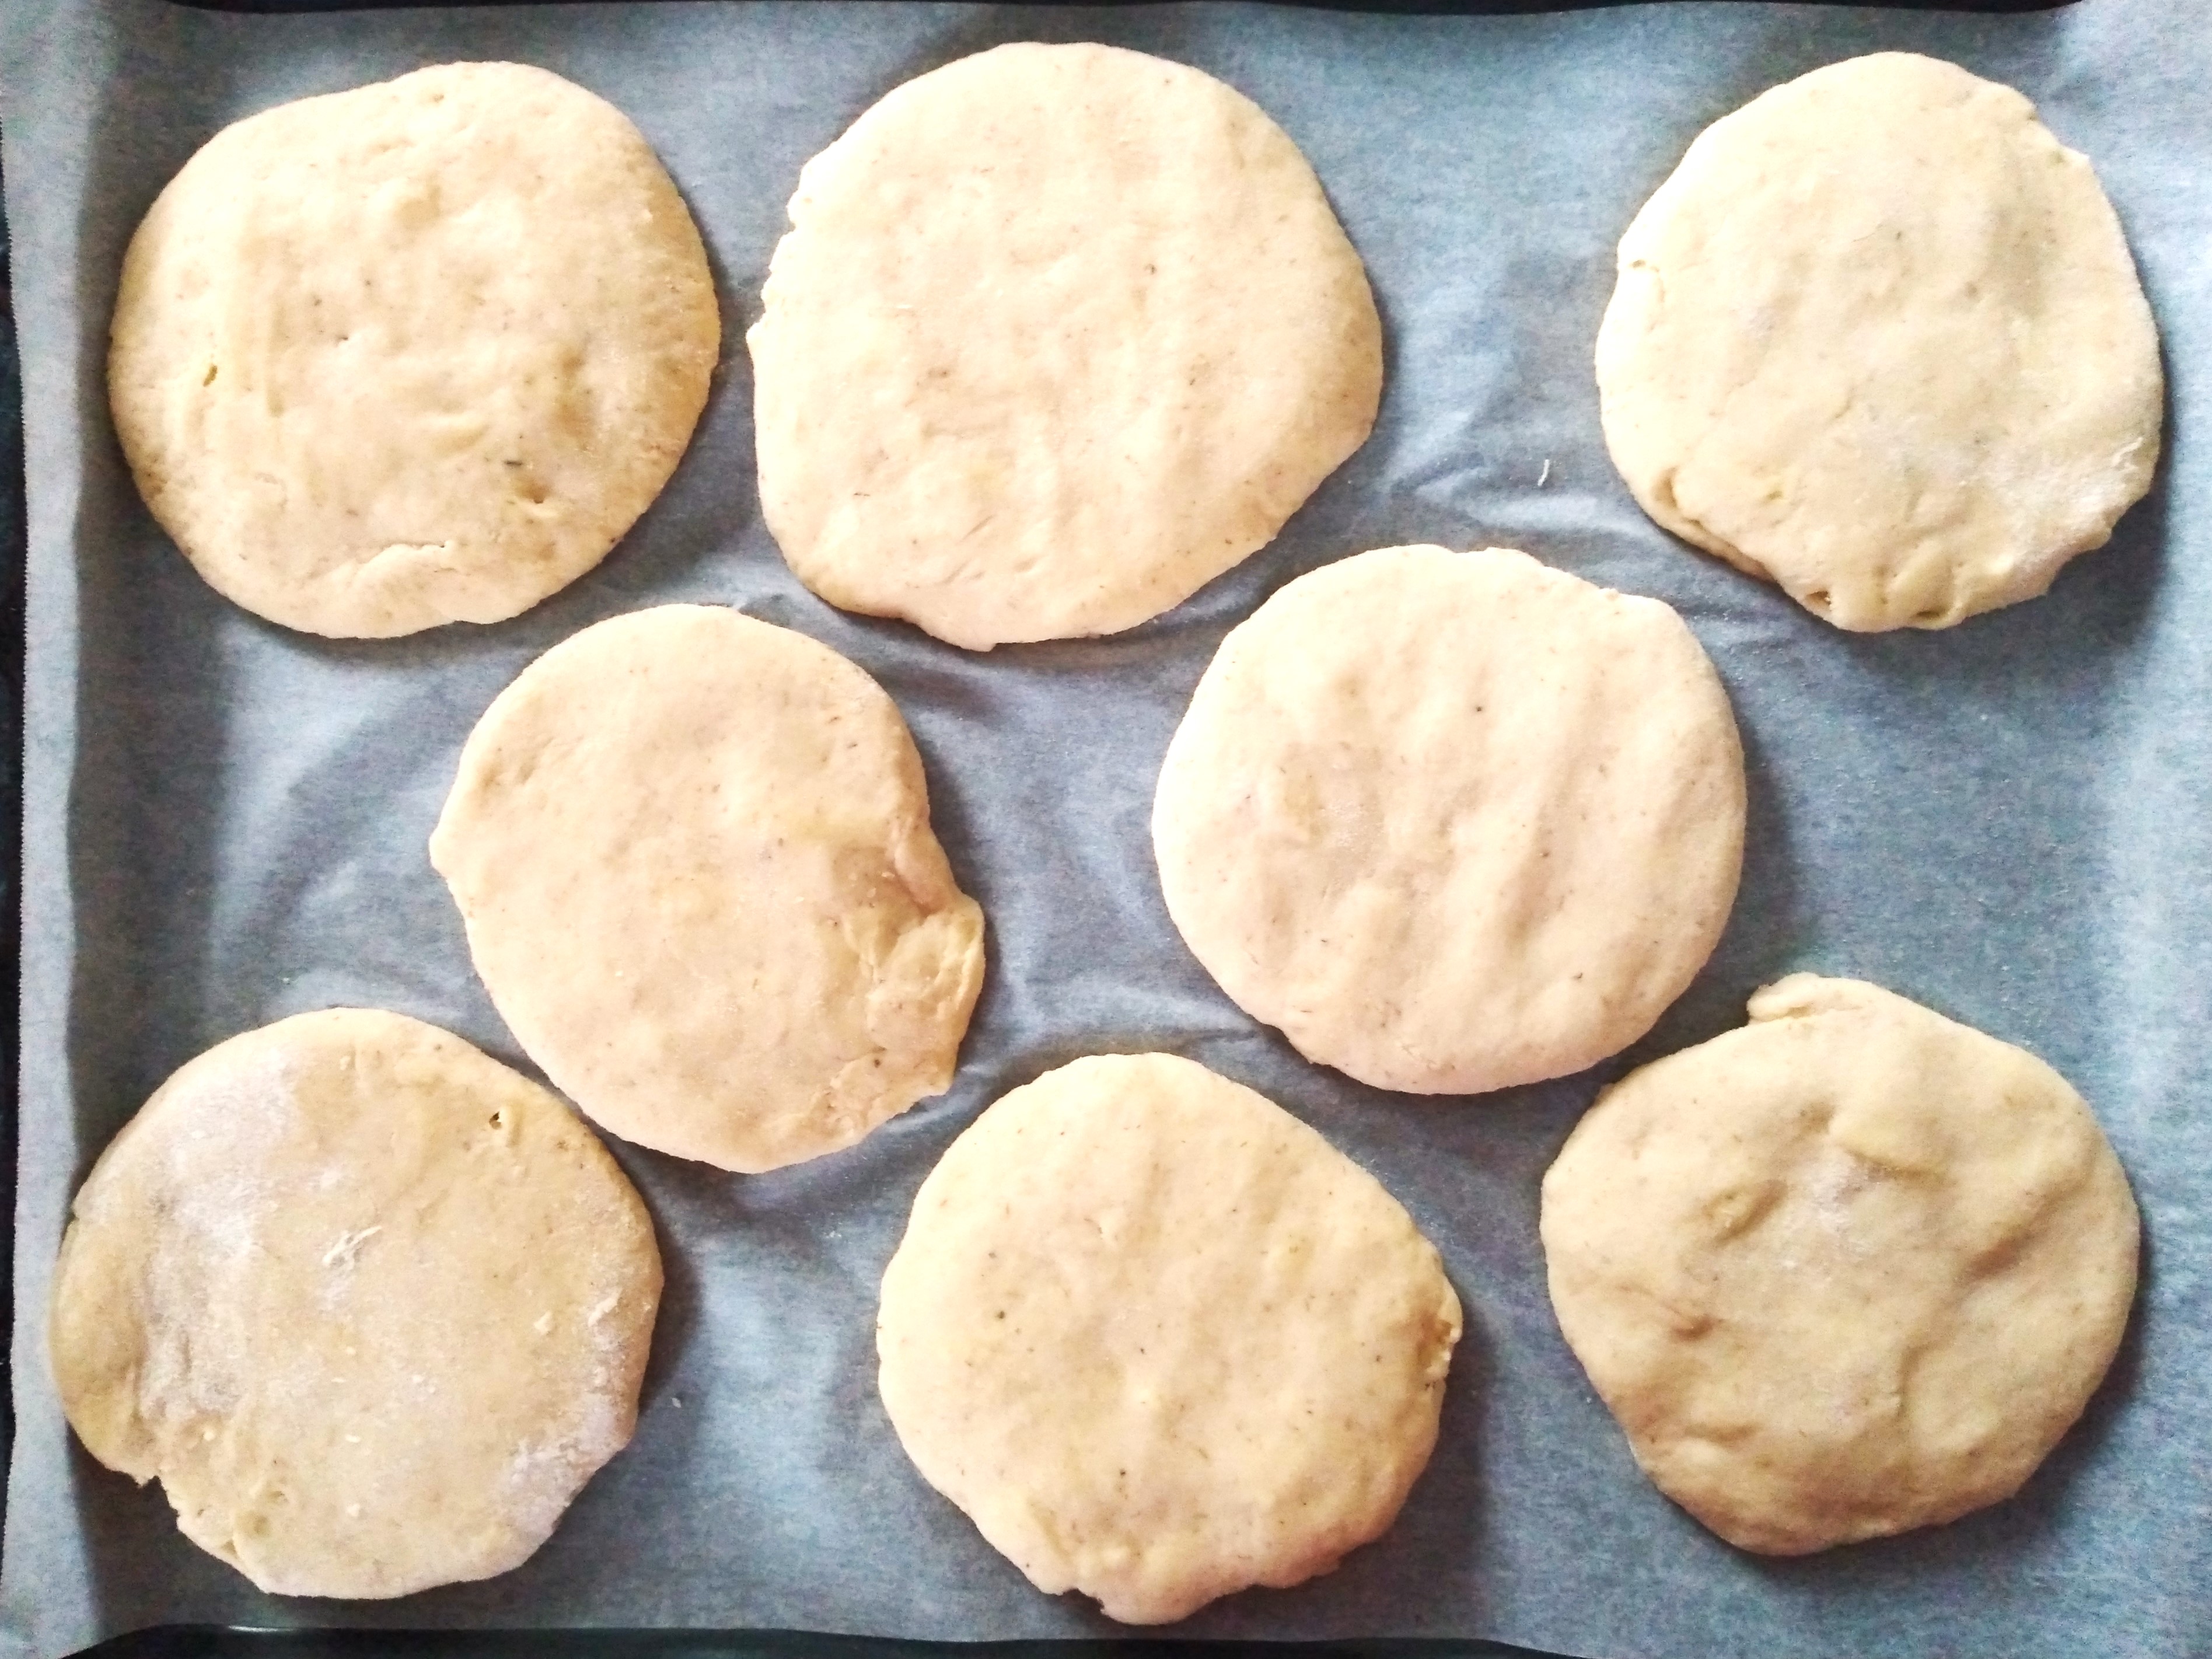
3. Once the dough has rested, lightly flour a clean work surface with additional rice flour and then roll and shape the dough into a circle. Divide the circle into 8 roughly equal-sized pieces. Alternatively, you could weigh the dough into 8 equally-weighted pieces.


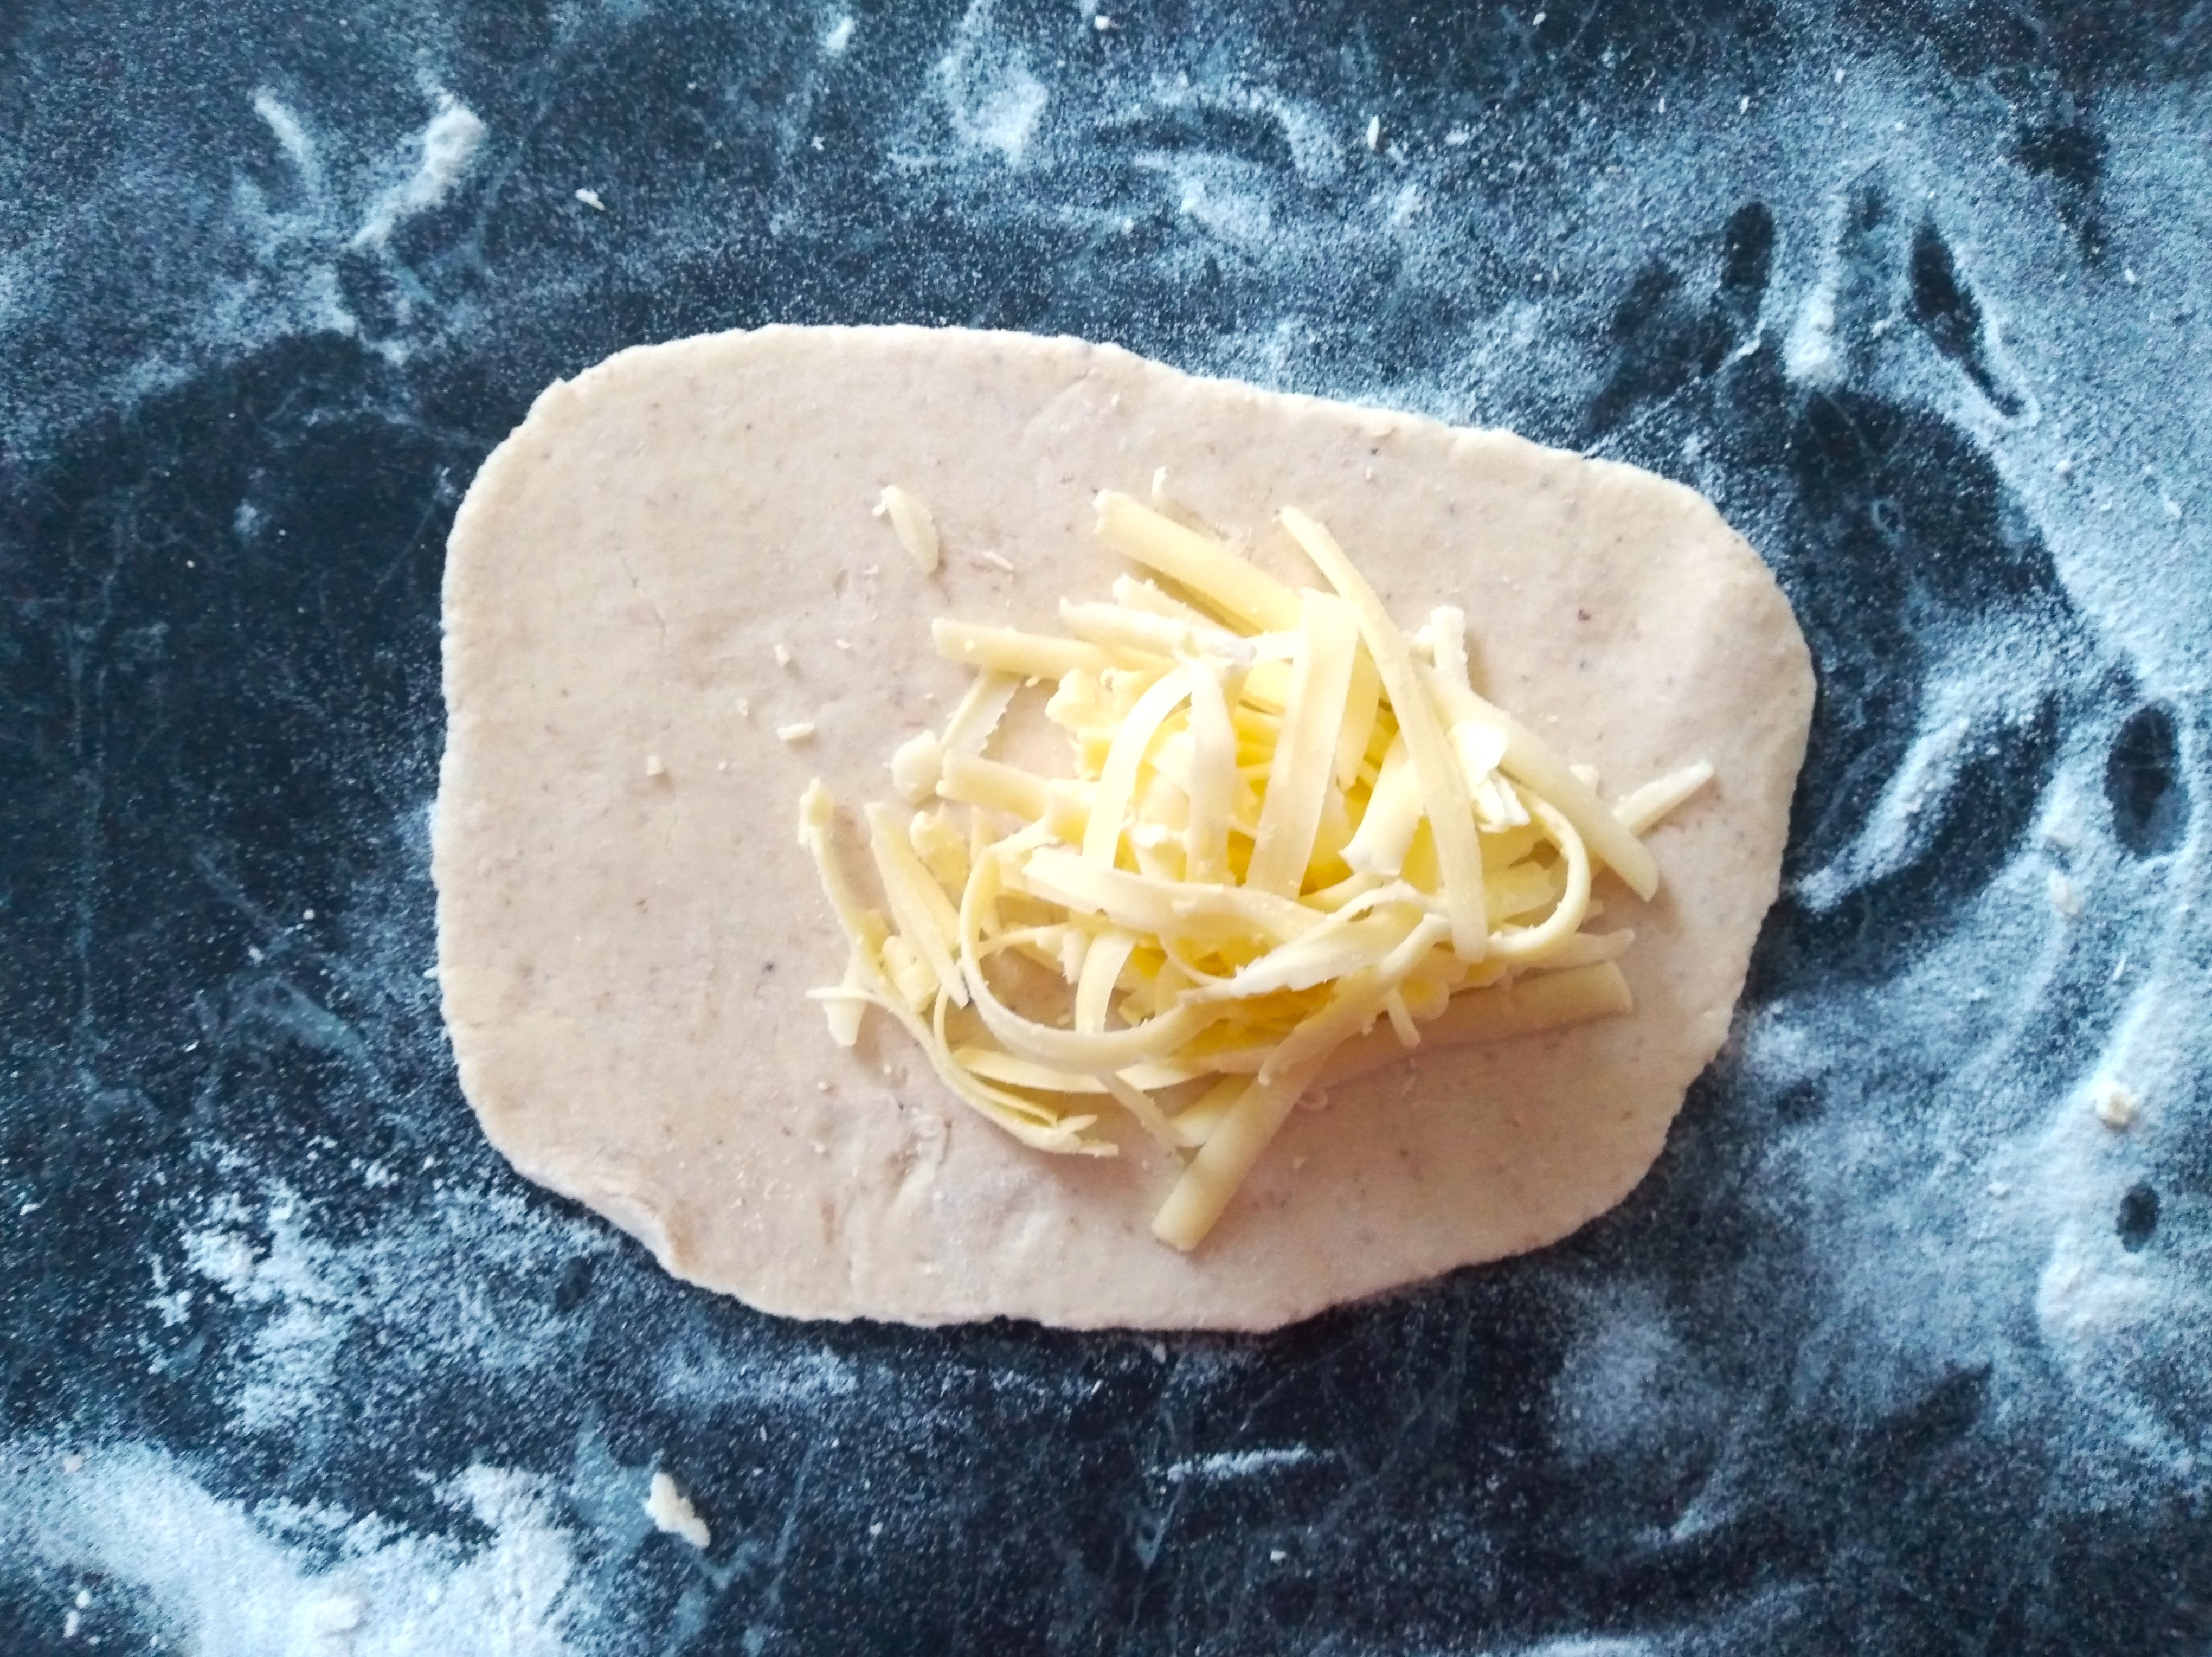
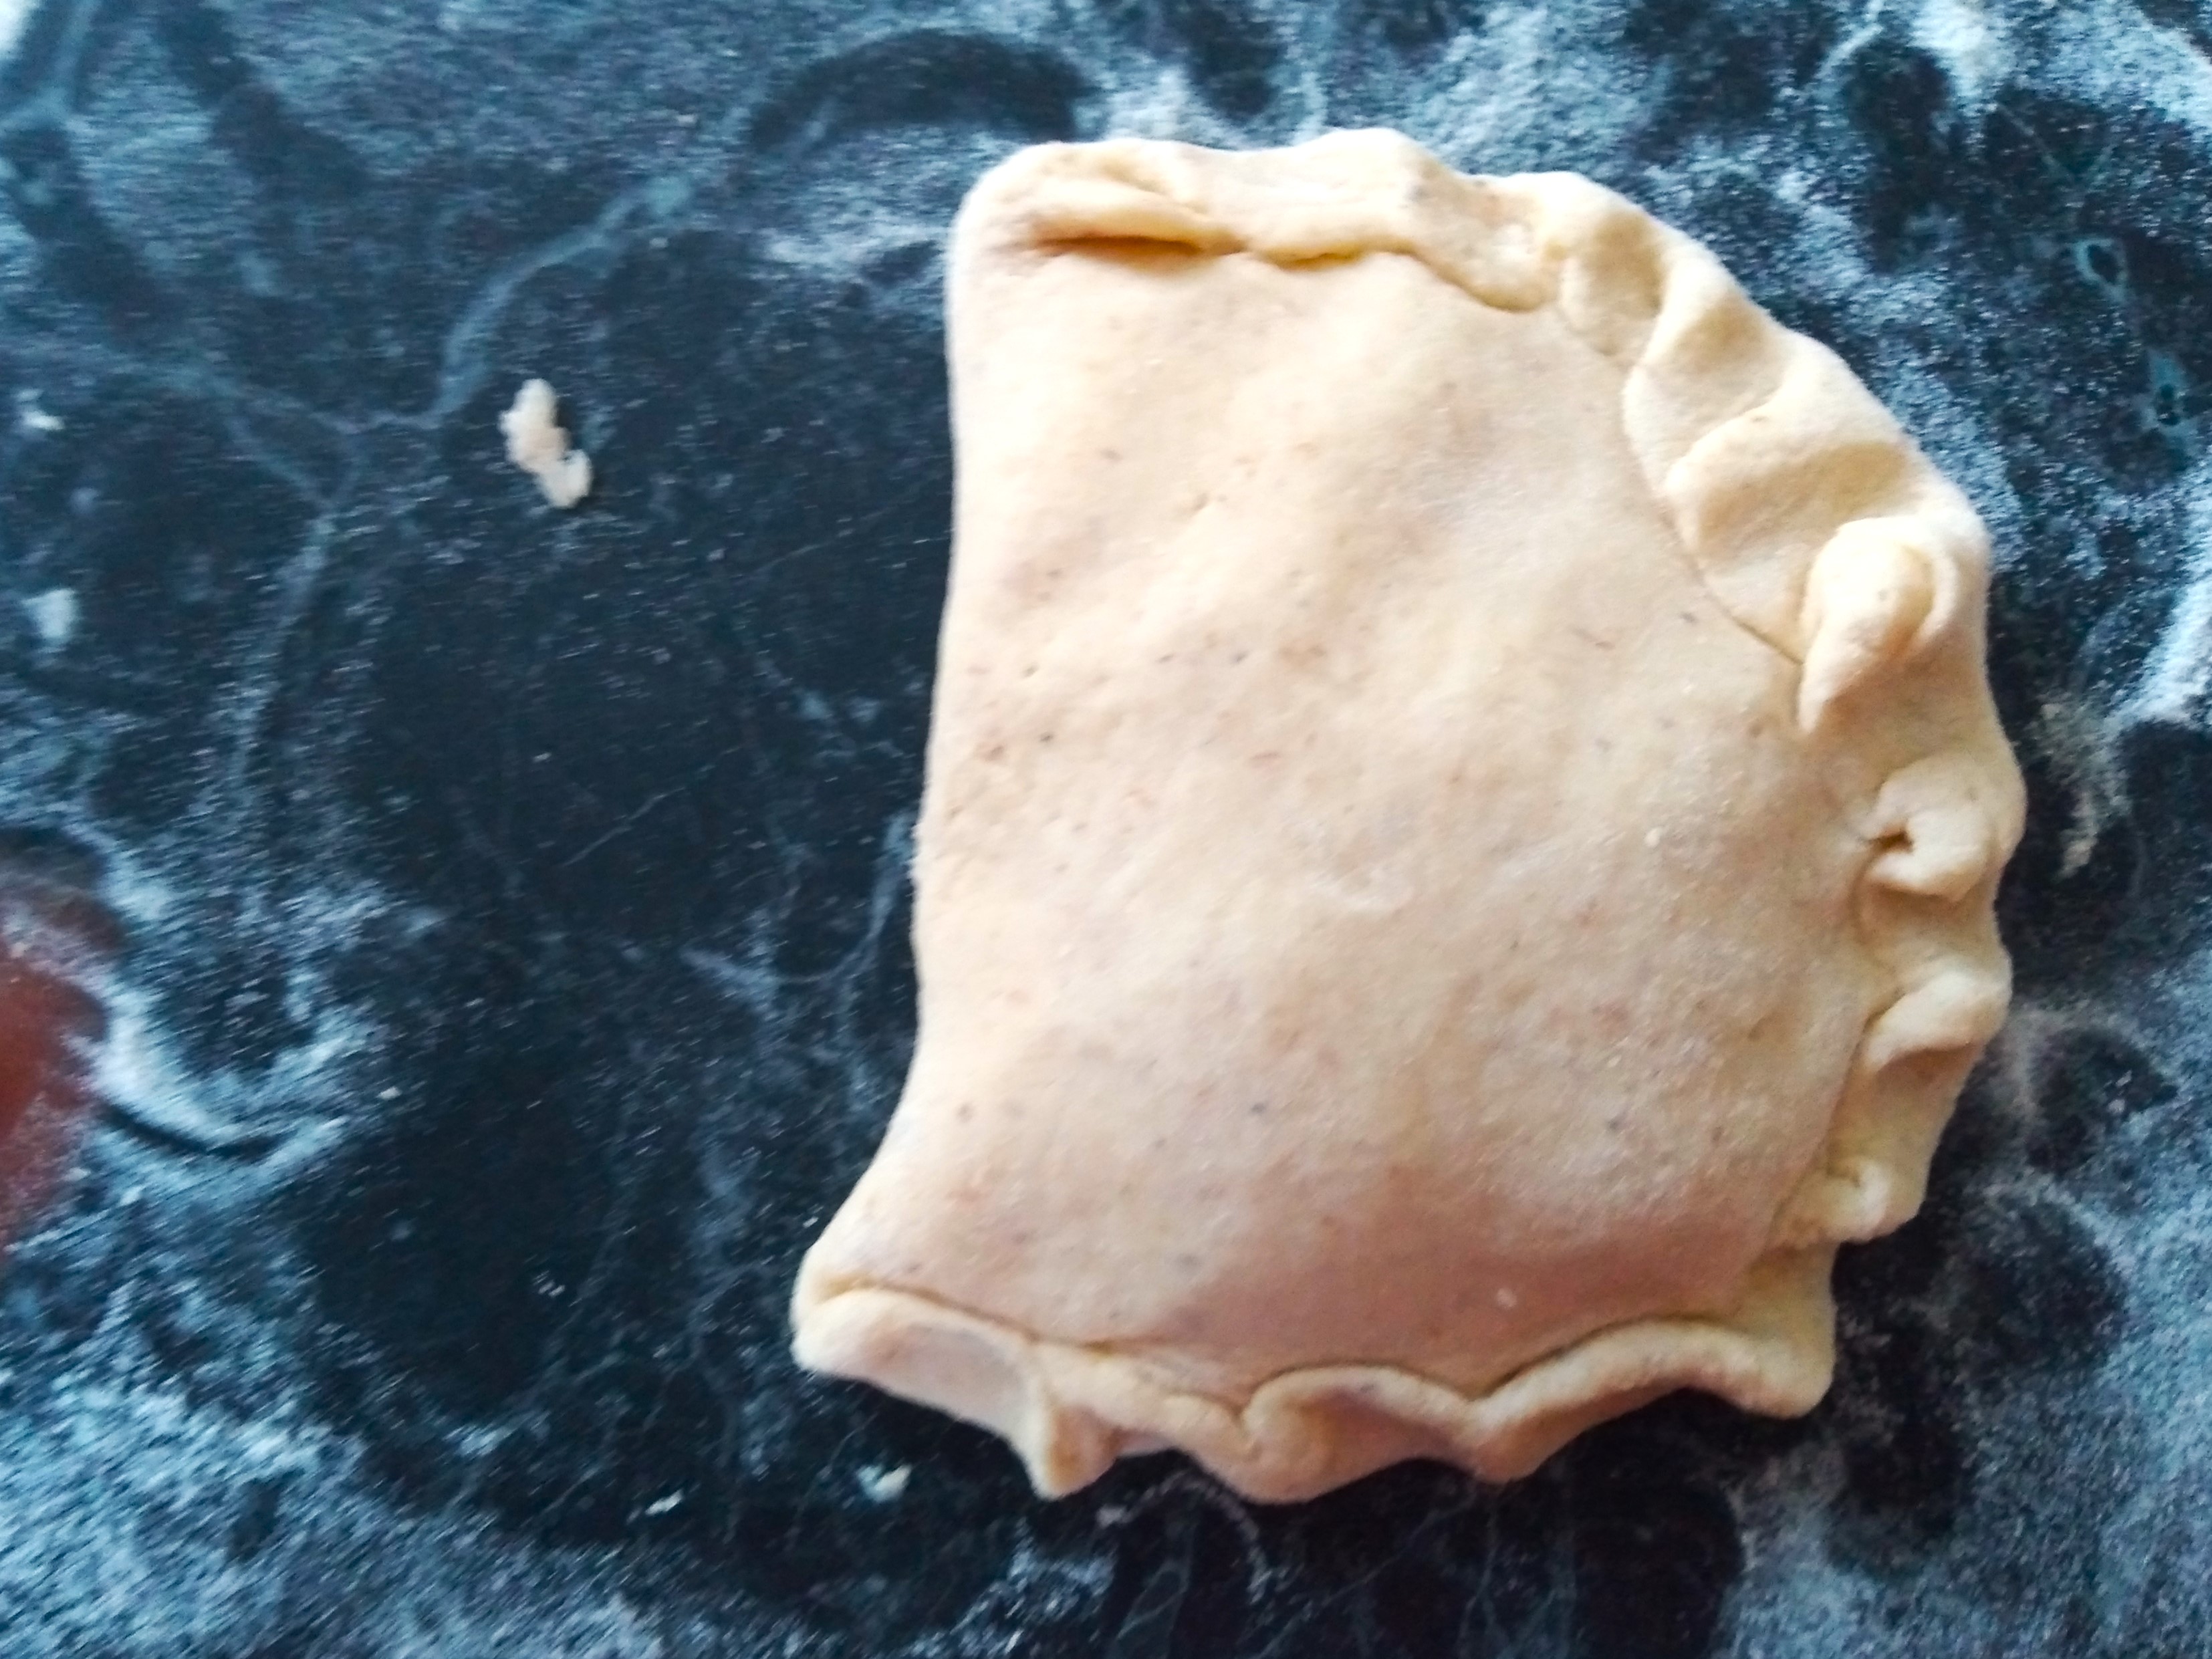
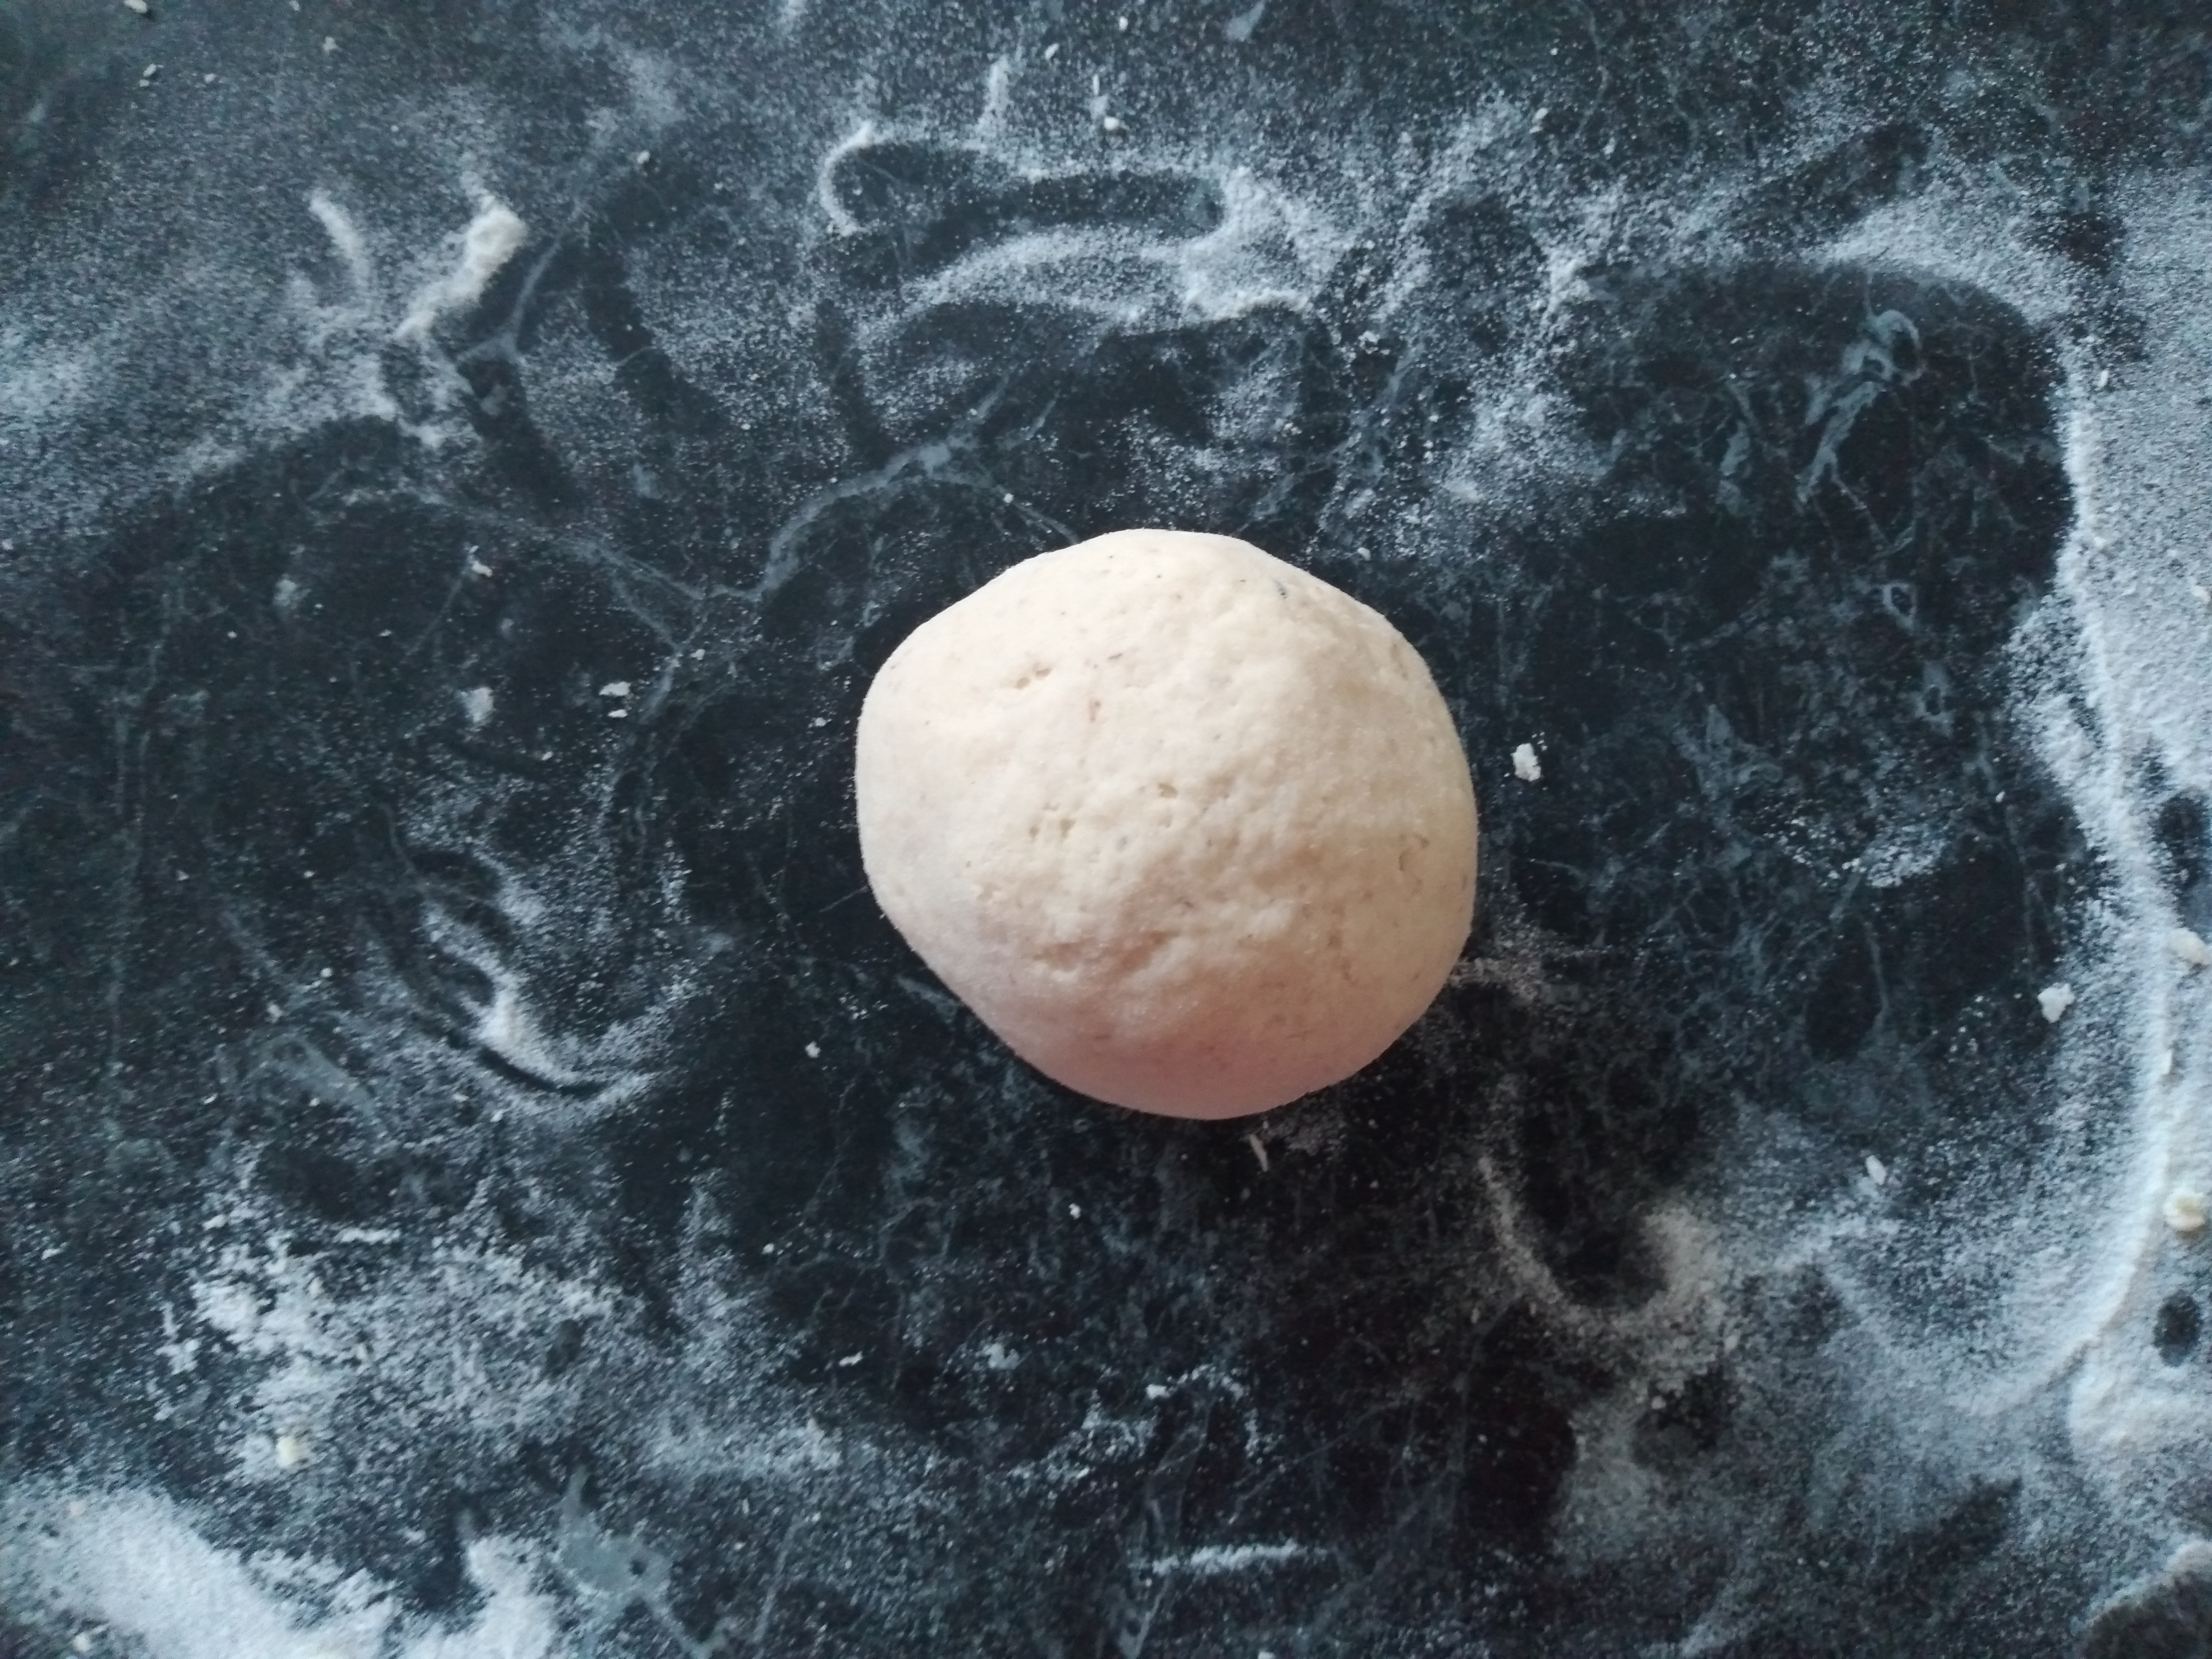
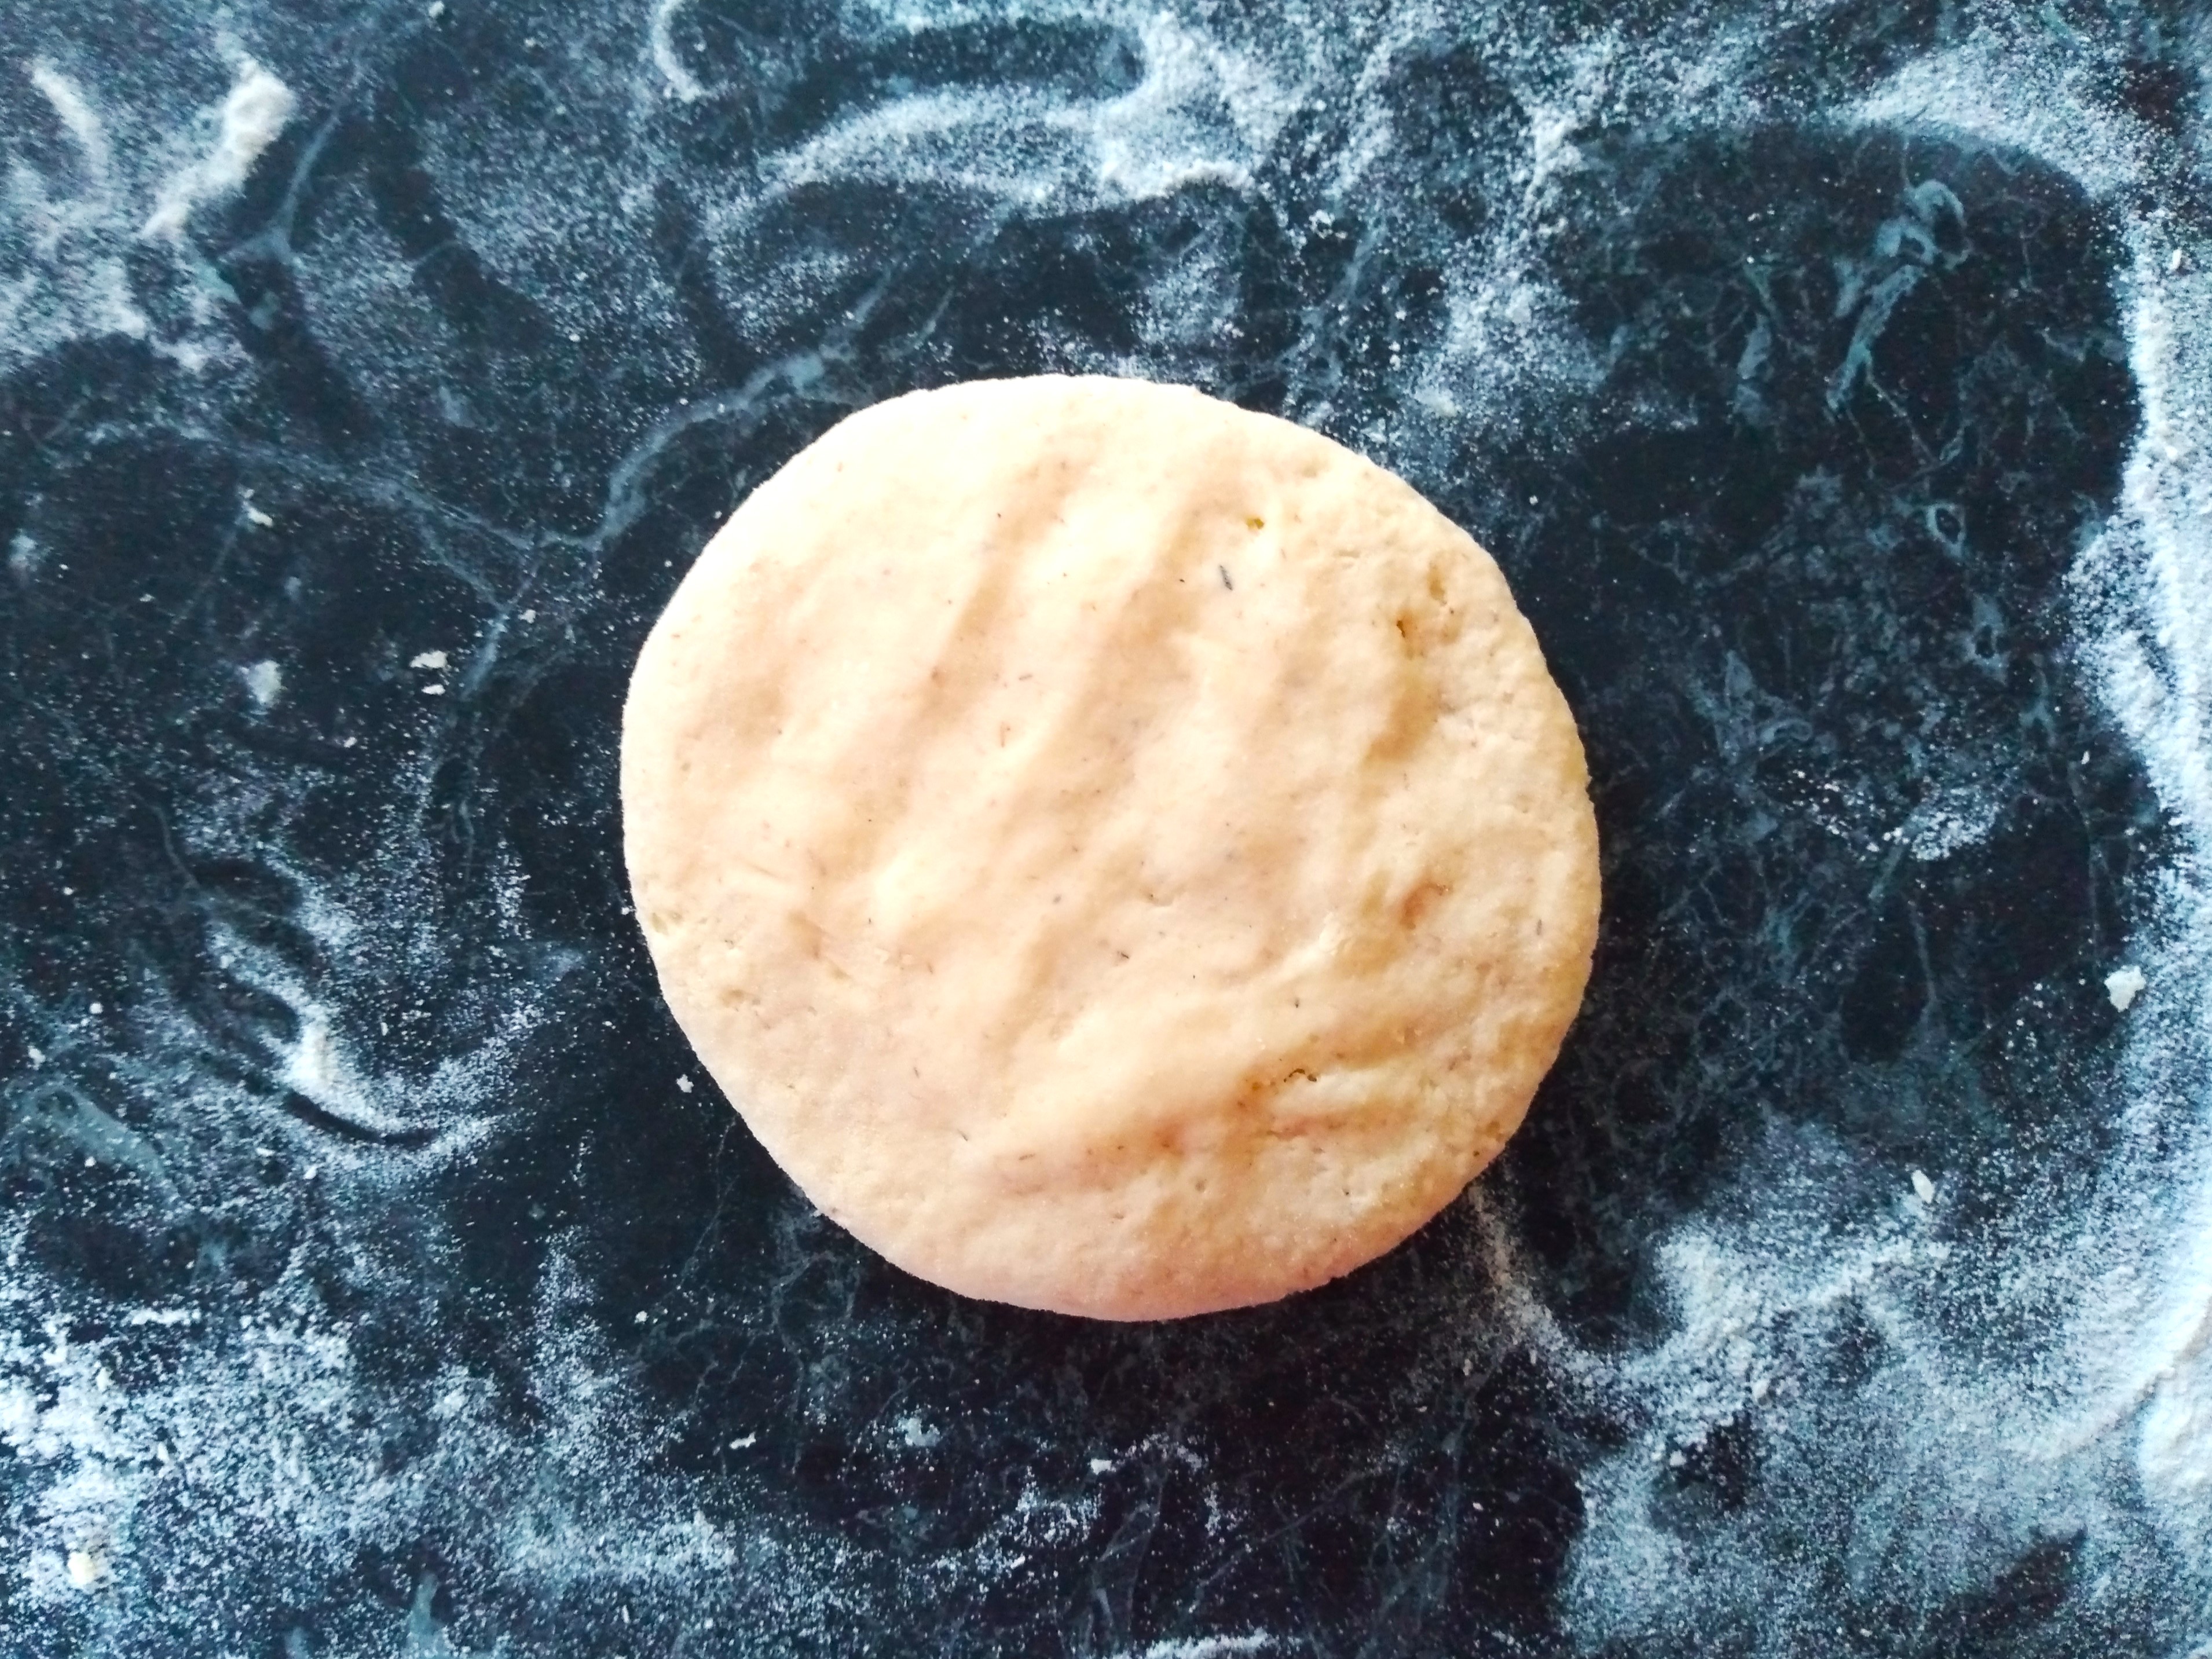
4. Shape and fill each of the 8 pieces of dough with cheese. If you have a preferred way to do this, feel free to use that. This is my method. First, roll each piece of dough into an oval or rectangular shape that is about a half centimetre thick. Place a generous handful of grated cheese into one half of the oval, leaving a margin about 1 to 1 ½ centimetres from the edge with no cheese. Fold the oval in half, placing the half without any cheese over the half with cheese and then crimp the edge tightly to trap in the cheese. Flip the half-oval over and gently shape into a ball and then flatten the ball into a circle with your hands. If cheese starts to escape from the ball or cracks appear, I tend to patch them with bits of dough from the edge of the circle or to flip the circle again, reshape it into a ball and then flatten it again. Continue doing this until you have 8 circles of cheese-filled dough not-naans.
5. Place the dough circles onto a baking tray lined with baking paper, cover them (I usually use a piece of clingfilm beneath a clean cloth or a damp clean cloth) and leave somewhere warm to rise until about one and a half times their original size.
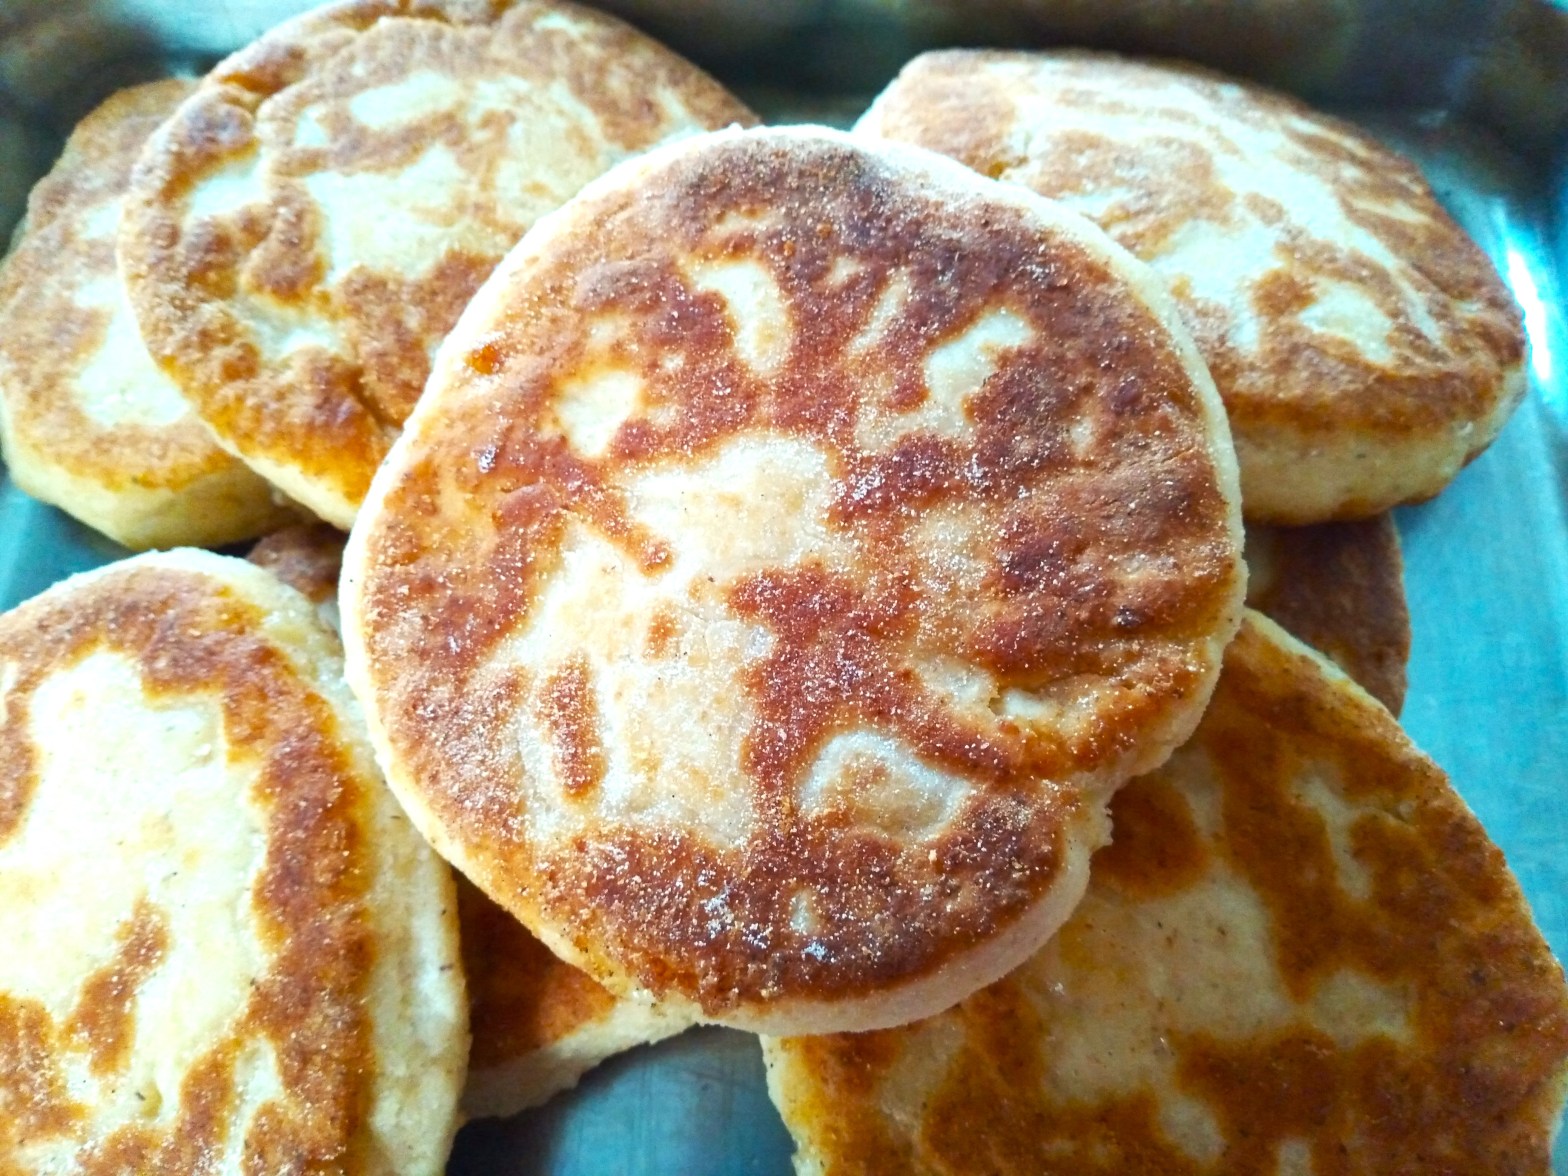
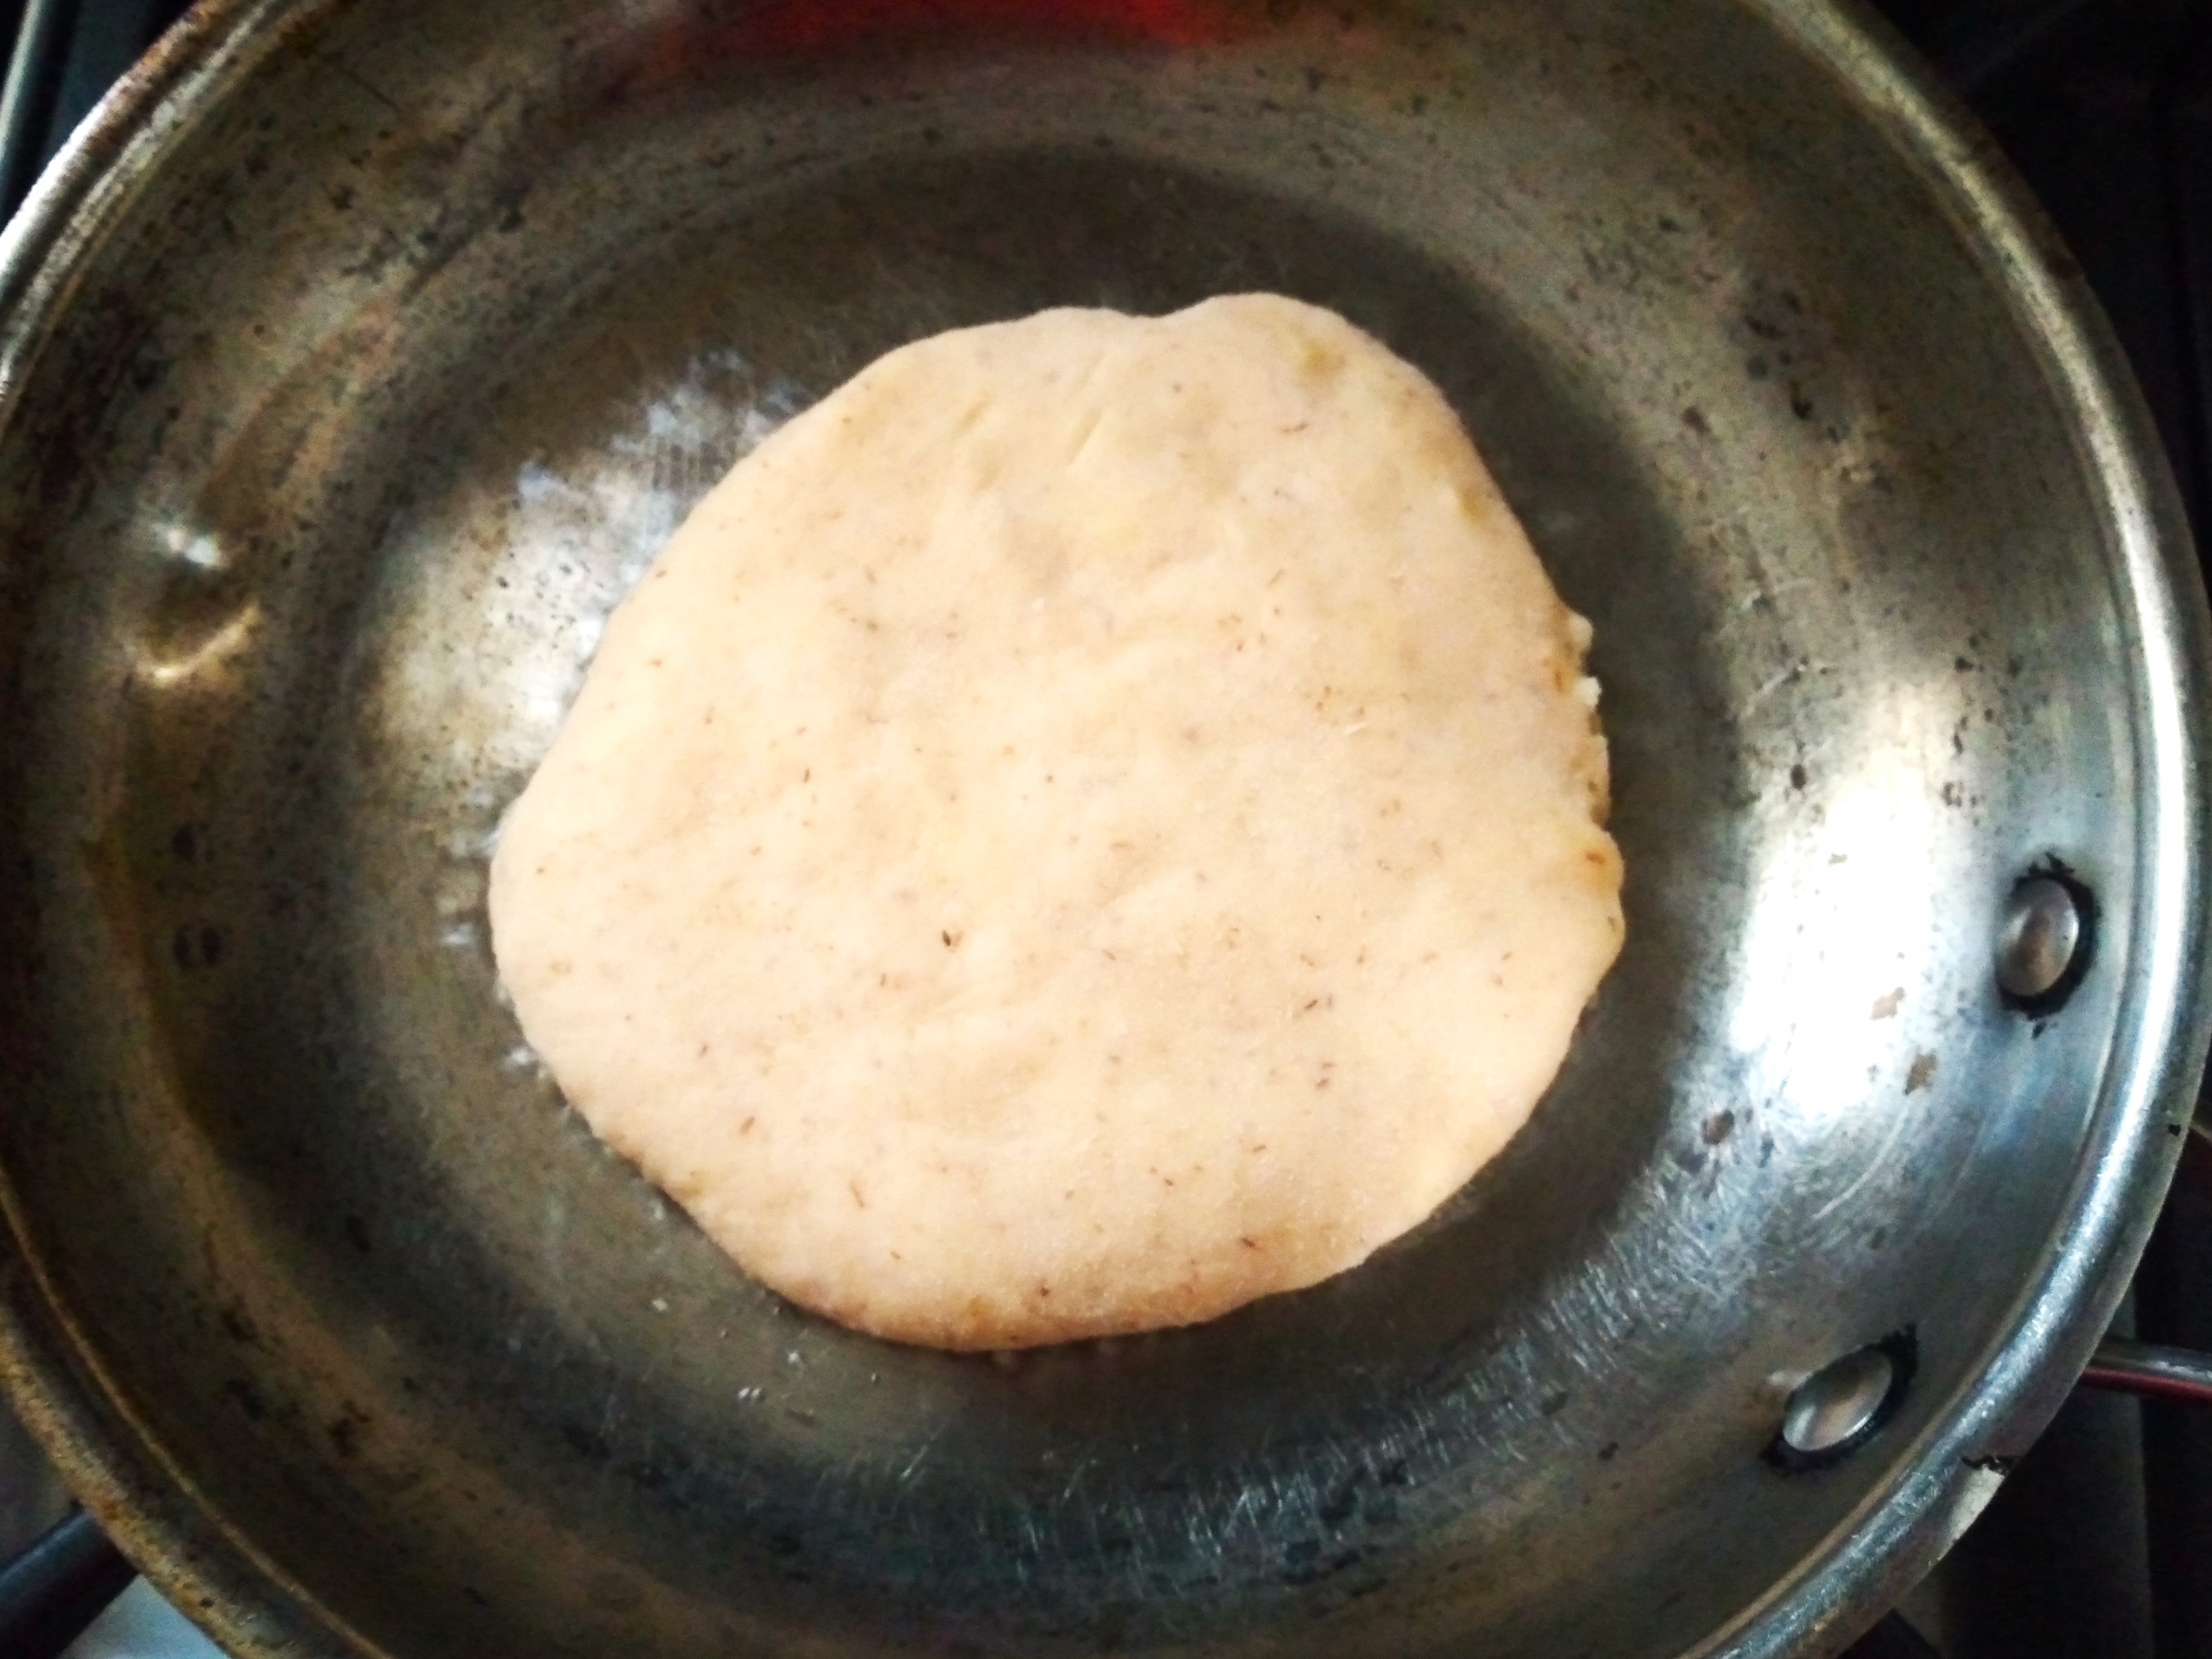
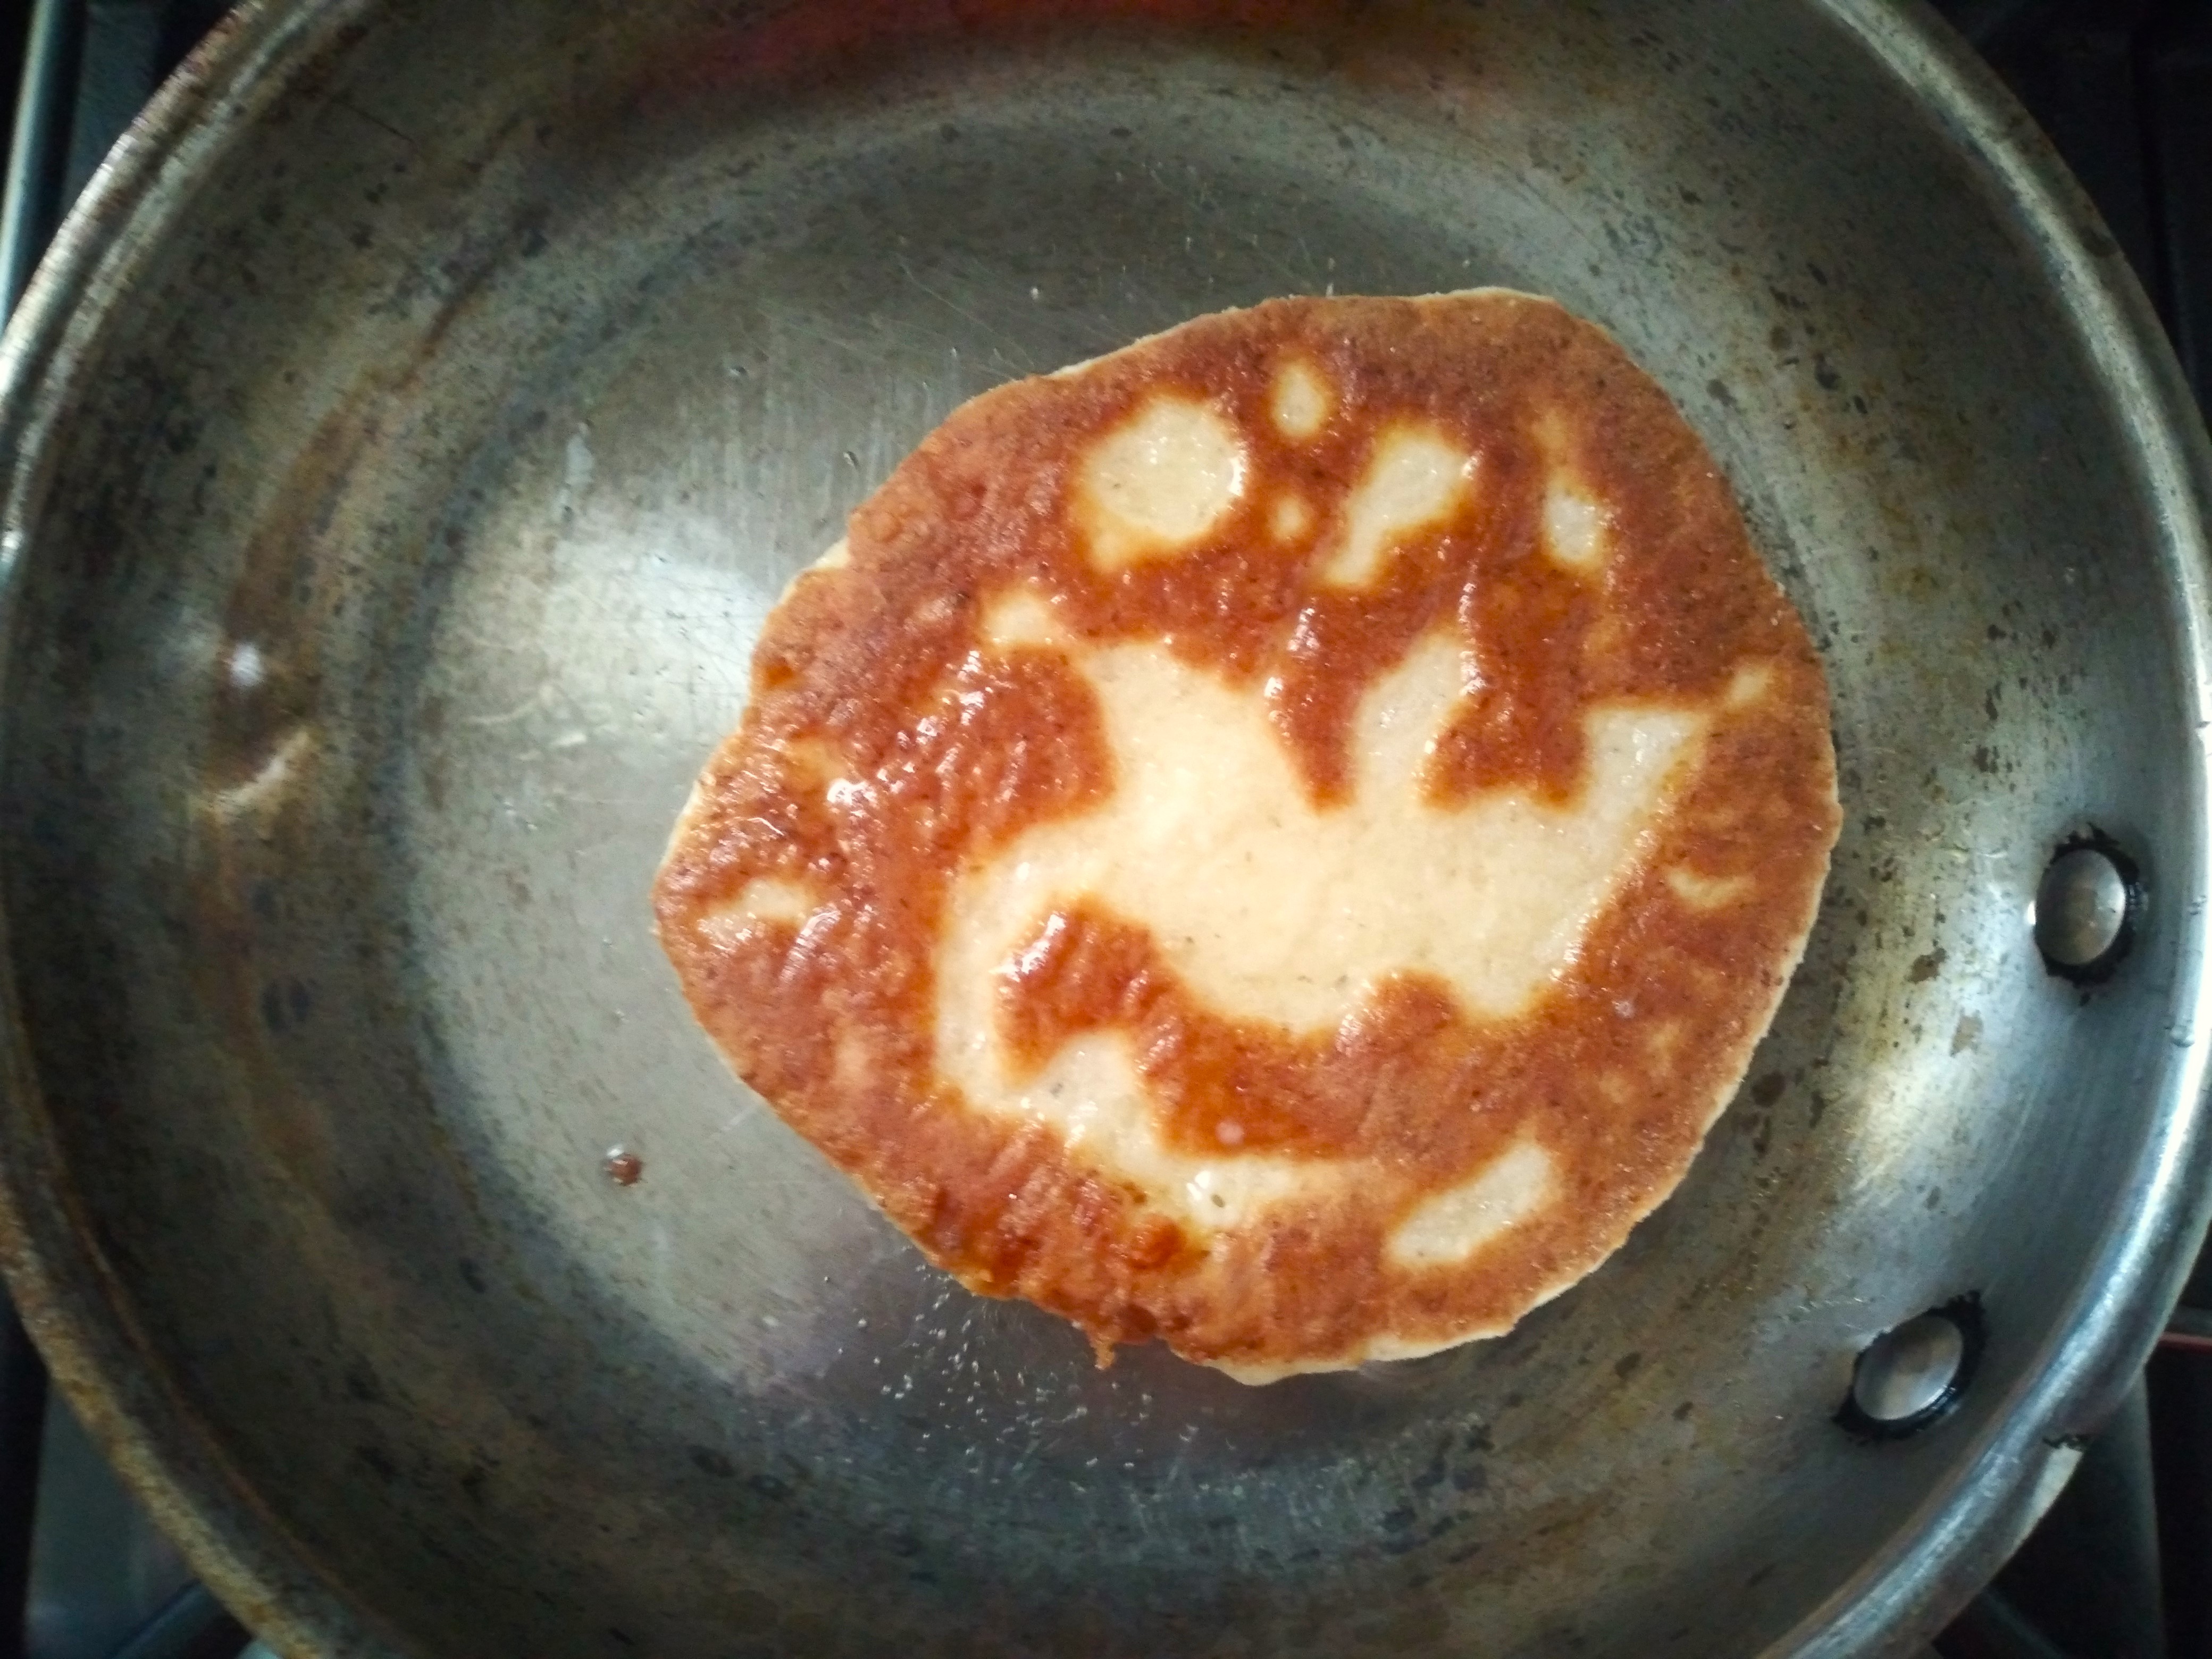
6. Once the dough has risen, heat a small amount of oil in a frying pan until hot and then shallow fry each of the dough circles, turning over once the first side is cooked and golden brown. Try not to let the oil get too hot so there is time for the middle to cook before the outside starts burning. I only have a small frying pan, so do one at a time, but you can do multiple not-naans at once if you have a bigger pan. Keep the cooked ones warm in a low oven while you finish cooking the rest and then serve warm.
7. Enjoy!