GF DF NF V
Yields one loaf
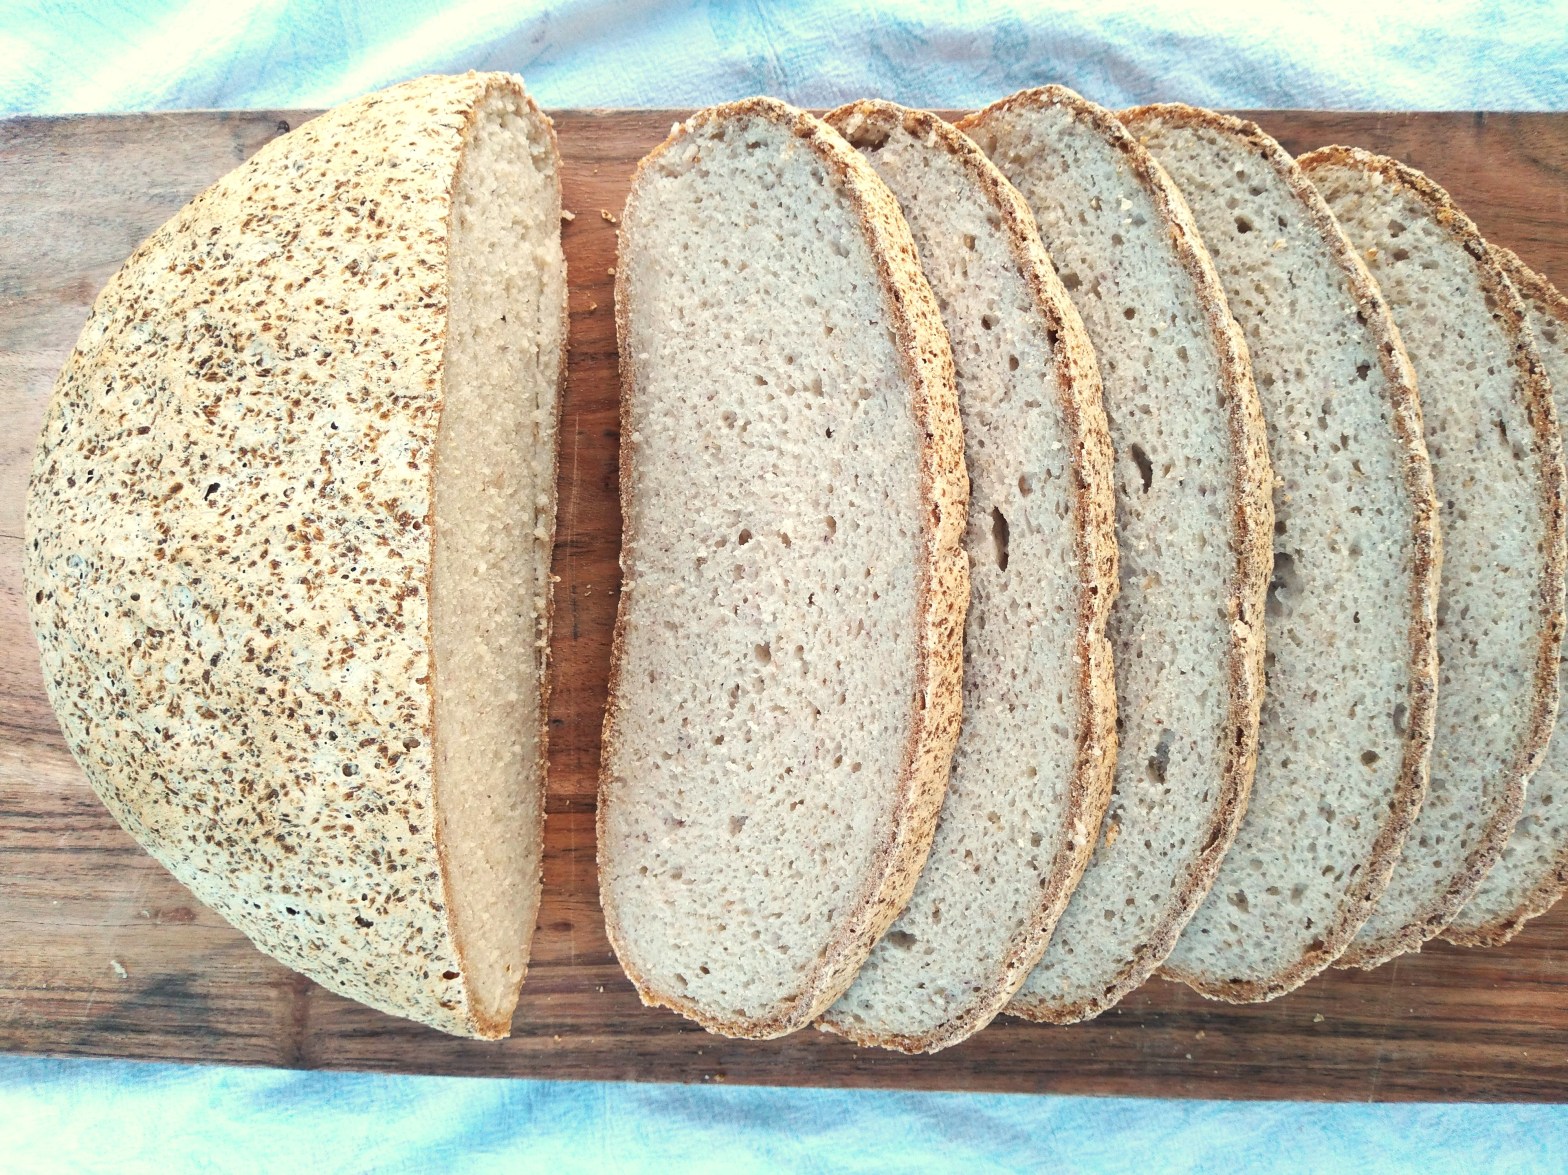
I am so pleased with this bread recipe. It has become our everyday bread. The ingredients cost less than NZ$5 which makes a huge difference in today’s ever-increasingly constrained financial environment. And (particularly!) it tastes like gluten bread, according to my husband who has the joy of being able to eat gluten without constraint. And that is when it is used as bread, not just toasted! Unlike many homemade GF breads, this one can be sliced and eaten whilst still warm (although it will be easier to cut and the texture a bit better if you let it cool first). However, it is still gluten-free bread so if I’d recommend freezing any you don’t use on the day it is made so that it tastes fresh at a later point when you do want it (if you slice it before you freeze it and freeze the slices, you can just defrost what you need as you need it). Be careful not to over-proof the loaf – when I did so during my trials for this recipe, I ended up with a big cave just under the top crust of my loaf!
This makes a small to medium sized free-formed loaf. The cup measurements are all based on a 250 ml cup as equal to one cup. Measure by spooning the ingredients into the cup and then levelling them off with a knife, rather than scooping them straight into the cup.

What you need:
½ cup of brown rice flour
¼ cup of buckwheat flour
¼ cup of chickpea flour
2 cups of cornstarch (also called corn flour in some countries)
½ cup of psyllium husk
1 sachet of instant dry yeast
1 teaspoon of sugar
1 teaspoon of salt
2 cups of lukewarm water
What to do:
1. Line a baking sheet with baking paper.
2. Place all the ingredients for the bread in a large bowl and mix together thoroughly. Once all the ingredients are fully combined, knead the dough for about a minute.
3. Use a dough scraper or spatula to bring all the dough in the bowl together and tip on to a clean work surface. With slightly damp hands, roughly shape the dough into a round loaf shape. Re-wet your hands and then, with flat hands, gently smooth the top of the dough.
4. Carefully lift the shaped dough on to the lined baking sheet (I use a dough scraper or fish slice to lift the dough from my work surface). Re-smooth the top of the dough with slightly damp hands if this is needed.
5. Cover the dough and leave it to rise somewhere warm. I usually cover my dough with a piece of plastic (I cut a plastic freezer bag along 2 sides to make a large, flat sheet of plastic) followed by a clean tea towel. The rising time will depend on how warm the environment is, but you should aim for the dough to rise about 1.5 times its original volume.
6. Once the dough has risen, preheat the oven to 225°C. Once the oven has preheated, place the bread in the middle of the oven for about 40 minutes, or until the outside of the loaf is golden brown and crusty and the bread sounds hollow when tapped.
7. Once baked, remove the bread from the oven and leave to cool on a cooling rack. This bread can be sliced and eaten whilst still warm and left to cool completely and then sliced and frozen for later use.
8. Enjoy!

