GF NF
Yields 15 biscuits
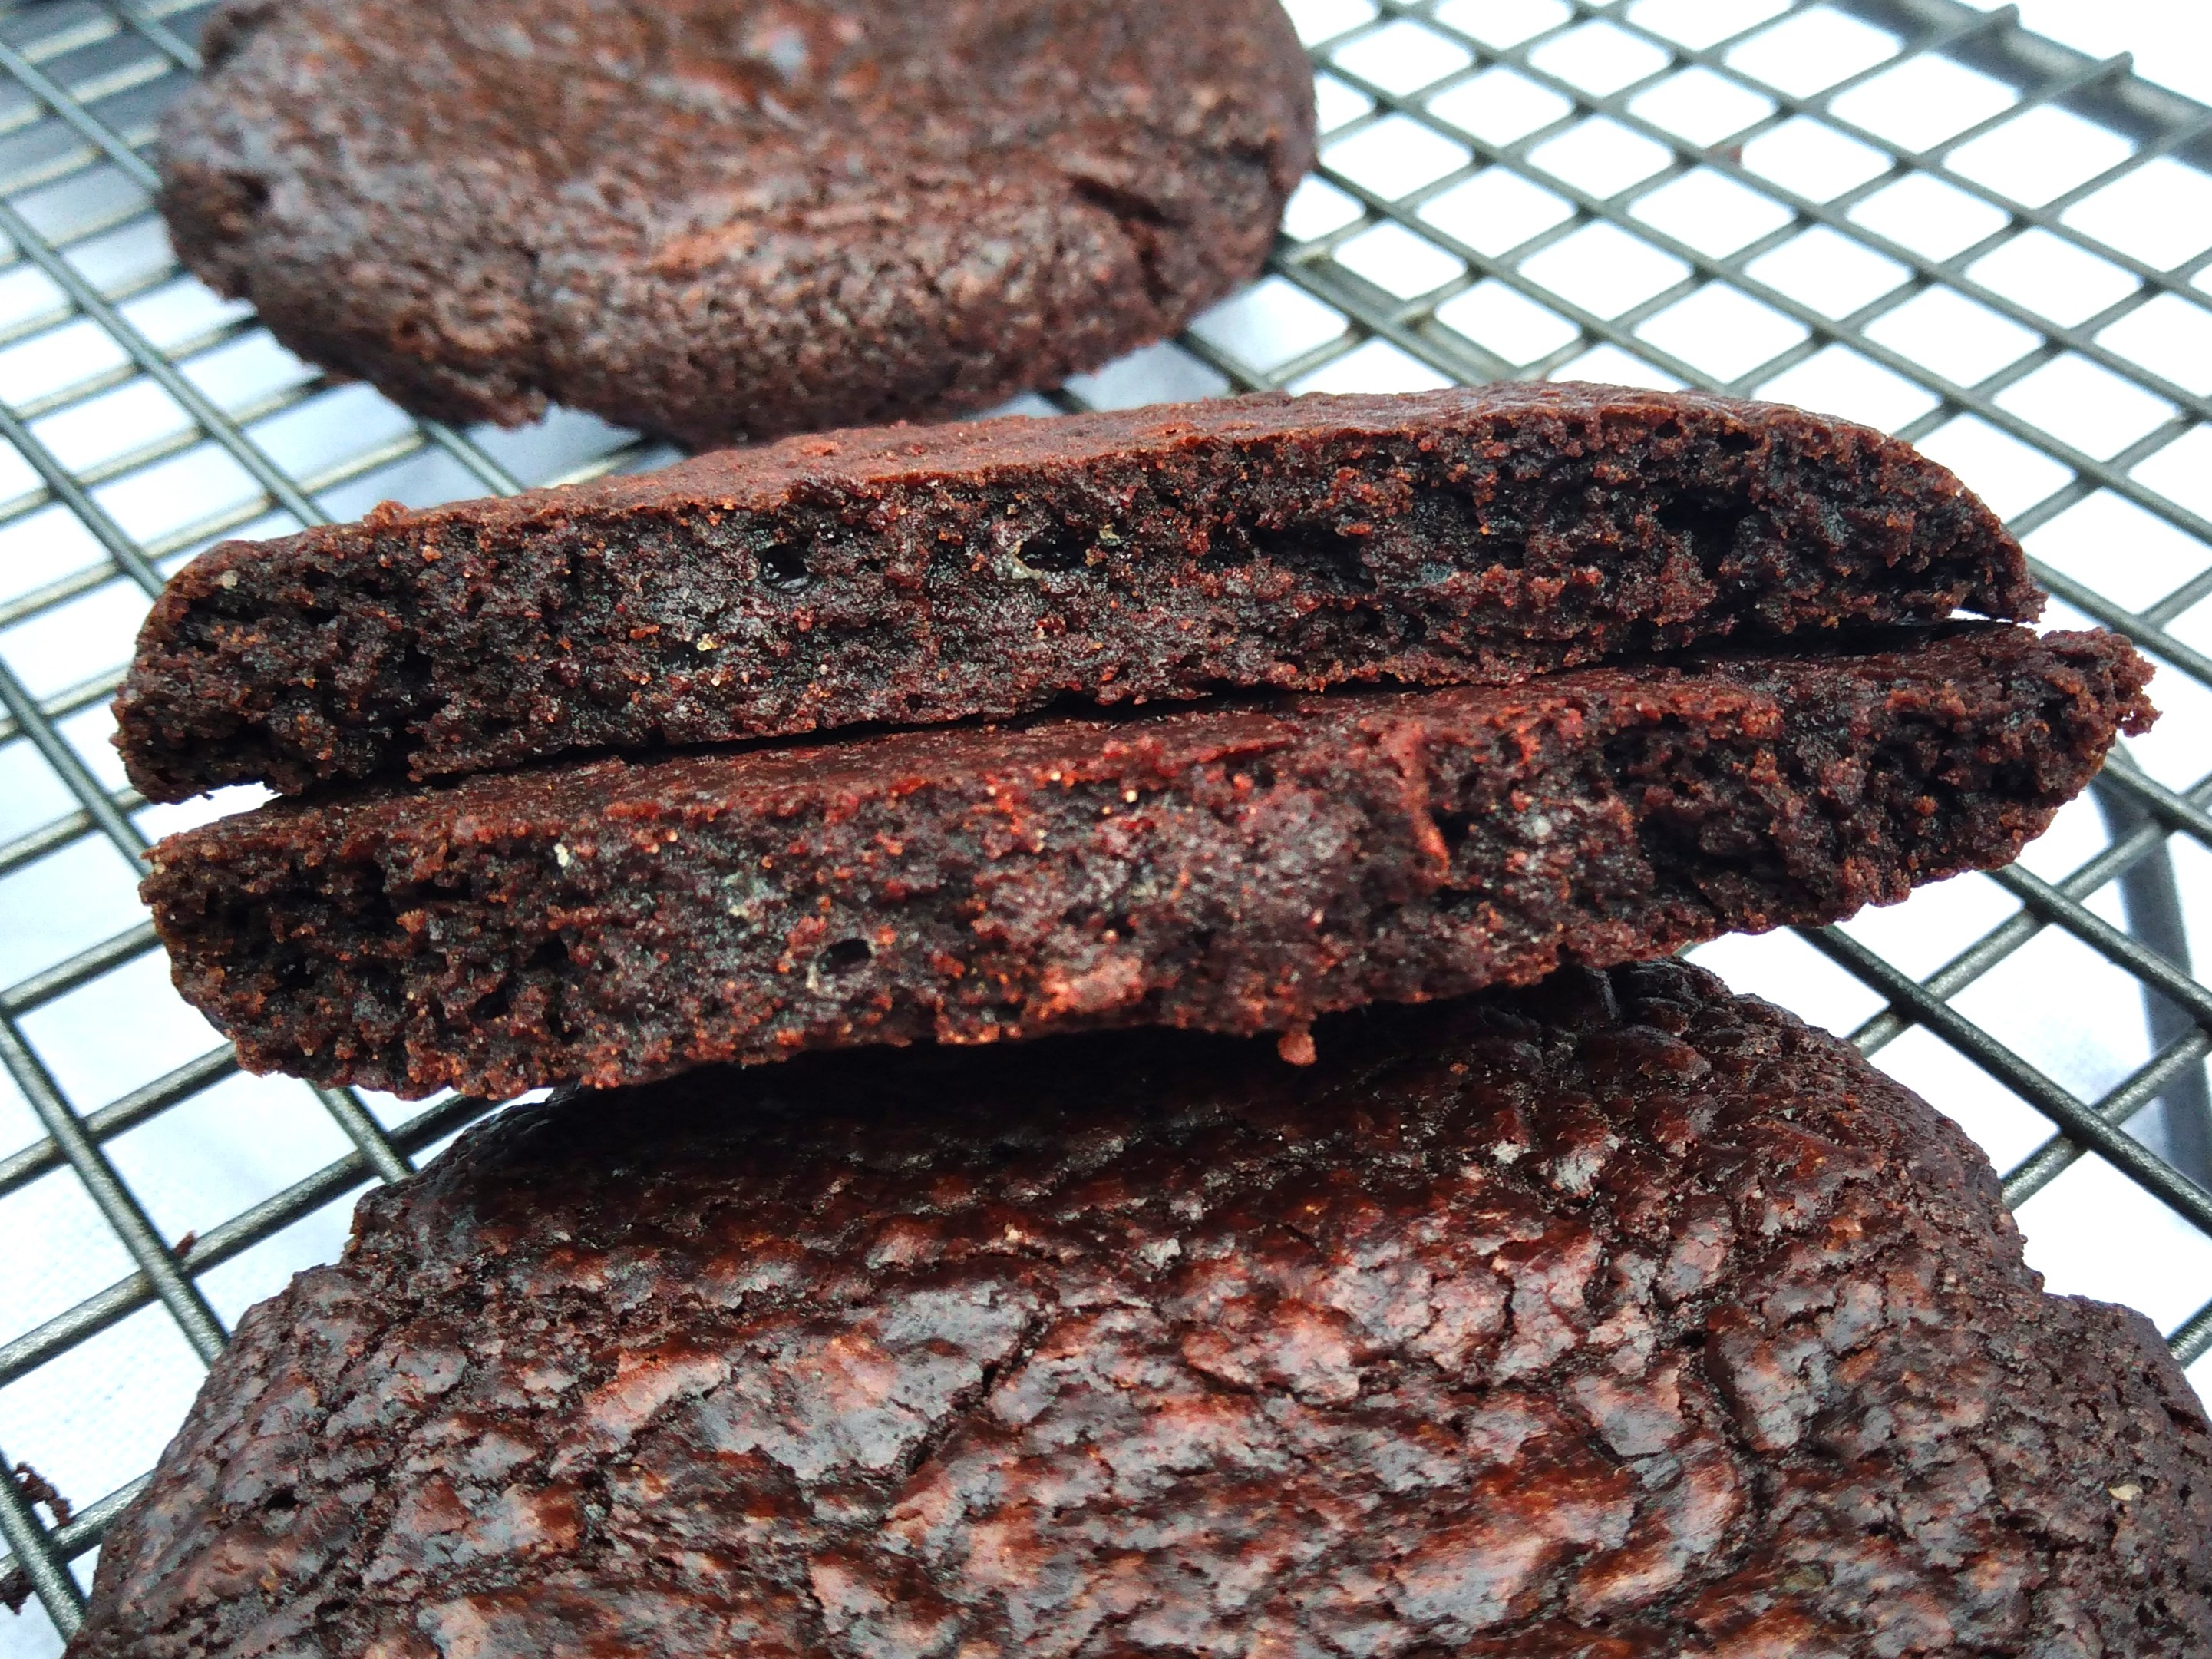
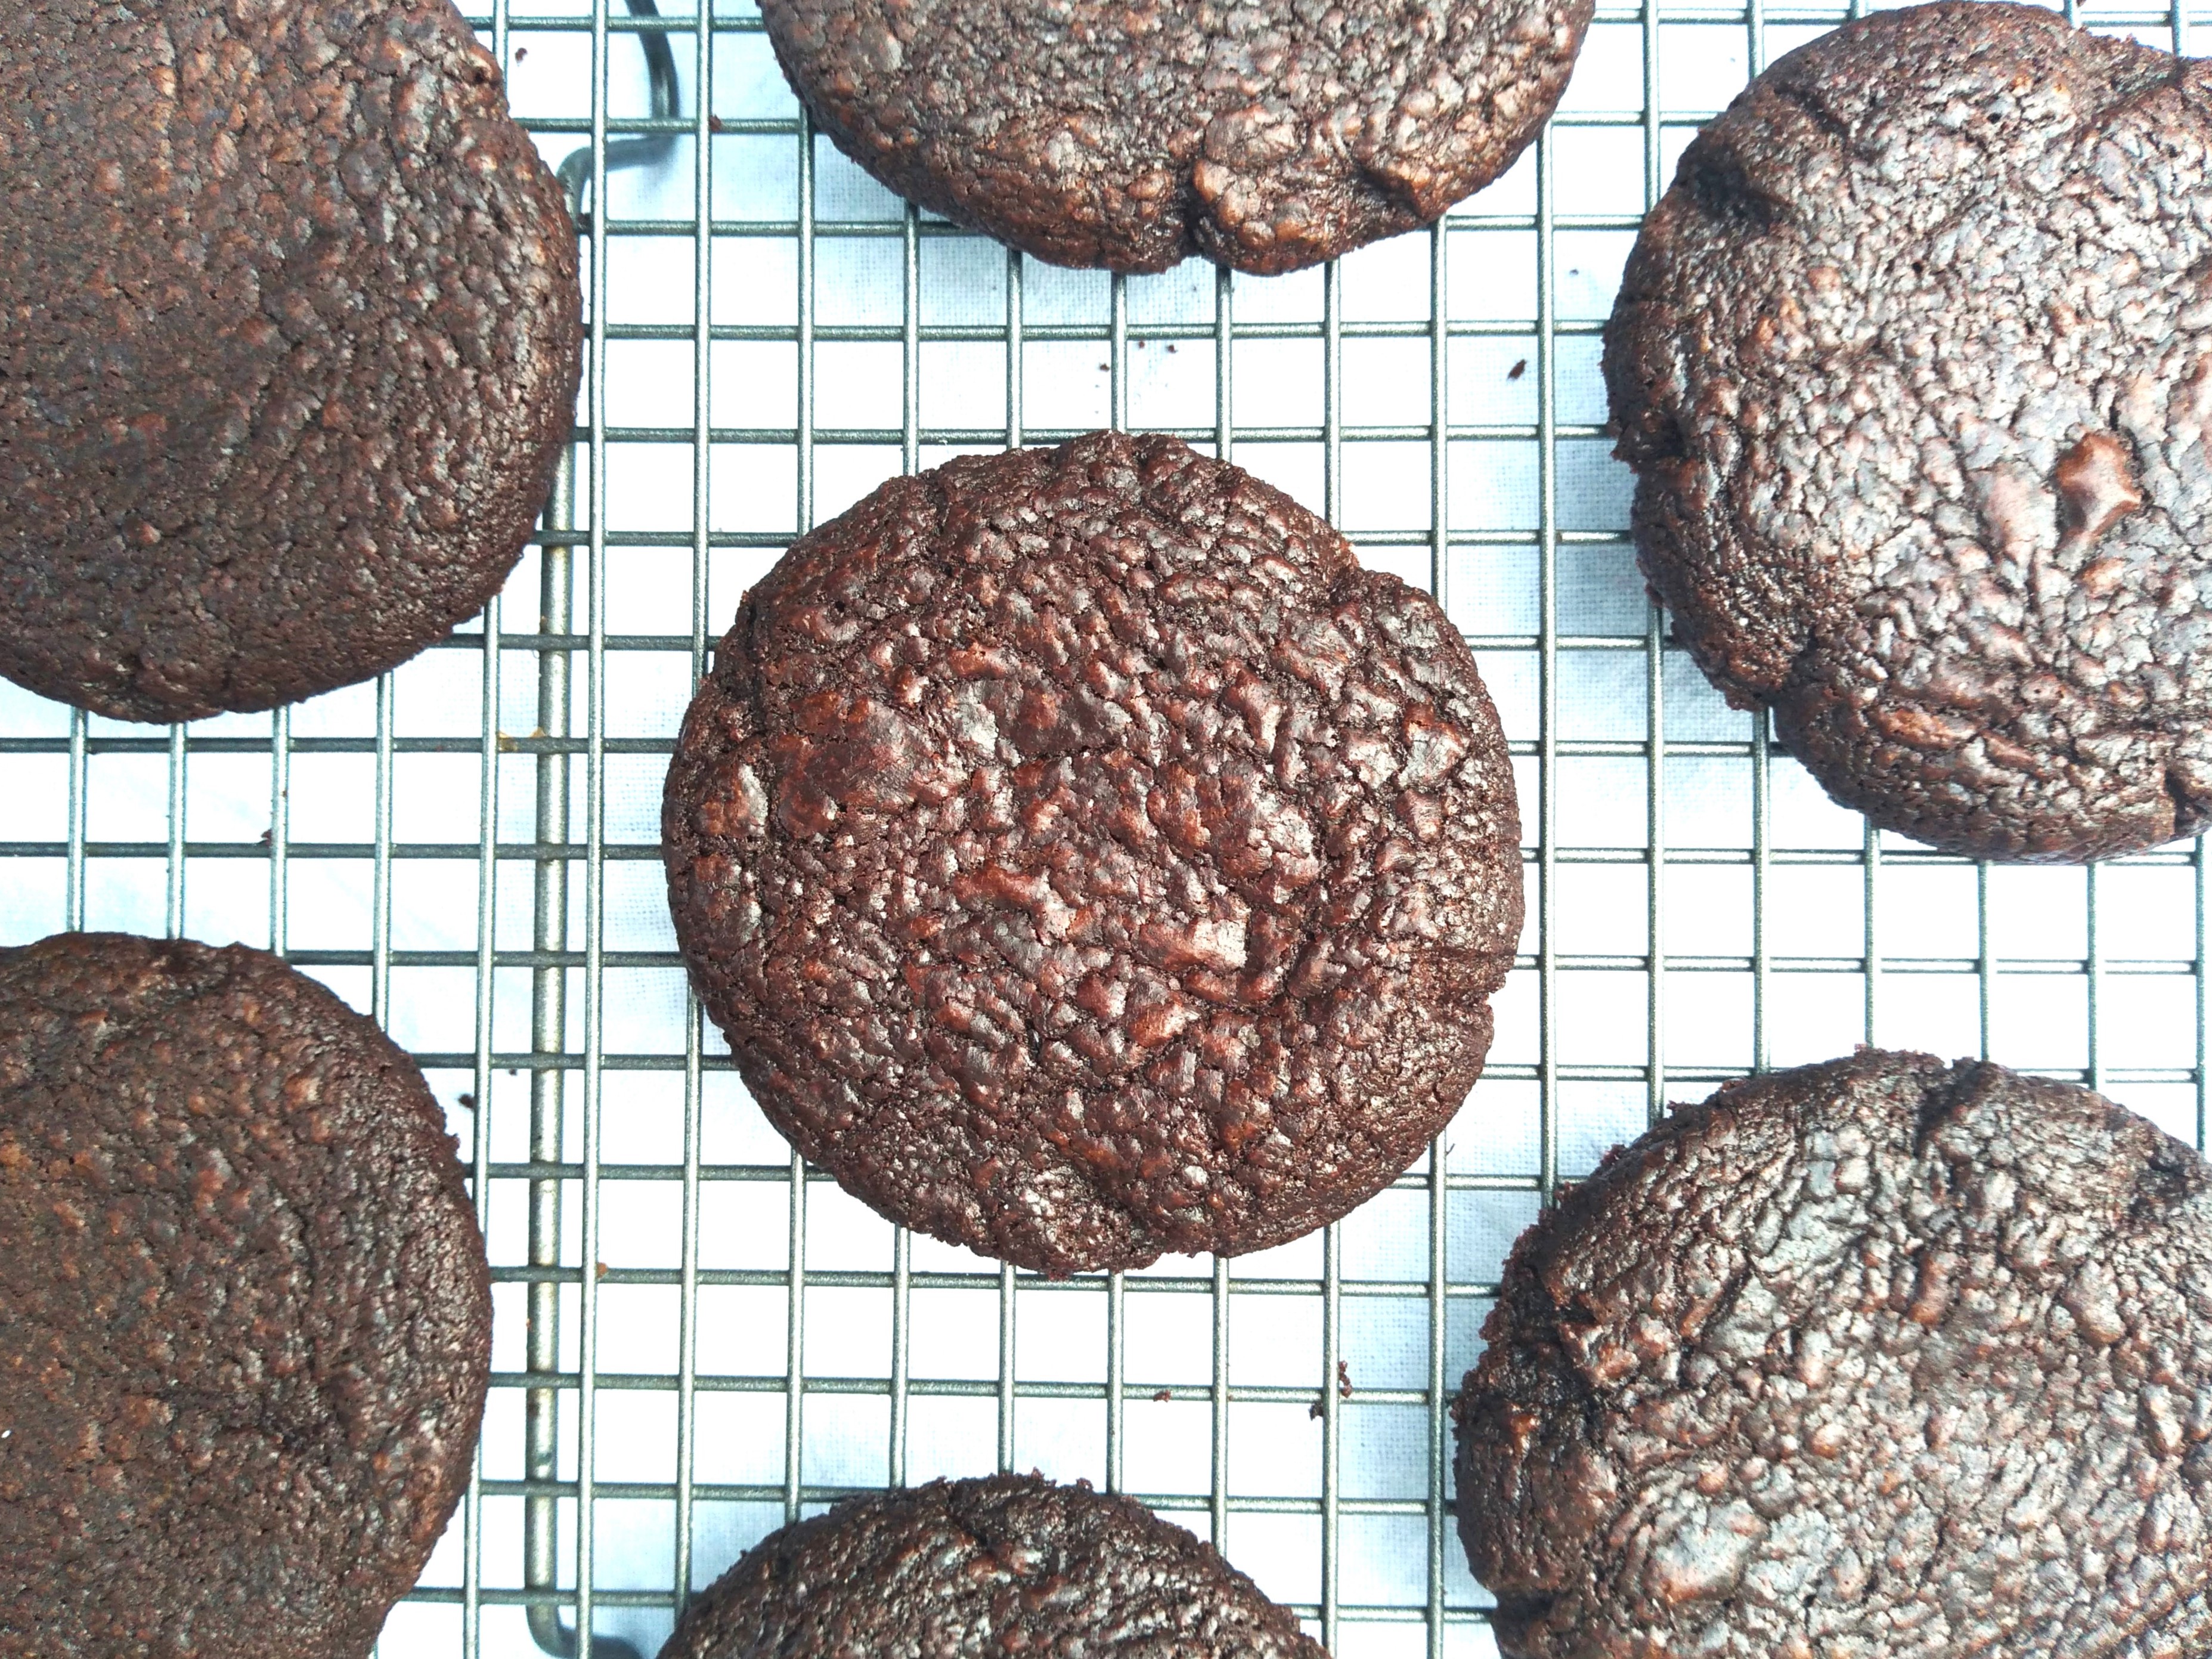
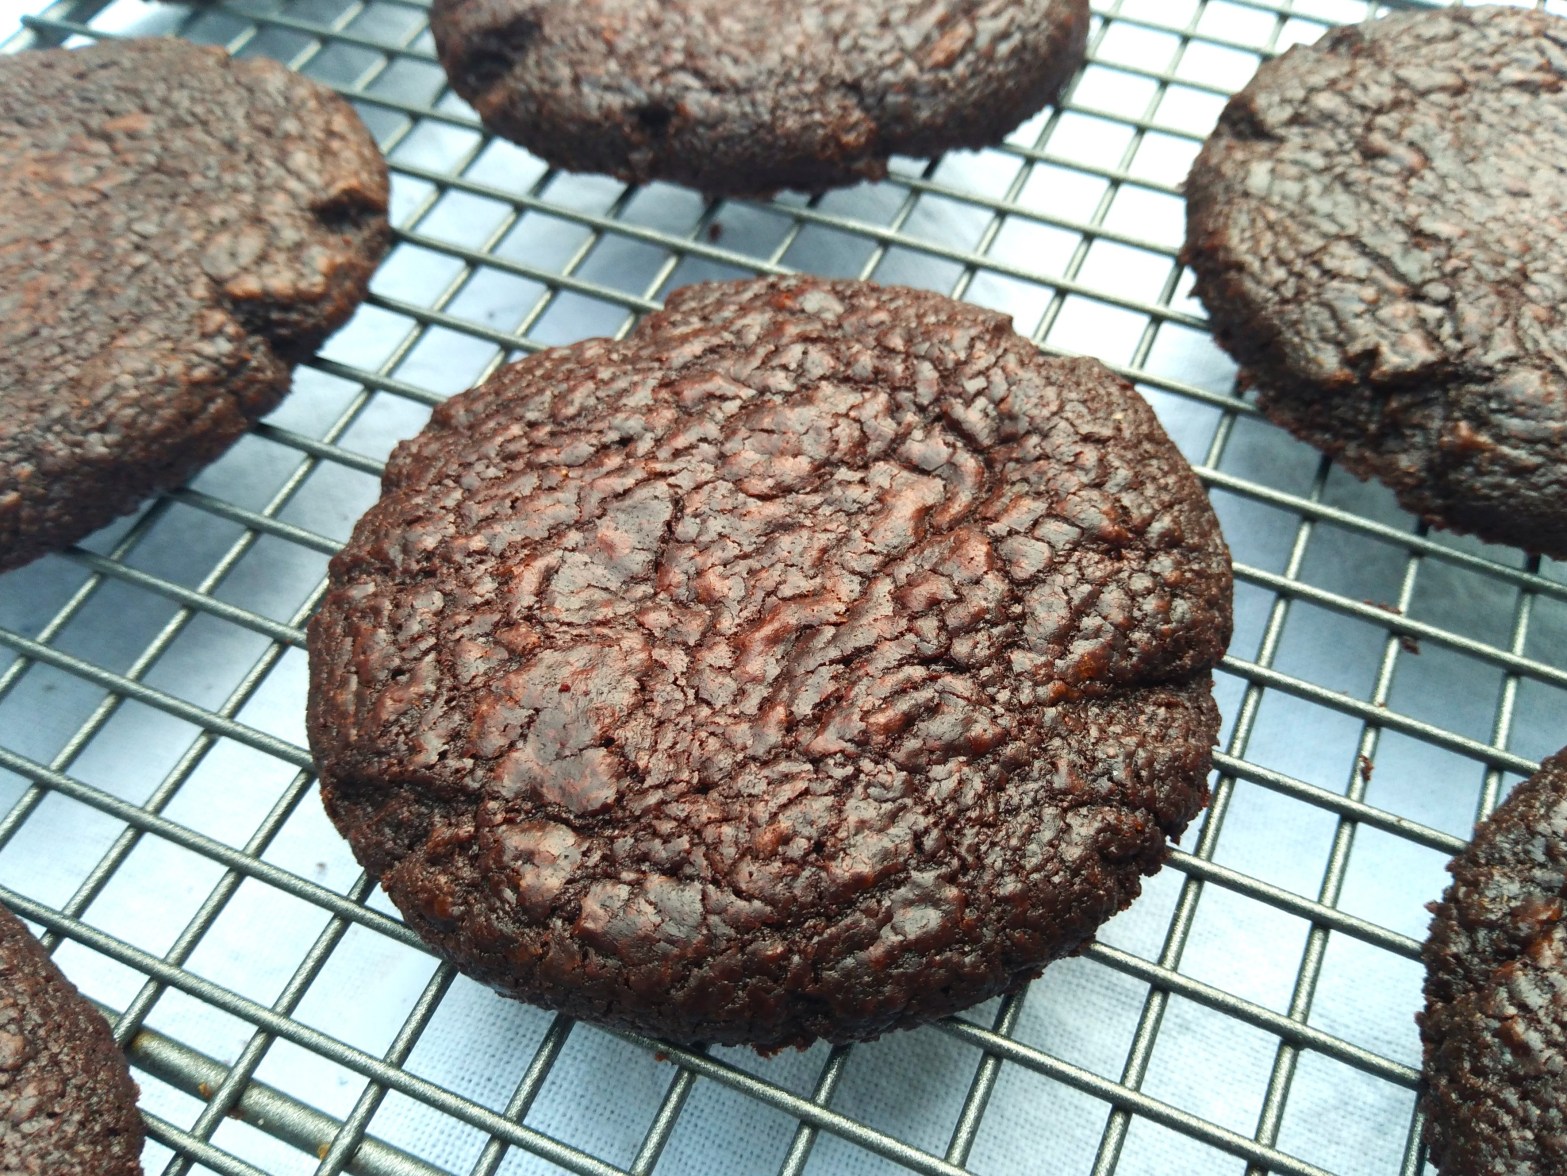
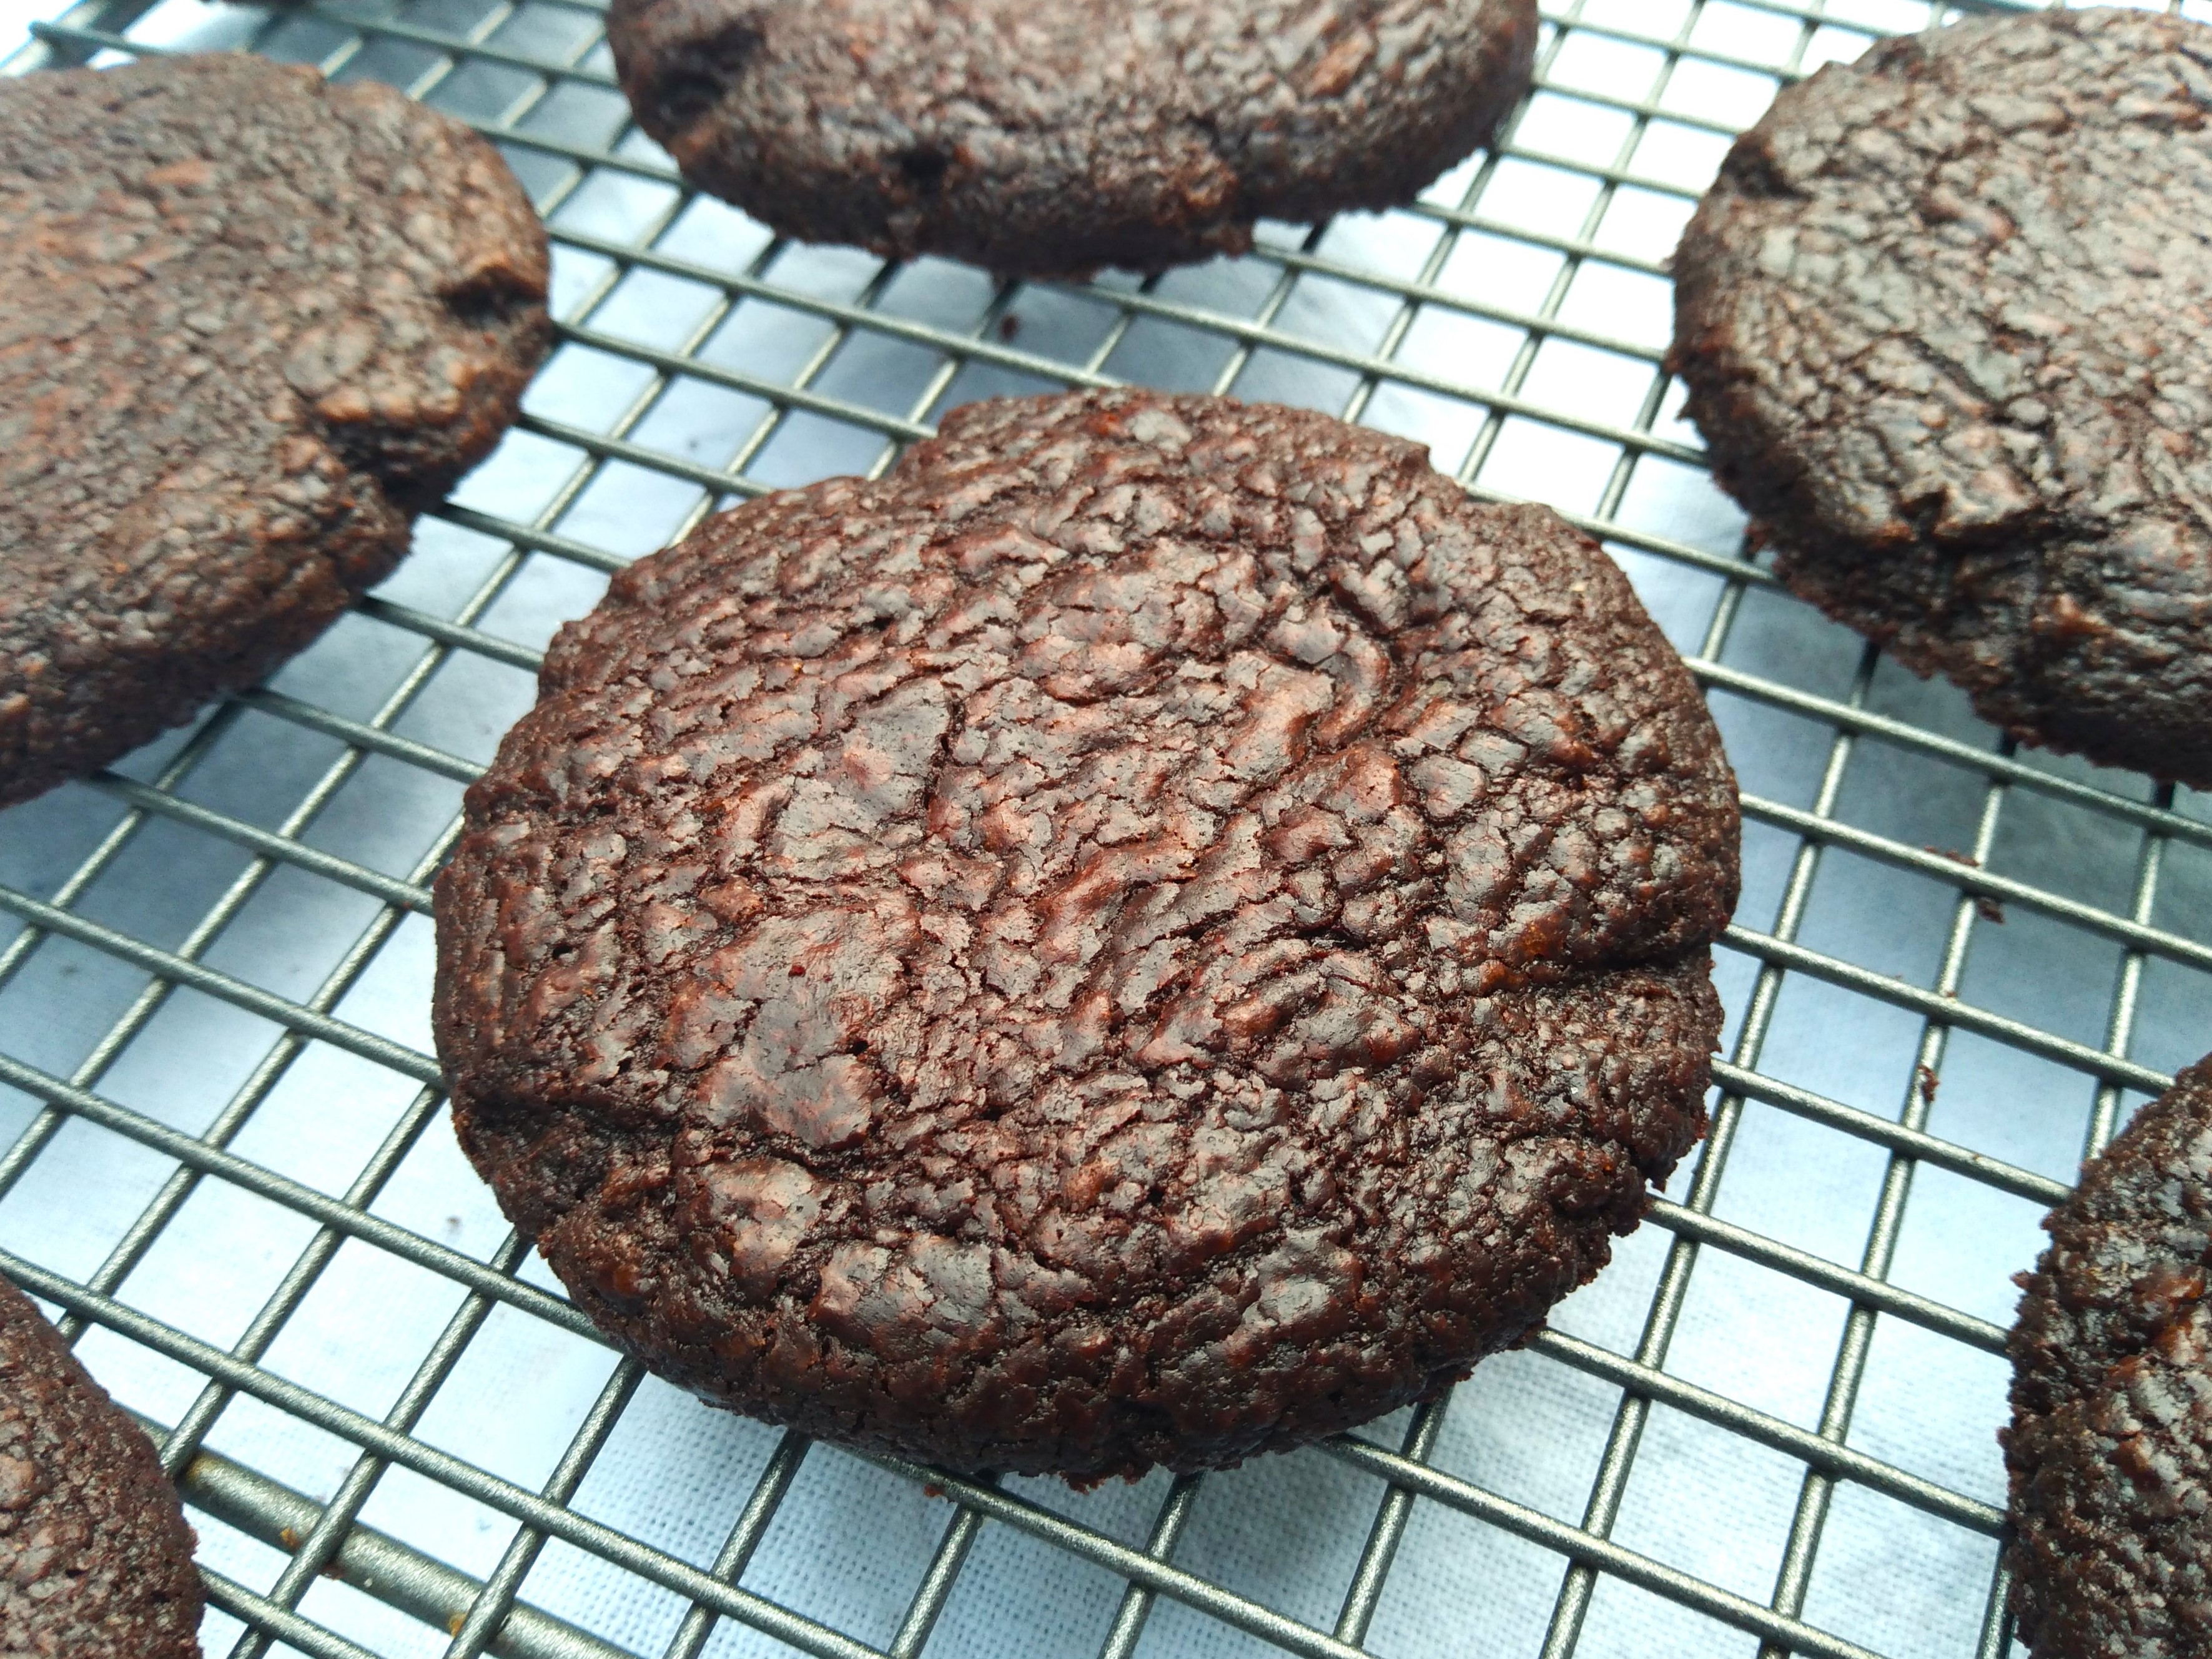
These biscuits (or cookies if you hail from a different part of the world to me!) are rich, deeply chocolatey and fudgy. When I first started developing this recipe I thought it would be easy. I was wrong and I have lost count of the number of iterations I have produced, each with small tweaks to make these as good as I can. As the name implies, the texture of these biscuits is mostly fudgy, but if you prefer very crispy edges, they can be baked for up to 10 minutes instead of the 7 minutes given in the recipe below. For best results, the dough should be left to rest and chill overnight before being baked but if you want these biscuits sooner than that I’d recommend chilling the dough for a minimum of 2 hours before using it. The measurements below are based on a 250 ml cup as equal to 1 cup. To make these extra delicious, smear a little bit of sour cream over the top of each biscuit before you eat it – so yum!
What you need:
¾ cup of butter
1 cup of light brown sugar
¾ cup of cocoa powder
¾ cup of cornflour (also called cornstarch in some countries)
¼ teaspoon of salt (add more if your butter is unsalted)
1 tablespoon of vanilla essence
1 egg
What to do:
1. Place the butter and sugar together in a medium-sized saucepan and heat over a medium heat, stirring regularly, until the butter and sugar have all melted.
2. Once the butter and sugar have melted, continue stirring in the pan over a medium heat until they have combined fully into a thick syrup and bubbles are forming around the edges of the saucepan. Once this happens, remove the saucepan from the heat.
3. Pour the melted butter and sugar mixture into a large bowl, add the cocoa powder, cornflour and salt to the bowl and mix everything together thoroughly for at least 1 to 2 minutes. I use my stand mixer for this, but an electric hand mixer would also work well.
4. Add the vanilla essence and egg to the bowl and beat together slowly until the vanilla and egg have combined with the ingredients already in the bowl. Once this happens, mix everything together on high speed for 4 to 5 minutes.
5. When you finish mixing the dough, cover the bowl with a plate or plastic wrap and leave in the fridge overnight to rest and chill.
6. When you are ready to bake the biscuits, turn the oven on to 180°C to preheat. Line a baking sheet with baking paper ready to bake the biscuits.
7. Divide the dough into 15 equal portions. I used a 1/8 cup measure (or 2 tablespoons) to measure each portion. Roll each portion into a ball. Place one ball on the lined baking sheet and press it down with your hand or the flat bottom of a glass into a rough circle shape about 1 cm high. Repeat this process, leaving about 5 cm between each circle of dough, until the baking sheet is full.
8. Once the baking sheet is full, bake the biscuits in the middle of the preheated oven for about 7 minutes or until you can smell the baking biscuits and they look done on inspection. Only bake one sheet of biscuits at a time.
9. Once the biscuits on the baking sheet have finished baking, remove the baking sheet from the oven and leave to cool for 5 to 10 minutes, or until you can remove the biscuits from the baking sheet to a cooling rack with a fish slice without the biscuit falling apart.
10. Once the baked biscuits are all on the cooling rack, place some of the remaining balls of dough on the lined baking sheet (there is no need to change the baking paper, provided you don’t leave any visible biscuit crumbs on the paper), press them into circles and bake and cool as above. Repeat this process, baking only one sheet of biscuits at a time in the oven, until all the dough has been used up.
11. Once the biscuits are cool, store in an airtight container at room temperature (or in a cool place if your ambient temperature is very warm) and eat within a few days.
12. Enjoy!