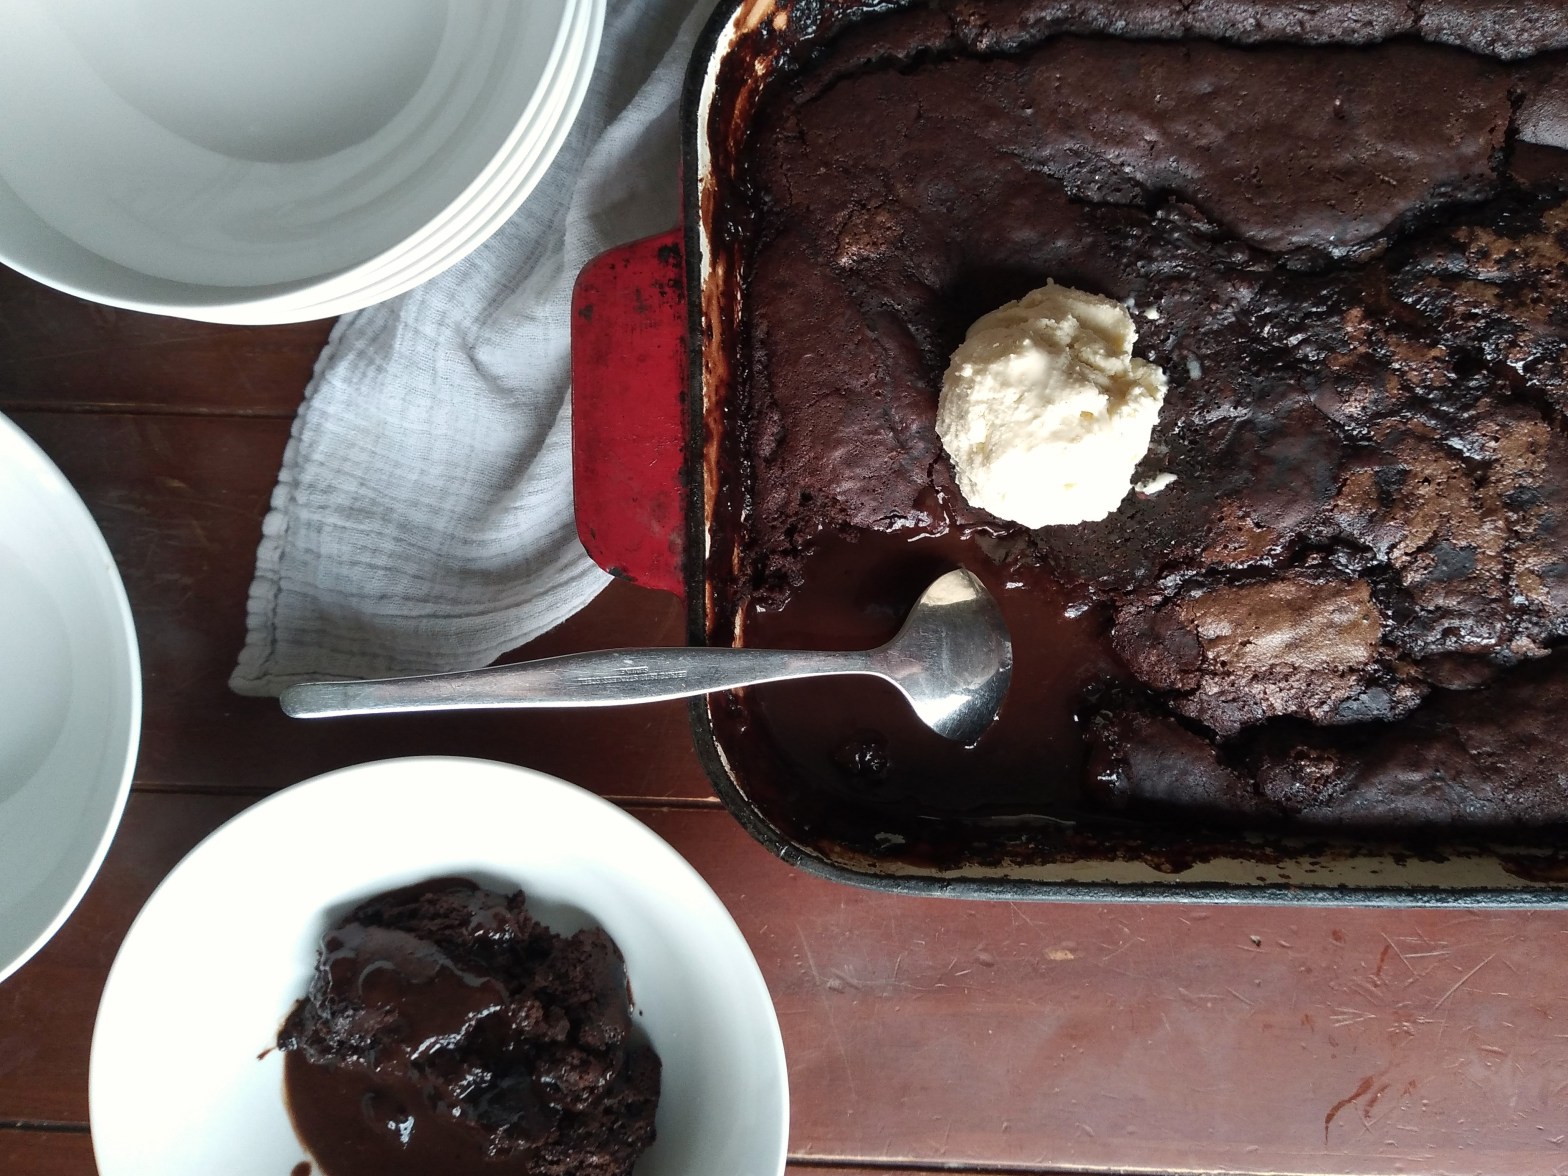
I have no American ancestry that I am aware of, but my favourite cookbook growing up was an old American “Fannie Farmer Cookbook” that my Mum had been given as a wedding present. Just about everything we baked came from that book of easy recipes (which probably also explains my preference for cups, as opposed to measuring by weight which my English ancestry should dictate!). My favourite pudding from that book was “Denver Chocolate Pudding” and I had thought that going gluten free with my coeliac diagnosis spelled the end of my relationship with Denver Chocolate Pudding. But, delightfully, it has not and, after much experimentation during which way too much chocolate pudding was eaten, I have come up with this. And I also have suggestions to make it vegan, thanks to making it for a church event that included vegans. This pudding can be baked and then refrigerated to reheat in the oven later the same day or the next day if needed and works great if you need to double it (I have even multiplied the recipe by 5 and divided the huge amount of batter across 3 large baking trays successfully!). As written below, this pudding serves about 8 people and is best accompanied with cream or vanilla ice cream. As usual, 1 cup is equal to 250 mls.

What you need for the cake part:
¼ cup of butter (for vegan/dairy free, use a dairy free soft spread – I used Olivani) + extra for greasing the pan
1/3 cup of brown sugar
1/3 cup of white sugar
1/2 cup of cocoa powder
¼ cup of white rice flour
½ of tapioca starch
2 teaspoons of baking powder (check gluten free)
¼ teaspoon of salt
½ cup of milk (for vegan/dairy free, use soy milk or almond milk)
1 teaspoon of vanilla essence
What you need for the sauce part:
1/3 cup of brown sugar
1/3 cup of white sugar
¼ cup of cocoa powder
1 ½ cups of room temperature water
What to do for the cake part:
1. Turn the oven on to 180°C fan to pre-heat and lightly grease a small baking pan (I often use a 9 inch x 9 inch pan but the recipe is pretty forgiving if you use a different size – just make sure the sides are quite high if you use one that size or smaller).
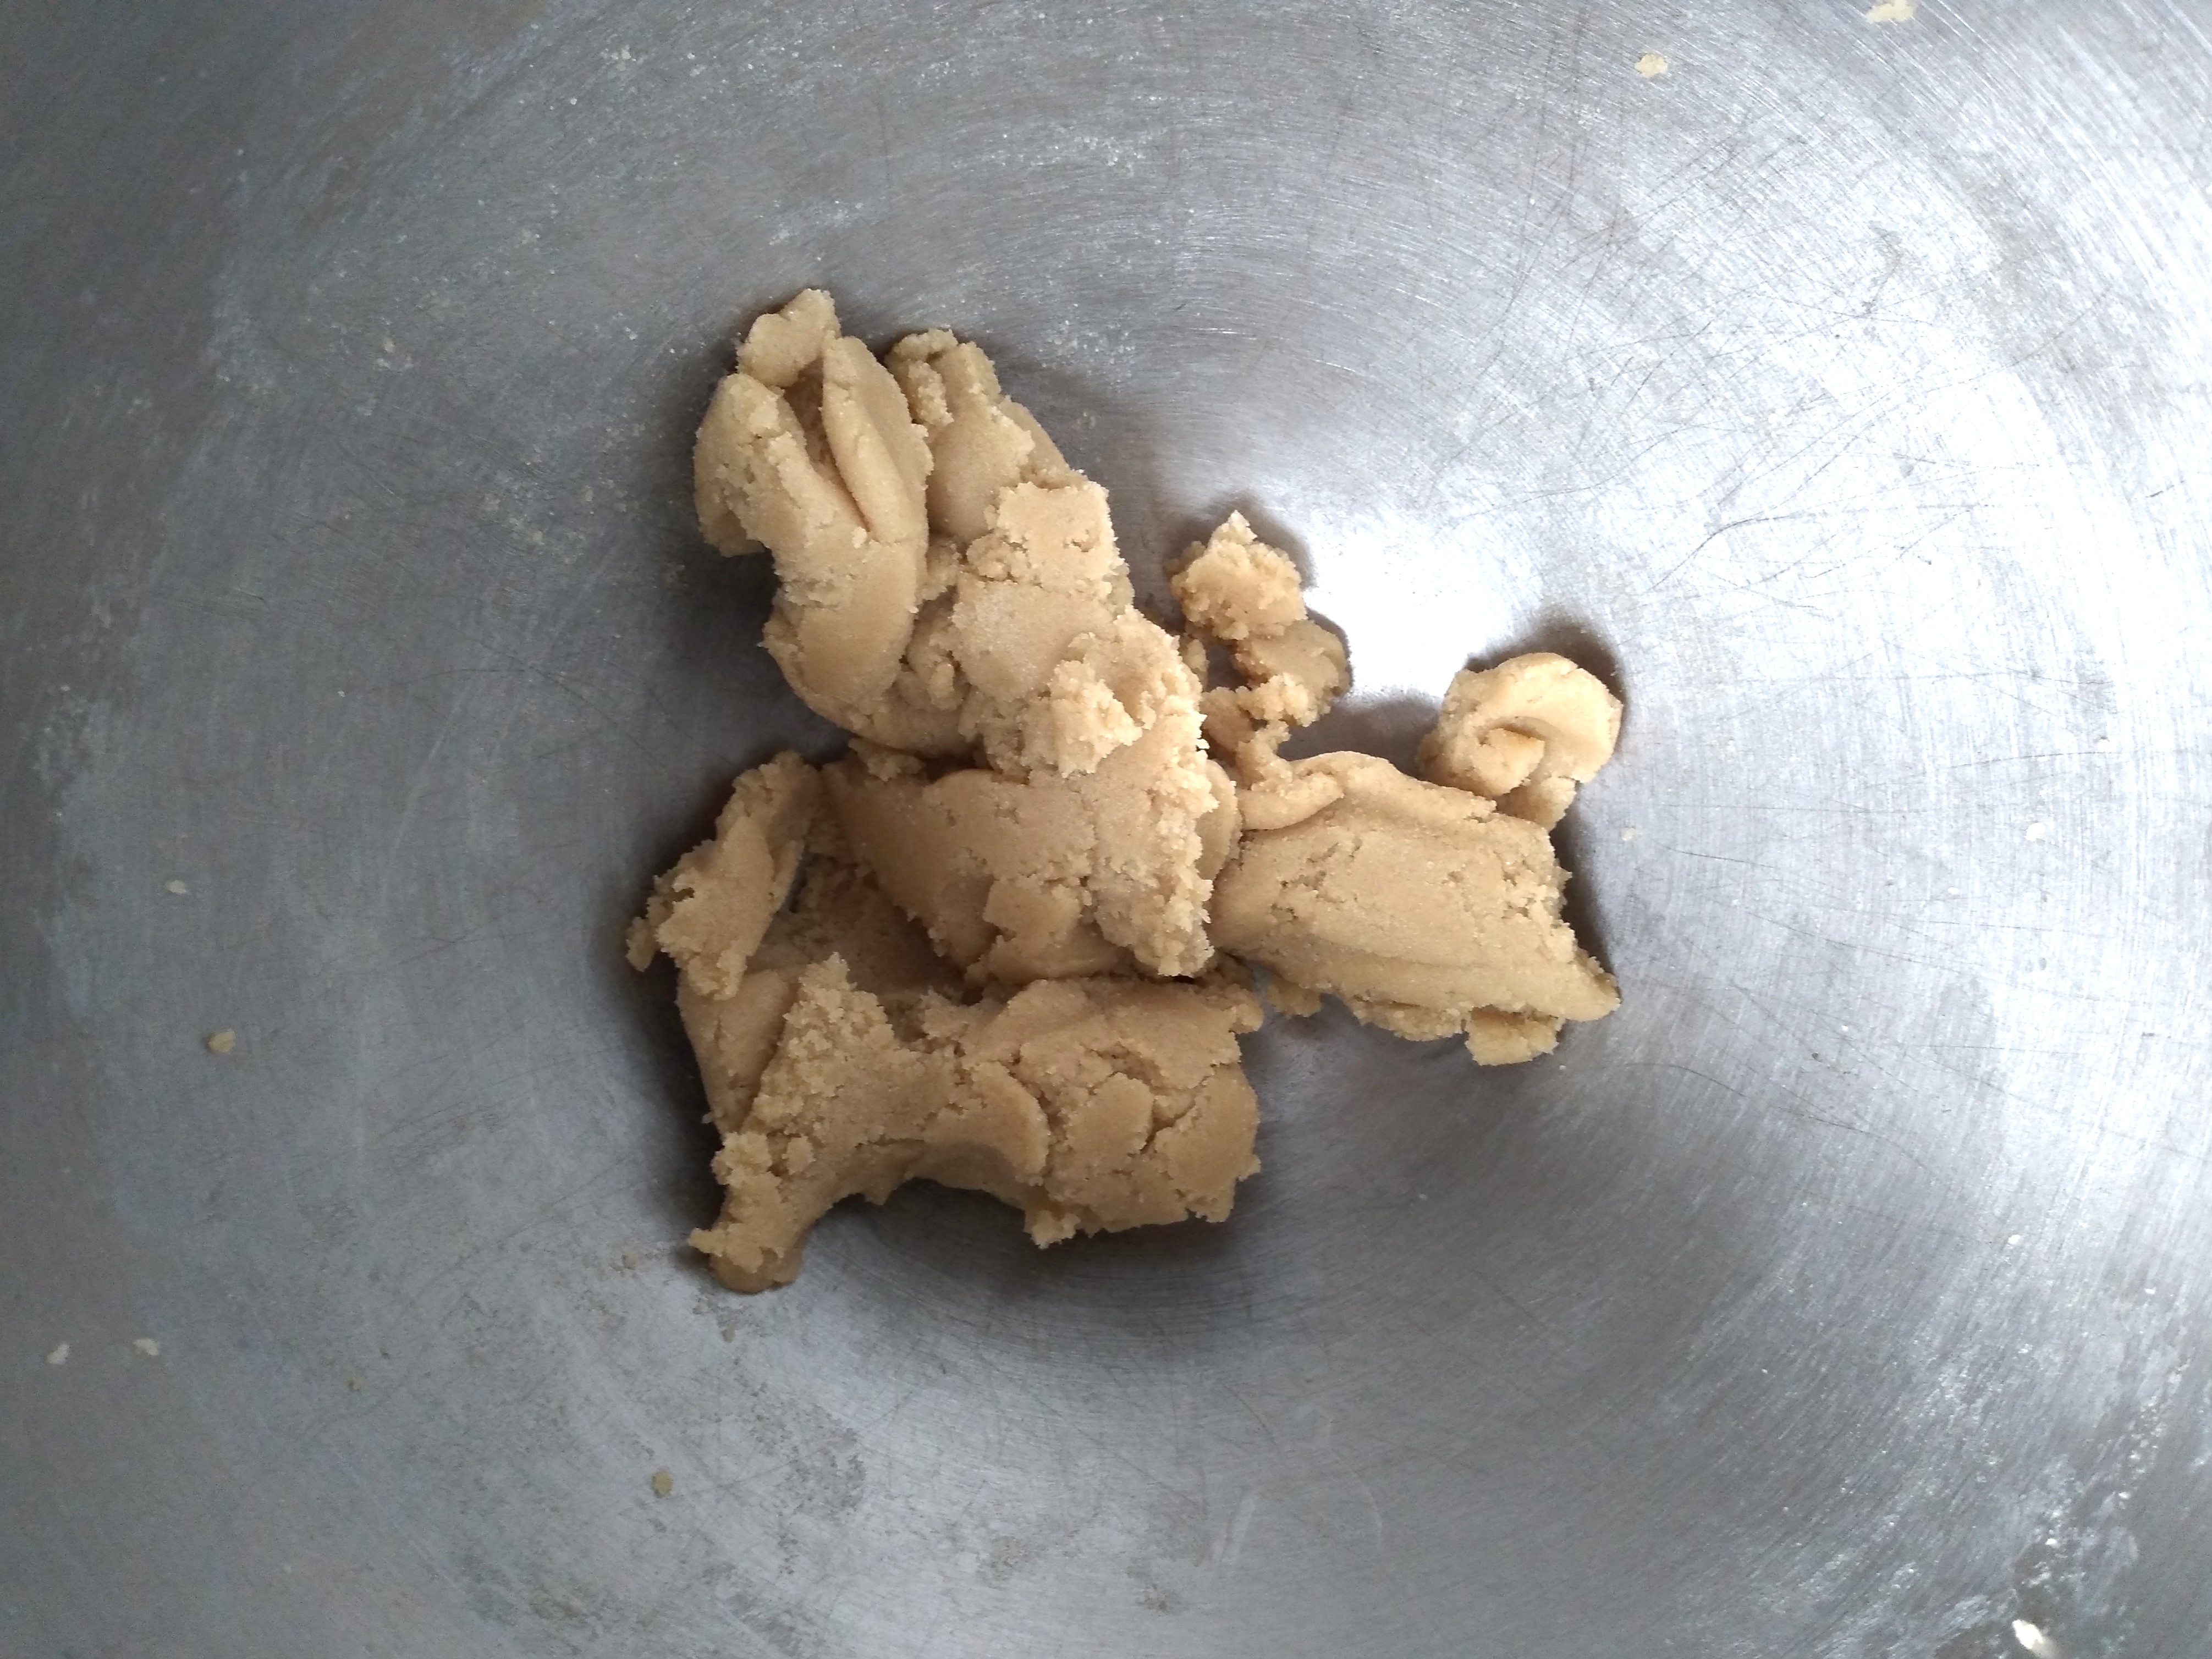
2. In a large bowl, cream together the butter or dairy free spread and the brown sugar and white sugar listed in the cake part of the ingredients list. Mine didn’t cream very well as my kitchen was cold when I was taking the photos for this blog, but that didn’t affect the final result.

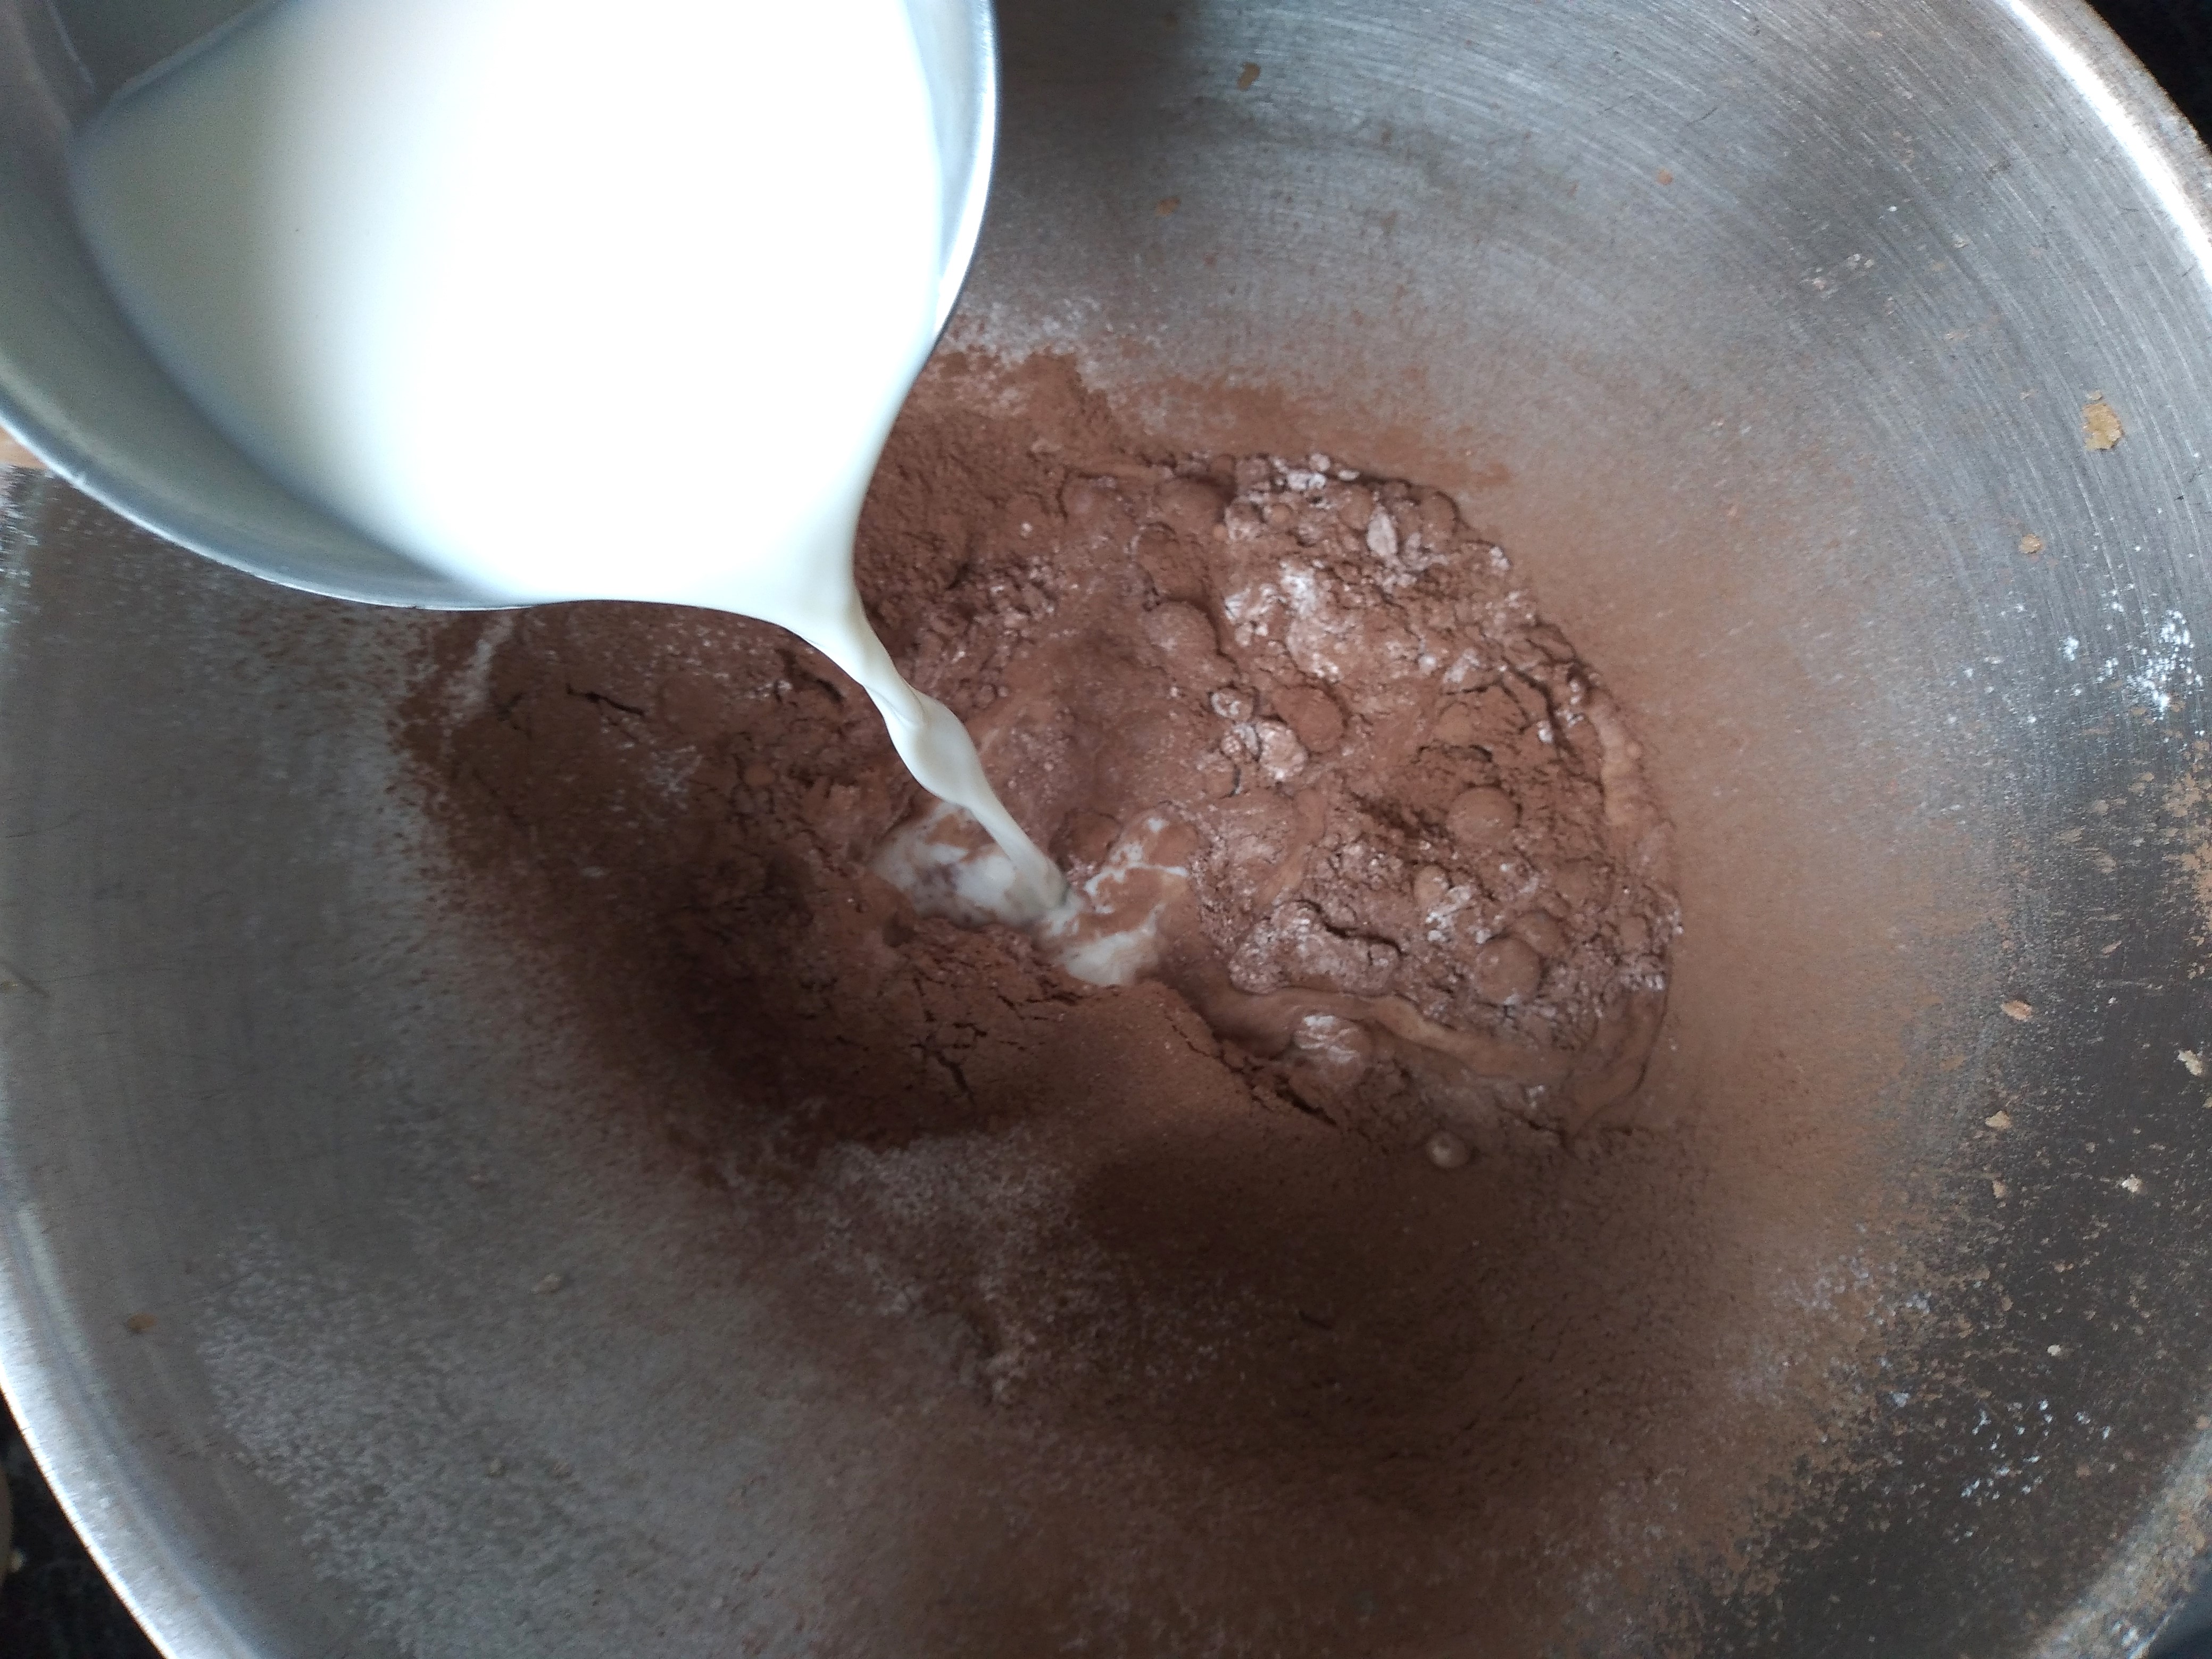
3. Sift the cocoa powder (listed in the cake part of the ingredients list), white rice flour, tapioca starch, baking powder and salt into the bowl. Then, add the milk and vanilla essence to the bowl and mix everything together thoroughly.


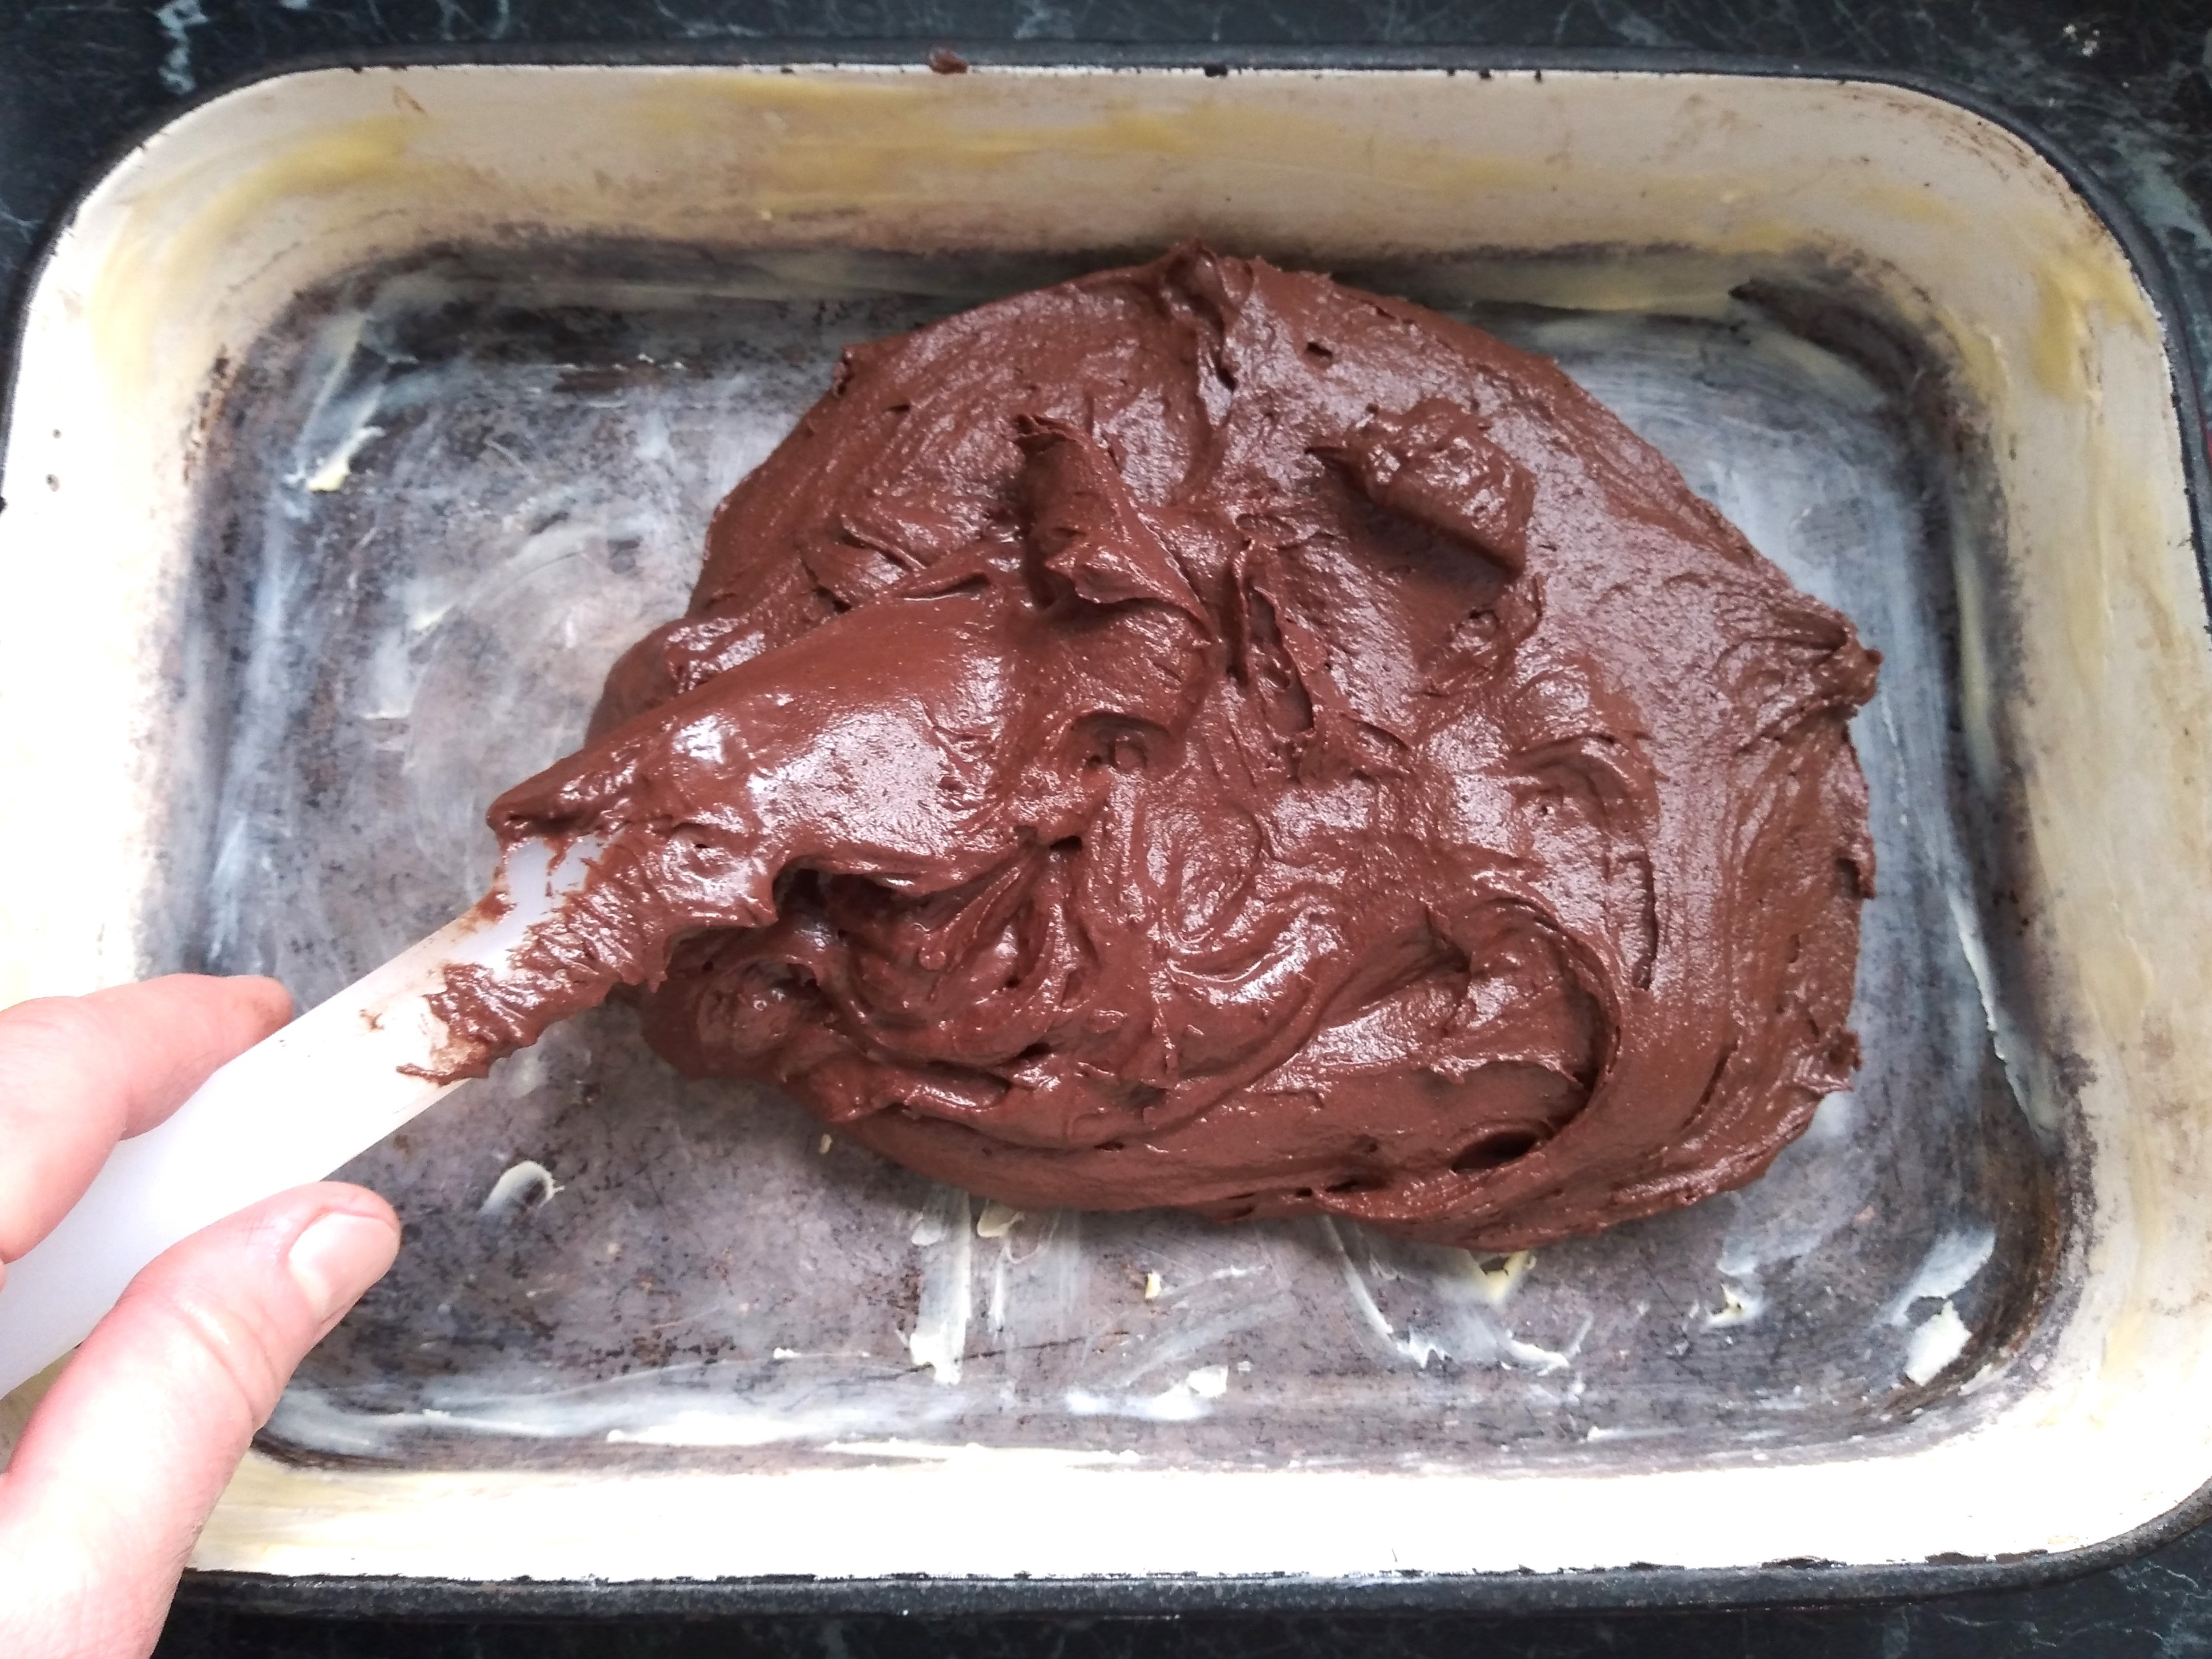
4. Tip the batter into the greased baking pan and spread across the pan evenly. If your kitchen is cold, particularly if you used butter, the batter may be quite stiff – this is normal.

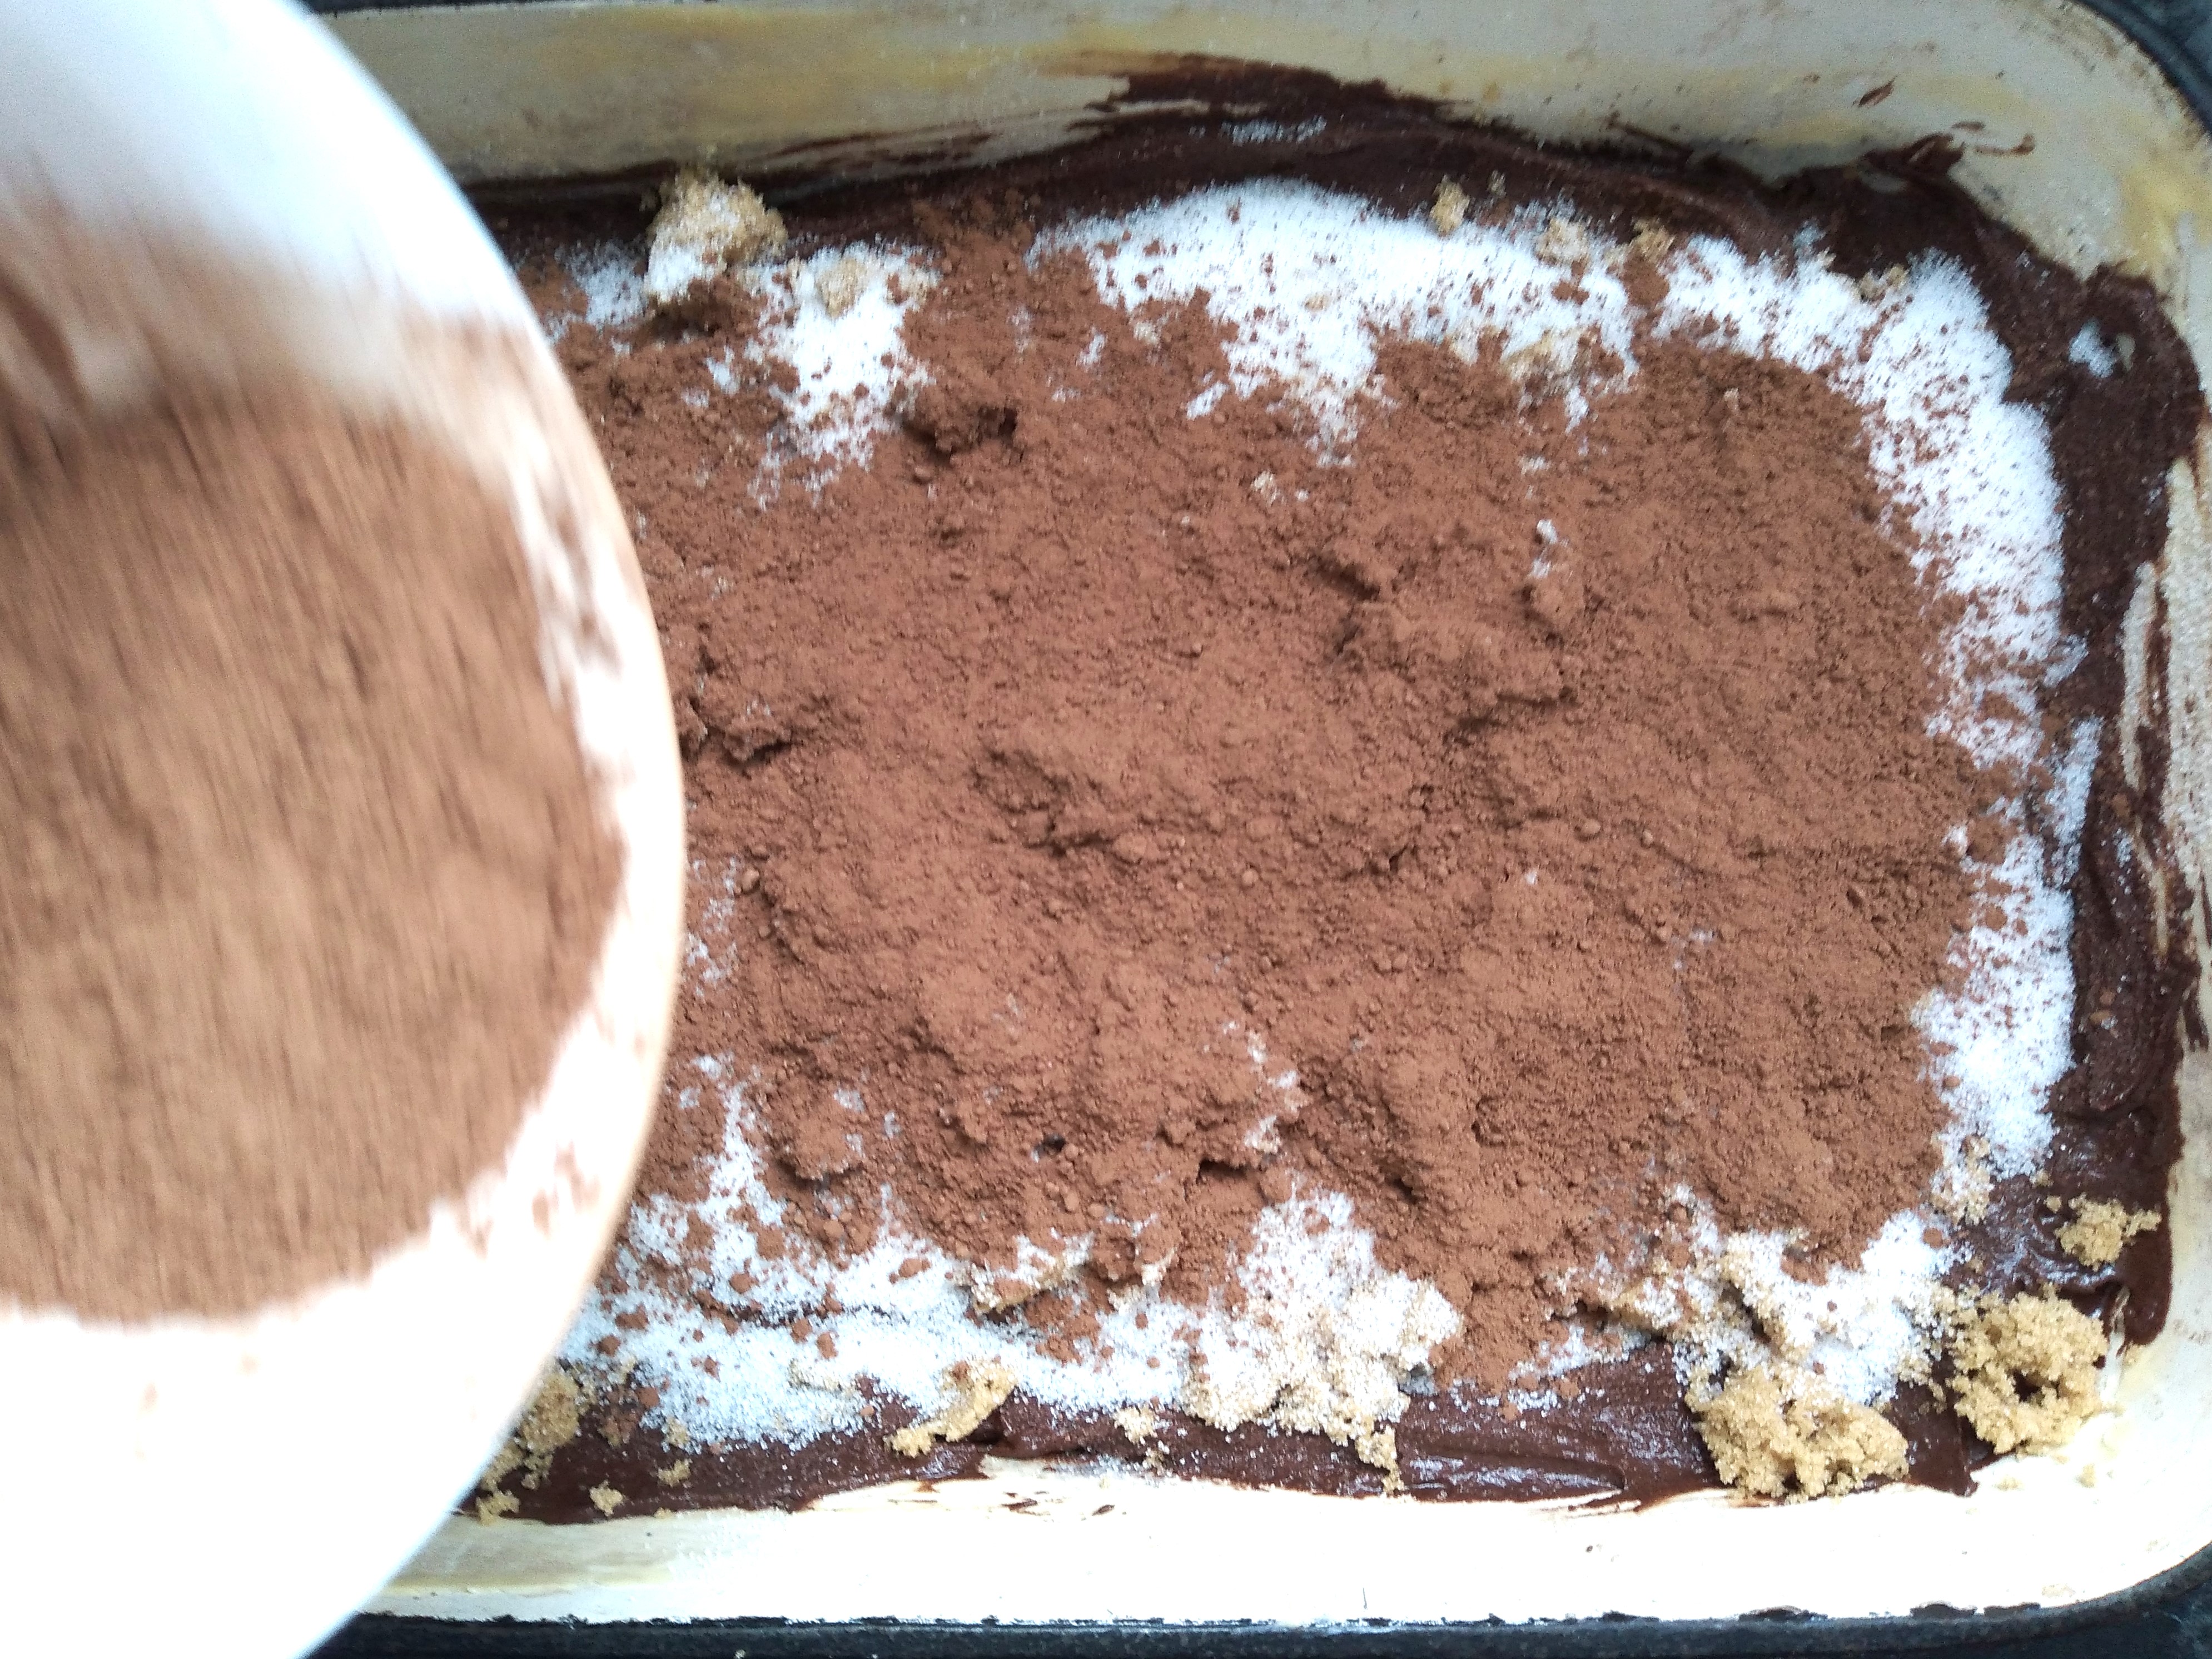
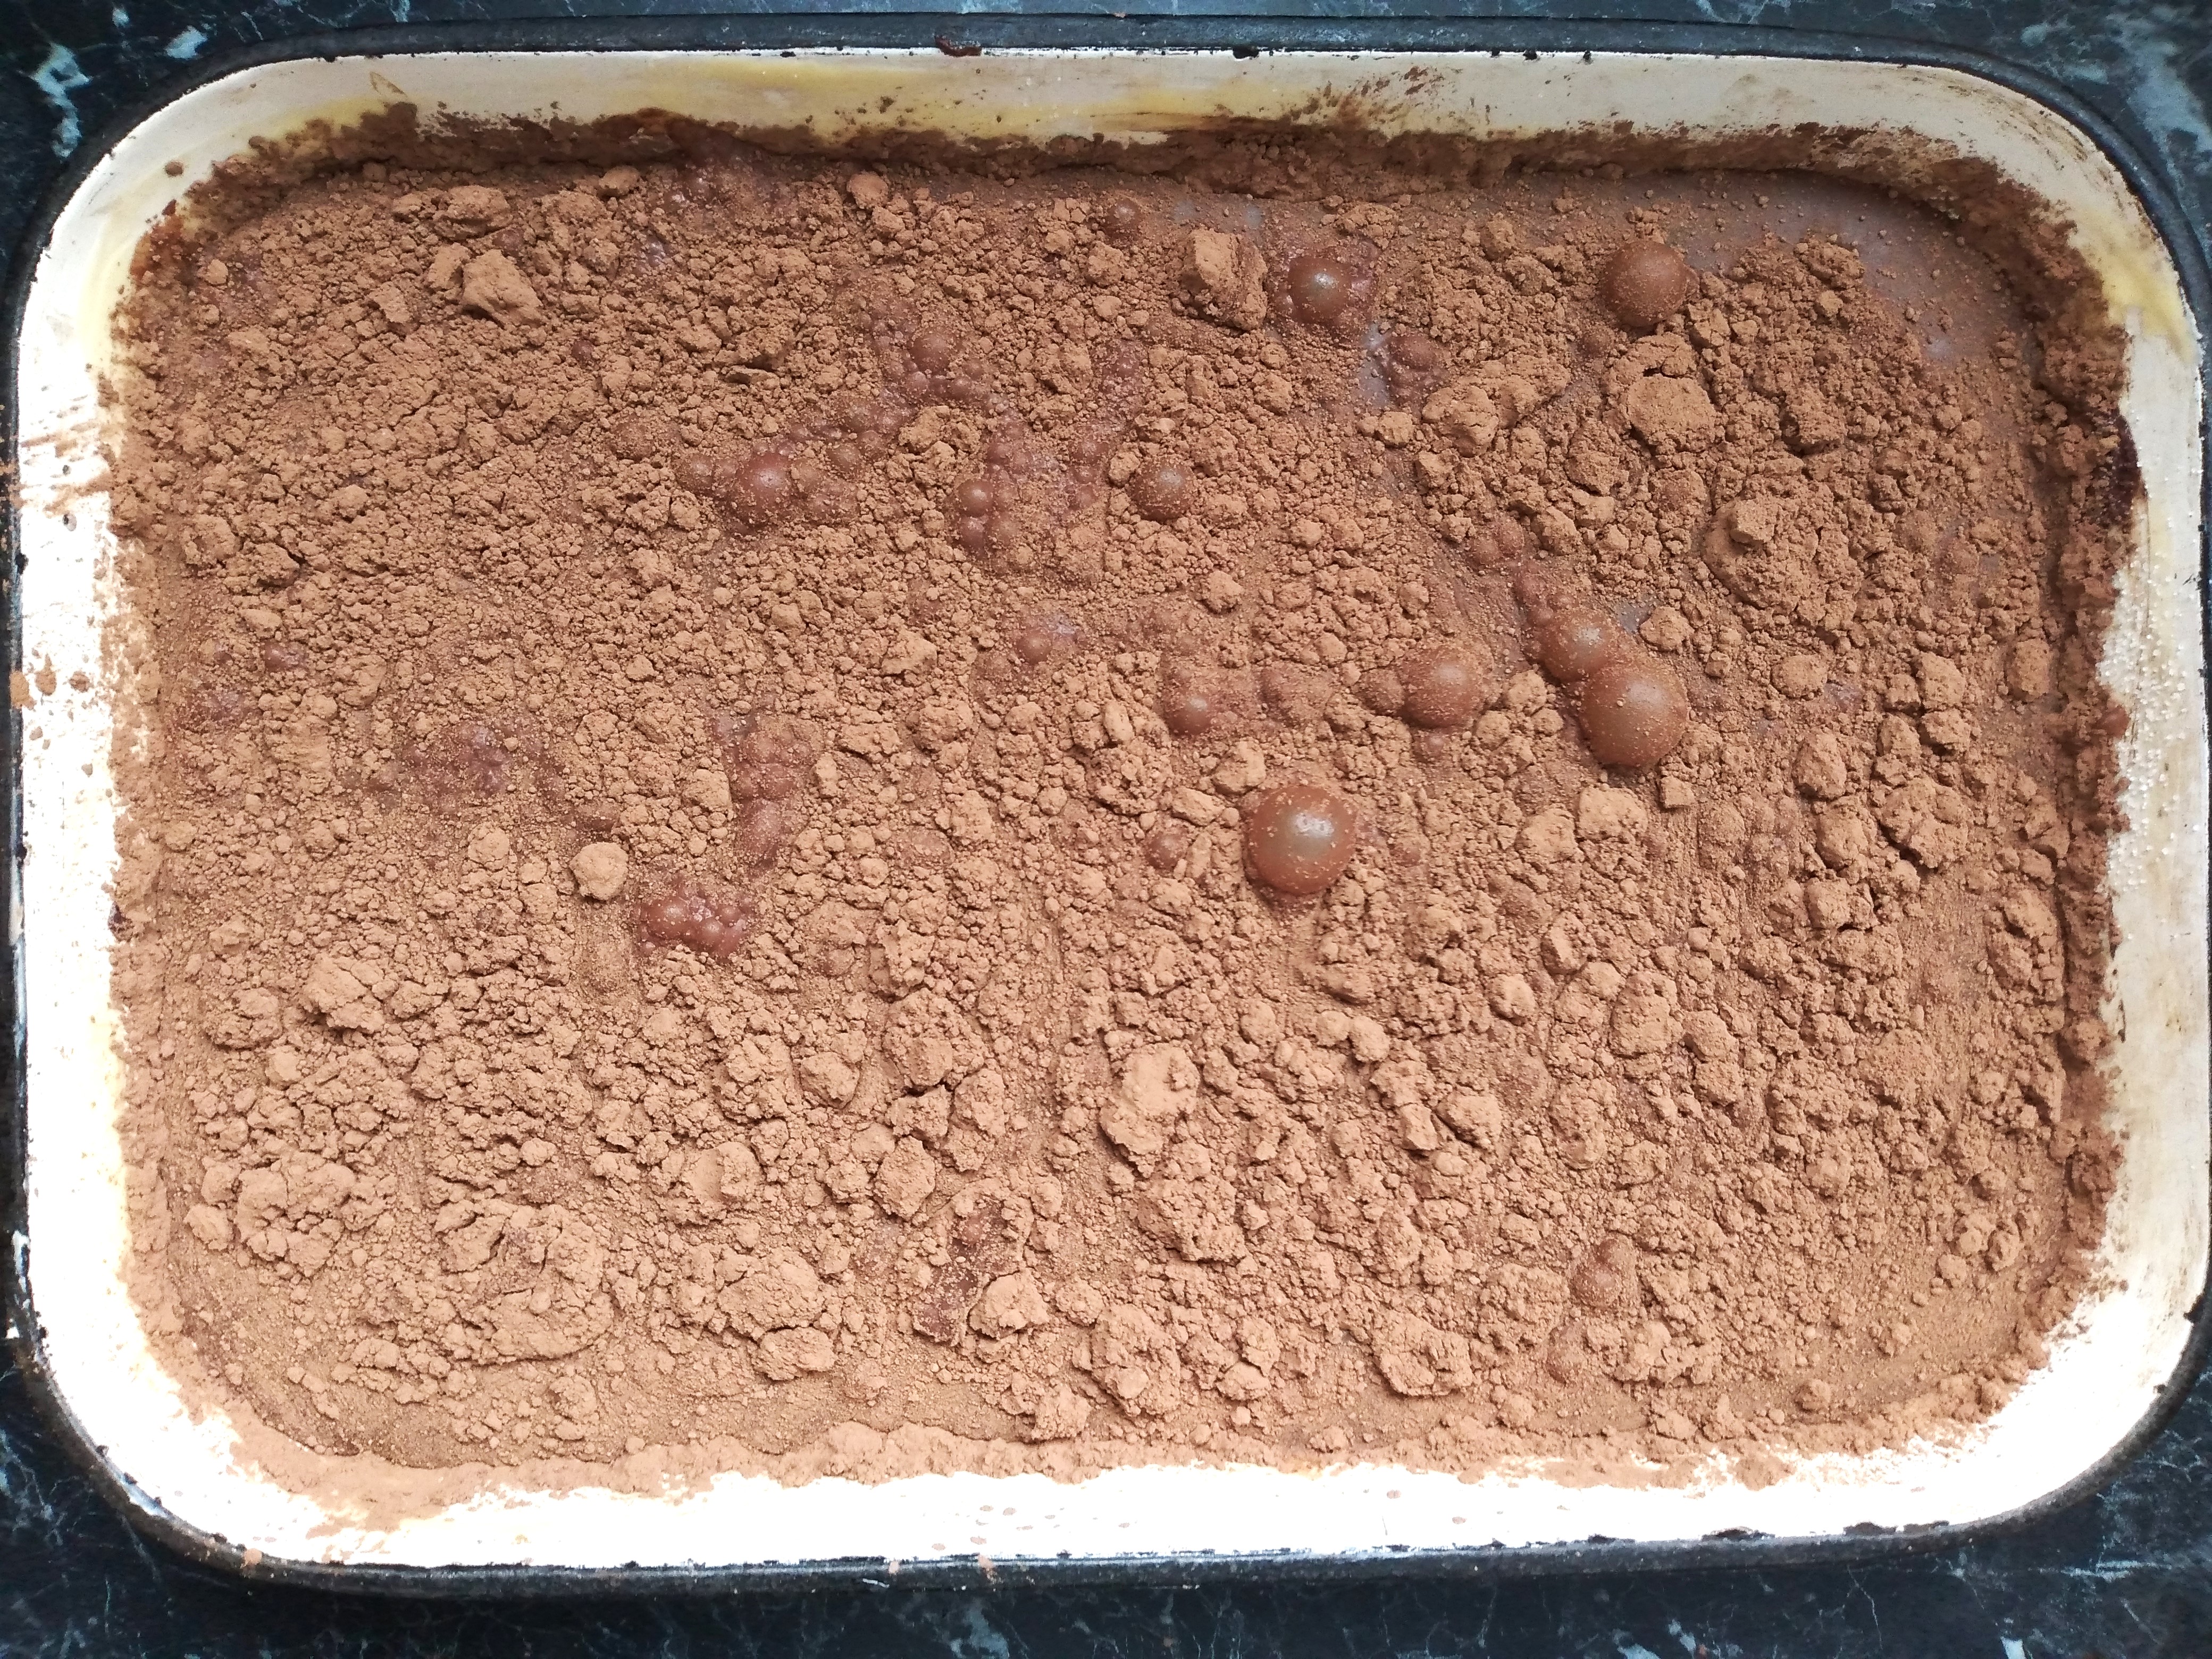
5. Sprinkle the brown sugar, white sugar and cocoa powder listed in the sauce part of the ingredients list evenly over the top of the batter, one at a time. Carefully pour the water evenly across the pan, on top of the sugars and cocoa powder – the best way to do this is to pour it slowly on to a dessertspoon first (front or back of the spoon) and then let it run off the spoon over the batter, moving the spoon around as you do so to ensure that the water is evenly distributed on top of the mixture in the pan. But, if you go carefully, you may get away with pouring the water straight over the batter (can you tell I was in a hurry when I took the photos for this blog post!).


6. Carefully place the baking pan in the middle of the pre-heated oven and bake for about 30 minutes, or until the top has baked and is firm to the touch. If the very middle is still slightly gooey, either pop the pan back in the oven for a few minutes or eat it as is – either way is delicious!

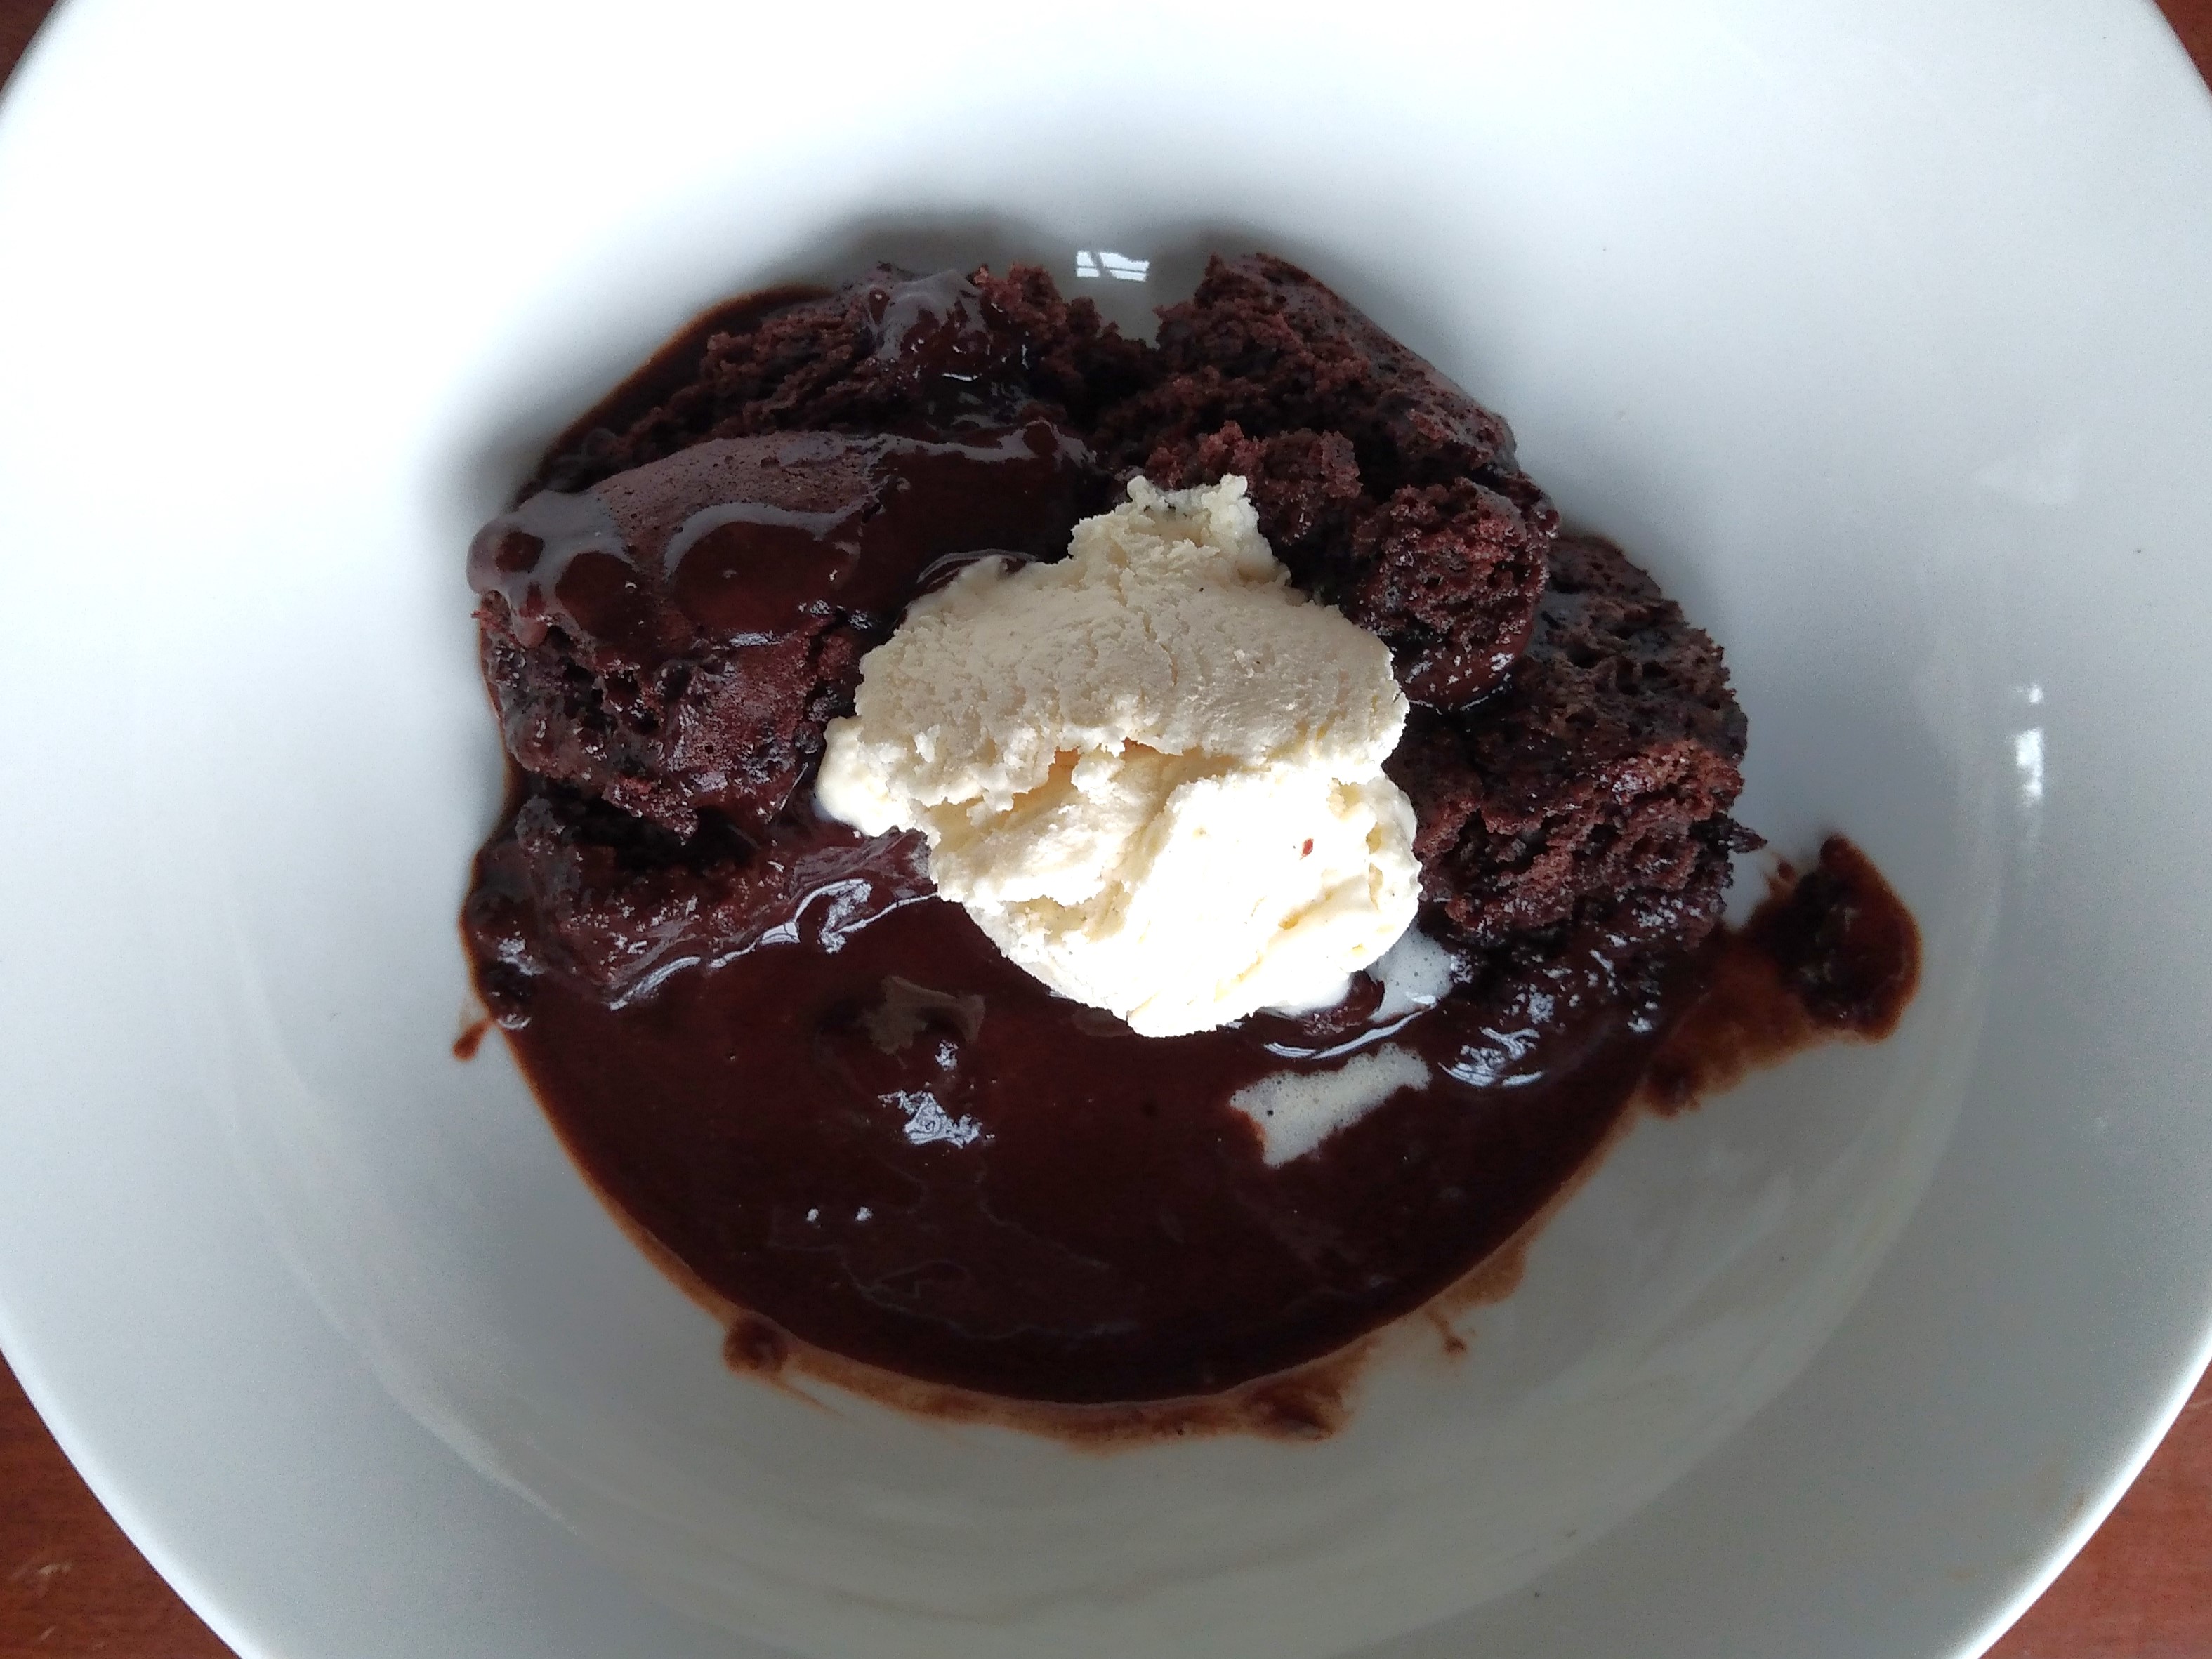
7. Once baked, remove from the oven and serve warm with cream or ice cream. The leftovers are also delicious cold!

I will have to try this!
I’d love to hear how it goes for you if you do!