
Many years ago, I discovered Twix Bars and absolutely loved them. And then I discovered millionaire’s shortbread, which is basically Twix Bars but better. I then found a recipe so could make them myself and it was marvellous…until my coeliac diagnosis. But not anymore! Last year, I came up with this recipe and millionaire’s shortbread (or caramel slice as it is known in New Zealand) re-entered my life in all its creamy, zingingly-sweet, chocolately gloriousness.

I forgot to buy condensed milk the first time I made this, and so came up with the alternative caramel listed here instead. I put off writing up the recipe for a long time because it felt too complicated to describe how to make the caramel, but hopefully the instructions below will be clear enough. If you can eat gluten and want to make this, feel free to substitute the shortbread layer for a glutenous shortbread. This recipe has quite a high shortbread to caramel and chocolate ratio – feel free to increase the quantities of caramel and chocolate if you prefer. The cream in the chocolate layer is just to make it slightly more ganache-like and easier to cut. I prefer adding some dark chocolate to this layer to moderate the sweetness of the whole thing, but substitute this with whatever you prefer! Finally, although there isn’t loads of hands on time to make this, you will need to allow lots of time for the different layers to cool before starting on the next layer. Once done, this will store well for at least a few days in an airtight container.

The recipe below is based on a 250 ml cup as equal to 1 cup. This makes a slab that measures about 9 x 9 inches (which is the size pan I make it in, but feel free to mix that up if you need to). I usually start off by cutting that slab into 16 large pieces because that is easiest, and then dividing them from there, depending on how many people I want to feed or how sickly-sweet they like their treats to be!
What you need for the shortbread:
1 cup of cornflour (also called cornstarch in some countries)
½ cup of tapioca starch
½ cup of brown rice flour
¼ cup of white rice flour
2/3 cup of white sugar
Pinch of salt
¾ cup of salted butter, roughly cubed/broken into pieces
1 egg
What you need for the caramel:
2 cups of white sugar
1/3 cup of water
1 cup of salted butter, roughly cubed/broken into pieces
1/3 cup of cream
1 tablespoon of vanilla essence
What you need for the chocolate:
200 grams of milk chocolate, roughly chopped
100 grams of dark chocolate, roughly chopped
1/3 cup of cream
What to do:
1. Pre-heat the oven to 180°C fan and line a 9 x 9 inch baking pan with baking paper. Using baking paper, rather than greasing the pan, will make it easier to remove the final dish from the pan, once the caramel and chocolate layers have been added and set.
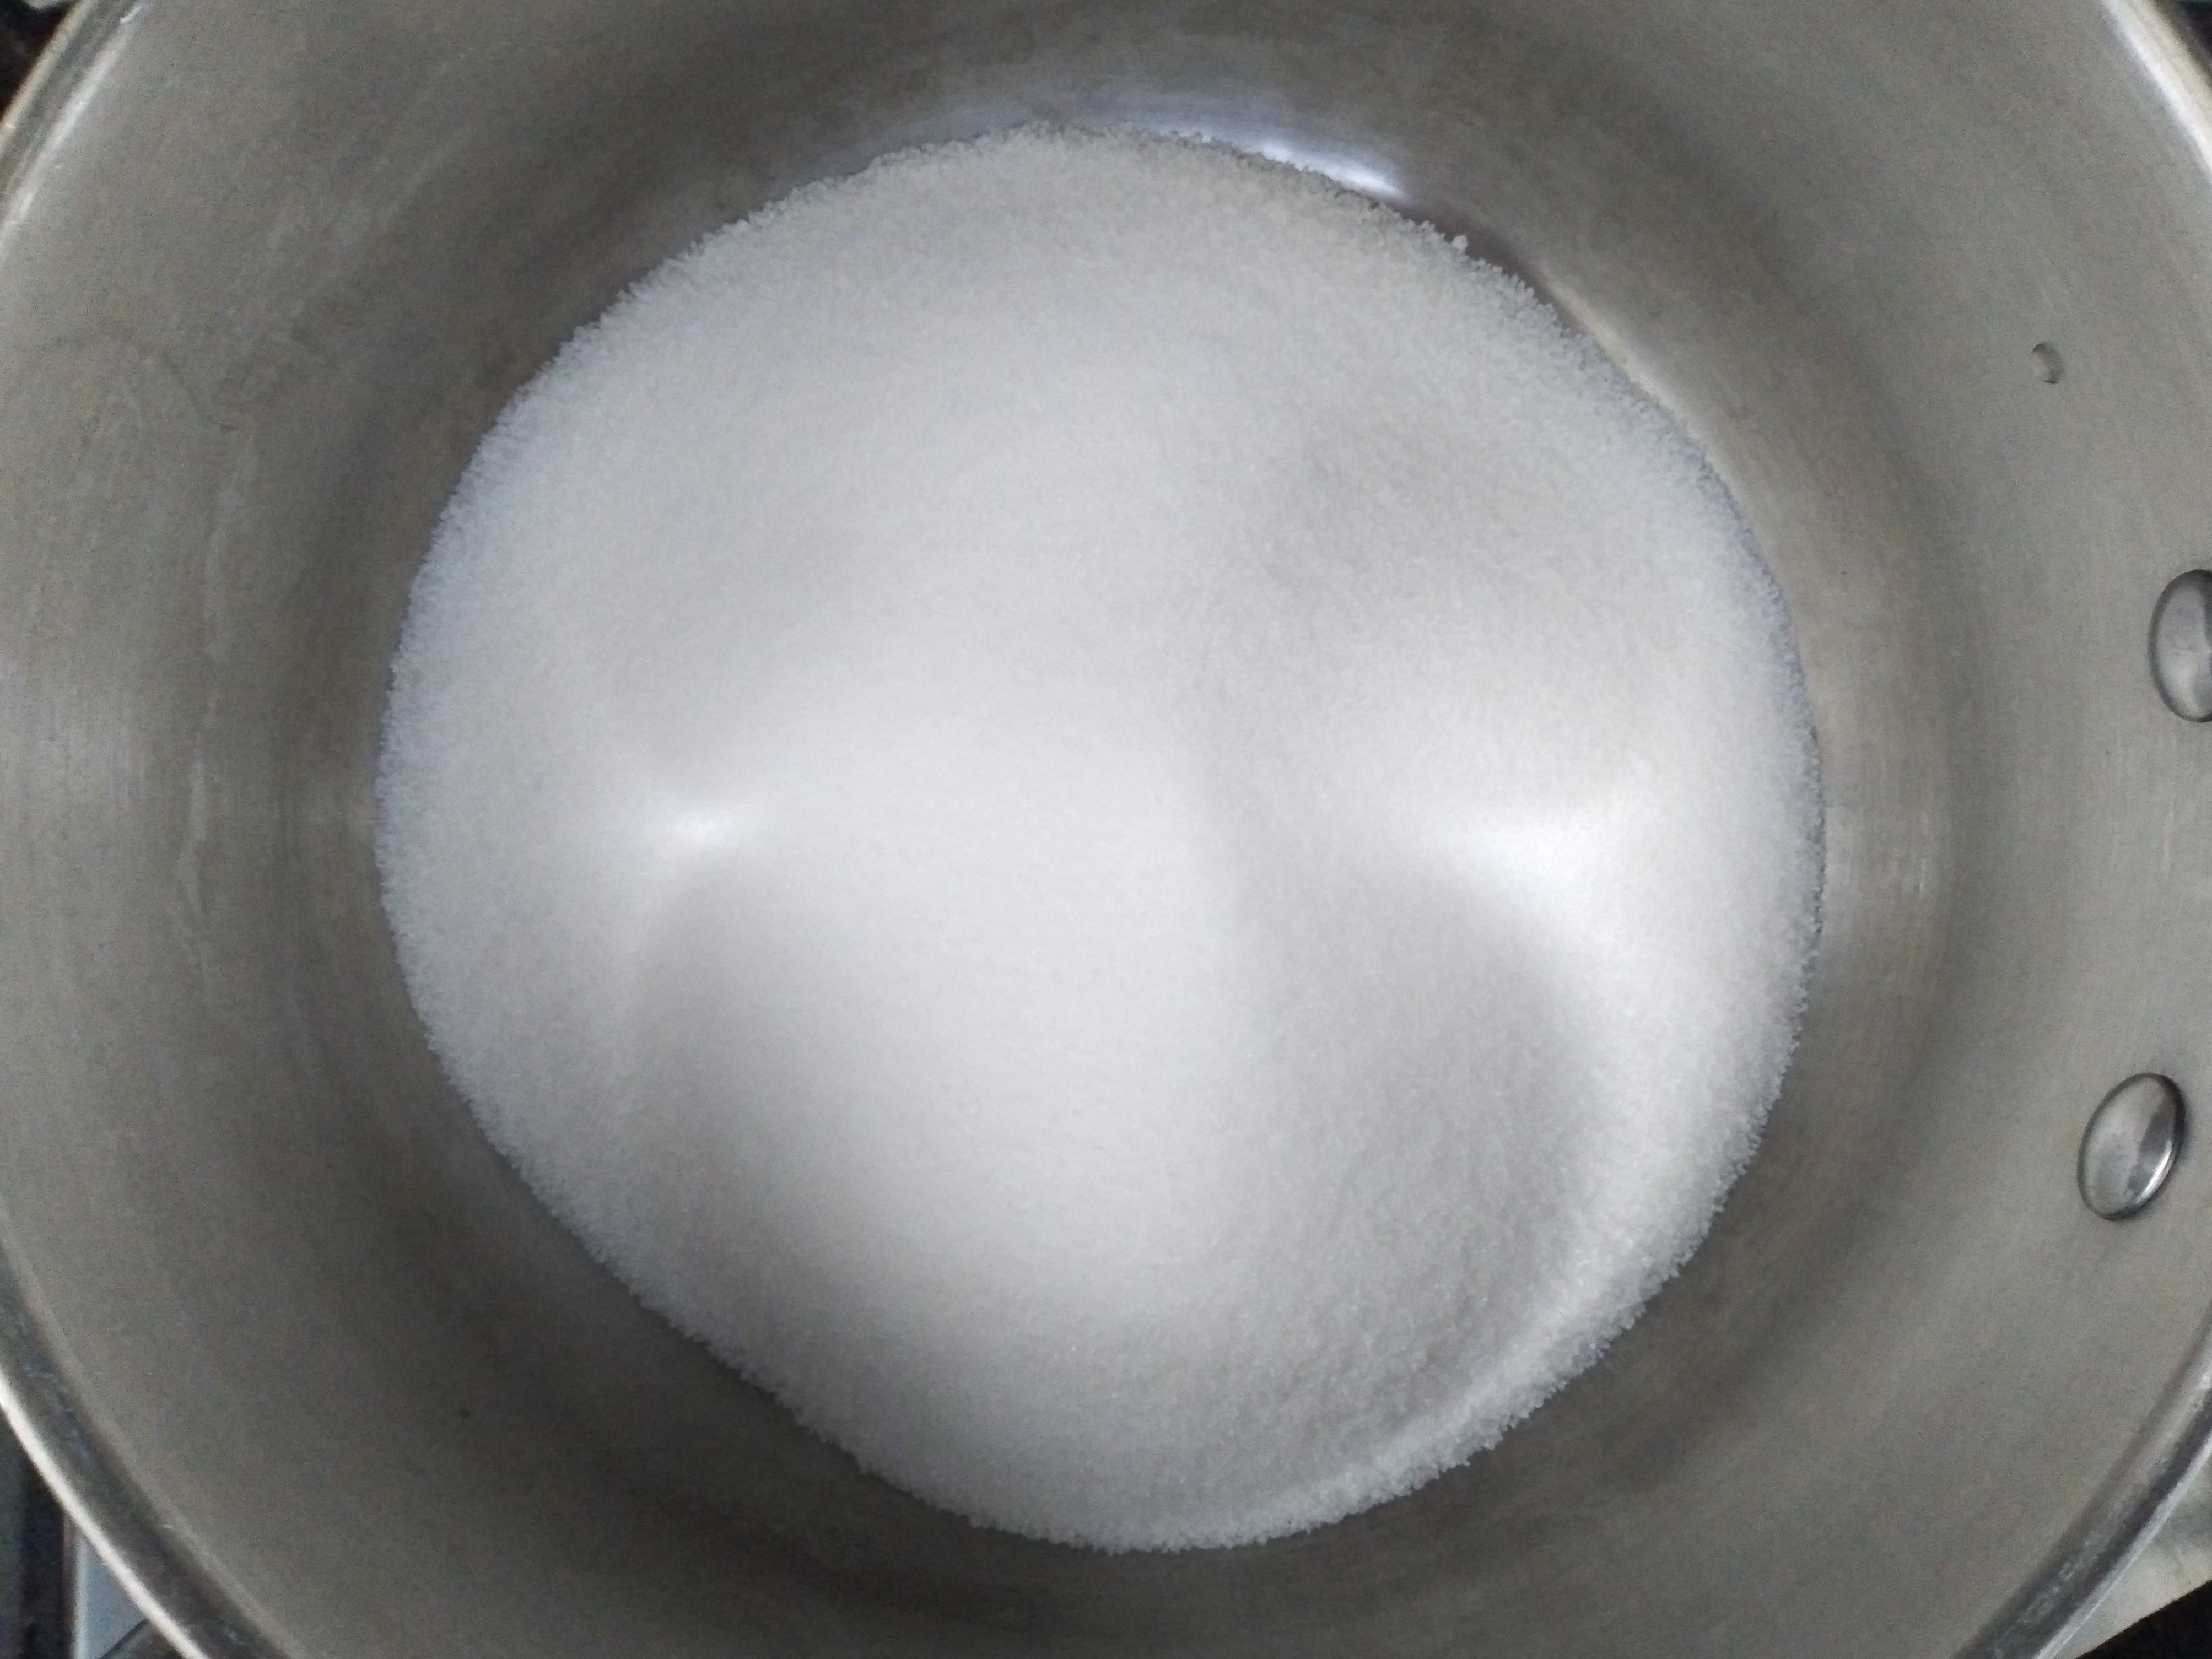
2. Place the cornflour, tapioca starch, rice flours, sugar and salt together in a large mixing bowl and mix together.

3. Add the butter to the mixing bowl and rub into the dry ingredients that are already in the bowl.
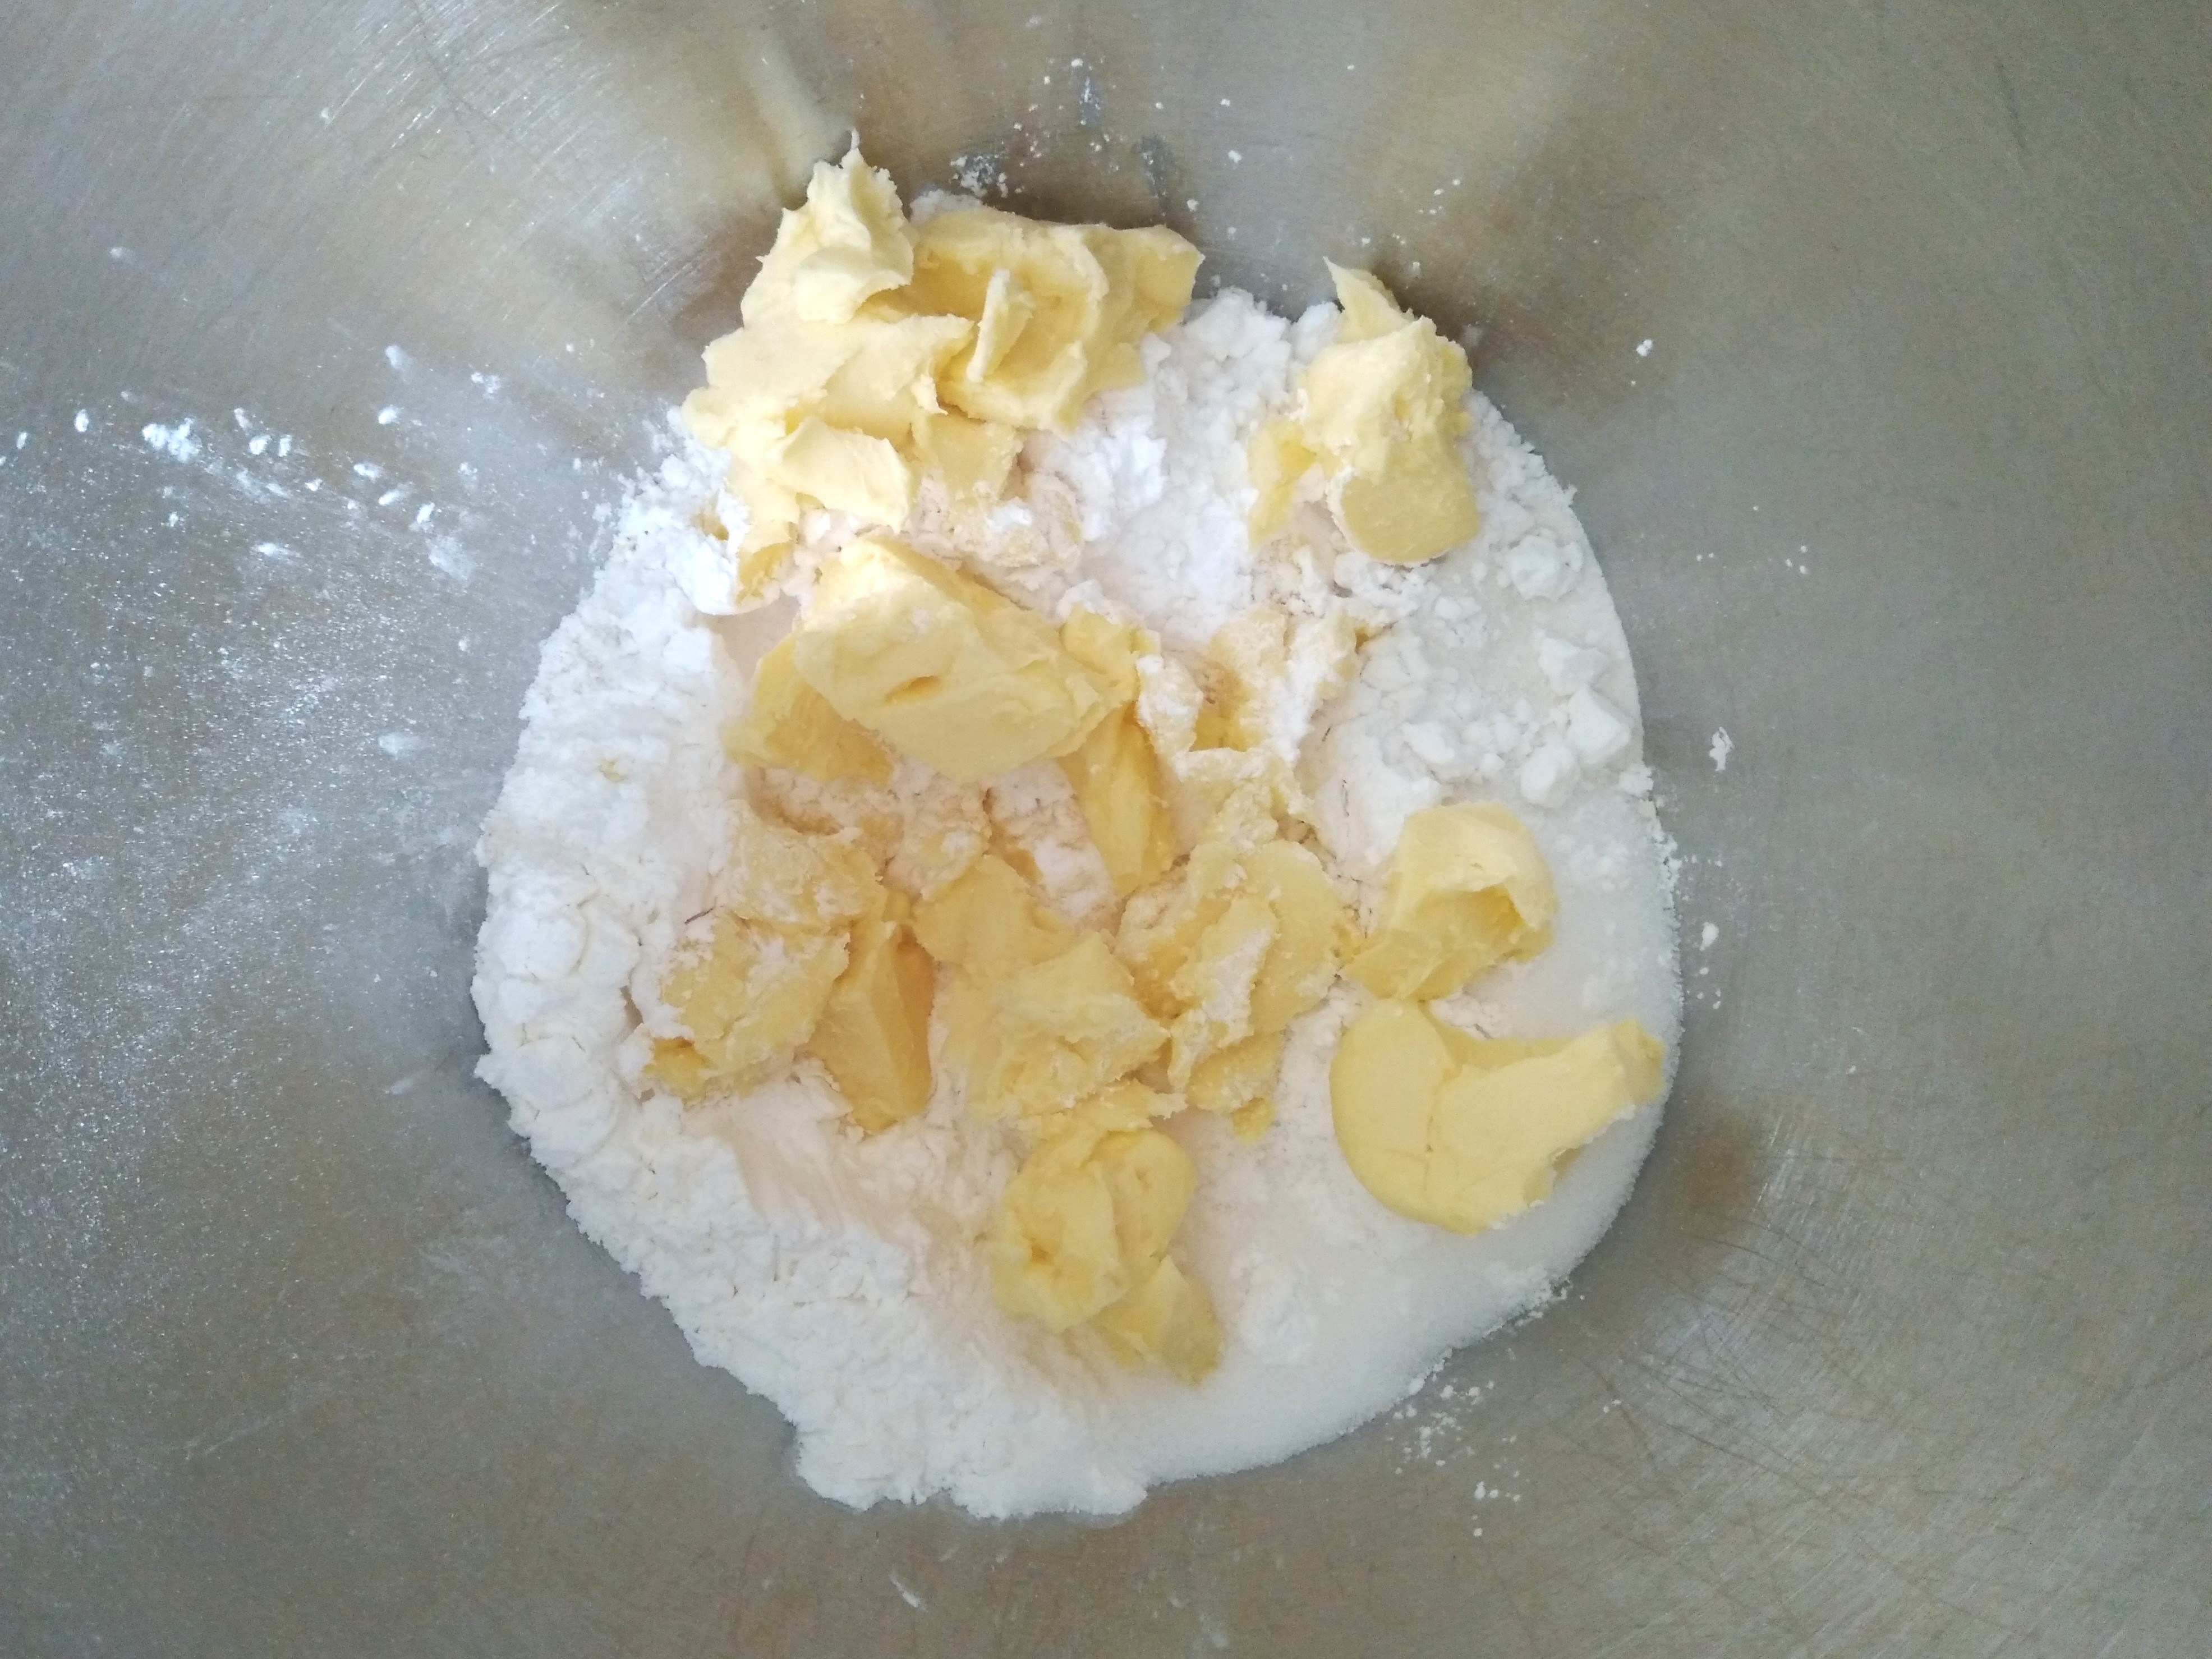
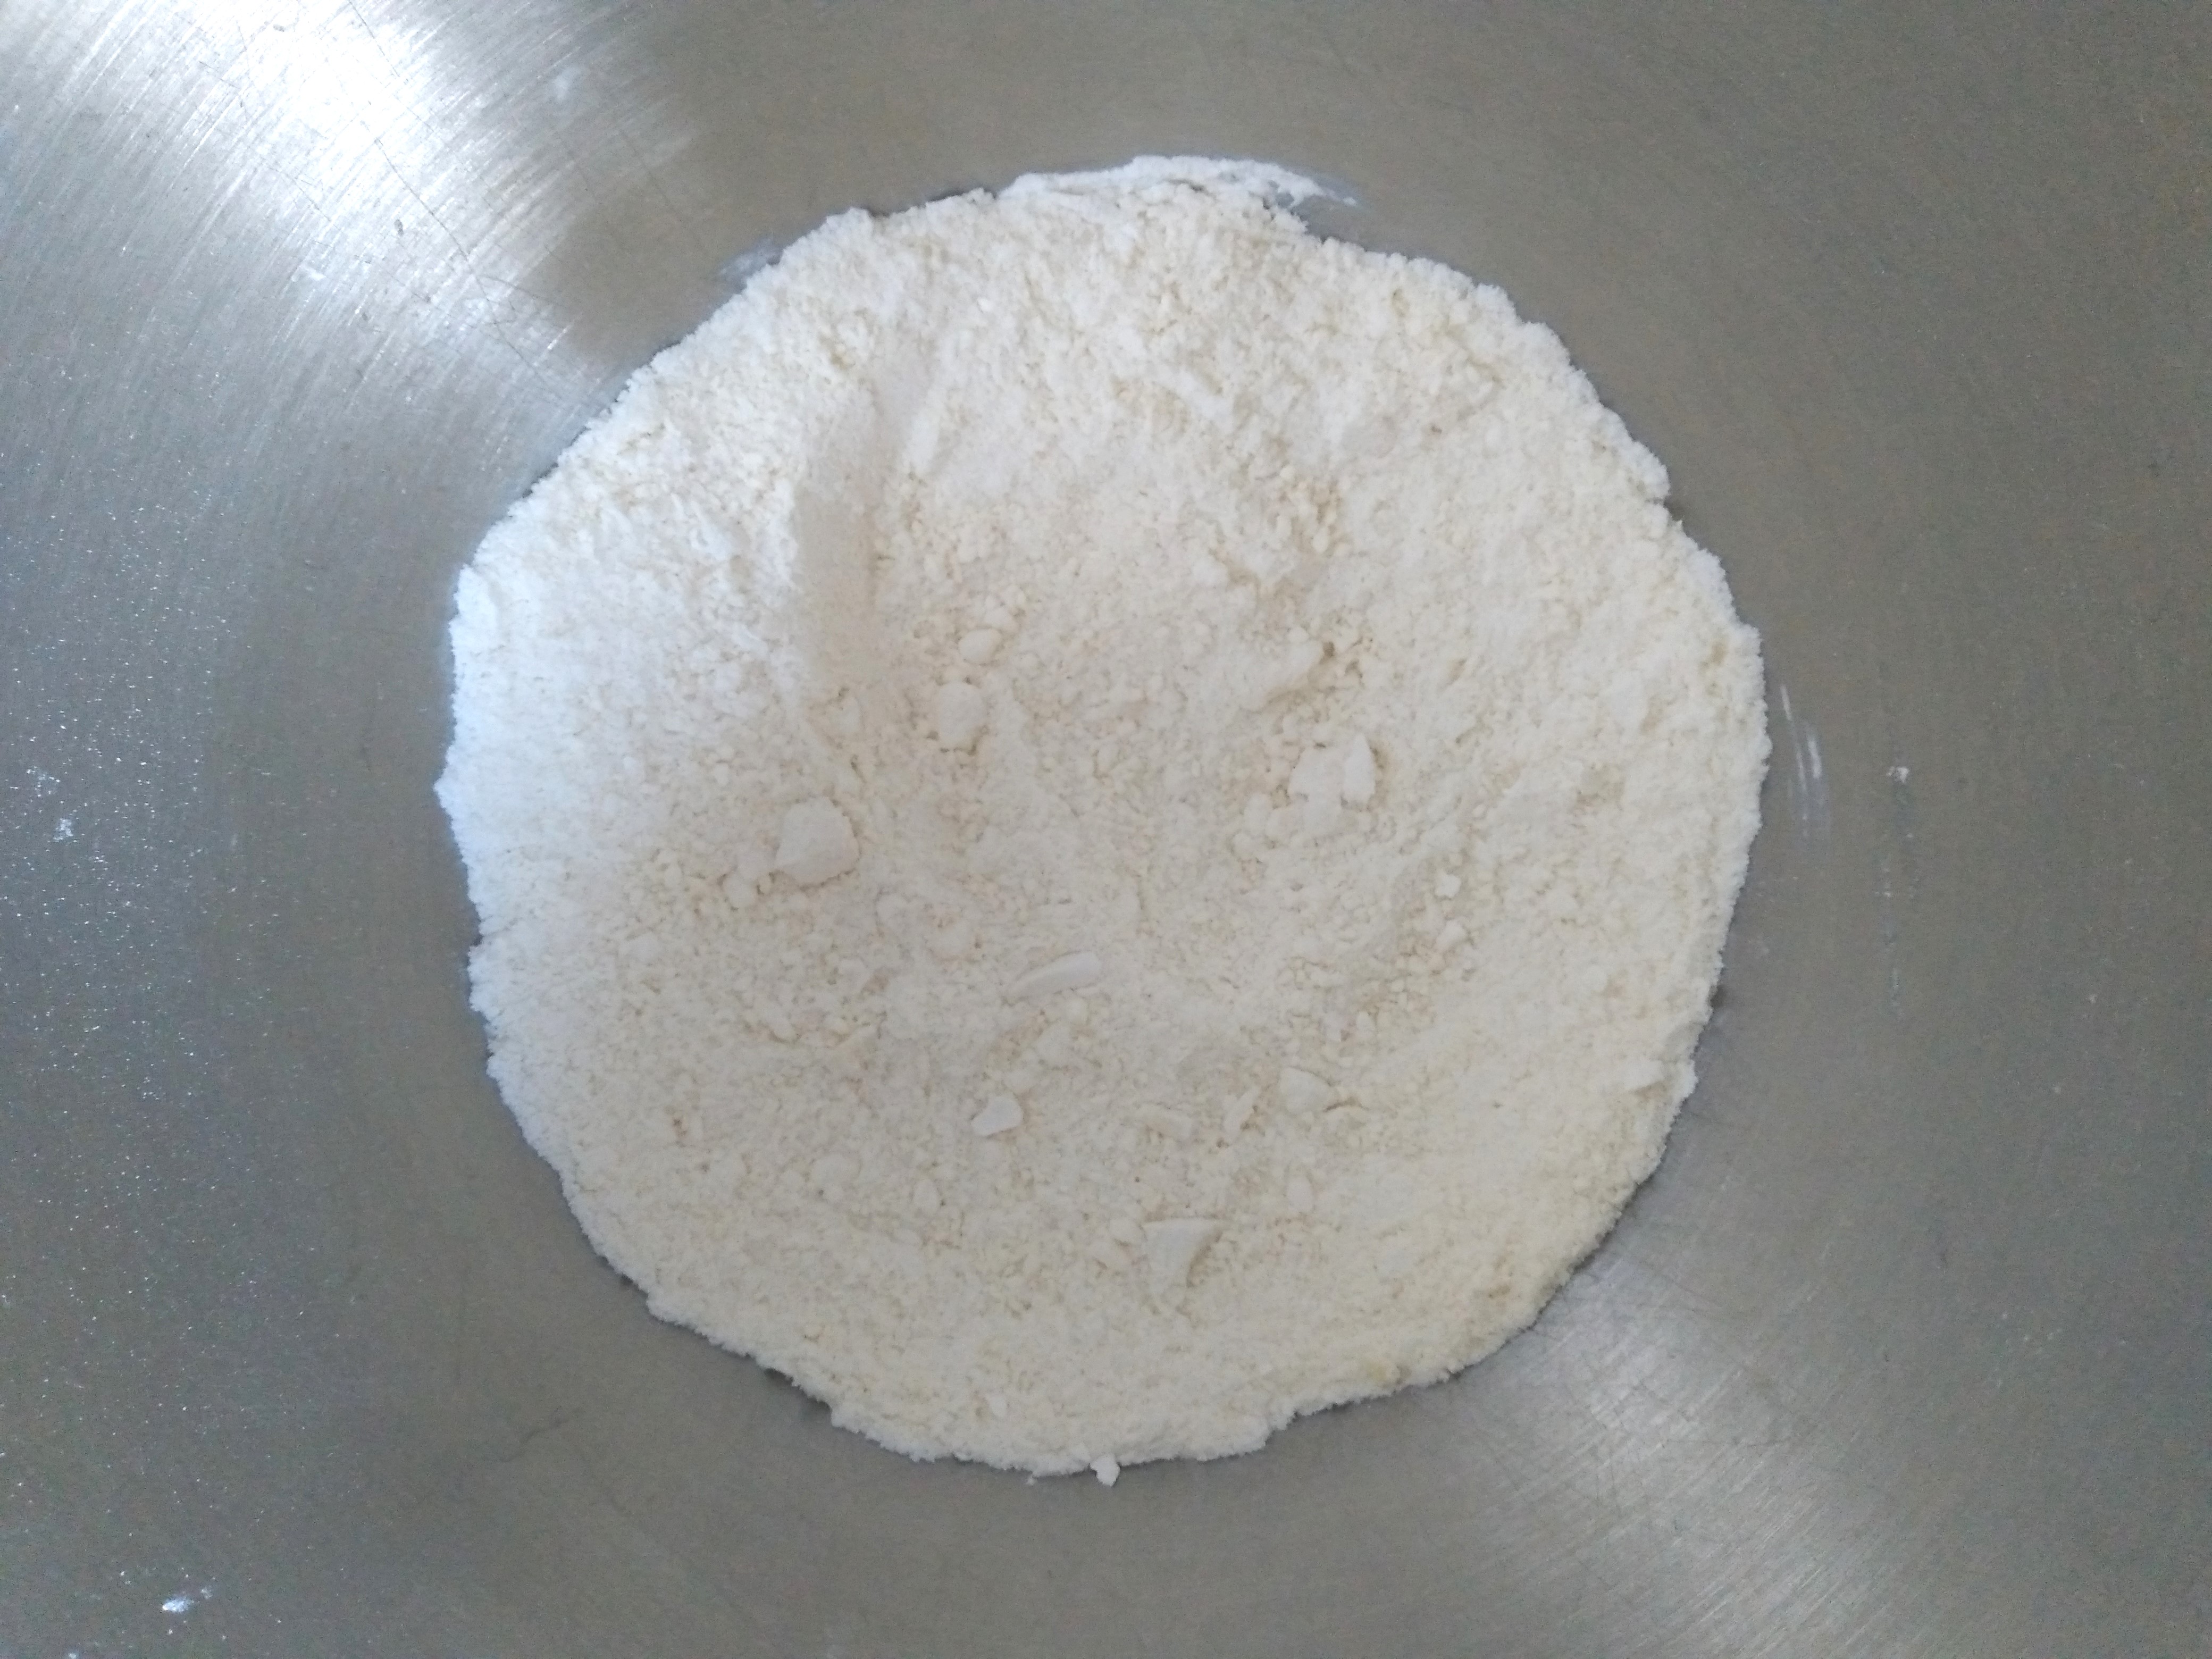
4. Add the egg to the bowl and mix in thoroughly. Depending on the size of your egg, the final mixture might look quite sandy and not very coherent – so long as it will form a ball when you pick up some mixture and squeeze it in your hand, this won’t be a problem. If you’d prefer a more coherent mixture, you can add a second egg, but this will make the layer more biscuity and less shortbready.


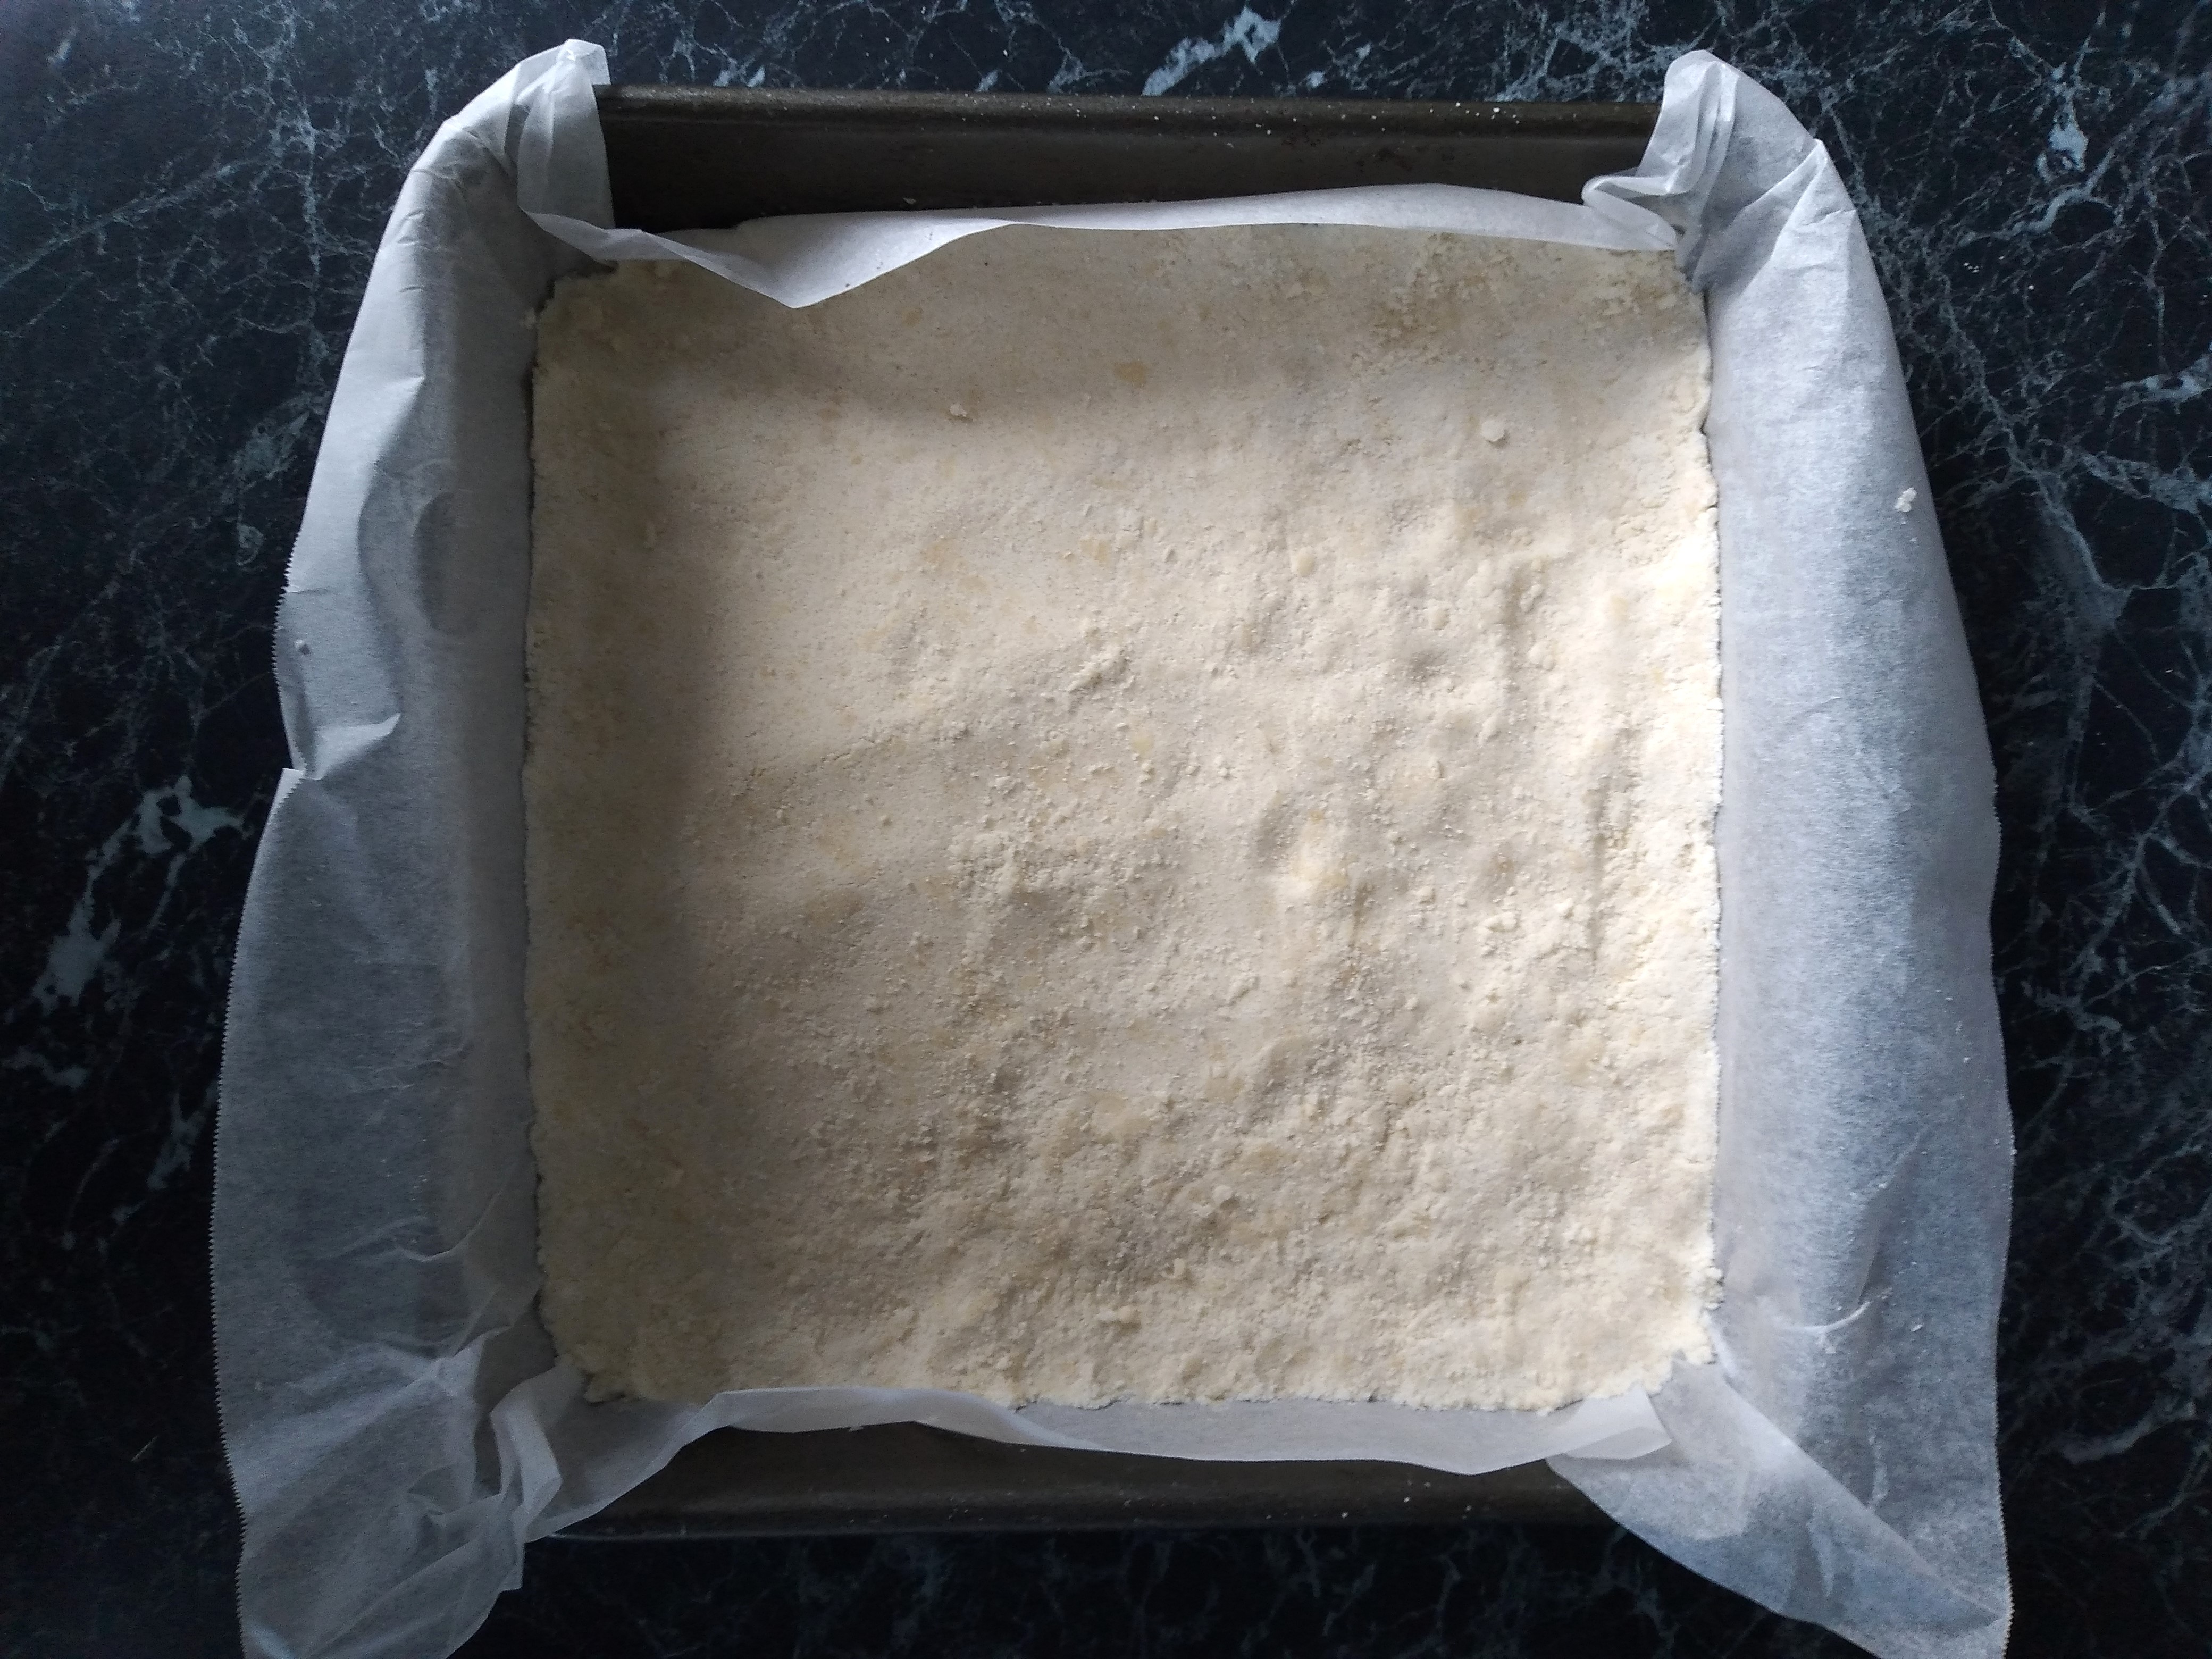
5. Tip the mixture into the lined baking pan and spread evenly across the pan. Press down firmly on the top of the mixture with your hands or the back of a spoon until the surface is compressed and kind of smooth.

6. Bake the shortbread mixture in the middle of the preheated oven for about 25 minutes or until lightly golden brown.
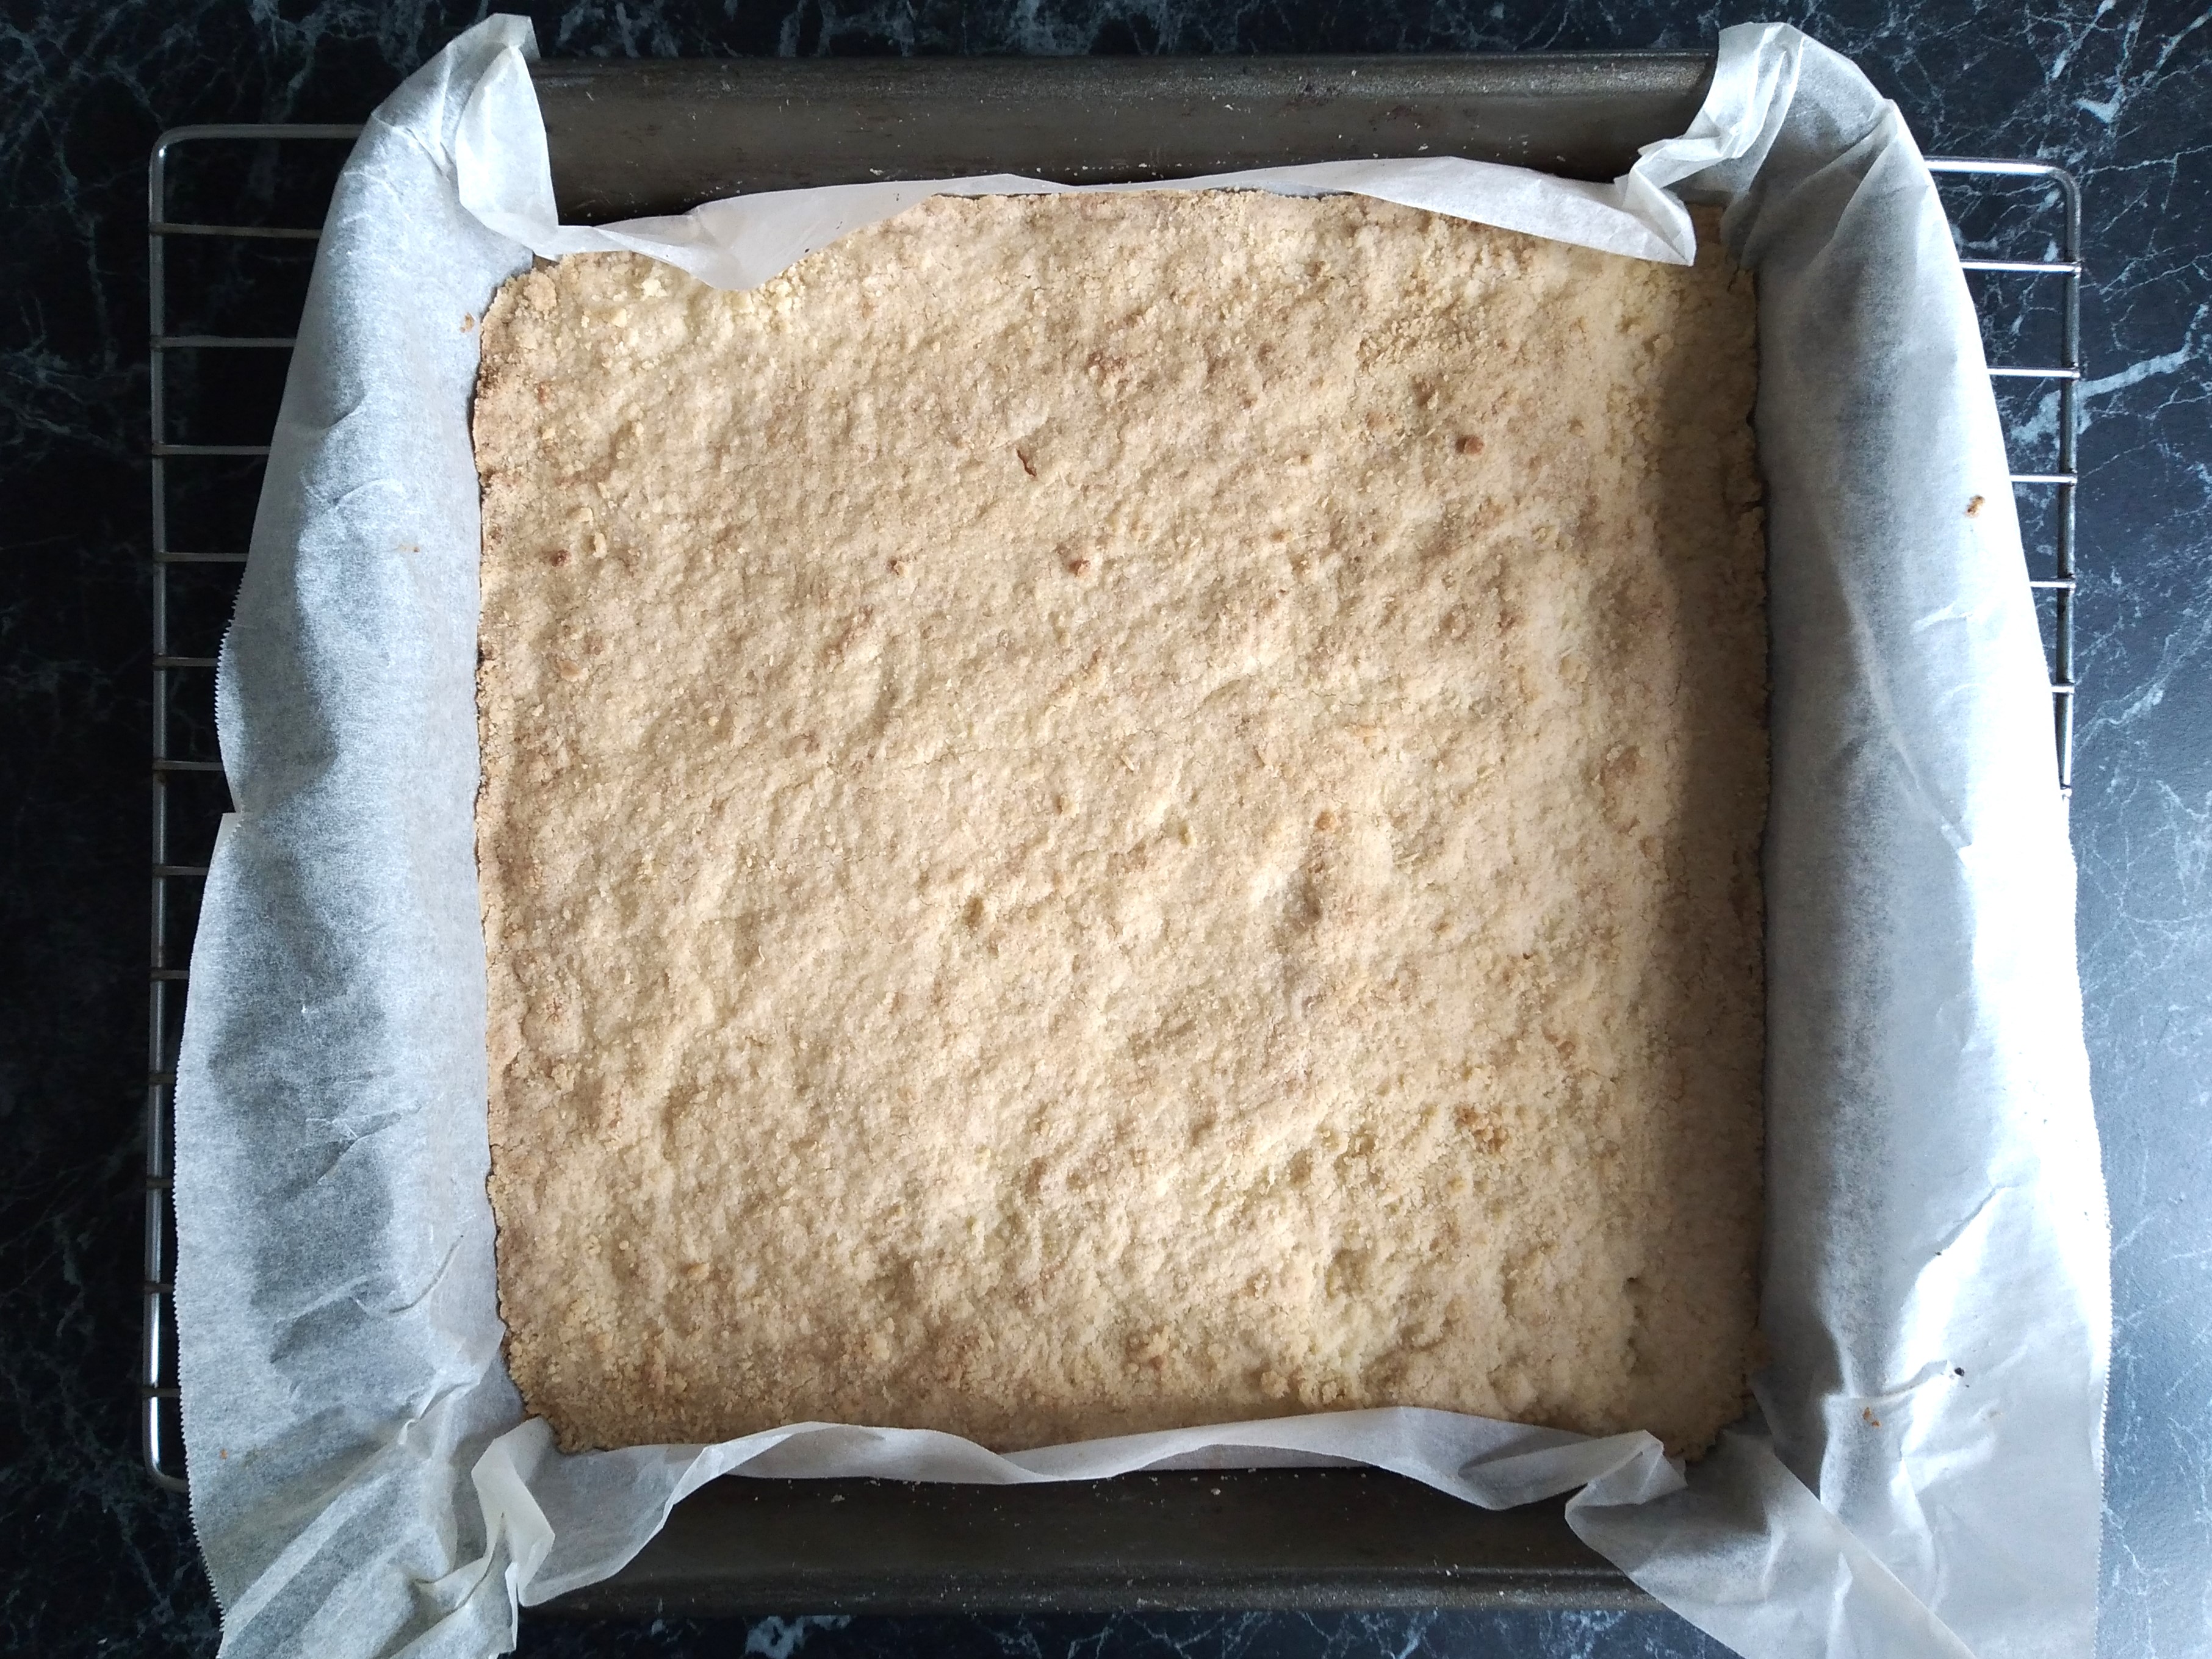
7. Remove the shortbread from the oven and leave to cool completely on a baking rack before starting on the caramel layer.
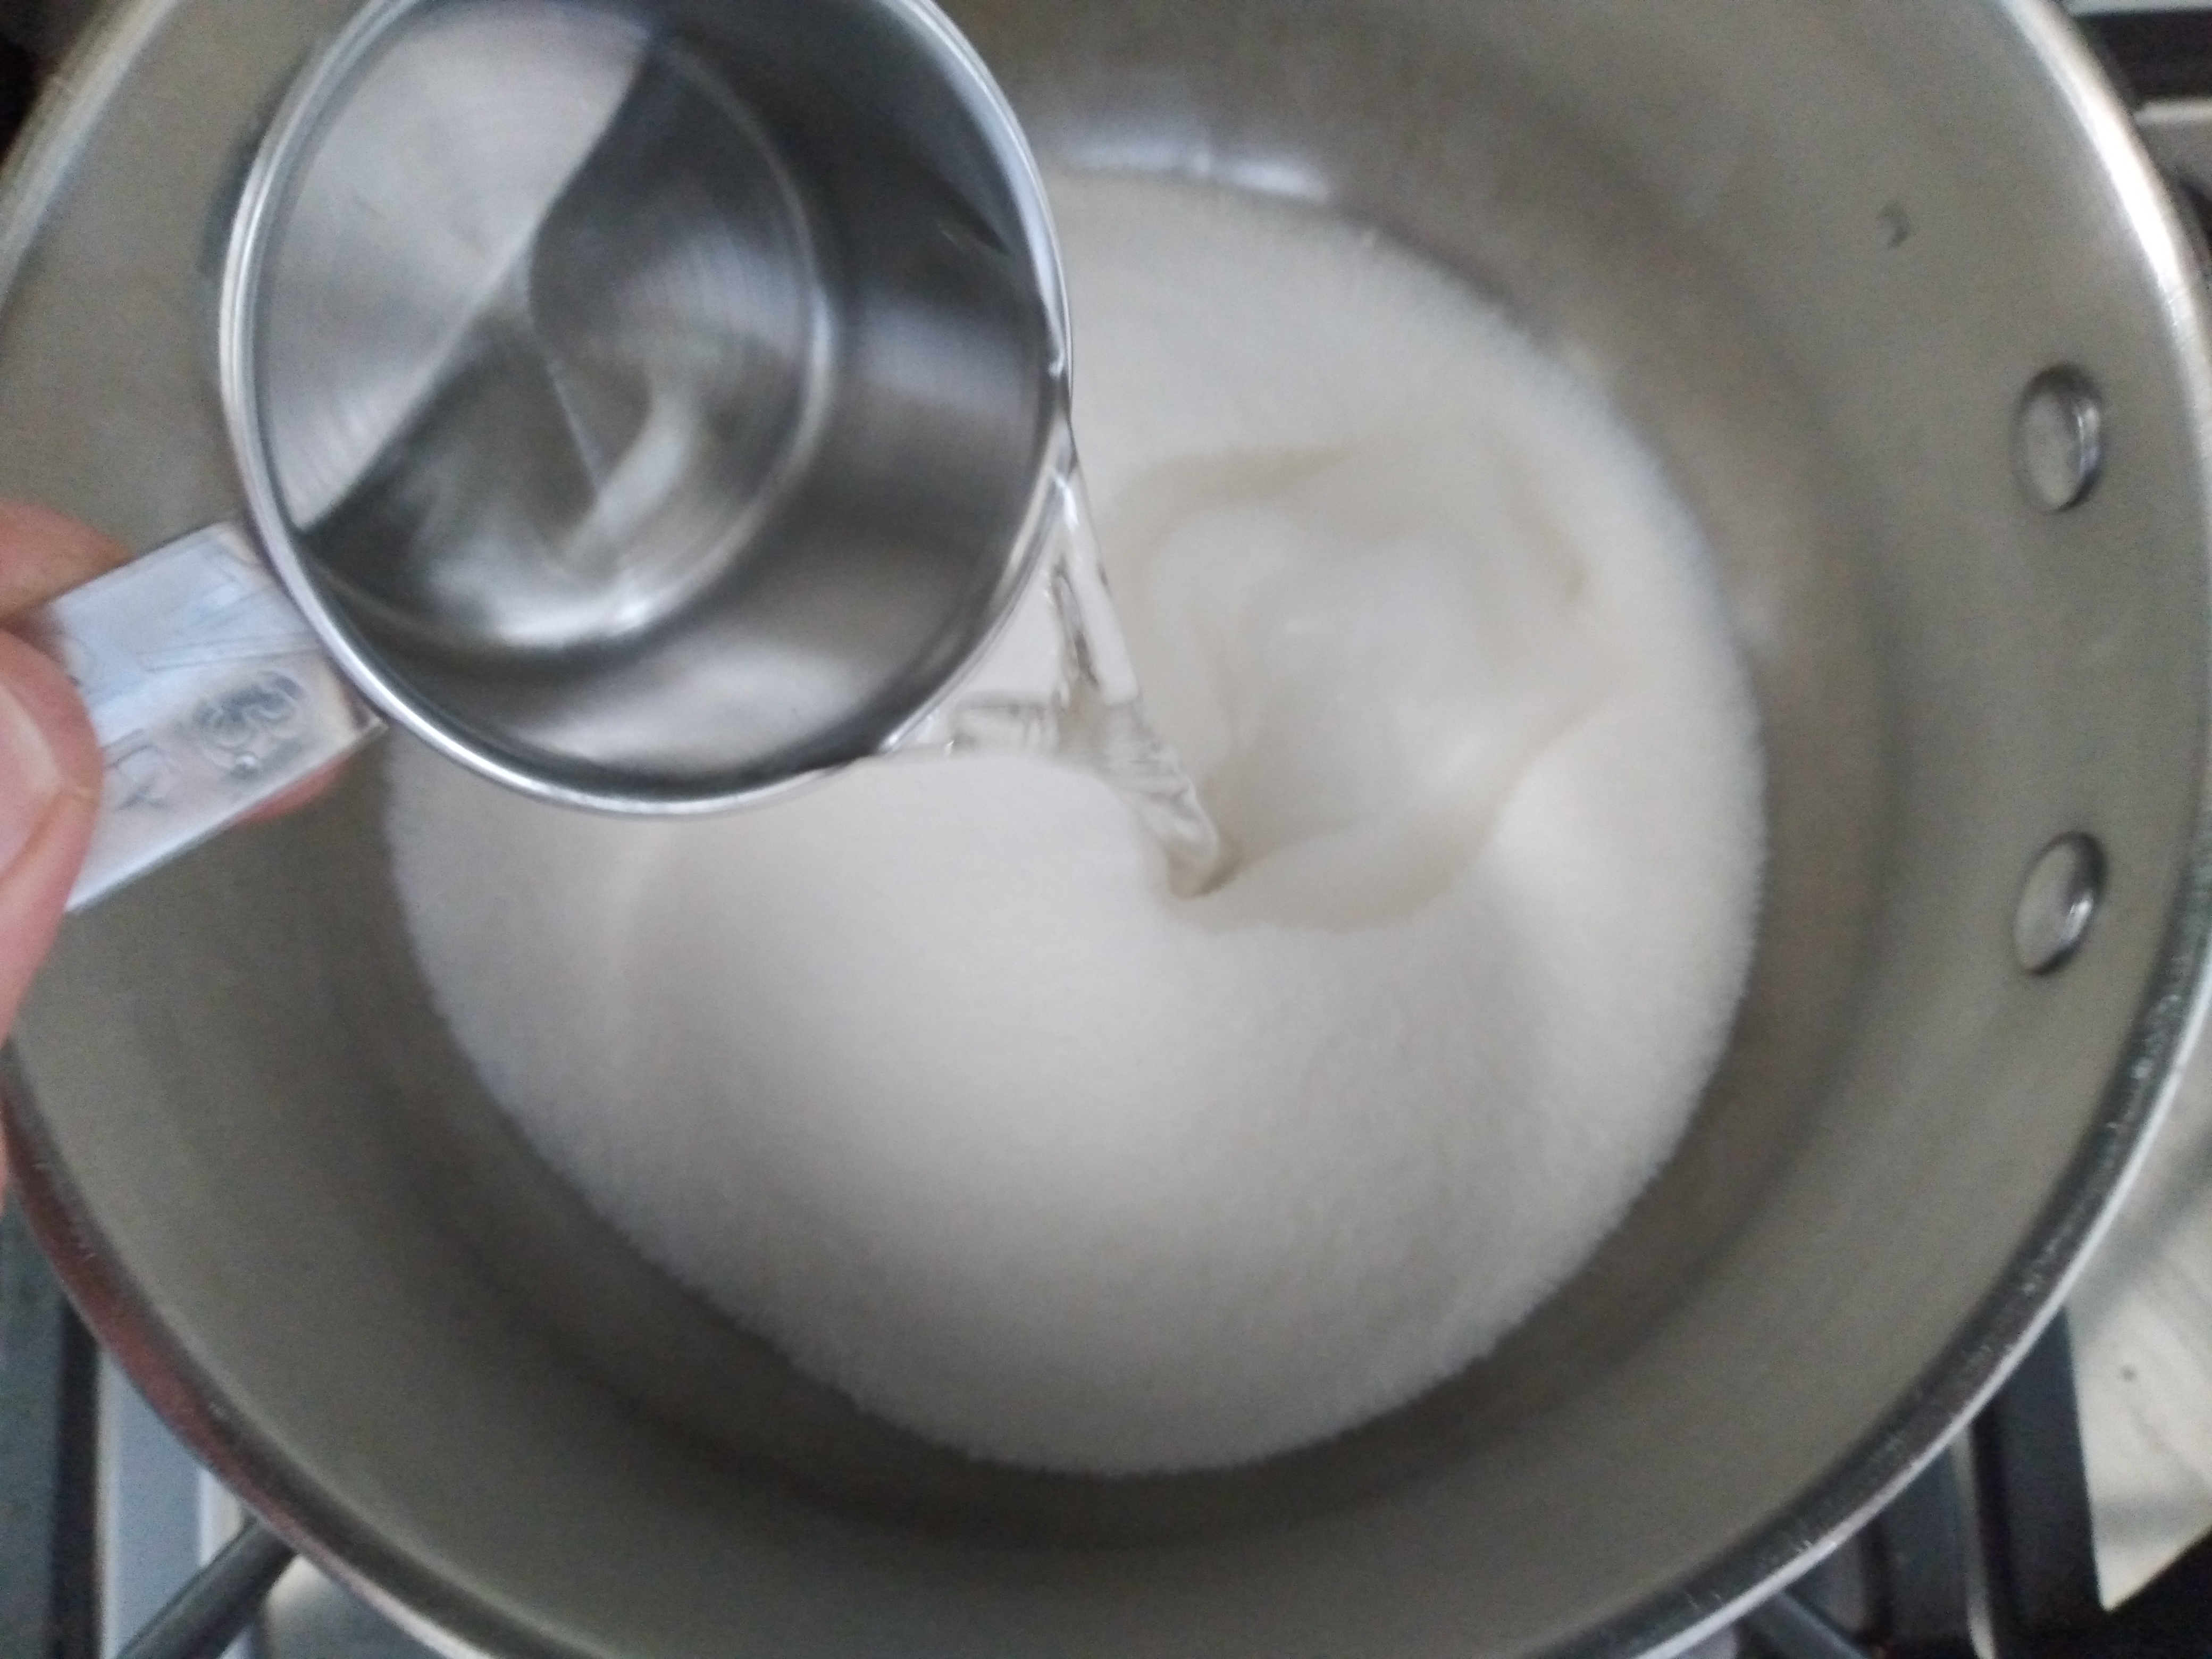
8. To make the caramel layer, place the sugar and water together in a saucepan over a medium heat and gently stir to dissolve the sugar into the water as it melts. Whilst adding the sugar to the saucepan and stirring it, be careful to minimise how much goes on the edges of the pan, instead of just on the bottom, as sugar on the sides may not dissolve completely and may cause the caramel to have a grainy texture.

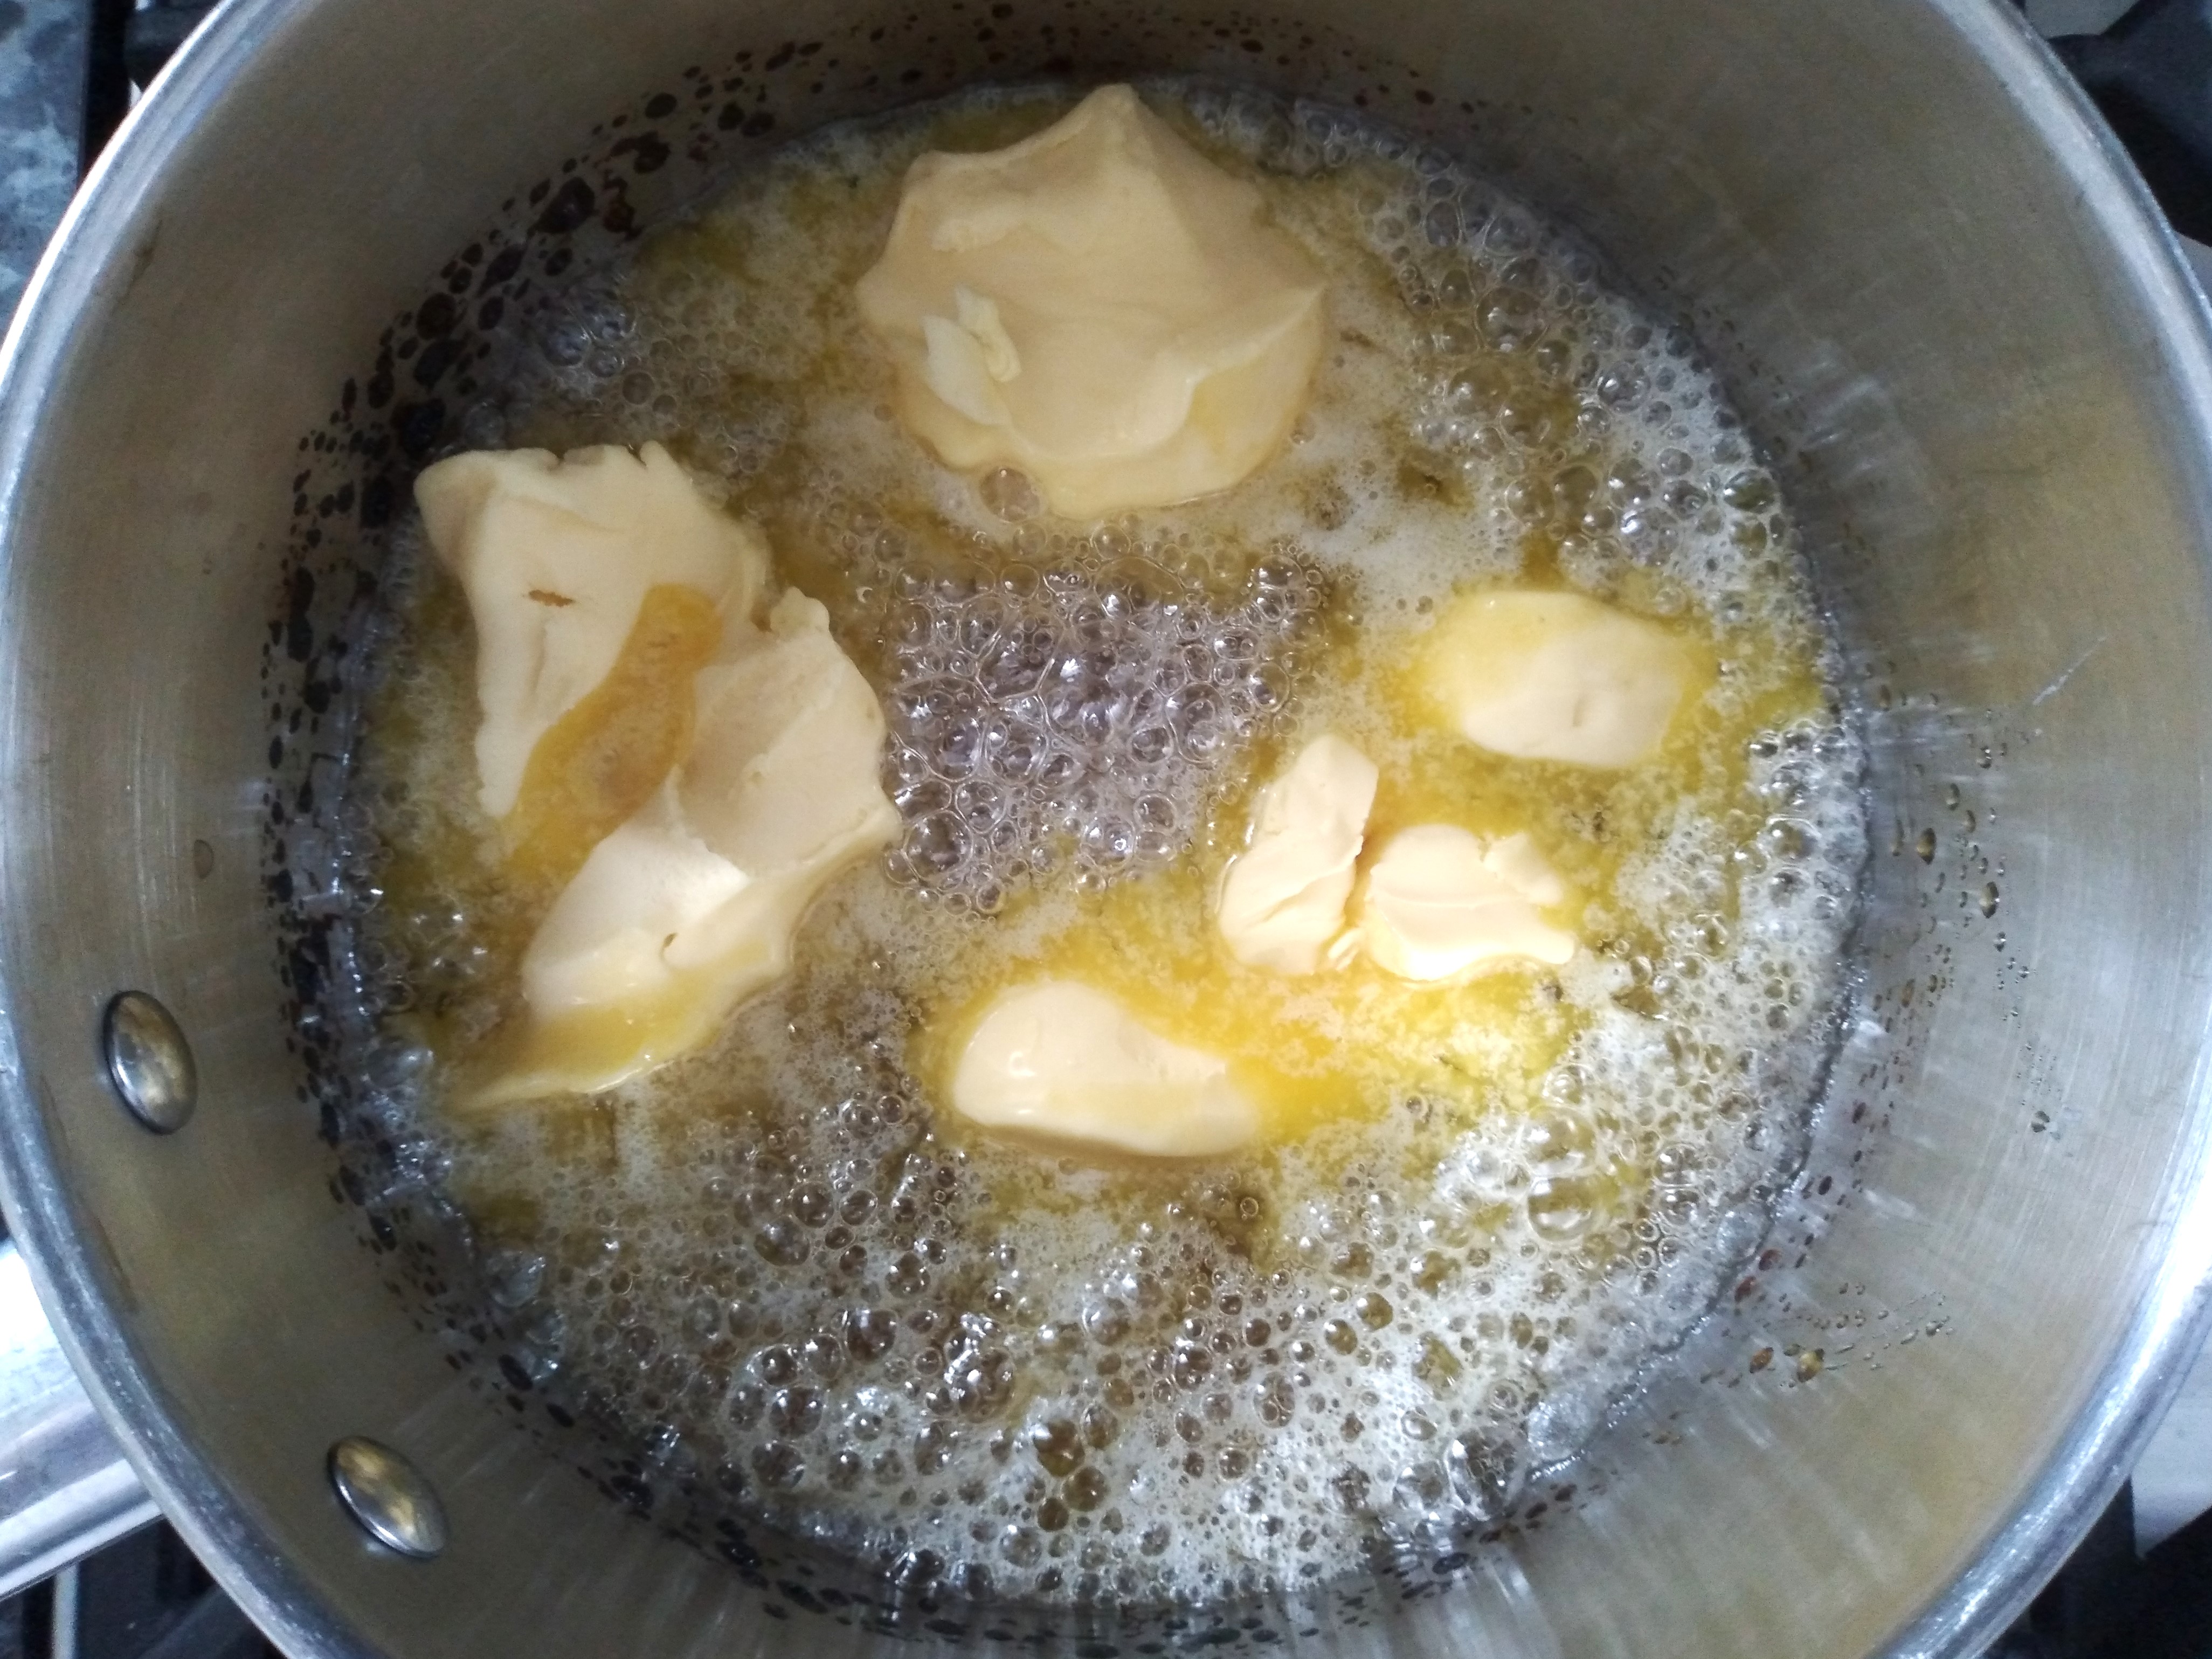
9. Once the sugar has fully dissolved into the water, place a lid over the pan and leave it over a low to medium heat to caramelise. You may need to check it during this time. Once the liquid turns a light golden brown colour throughout the pan (there may be darker bits too in parts of the pan), add the butter to the pan and make sure the heat is as low as possible.

10. Whisk the butter into the sugar/water mixture until it is completely combined and then add the cream and again whisk until it is completely combined. The sugar in the pan may bubble up when you add the butter or cream, so be careful! Once the cream is fully mixed in, leave the mixture to simmer for 1 to 5 minutes to thicken. The exact amount of time will depend on how stiff you prefer your caramel layer (more simmering time for a stiffer, fudge-like layer, less for a more runny layer) and how warm your ambient temperature is (if it is warm, you should simmer it for longer so it is stiffer, whereas if it is cold, the caramel will be less likely to melt and won’t need to simmer for as long).


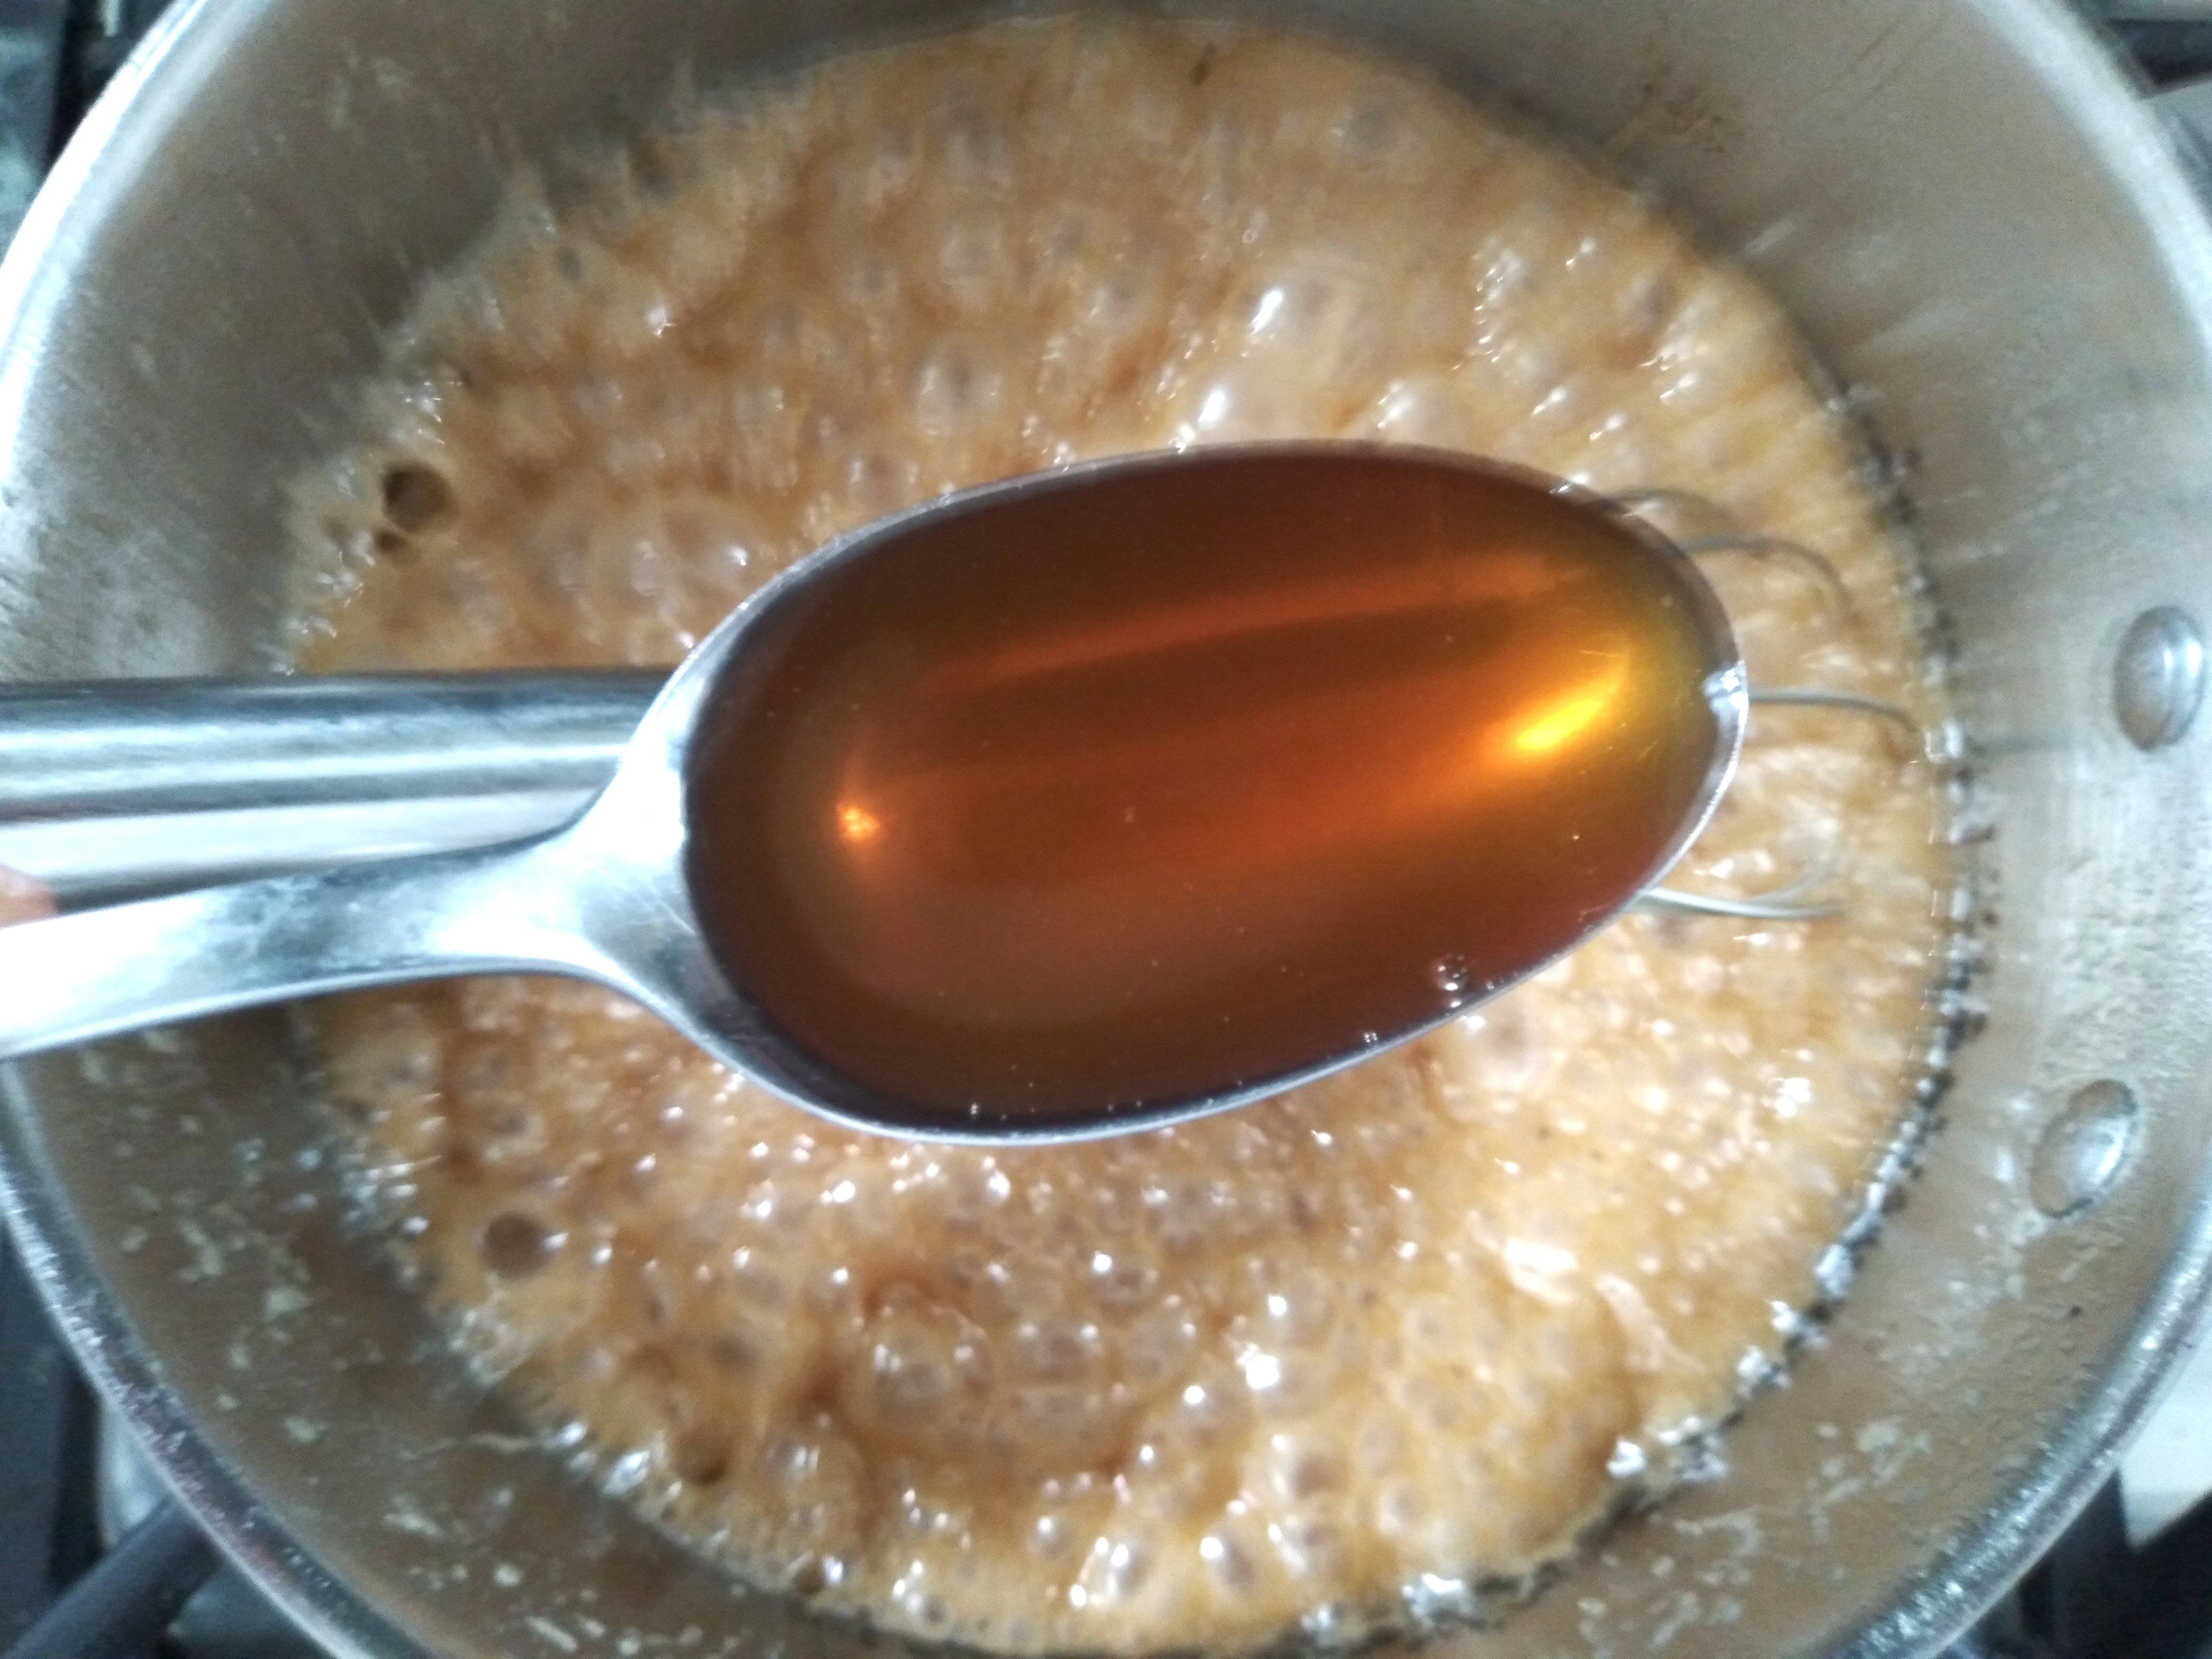
11. Once the caramel has simmered, remove the pan from the heat and stir in the vanilla essence.
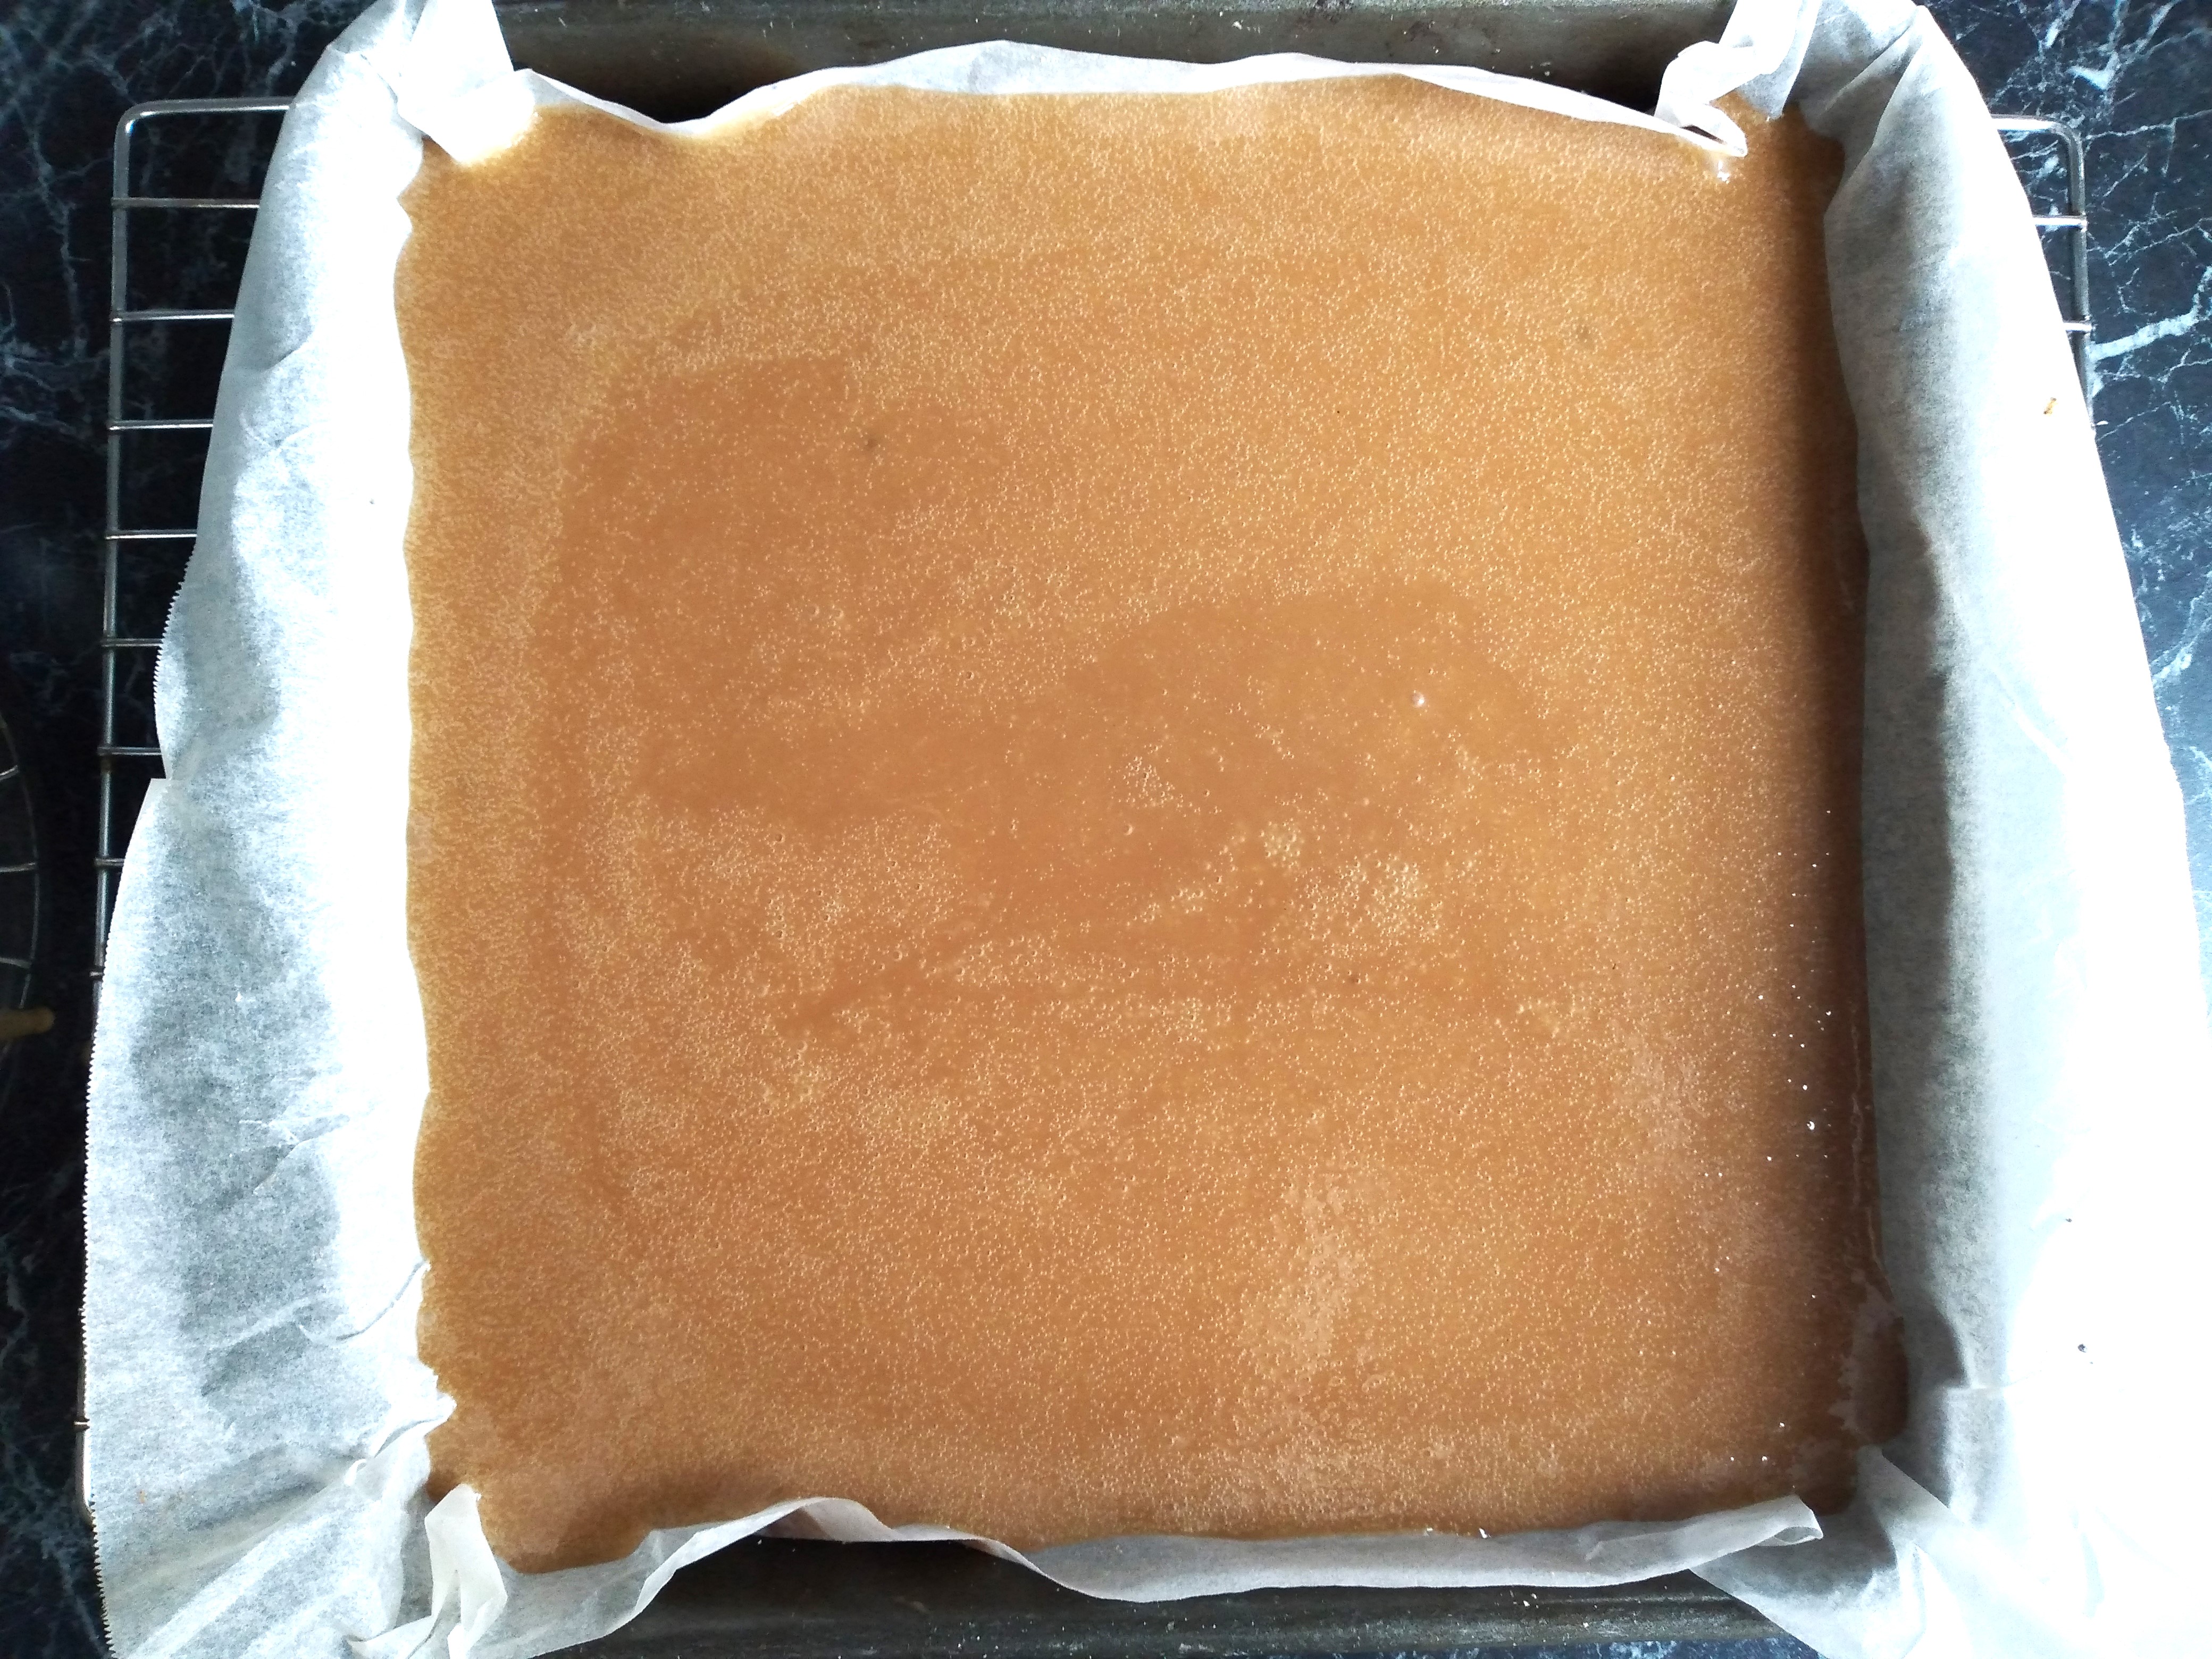
12. Once the caramel is done, carefully pour it over the cooled shortbread. I had a few geothermal bubbles as I did this and the caramel settled on to the shortbread – that isn’t a problem at all! Allow the caramel layer to cool fully before moving on the chocolate layer. I put mine in the fridge to speed up the process.

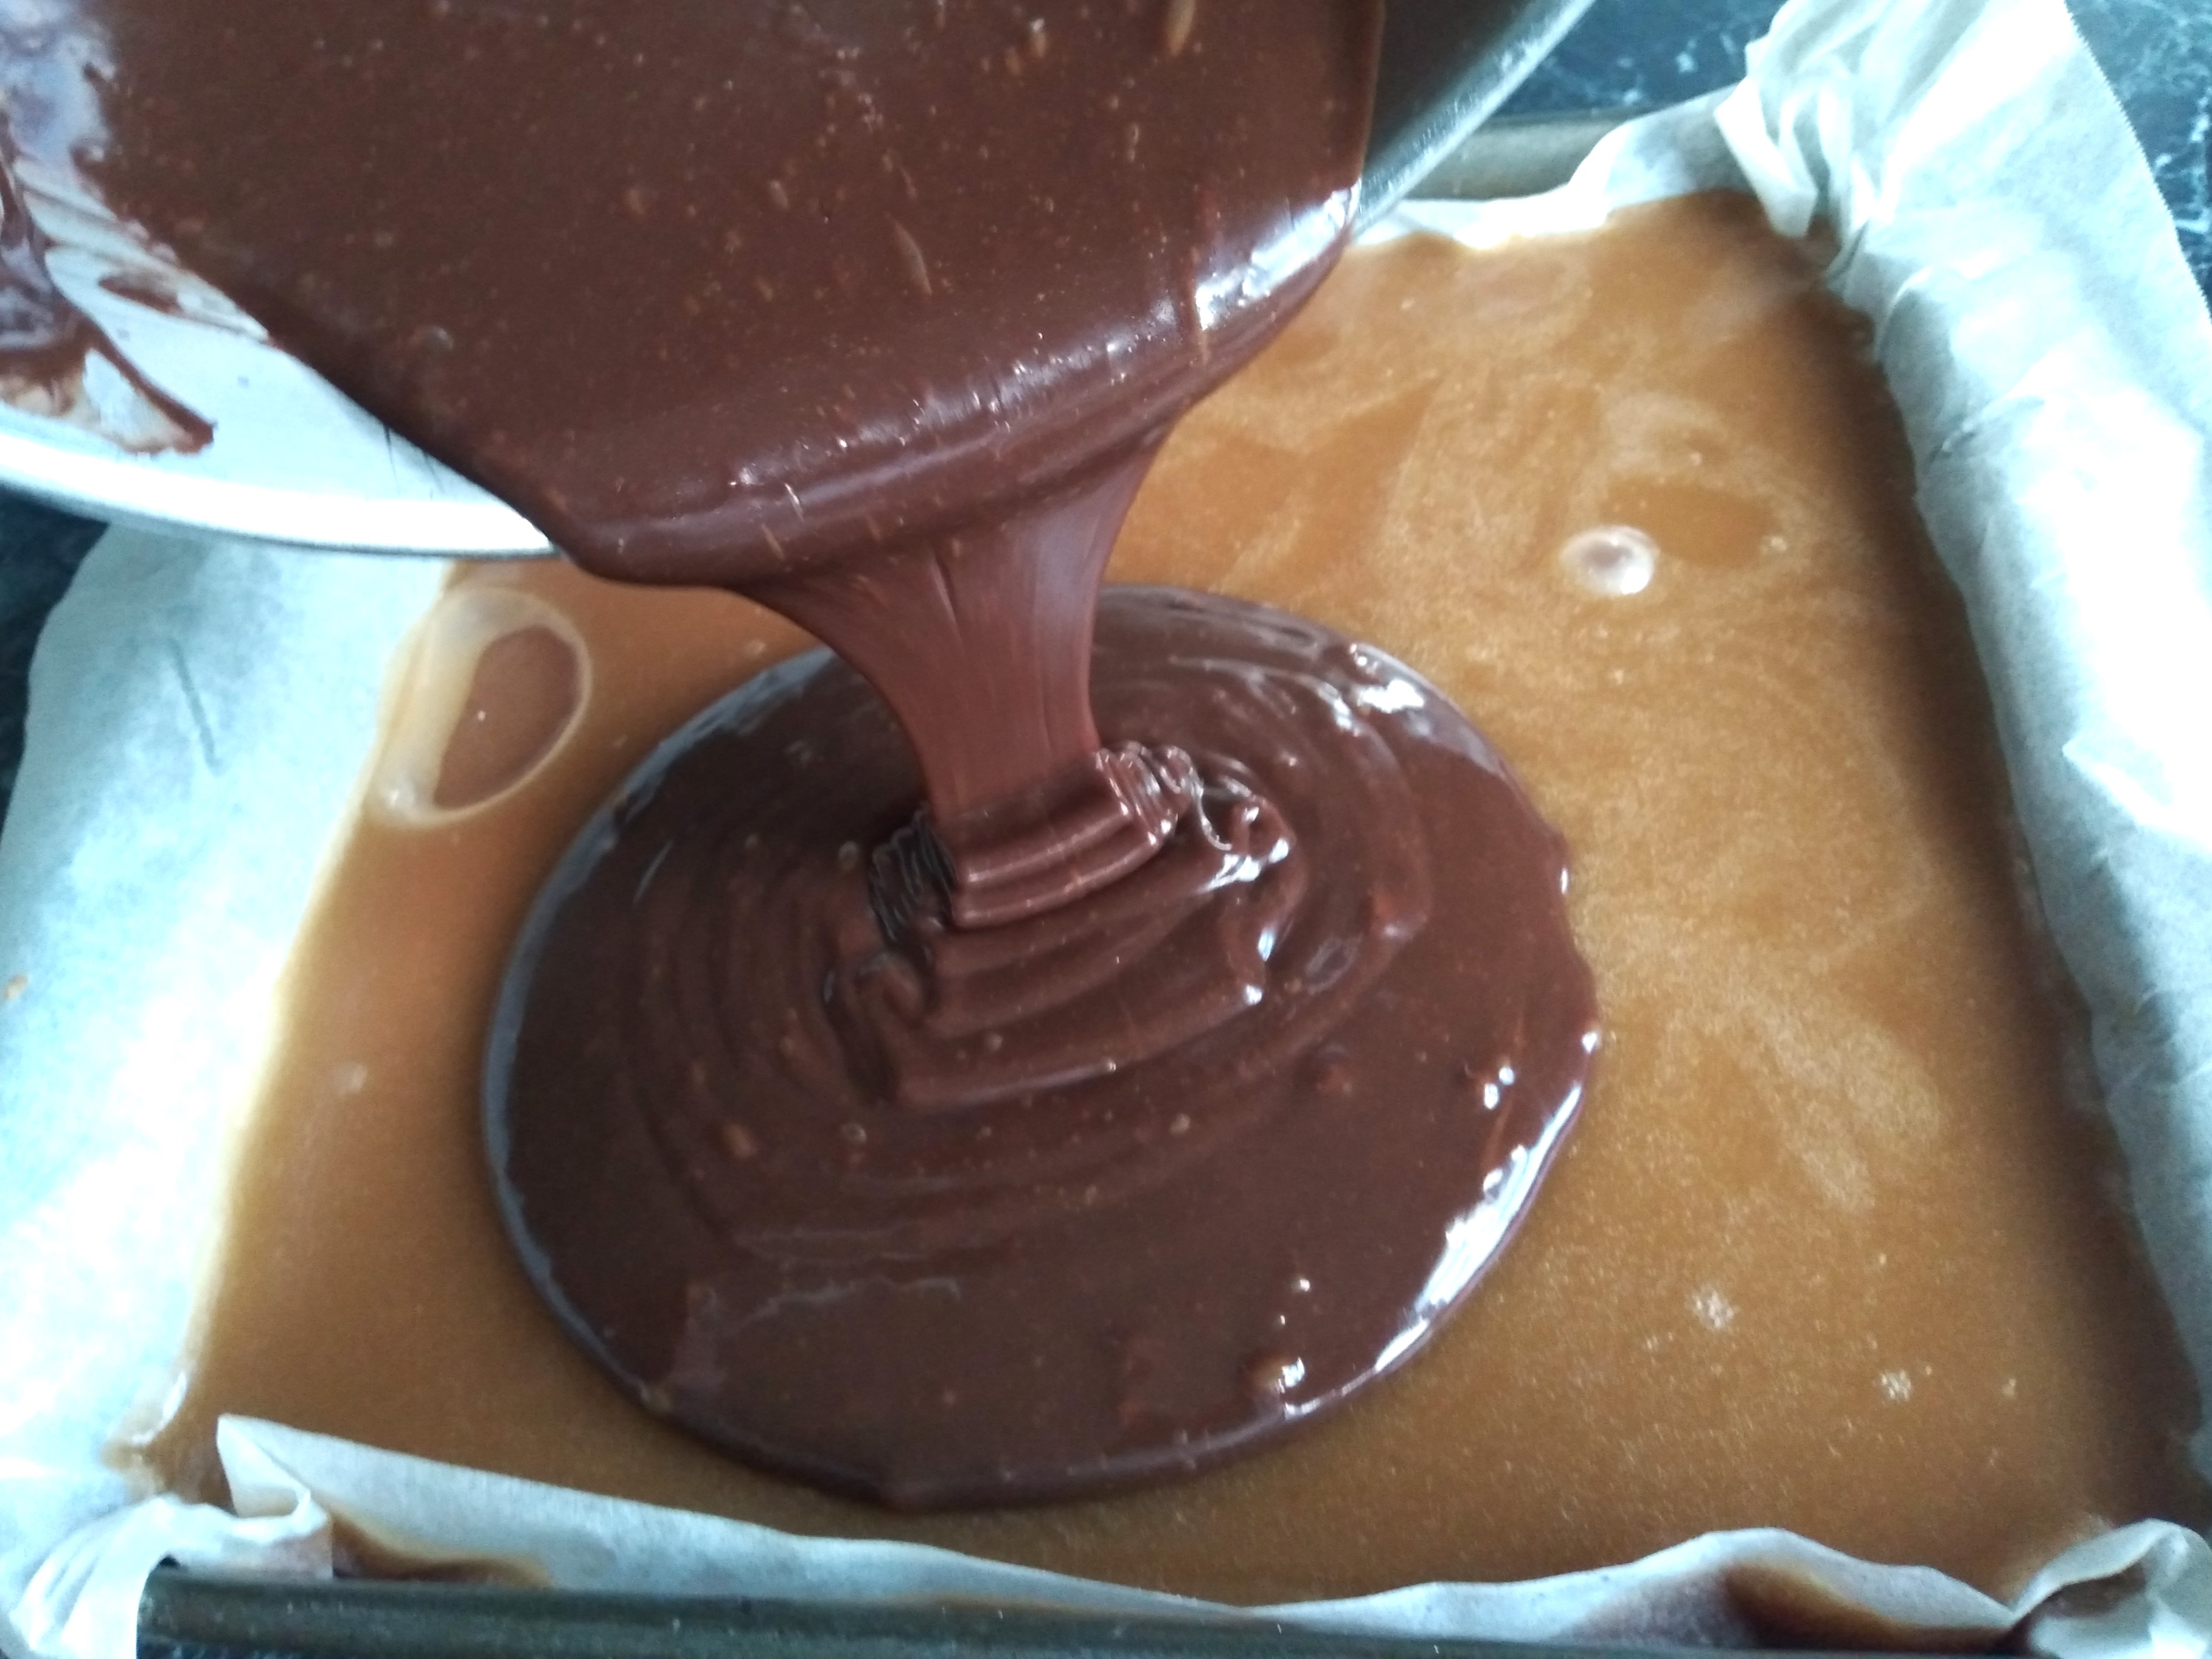
13. Once the caramel has set, it is time to move on to the chocolate layer! First, heat the cream on the stove until small bubbles start to form around the edge of the pan and a film across the top of the cream, and then remove the pan from the heat. Alternatively, heat the cream in a large microwaveable jug for a couple of minutes on high. Once the cream is warm, add all the chocolate to the cream and whisk until the chocolate has fully melted into the cream to form a thick ganache.


14. Carefully spread the chocolate ganache over the top of the caramel layer (I find a spatula or the back of a spoon best for this) and leave to cool fully (again I put mine in the fridge to speed up this process).
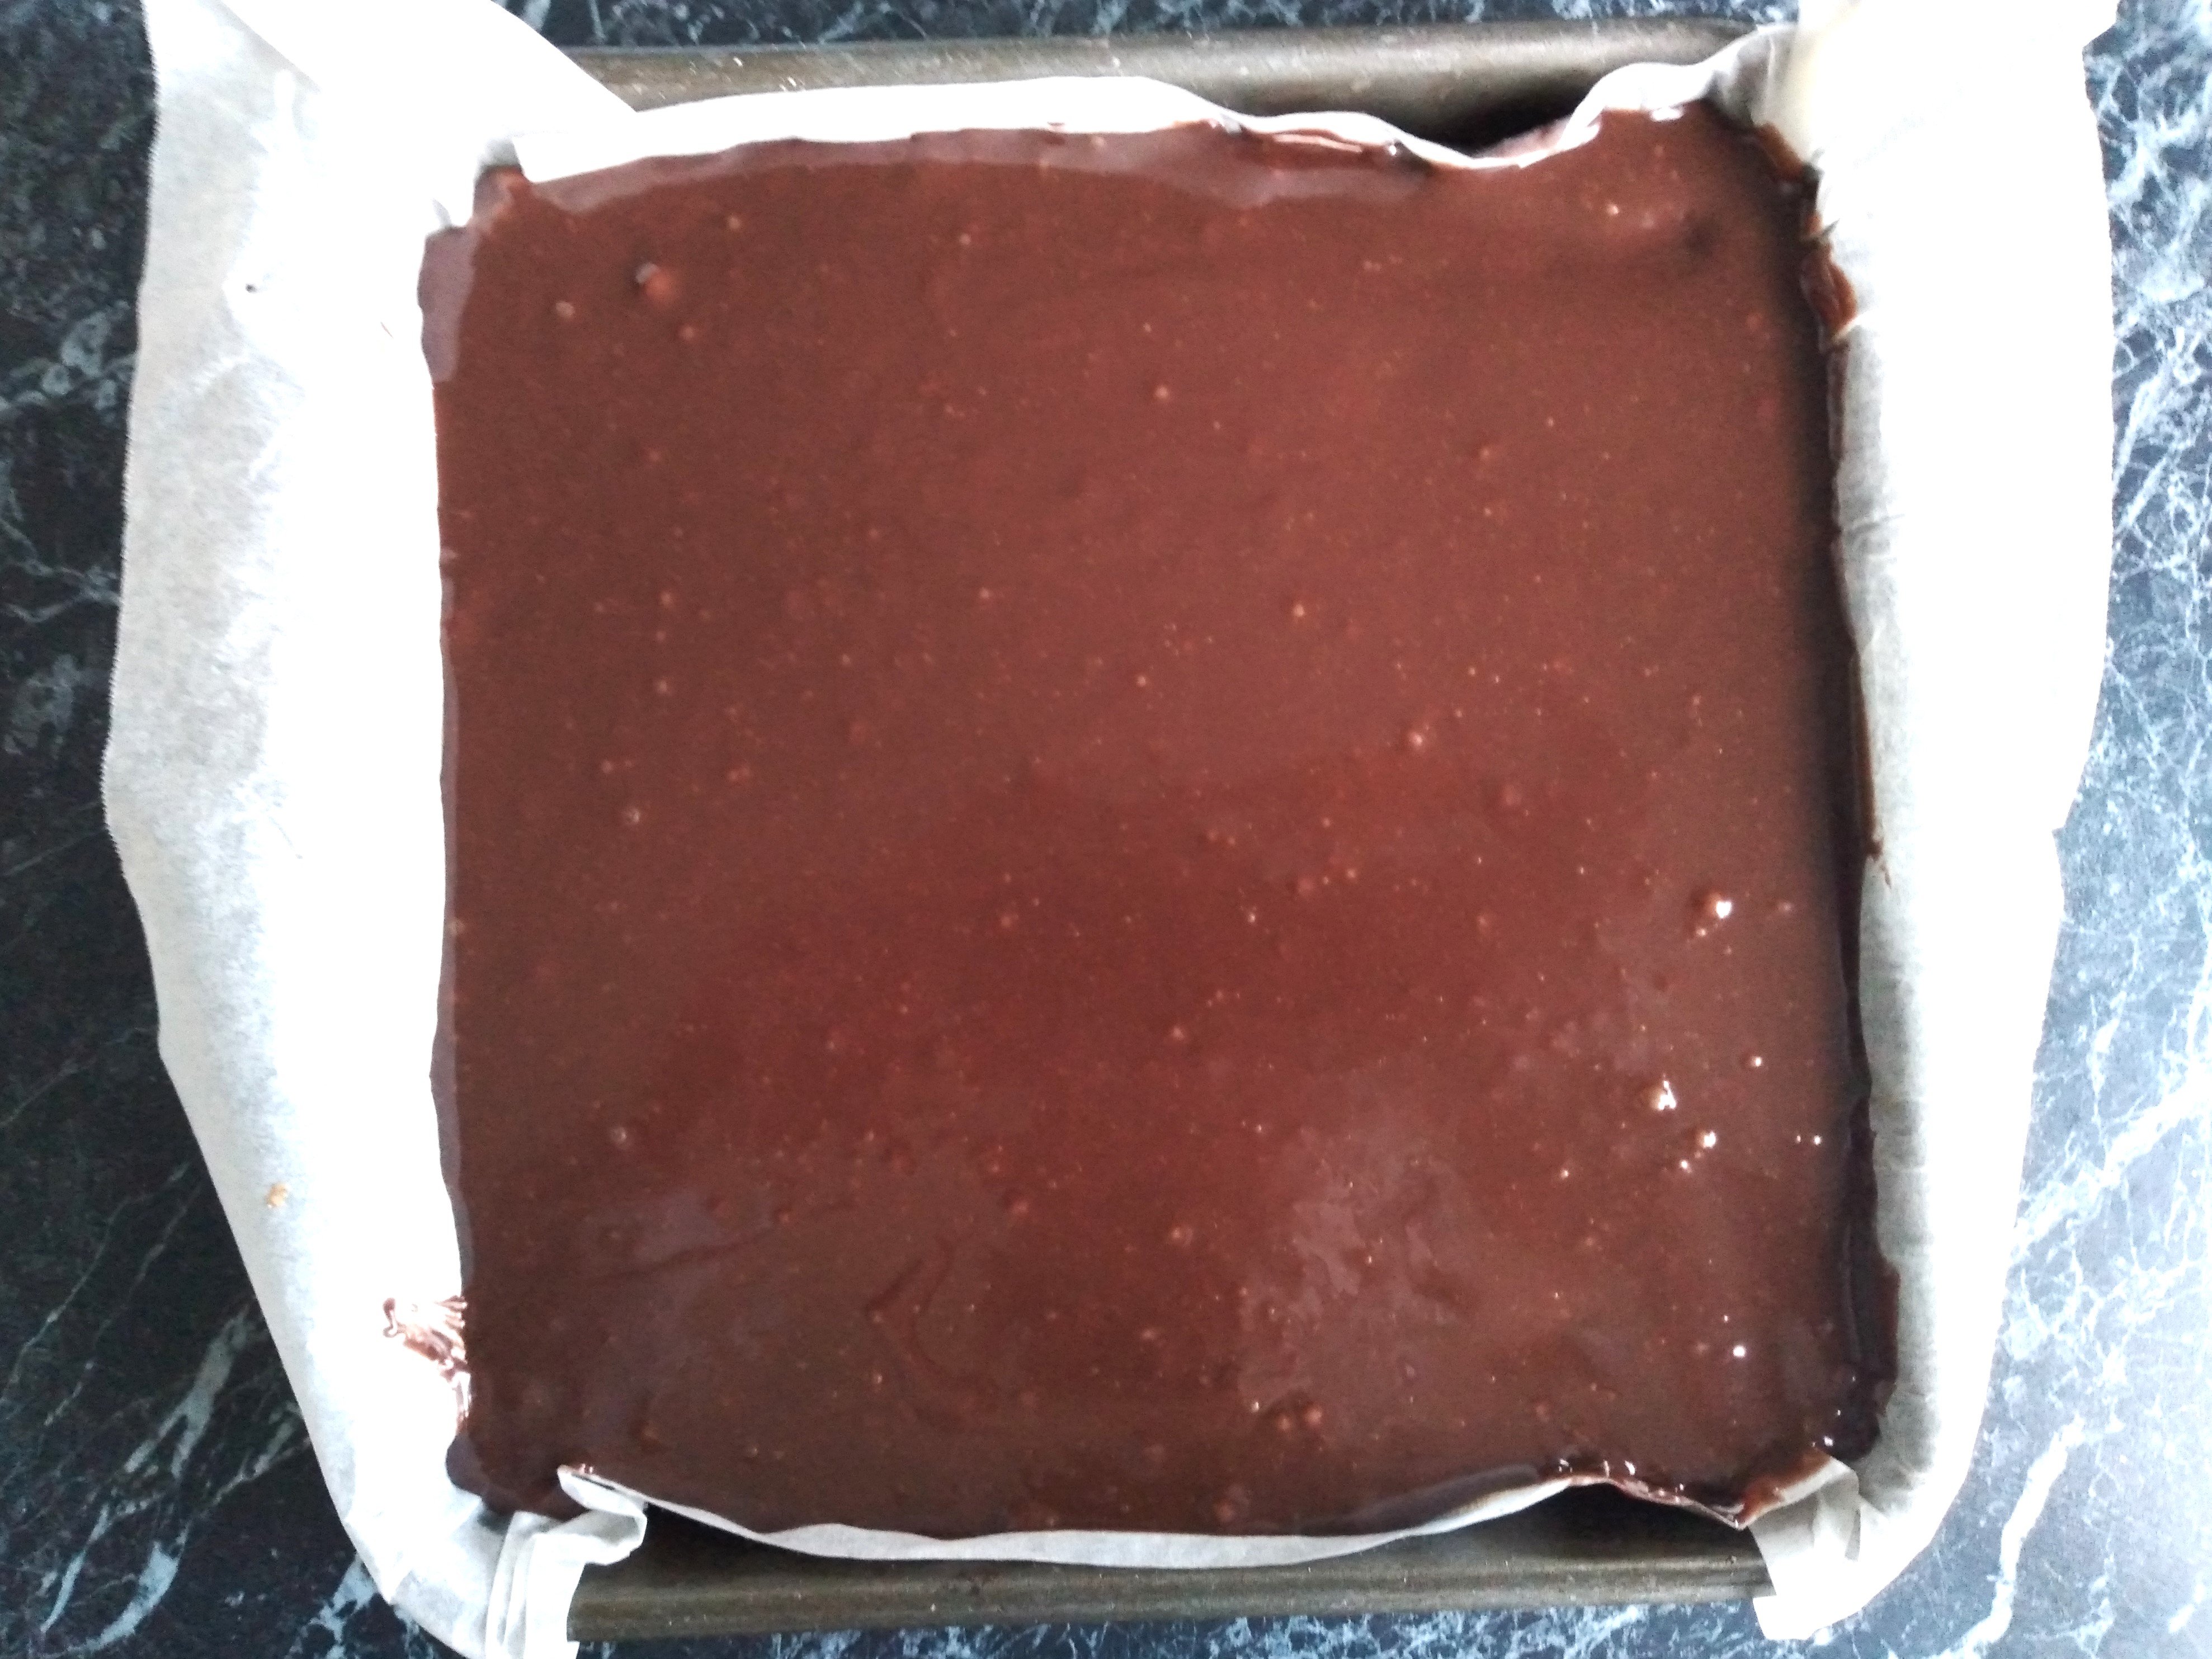
15. Once fully cool, carefully cut the millionaire’s shortbread into your preferred-size pieces! You may find it easier to cut this with a warmed knife (run boiling water over the blade and then dry before cutting to warm the knife).

16. Enjoy!

