
GF
Yields about 16 small pieces
I fought it for a long time. I rationalised it. I had all the arguments down in my head and would readily have shared them with anyone willing to listen (and with those who had no choice but to listen – just ask my husband!). And then I needed to change a recipe for a project I am working on into grams instead of cups. And I discovered that the ability to add just a fraction more of an ingredient could absolutely transform a bake from pretty good to actually really good, and sticking to measurements by volume (cups and spoons) instead of measurements by weight (using a scale) was actually limiting my possibilities. So, I am gradually starting to accept that measurements by volume might be the way to go in future. And I’m going to need a new battery for the old digital kitchen scale that lives at the back and top of the cupboard… And speaking of things electronic equipment – I just want to acknowledge that the photos in this post and my previous post were taken with a camera that was very, very kindly lent to me by my husband’s colleague, whilst I wait for a new camera to arrive. I am so grateful!
If you have your own amazing brownie recipe or are able to eat gluten and prefer to use a glutenous brownie for the base, just bake and cool your own brownie recipe as usual and then pick up in the relevant part of the recipe below for the topping. For a more luxurious brownie, double the amount of mascarpone cream. Only a small portion of the salted caramel sauce is needed for this recipe – the remainder can be served alongside the brownie or saved for other uses (on ice cream or pancakes if you’re stuck for inspiration – the sauce should be good in the fridge for 1 to 2 weeks after being made).

What you need for the brownie base
3 eggs
175 grams of brown sugar
100 grams of white sugar
130 grams of salted butter, melted
50 grams of neutral oil (such as sunflower oil or mild olive oil)
1 teaspoon of vanilla extract
65 grams of tapioca starch
55 grams of white rice flour
80 grams of cocoa powder
7 grams of baking powder
Large pinch of salt
What you need for the salted caramel:
210 grams of white sugar
5 grams of salt
60 millilitres of room temperature water
70 grams of salted butter
125 millilitres of cream
What you need for the mascarpone cream:
160 grams of mascarpone
10 grams of icing sugar
125 millilitres of cream (double cream or cream that can be whipped rather than single cream, if you’re in a country with these choices)
Extra for on top:
30 grams of toasted almonds, roughly chopped
What to do for the brownie base:
1. Preheat the oven to 180°C and line a baking tray with baking paper. My baking tray measured about 30 x 22 cms but any similar size baking tray will be fine.
2. In a large bowl, beat together the eggs, white sugar and brown sugar until light and fluffy. I used my stand mixer for this, but a handheld electric mixer would also be fine.
3. Add the melted butter, oil and vanilla extract to the beaten eggs and sugar and mix until fully combined.
4. Sift the tapioca starch, white rice flour, cocoa powder, baking powder and salt into the bowl and gently and thoroughly fold into the eggs/sugar/butter/oil mixture.
5. Pour the brownie batter into the lined baking tray and spread it into an even layer. Bake in the middle of the preheated oven for about 40 minutes or until just baked.
6. Once baked, remove the baking tray from the oven and place on a cooling rack to cool fully before topping. There is no need to remove the brownie from the baking tray – it can be topped and then served from the baking tray.
What to do for the salted caramel sauce (this should be made whilst the brownies are in the oven):
1. Place the sugar, salt and water together in a medium saucepan. Put the lid on the saucepan and then place the saucepan over a medium heat on the stovetop. A glass lid is easier than a metal lid as you will be able to watch the sugar in the pan without needing to lift the lid.
2. Leave the saucepan over the heat, with the lid on, for a few minutes to allow the sugar and salt to melt and dissolve into the water. Leave the pan over the heat with the lid on, checking the contents occasionally until the sugar in the pan turns a golden brown colour. You do not need to stir the sugar syrup during this time but do keep a close eye on it and adjust the heat below the pan if needed.
3. Once the sugar syrup has turned a golden brown colour (or part of the sugar syrup in the pan has changed colour – it is okay if not all of it has, particularly if it is starting to burn in any part of the pan), remove the pan from the heat and whisk in the butter, being careful as the mixture is likely to bubble up when the butter is added.
4. Once the butter is fully incorporated, whisk the cream fully into the sugar/butter mixture, again being careful as the mixture is likely to bubble up when the cream is added.
5. Place the saucepan back over a medium heat and simmer for 2 minutes, stirring continuously to prevent burning.
6. Remove the pan from the heat and pour the caramel sauce into a shallow bowl to cool. Once the sauce has cooled to close to room temperature, store in the fridge until ready to use.
To make the mascarpone cream (do this once the brownie and sauce are cool, right before topping the brownie):
1. Place the mascarpone and icing sugar together in a large bowl and beat for a few minutes until fully combined and fluffy (as earlier I used my stand mixer but a handheld electric mixer will also work).
2. Add the cream to the mascarpone and icing sugar and beat until stiff.
To assemble:
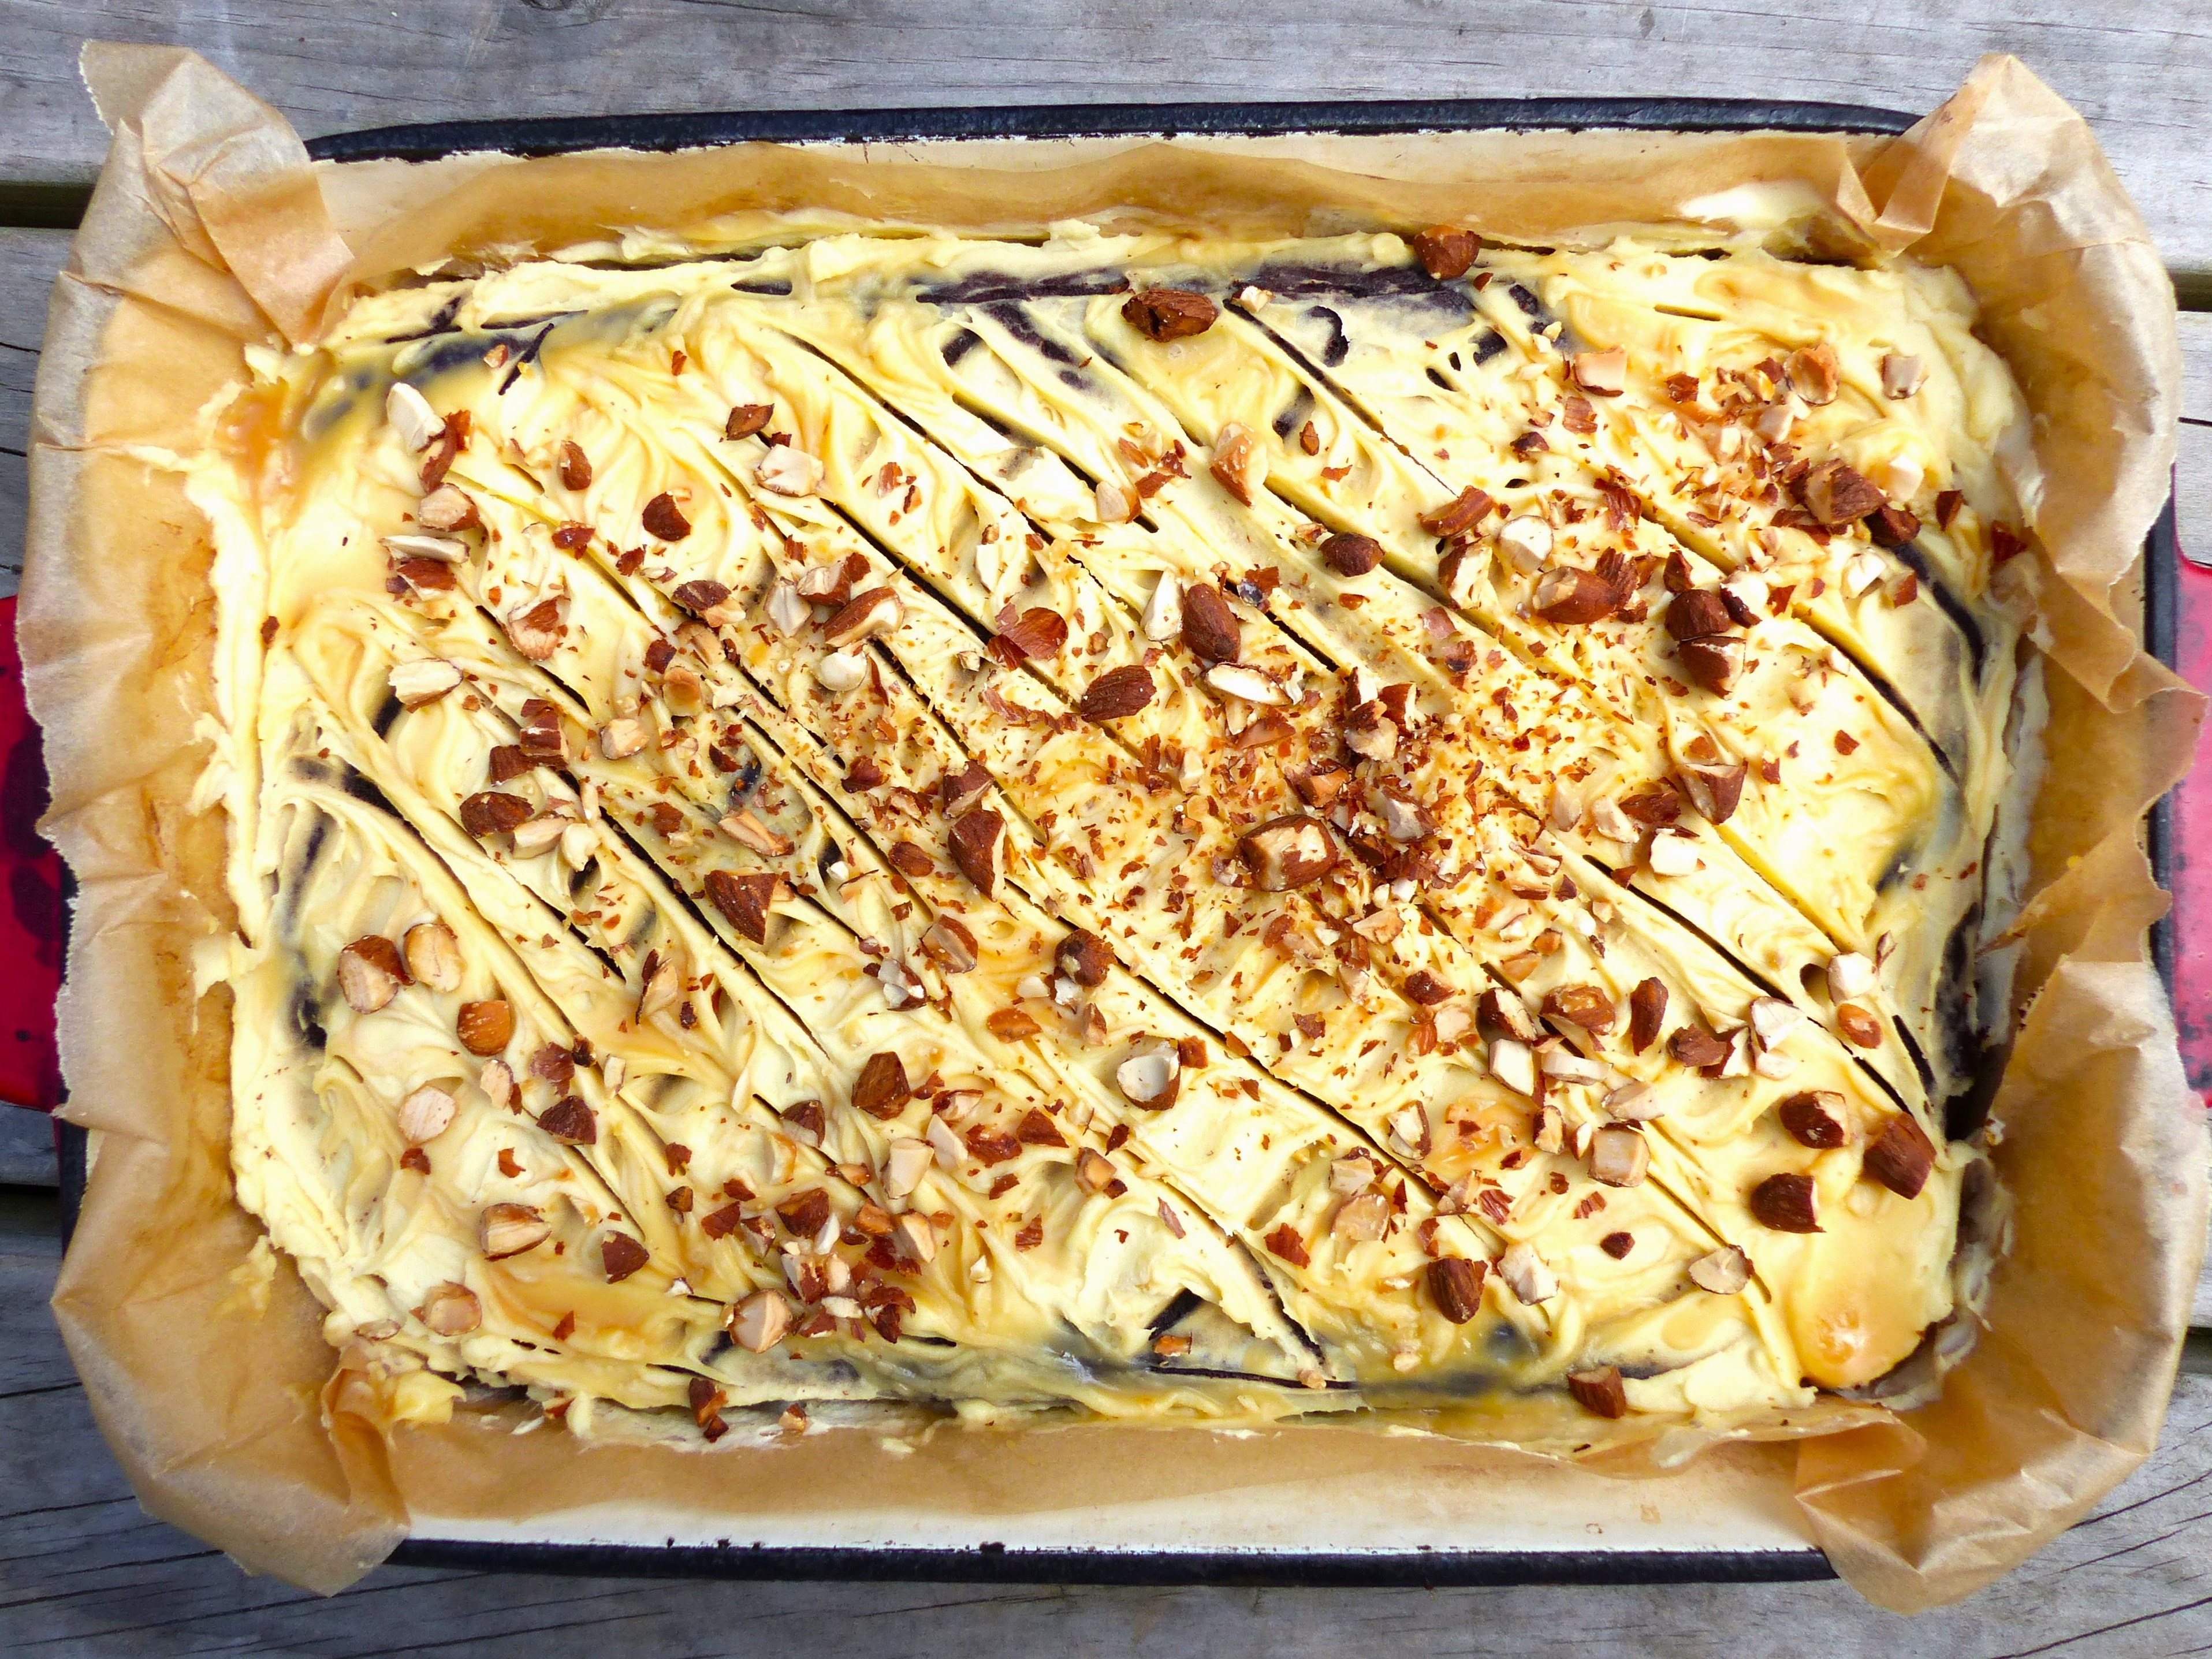
1. Once the brownie and salted caramel sauce have cooled fully, spread the mascarpone cream over the top of the brownie in an even layer.
2. Drizzle about a quarter of a cup of salted caramel sauce over the top of the mascarpone cream and then swirl into the cream carefully with the end of a teaspoon.
3. Scatter the toasted almonds evenly over the mascarpone and salted caramel topping.
4. Place the topped brownie in the baking tray in the fridge for at least 2 hours to allow the topping to set.
5. This can be served either cold from the fridge or brought back to room temperature first.
6. Enjoy!

