GF DF NF
Makes 4 large pizza bases
A great gluten free pizza base is something I have been chasing for years now and I think I’ve finally got there! And it is mostly thanks to a conversation that I had with someone while we were on holiday and visiting a church away from home. If you make this, don’t be put off by the long list of ingredients and instructions – it is actually mostly a dump and mix recipe!
What you need:
500 mls of warm water
1 teaspoon of dried yeast
15 grams of white sugar (or 1 tablespoon if that’s easier!)
250 grams of white rice flour, plus extra for rolling out the dough
30 grams of buckwheat flour
100 grams of tapioca starch
175 grams of potato starch
30 grams of psyllium husk
10 grams of xanthan gum (about 2 teaspoons if that’s easier)
15 grams of baking power (about 1 tablespoon if that’s easier)
10 grams of salt (about 2 teaspoons)
15 mls of apple cider vinegar
60 mls of neutral oil (for example, sunflower oil or light olive oil)
4 small eggs

What to do:
1. Mix together the warm water, yeast and sugar in a large bowl and set aside in a warm place for 5 to 10 minutes for the yeast to bloom.
2. Once the yeast has started blooming and looks frothy on top, add all the remaining ingredients to the bowl (except the extra white rice flour for rolling out the dough). Mix everything together thoroughly.
3. Place a piece of baking paper on your kitchen counter (or other work surface) and generously sprinkle white rice flour all over the paper.
4. Carefully scoop out about a quarter of the dough and place it on the floured baking paper. Generously flour the top of the dough with more white rice flour and then shape into a rough ball. Roll with a rolling pin or flatten the ball with your hands into whatever shape you prefer – use extra white rice flour as needed to prevent sticking but try not to use too much. However, if your eggs were quite big, you may need more than you expect. I usually shape my dough into a rough rectangle-shaped pizza base as my baking pans are rectangular. The dough should be flattened until it is about ½ cm thick.
5. Carefully slide the baking paper with the shaped pizza base on to a large baking tray and cover with a sheet of plastic and then a clean tea towel over the plastic. I usually cut large freezer bags into flat rectangles and then clean and reuse them each time I make bread.
6. Set aside the covered pizza base in a warm place to rise. During winter, I find this works best in an oven that I have preheated to a very low temperature – if you do that, remember to turn off the oven before putting the dough into it!
7. Repeat steps 4 to 6 above with the remaining dough, rolling and shaping about a quarter of the original dough each time.
8. Leave the pizza bases to rise until they are about one and a quarter bigger than their original sizes or more, or just look risen and puffy. I usually leave my pizza bases for at least half an hour but have left them for a few hours when I’ve needed to.
9. Remove the dough from the oven if that is where you leave it to rise and then turn the oven on to 200°C to preheat.
10. Once the oven is hot, bake the pizza bases in the middle of the preheated oven one at a time for about 10 minutes each.
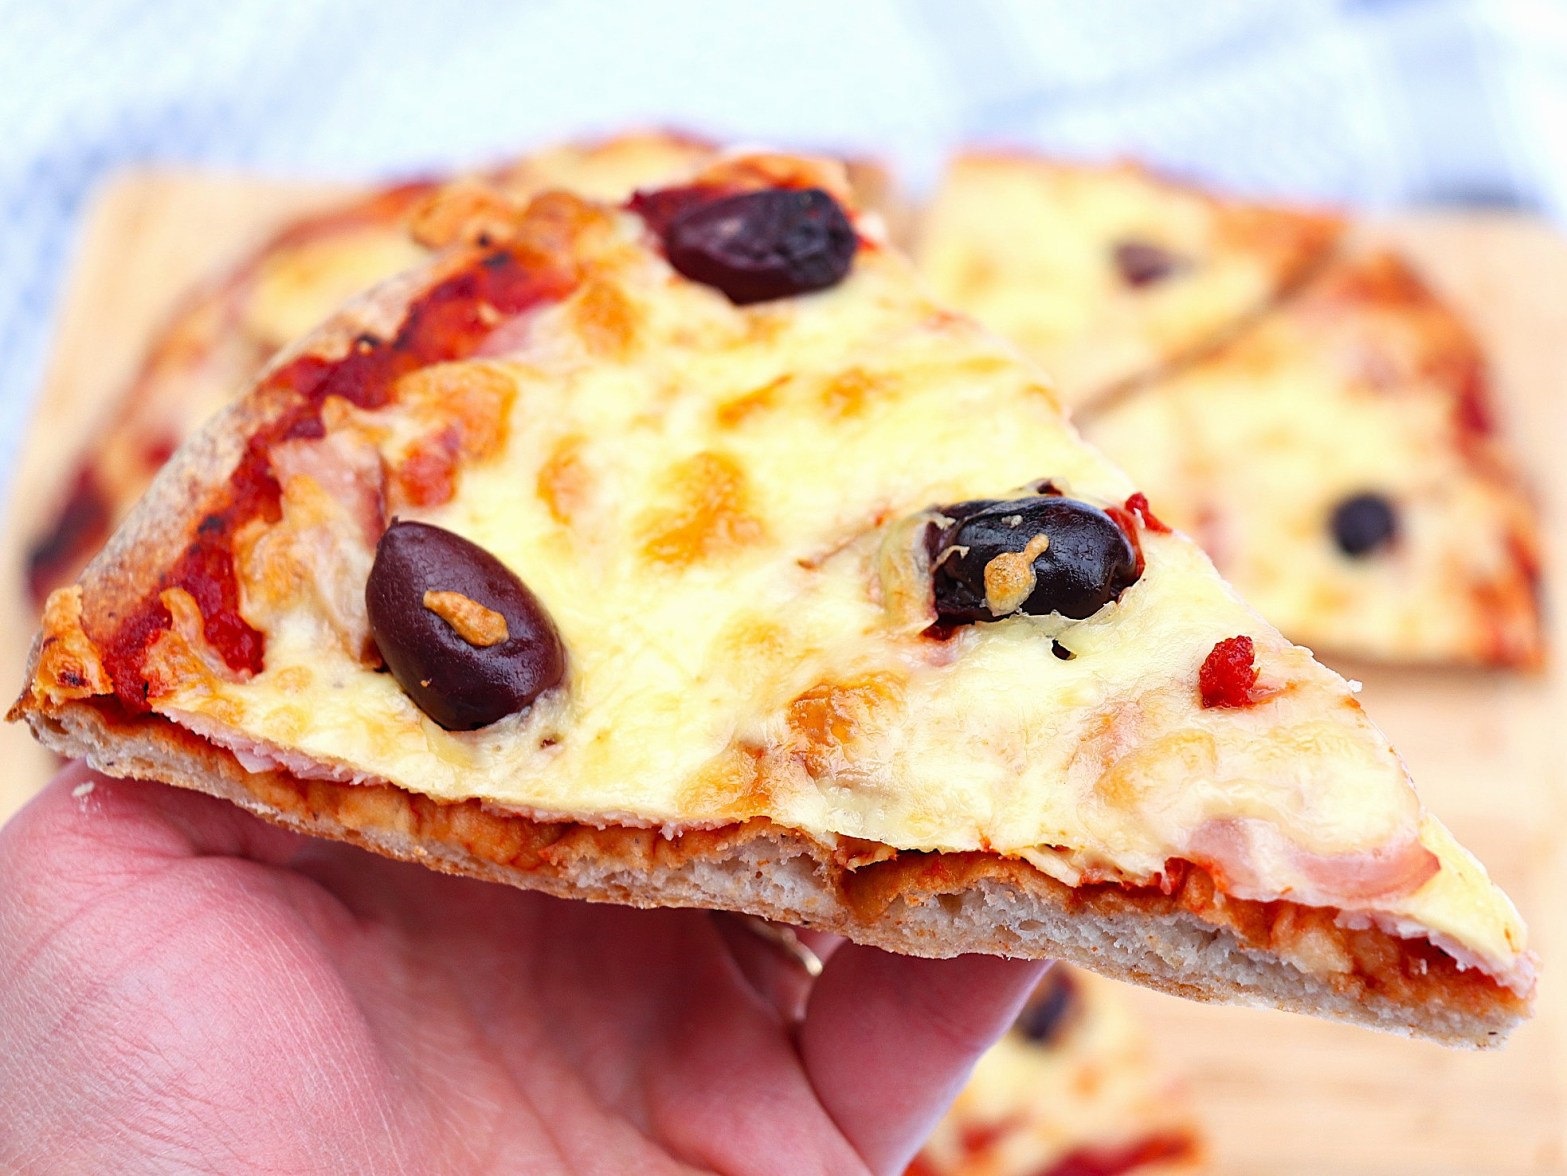
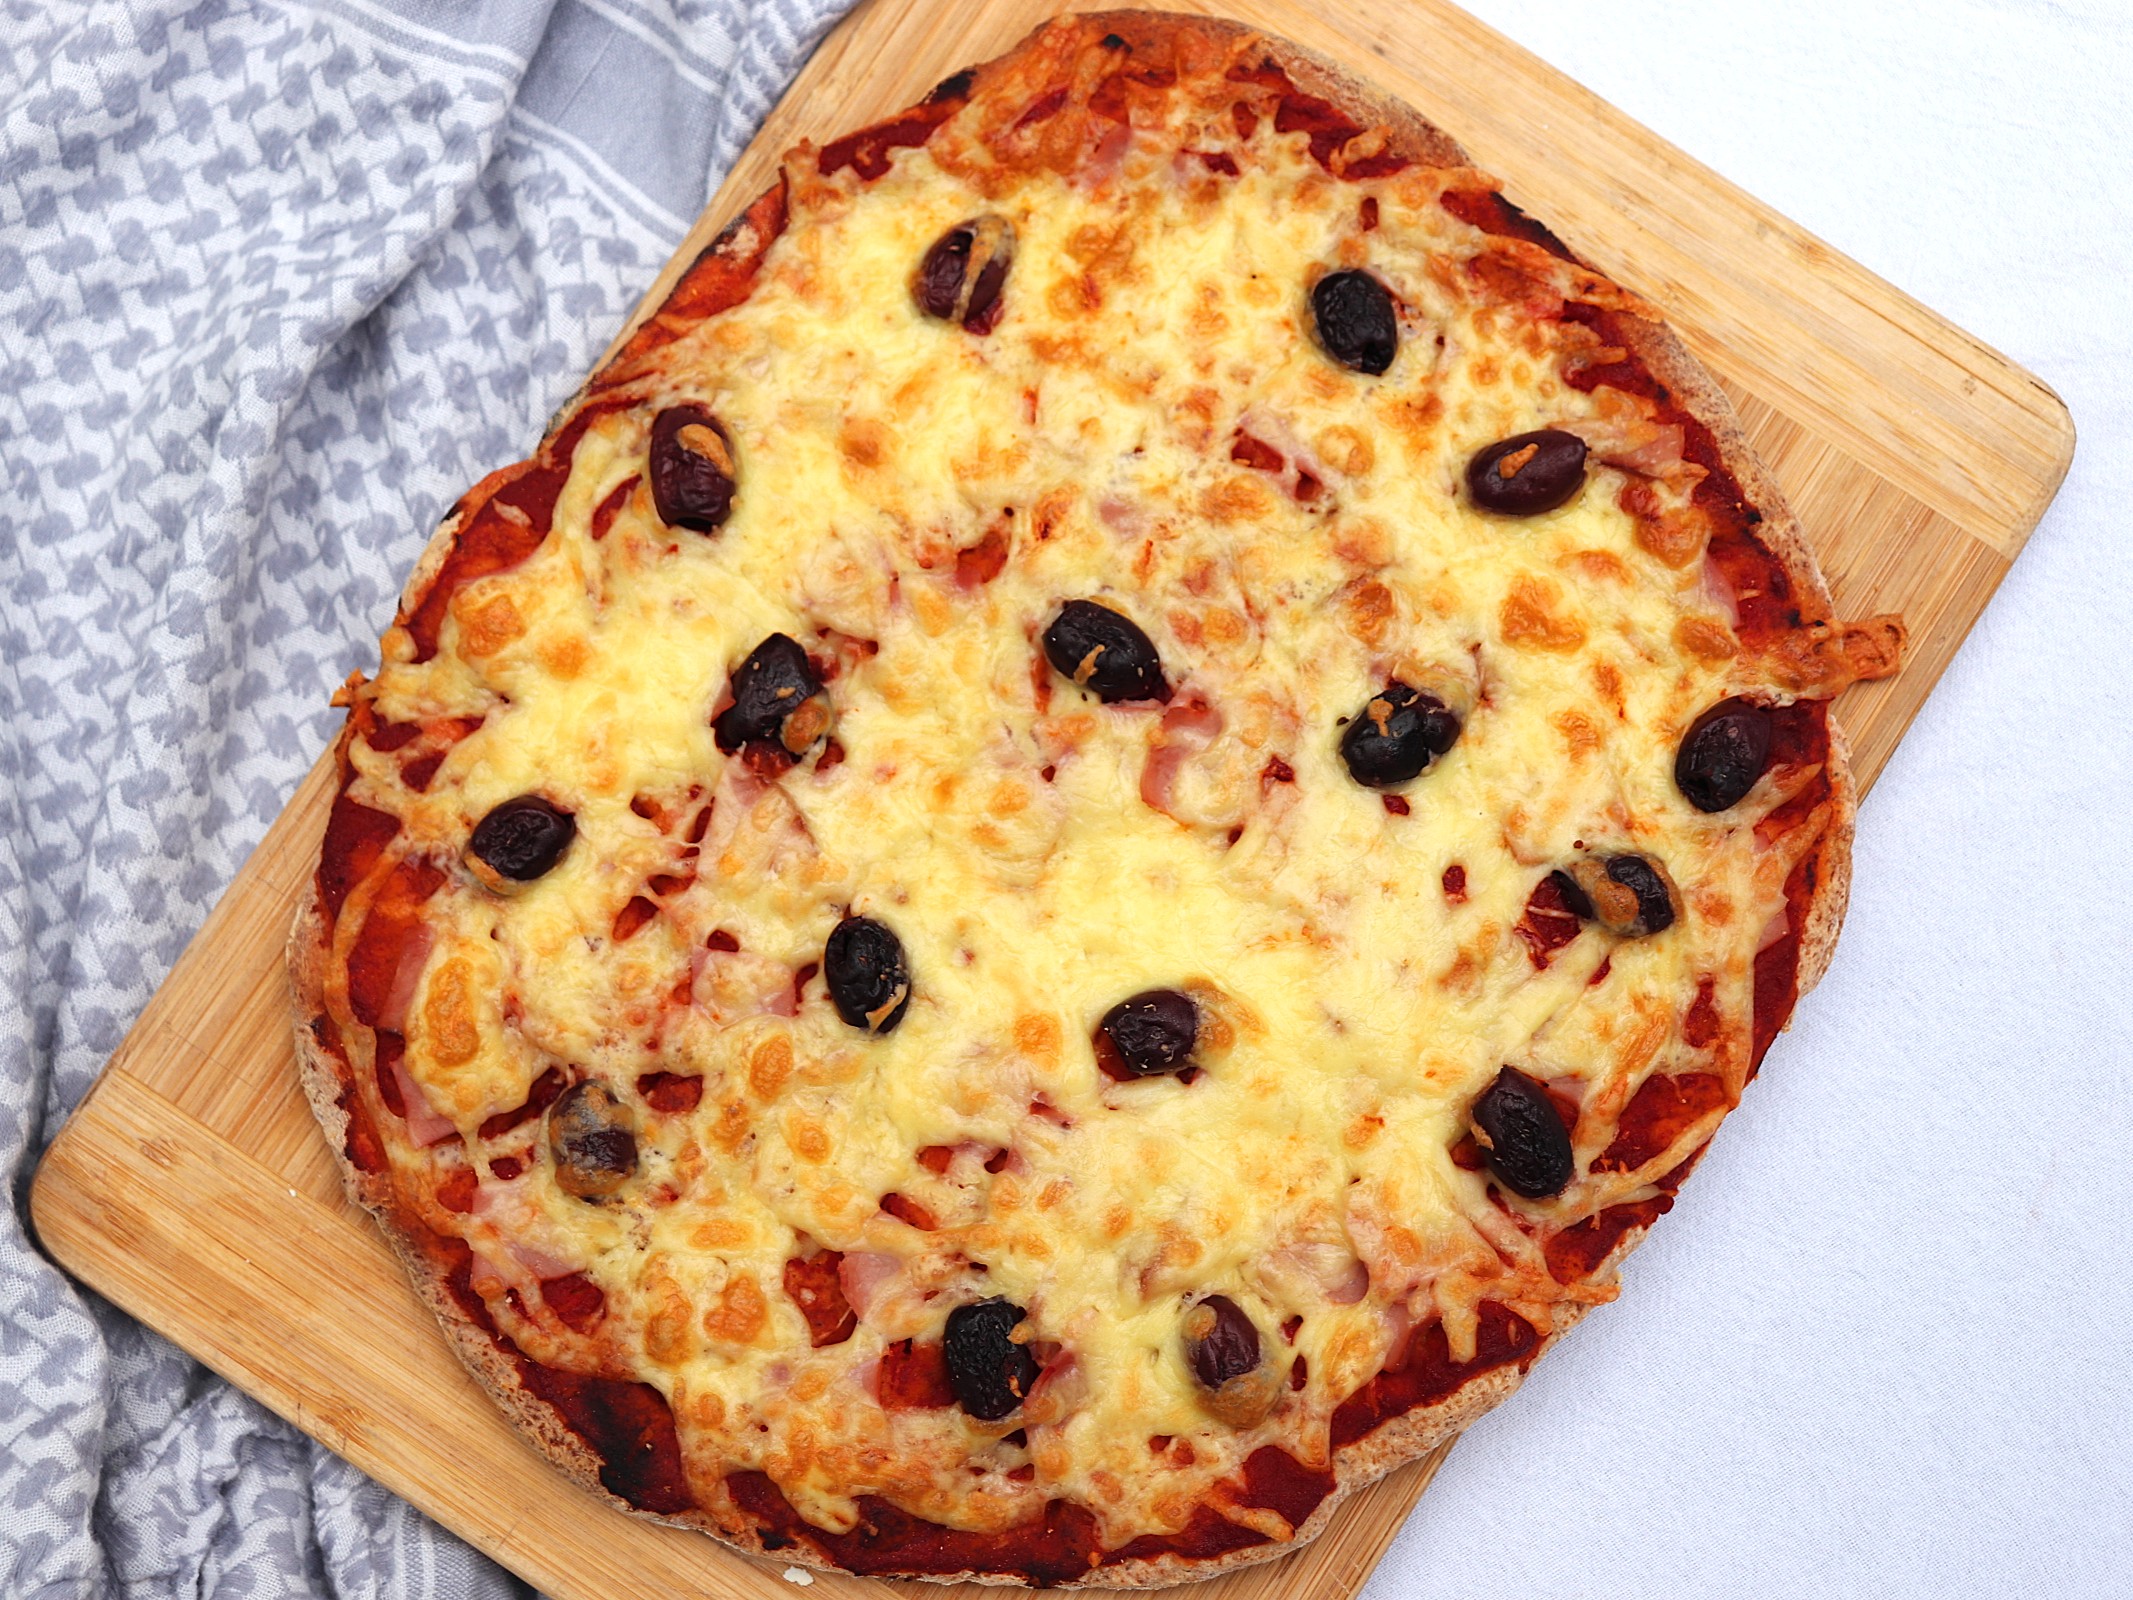
11. Once the bases have been baked, freeze for later use (instructions in the next step) or top with your preferred toppings and then put back into an oven preheated to 200°C, one base at a time, for about 10 to 15 minutes or until the toppings have cooked sufficiently.
12. If freezing the pizza bases, remove the base and the baking paper it cooked on from the baking tray and leave to cool completely on a cooling rack. Once cool, wrap each base with its baking paper below it in cling film and then place in the freezer, being carefully to stack the bases so that nothing makes them snap in the freezer. When you are ready to cook the pizzas, remove from the freezer and leave to defrost for about 30 to 60 minutes and then top and cook as above in step 11. Alternatively, top whilst frozen and baking in an oven preheated to 200°C, until the bases have defrosted and the toppings have cooked sufficiently.
13. Enjoy!

