GF DF NF
Makes about 50 pieces
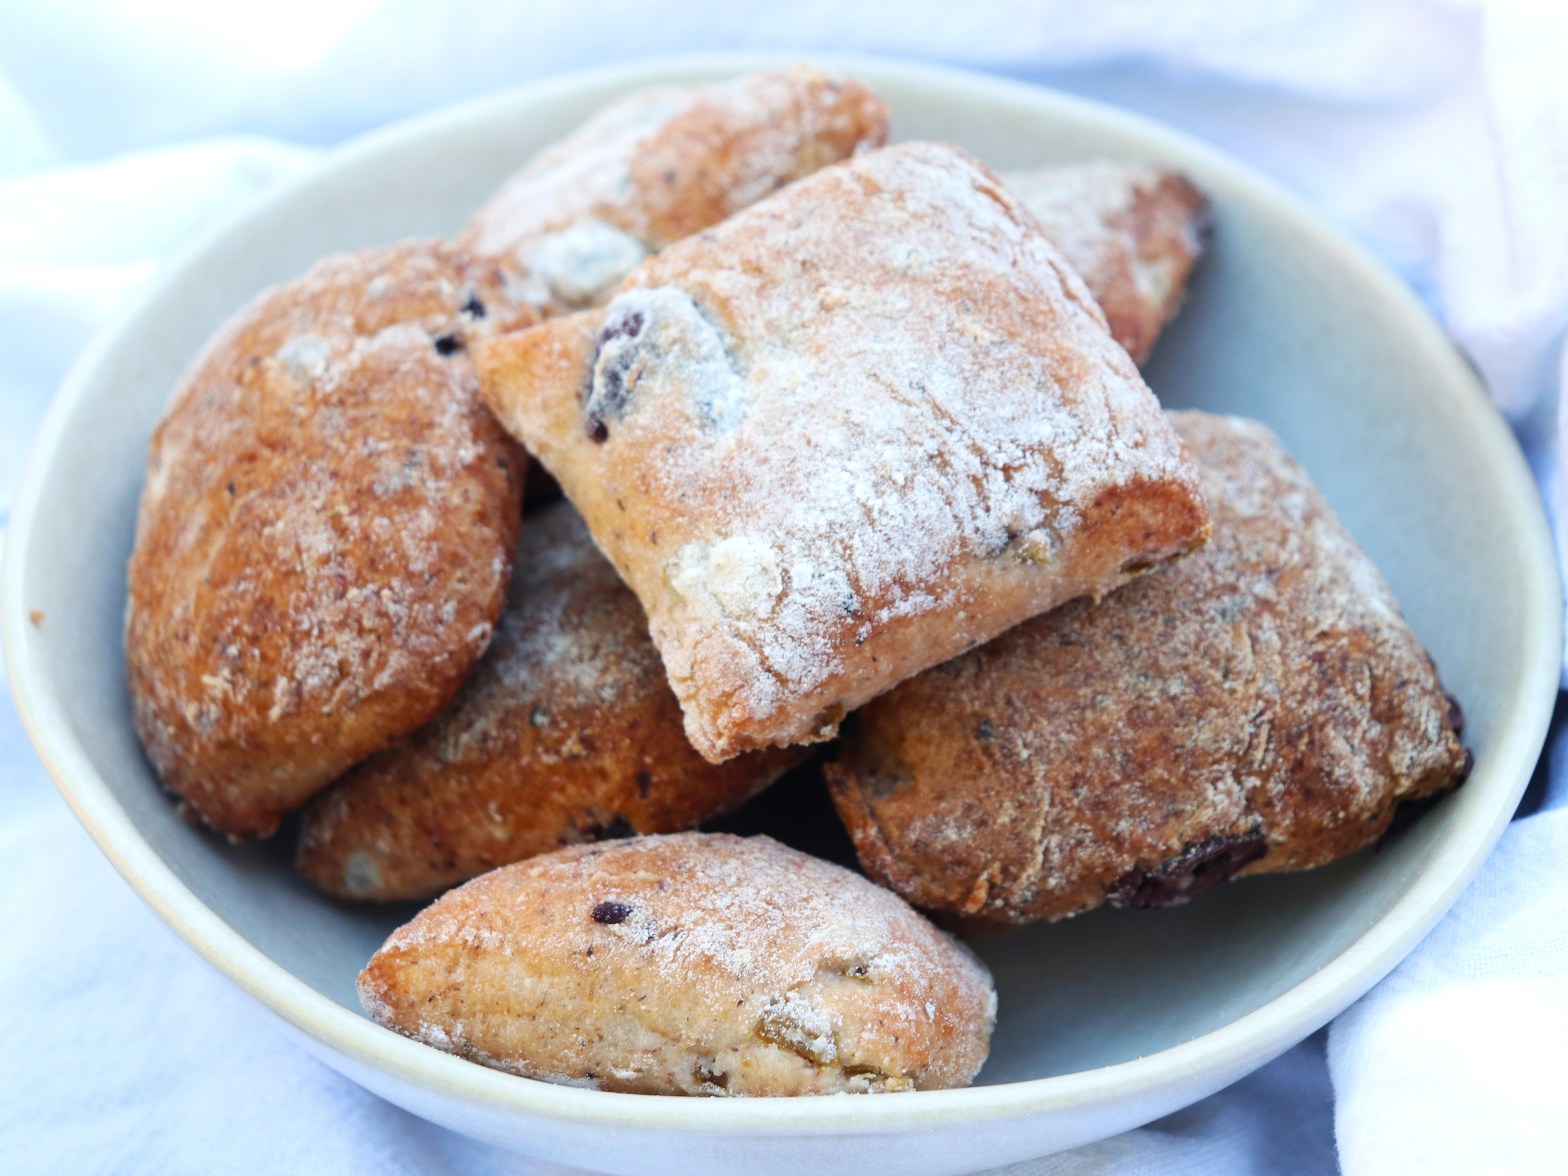
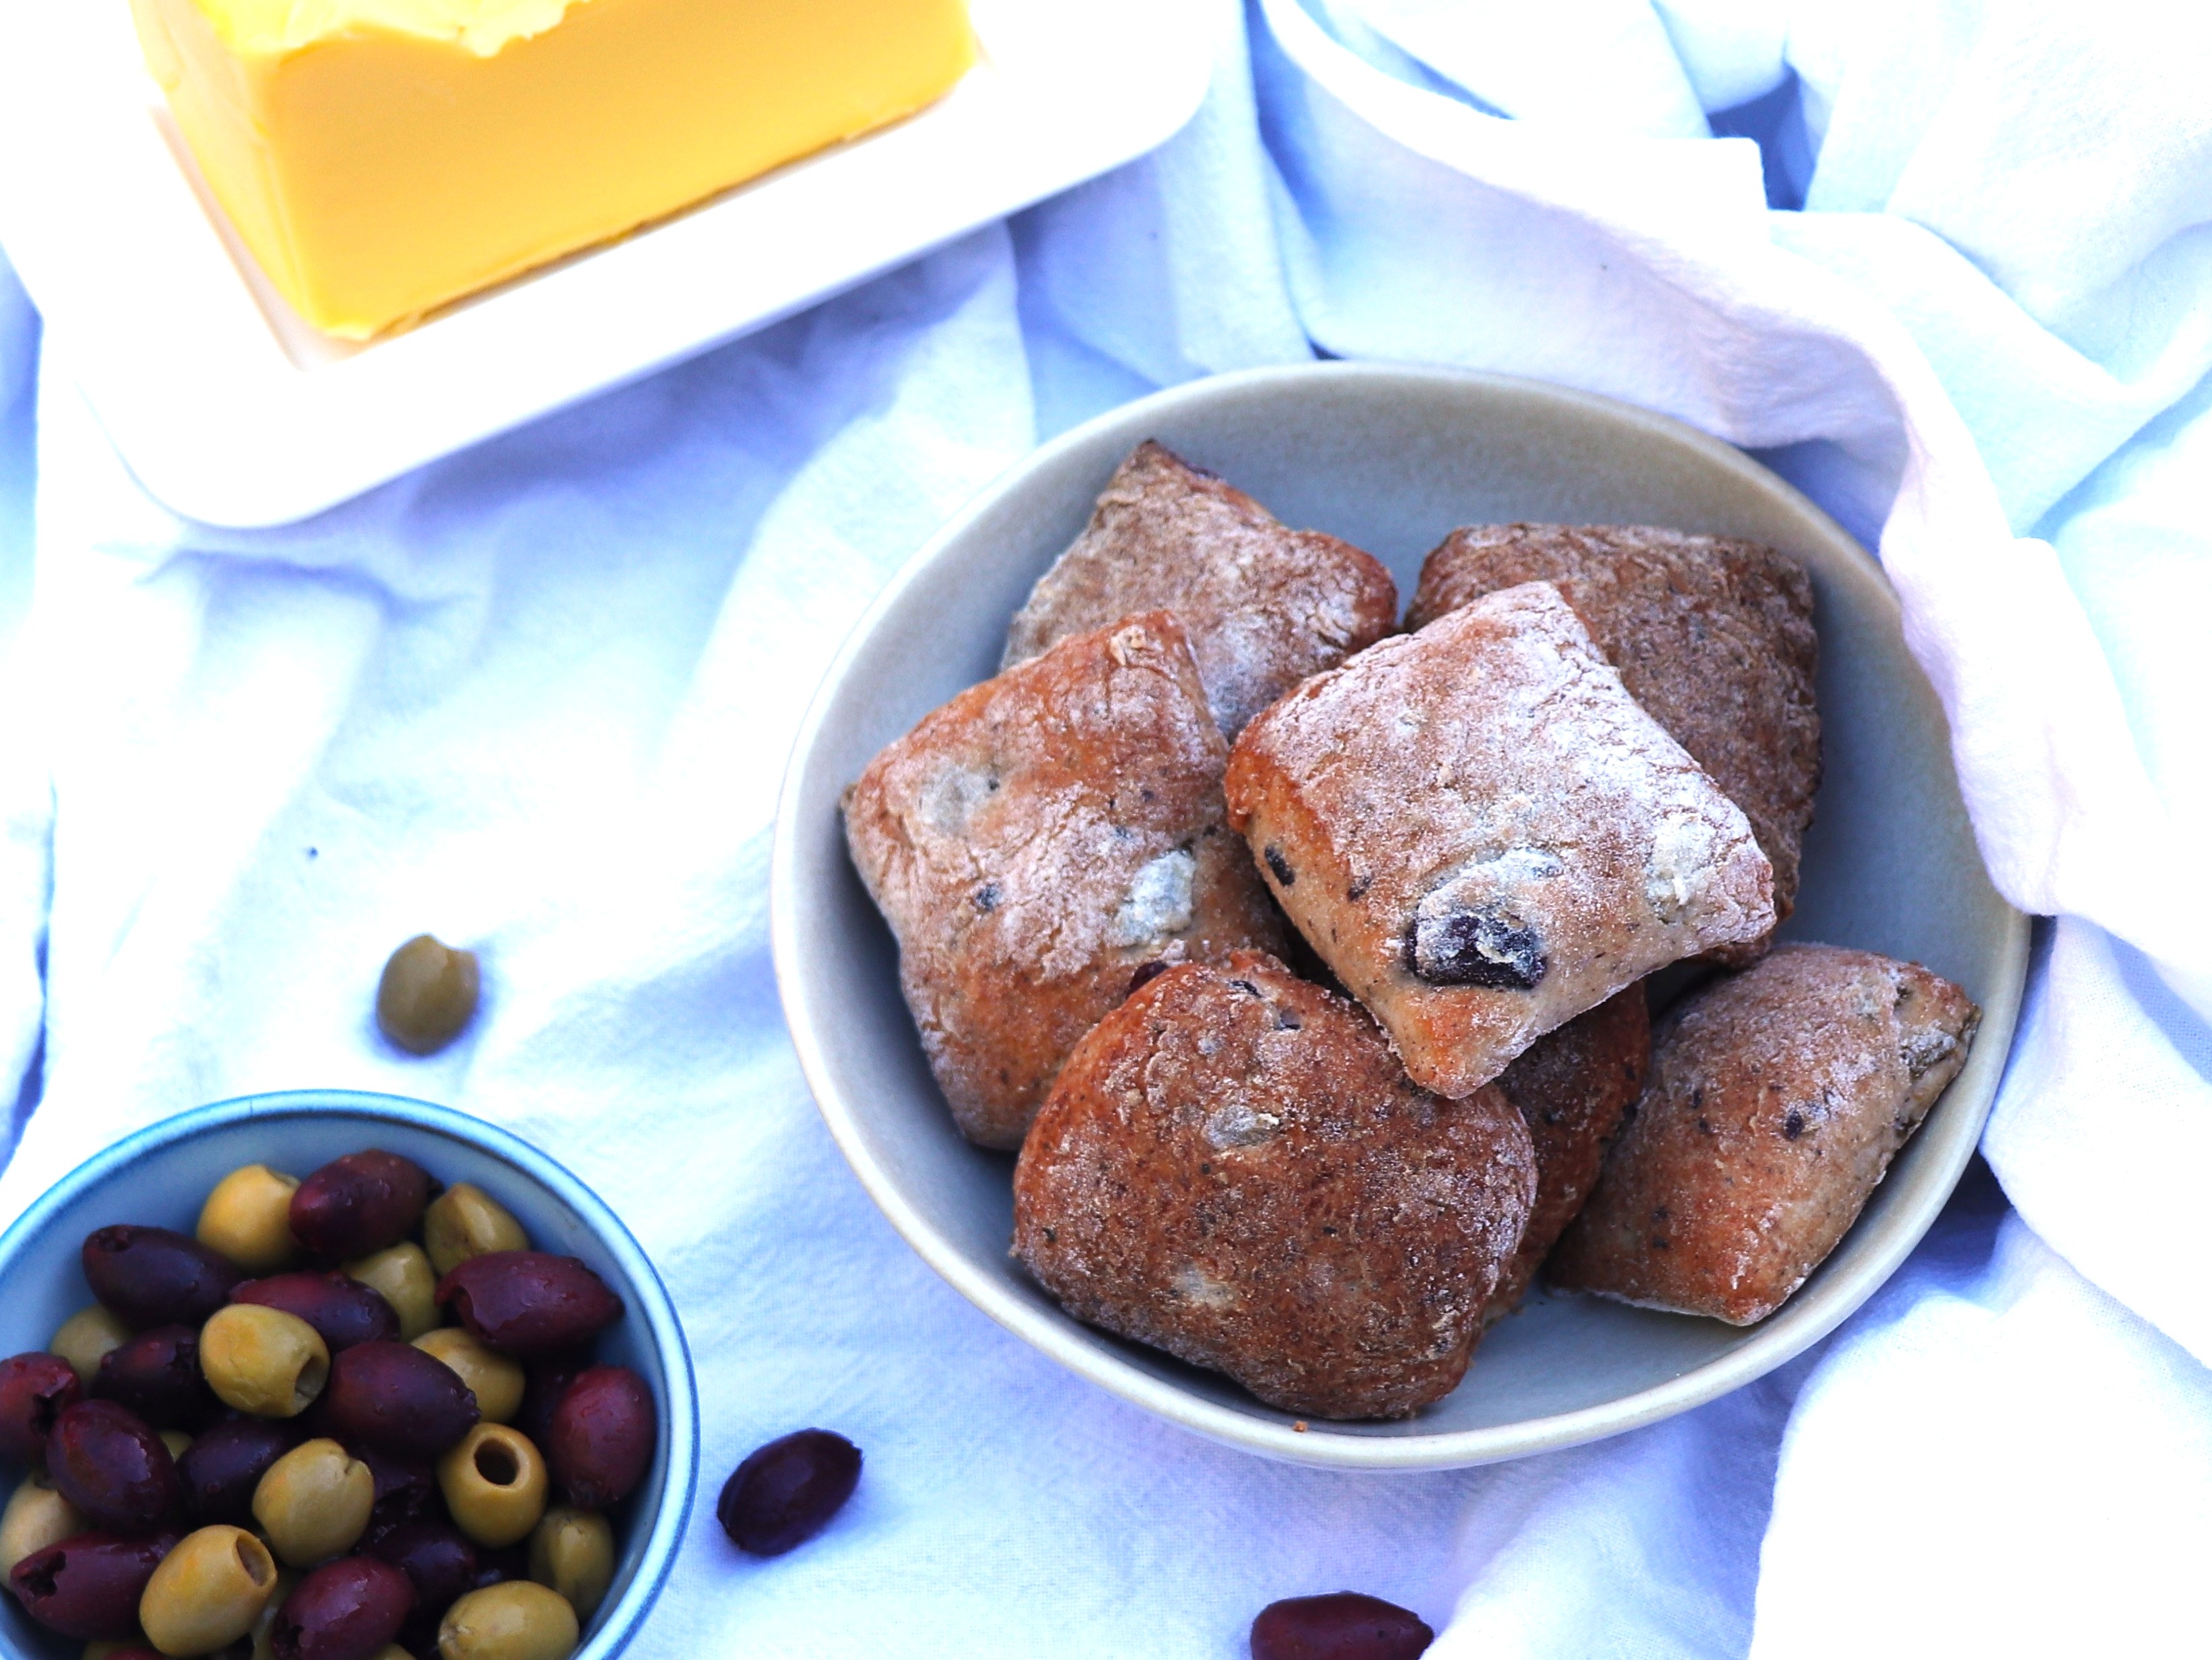
This recipe makes a big batch of snack sized pieces of olive bread. When making, try to soak up as much brine from the olives as possible before adding them to the dough. Use any type of pitted olives you like, or a mix if you prefer.
What you need:
495 mls warm water
1 teaspoon (about 7 grams) of active yeast (the dry one that needs to be activated) or instant yeast
15 grams of white sugar
30 grams of buckwheat flour
250 grams of white rice flour + extra for rolling and shaping
100 grams of tapioca starch
175 grams of potato starch
55 grams of psyllium husk
10 grams of salt
15 grams of baking powder
15 mls of apple cider vinegar
60 mls of mild oil (I usually use light olive oil or sunflower oil)
4 eggs
300 grams of olives (drain the olives and soak up as much moisture from them as possible before weighing, by pressing them between sheets of kitchen towel or in a clean, folded tea towel)

What to do:
1. Mix together the warm water, yeast and sugar together in a large bowl and leave somewhere warm for 5 to 10 minutes to activate the yeast. If using instant yeast, there is no need to leave the yeast to activate – you can go straight to the next step.
2. Add all the remaining ingredients to the bowl (the buckwheat flour, white rice flour, tapioca starch, potato starch, psyllium husk, salt, baking powder, apple cider vinegar, oil, eggs and olives) and mix together well.
3. Line a two or three large baking sheets with baking paper. If you don’t have enough, it is not a problem to let the dough rise on a clean, floured kitchen counter and then carefully transfer the risen dough to a lined baking sheet as you are able to bake).
4. Generously flour a clean work surface/kitchen counter with white rice flour and tip the dough onto the floured surface. Generously sprinkle more white rice flour over the dough and kneed briefly until it isn’t too sticky to handle, always keep a well-floured surface below the dough.
5. If your work surface is no longer well-floured, generously sprinkle more white rice flour over the surface and then roll or push/pat the dough (with clean,floured hands) into a large rectangle that is about 1.5 cms high.
6. Slice the rectangle of dough longitudinally and latitudinally to make squares or rectangles that are 3-4 cms by 4-5 cms.
7. Separate each square/rectangle of dough and place about 2 cms apart on the lined baking trays (or a floured work surface). Cover the dough shapes and leave to rise somewhere warm for about 40 minutes. I cover my dough with a piece of flat plastic cut from plastic freezer bags and then a clean tea towel.
8. Once the dough has risen, turn the oven on to 200°C to preheat.
9. Once the oven is hot, remove the covers from the dough and place the baking sheet in the middle of the hot oven for about 15 minutes or until the dough has baked, is golden brown and sounds hollow when one is tapped. Remove the baking sheet from the oven and transfer the baked dough shapes to a cooling rack to cool.
10. Repeat the step above (step 9) with the risen dough shapes on the remaining baking sheets, baking the dough on one baking sheet at a time. If you don’t have enough baking sheets, once you have removed the baked dough from one, you can place more risen dough shapes on the baking sheet, reusing the baking paper and then bake as in the step above.
11. Once all the dough is baked, allow to cool completely. Eat fresh on the day they are made or store in an airtight container at room temperature for 2 – 3 days (they may need freshening up with 1-15 seconds in the microwave before eating from day 2 onwards). Alternatively, freeze until needed and then defrost and rewarm before eating as required.
12. Enjoy!

