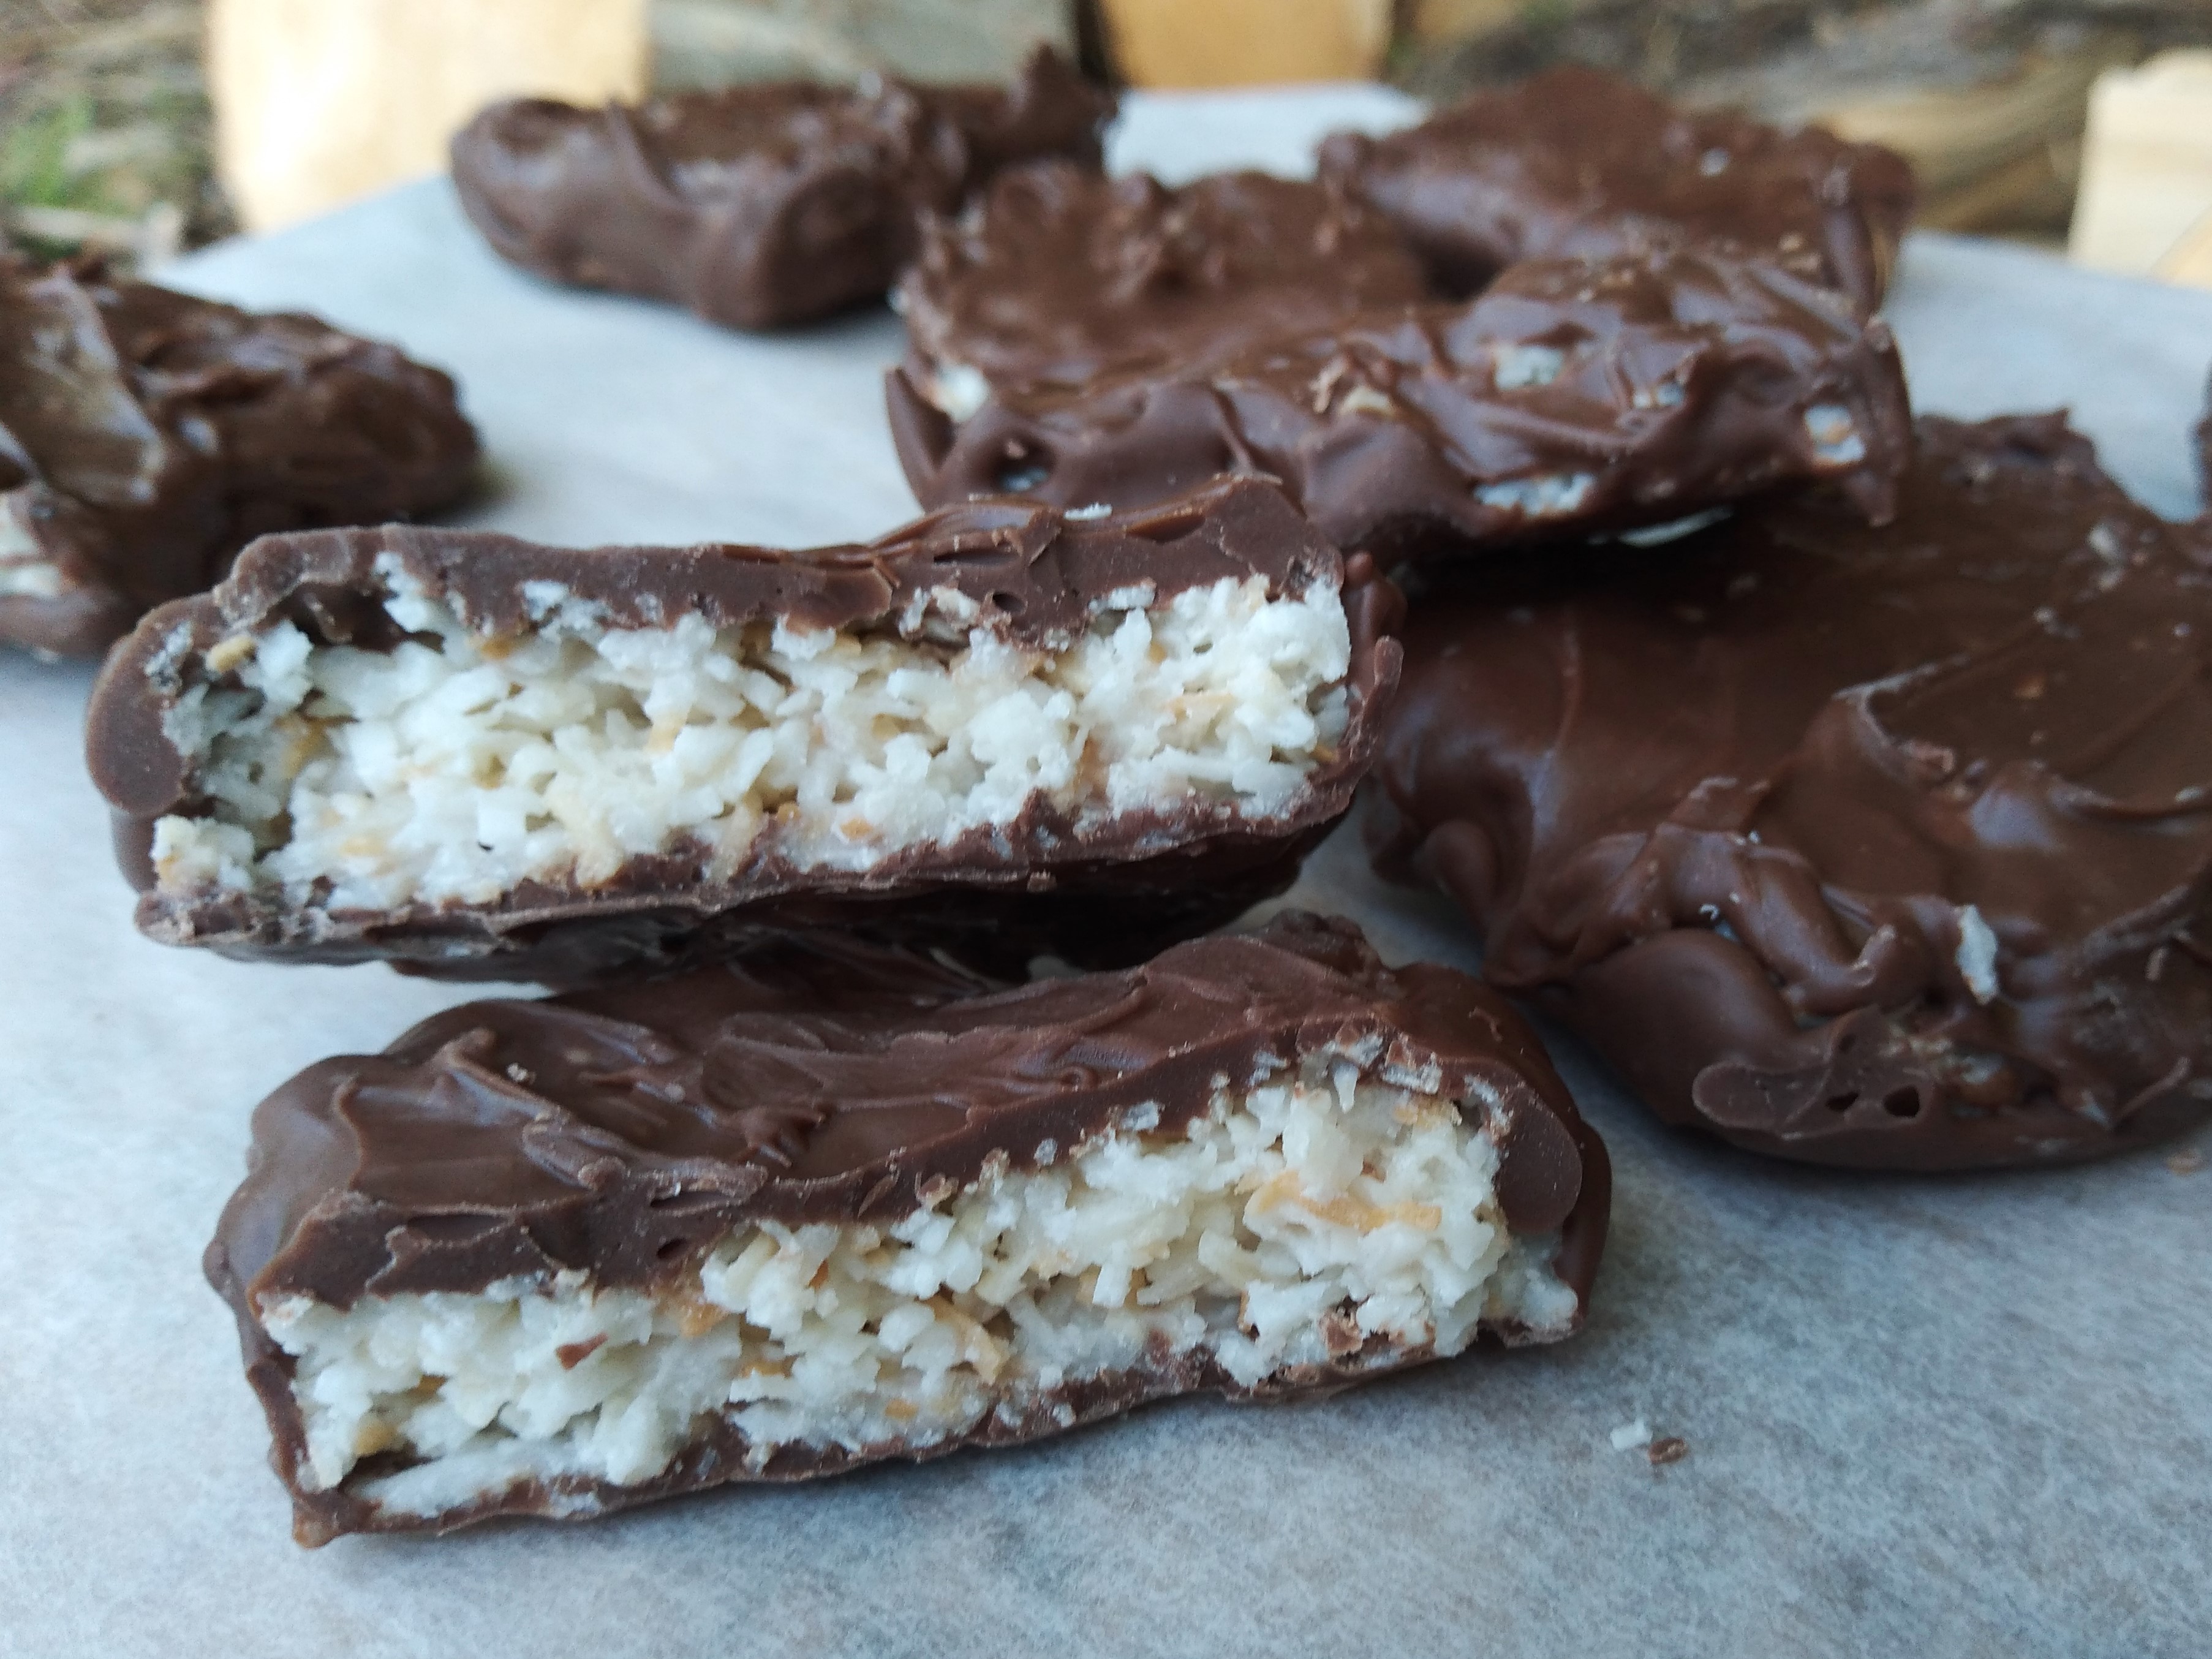
These Bounty Bar-inspired treats are easy to adapt to most dietary preferences – they are naturally gluten, nut and egg free and can be made dairy free/vegan by using dairy free/vegan chocolate. I initially cut mine into 16 pieces but ended up halving each of those pieces as they are quite rich. The amount of chocolate in the recipe is given as a range – use the lower end of the range if you plan on covering only the top of the bites and the higher end to cover each one in a thick layer of chocolate all around. Despite the extensive instructions below, these bites are easy to make with little hands-on time, but they do need a number of hours (or overnight) of freezing time for the centre and cooling time for the chocolate to set. Don’t count the number of pieces in the method photos below too carefully – quite a bit of quality control/taste testing occurred as these were made!

What you need:
½ cup of coconut oil (mild-flavoured if preferred)
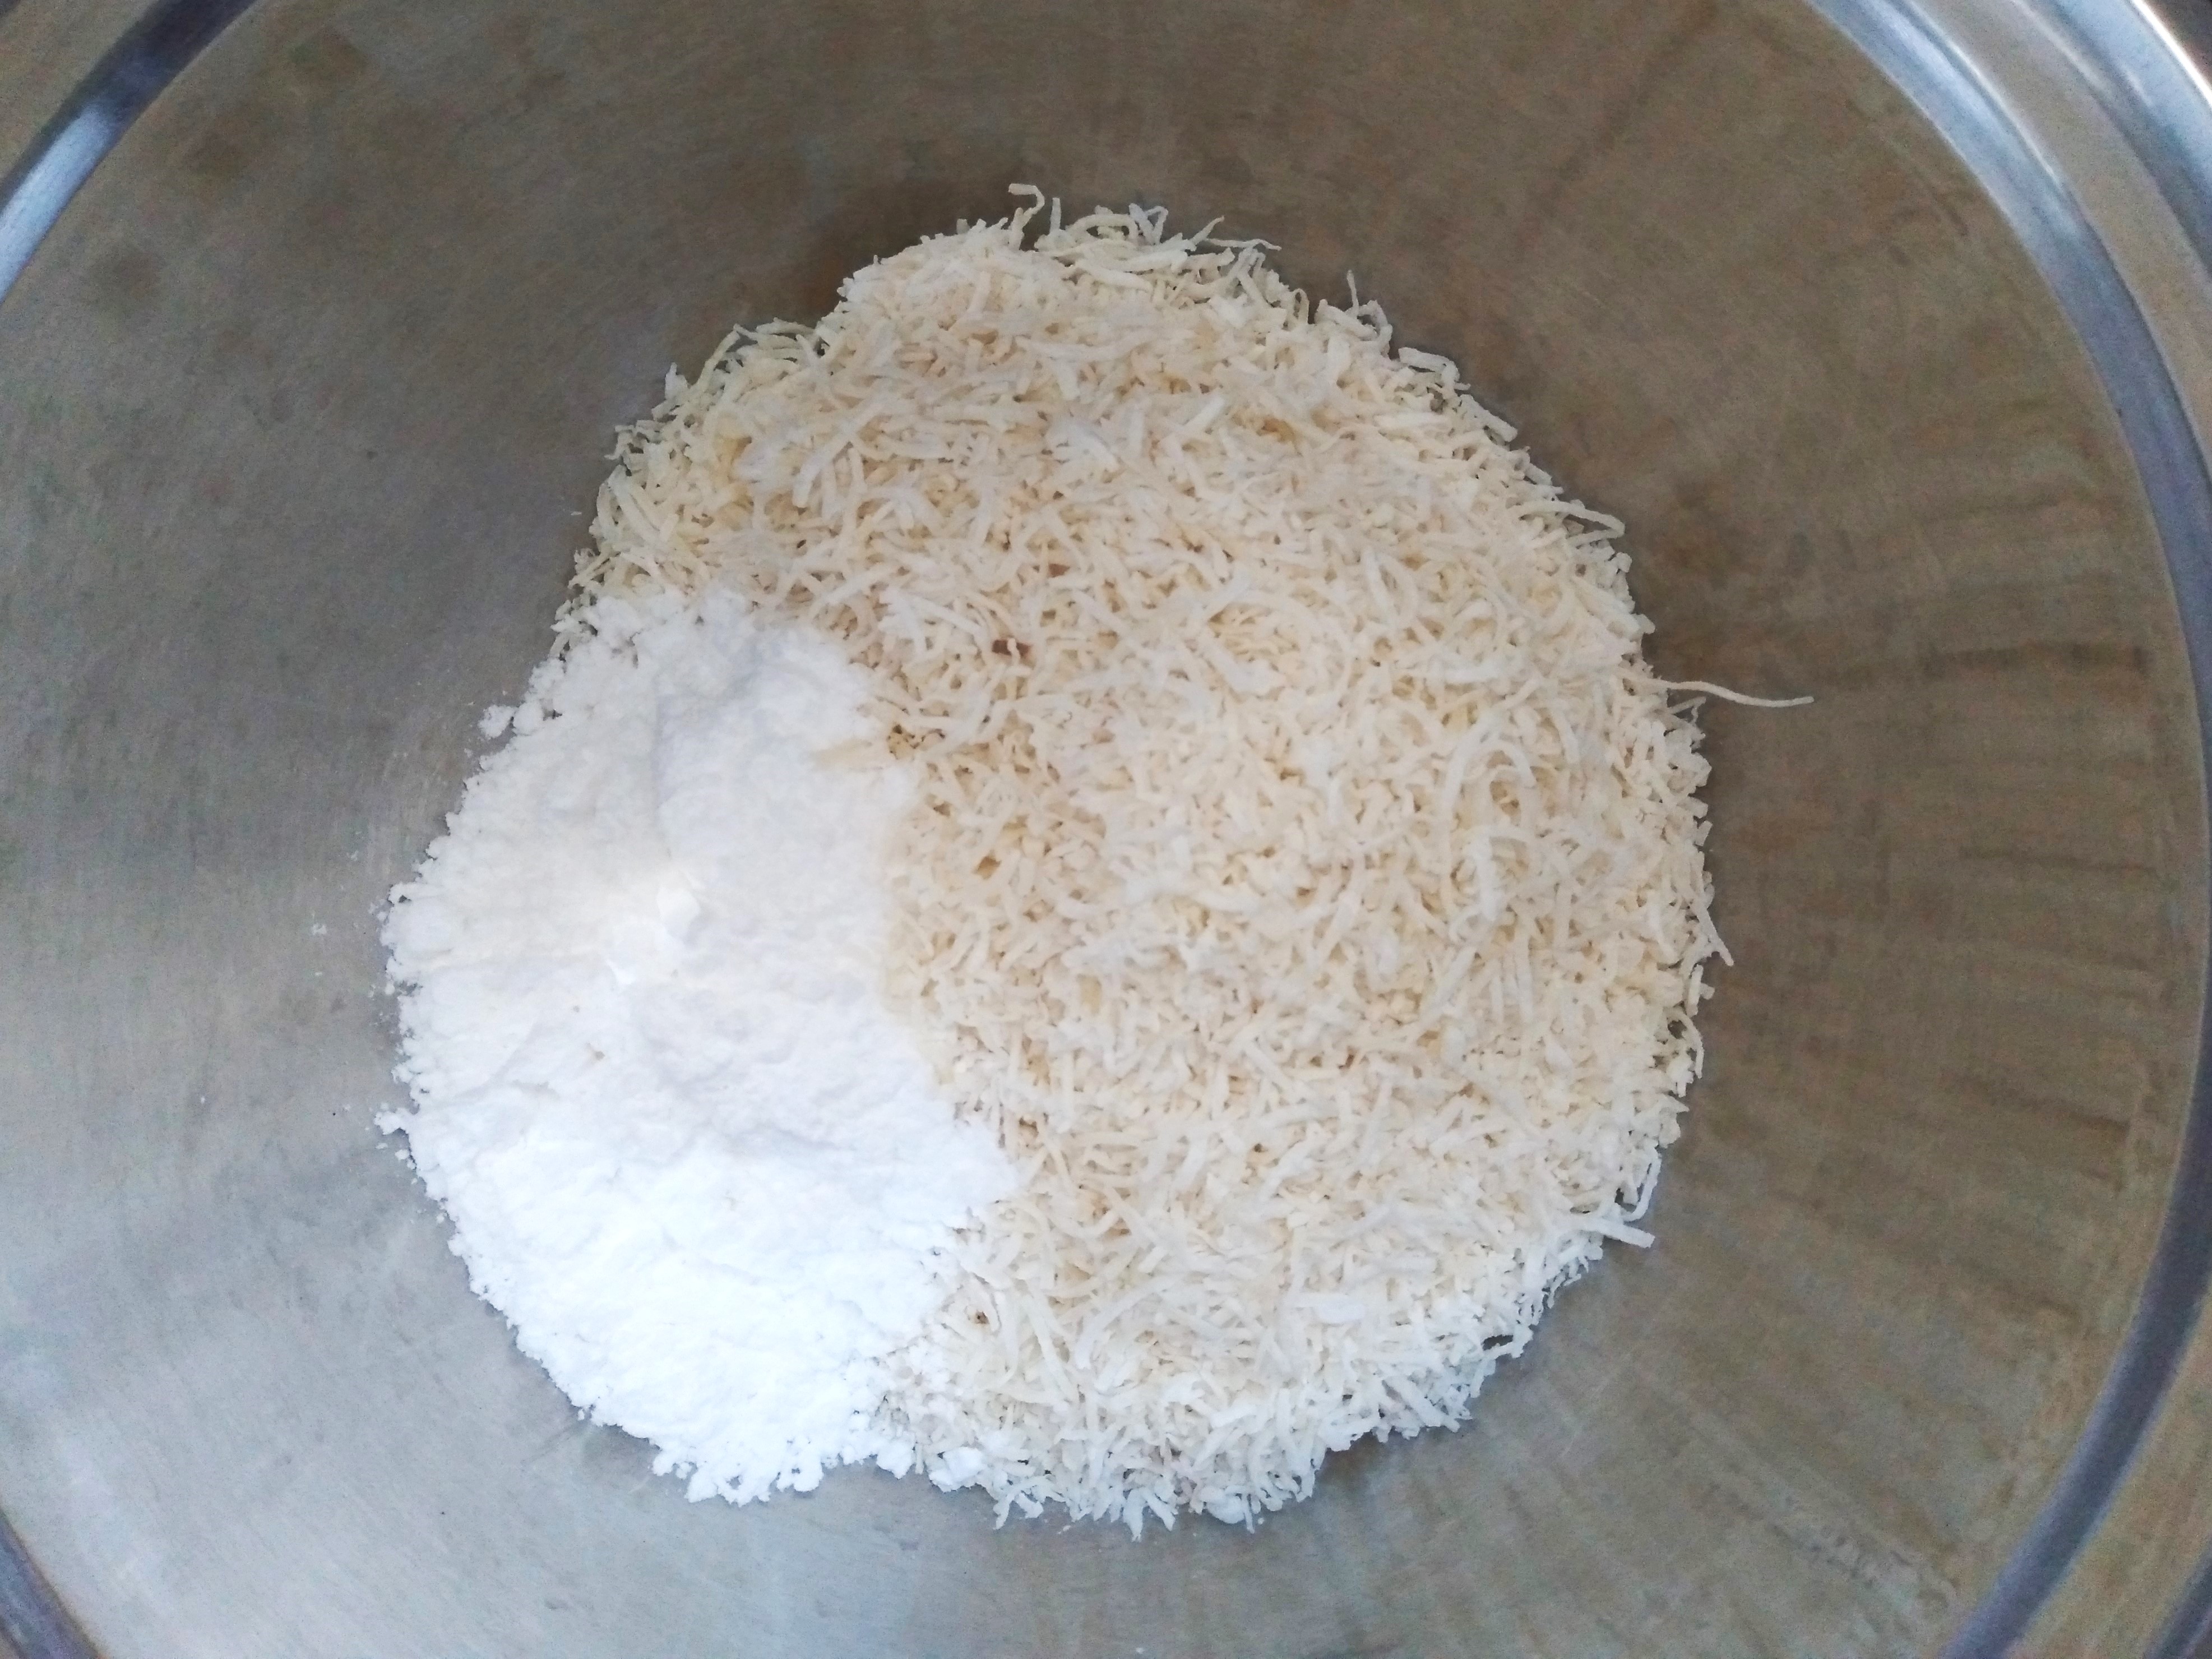
3 cups of shredded coconut
½ cup of icing sugar
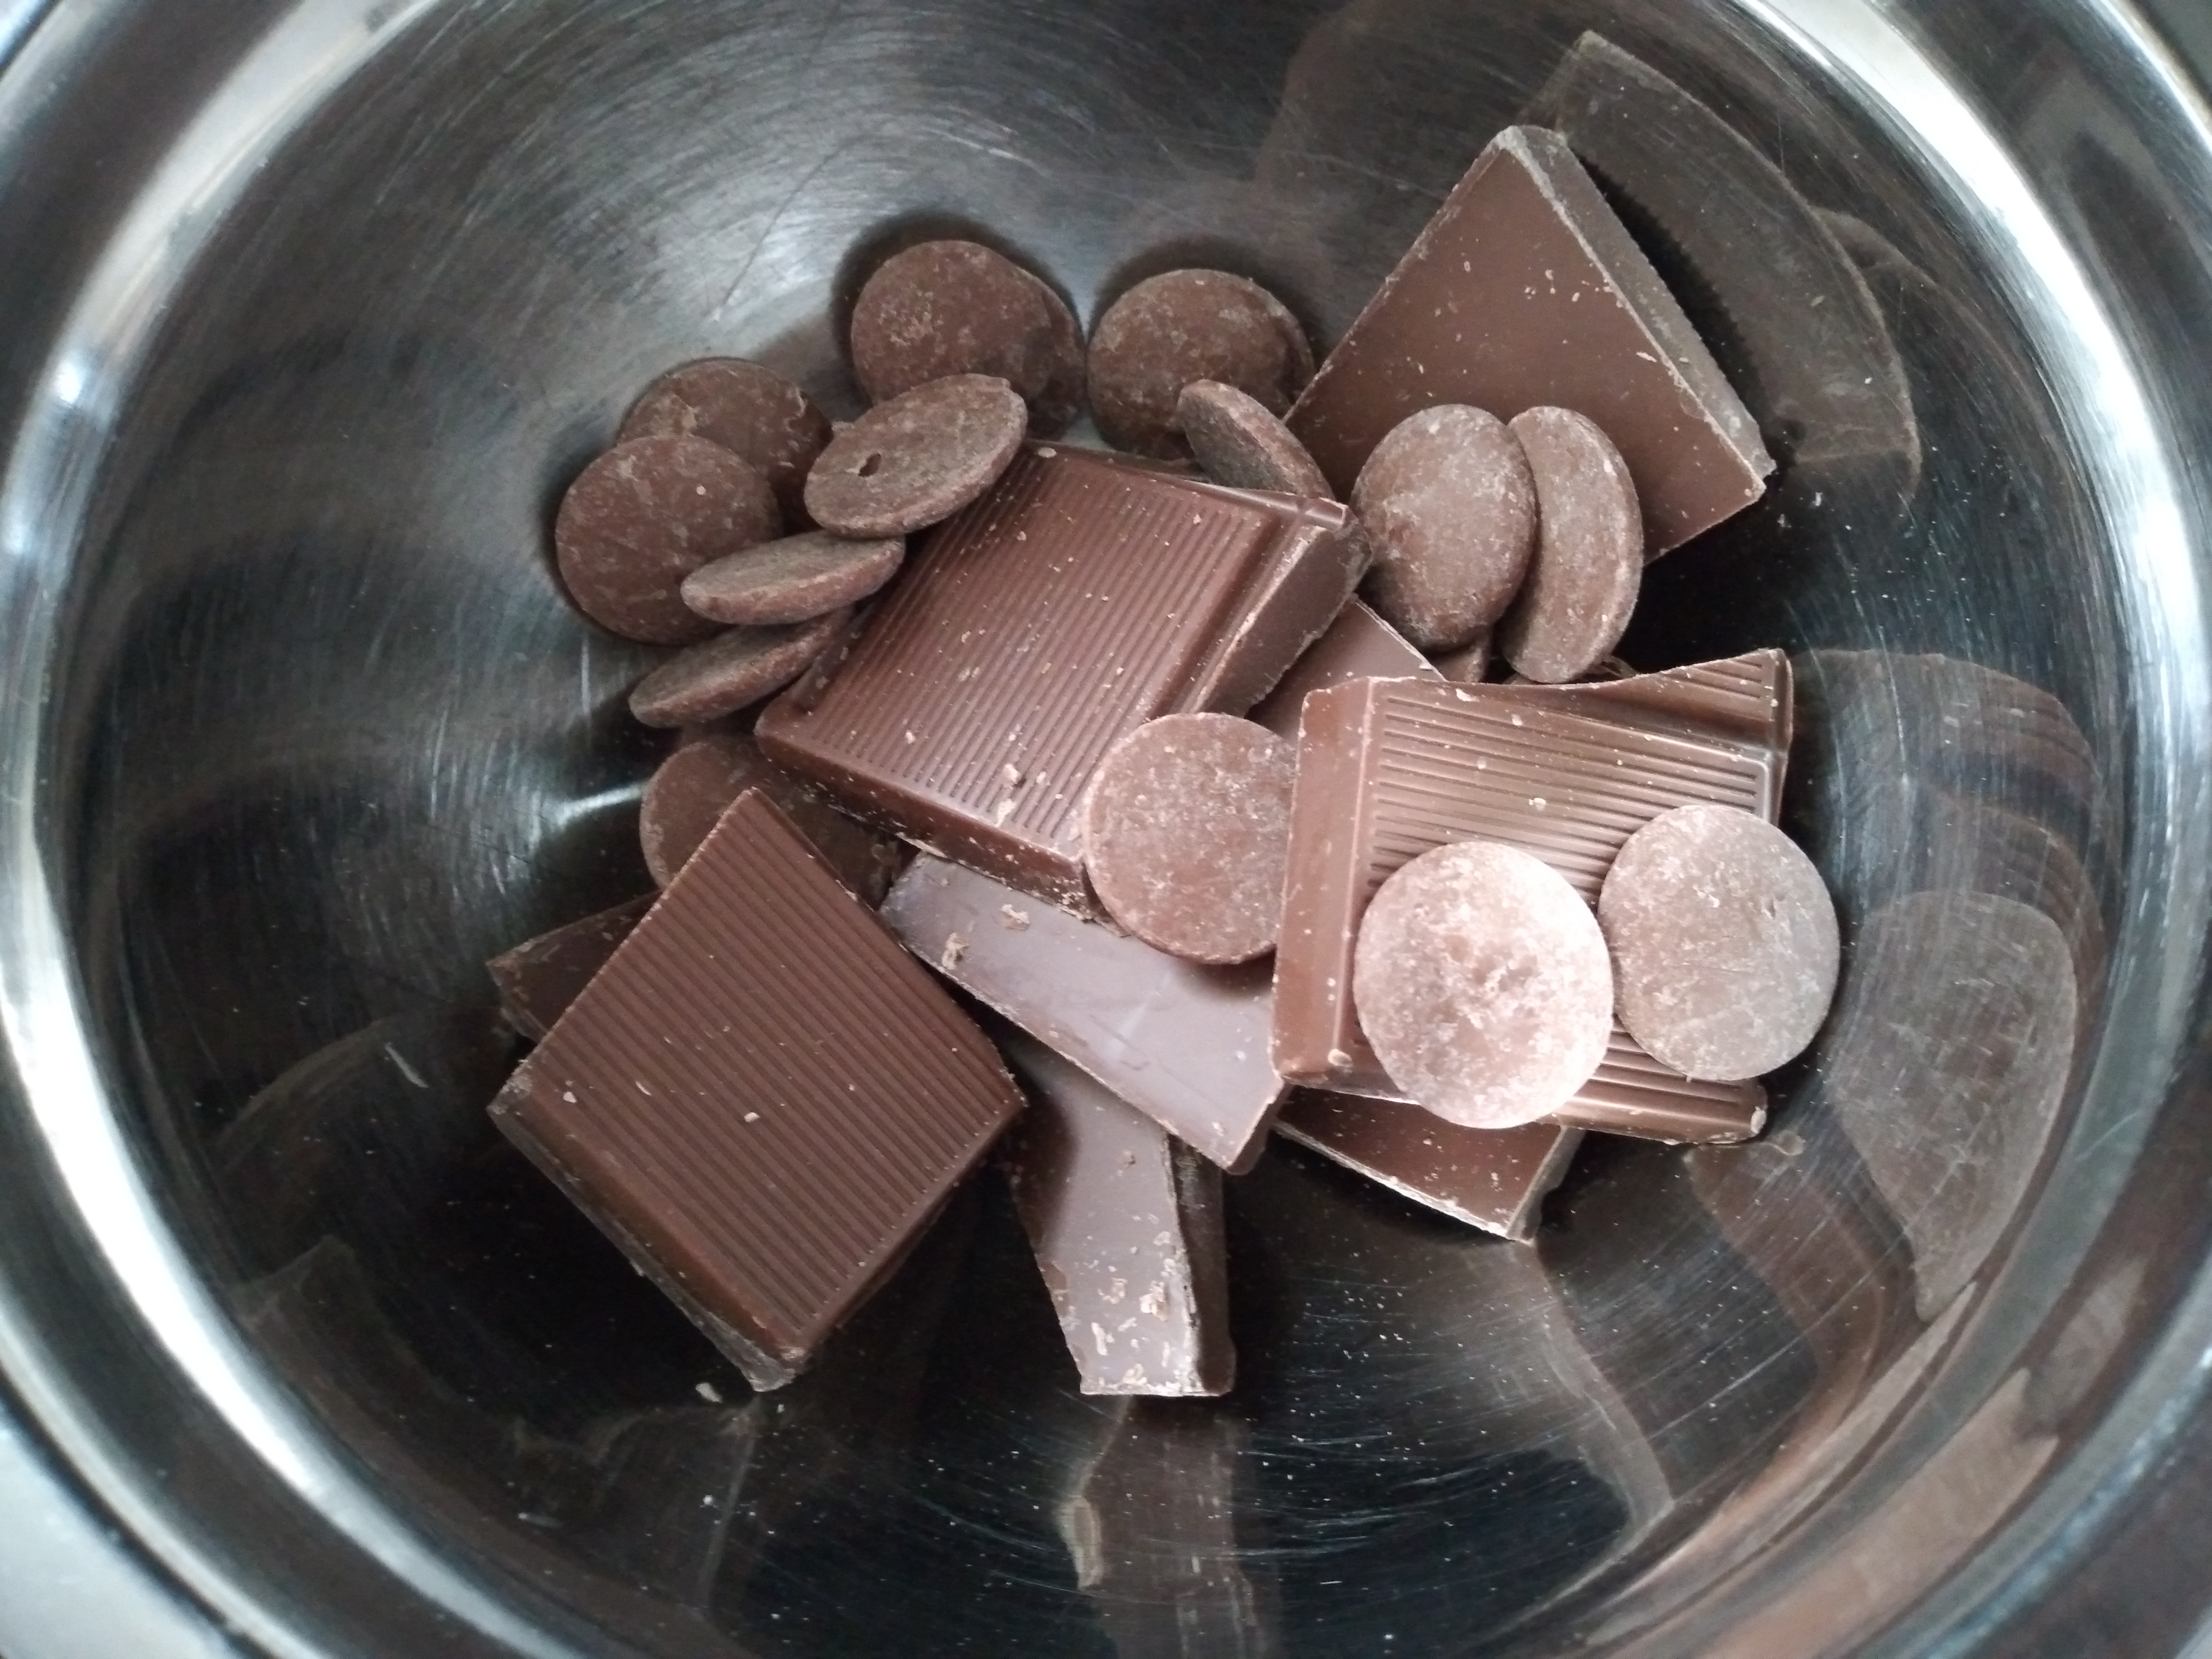
250 to 400 grams of chocolate of choice
What to do:
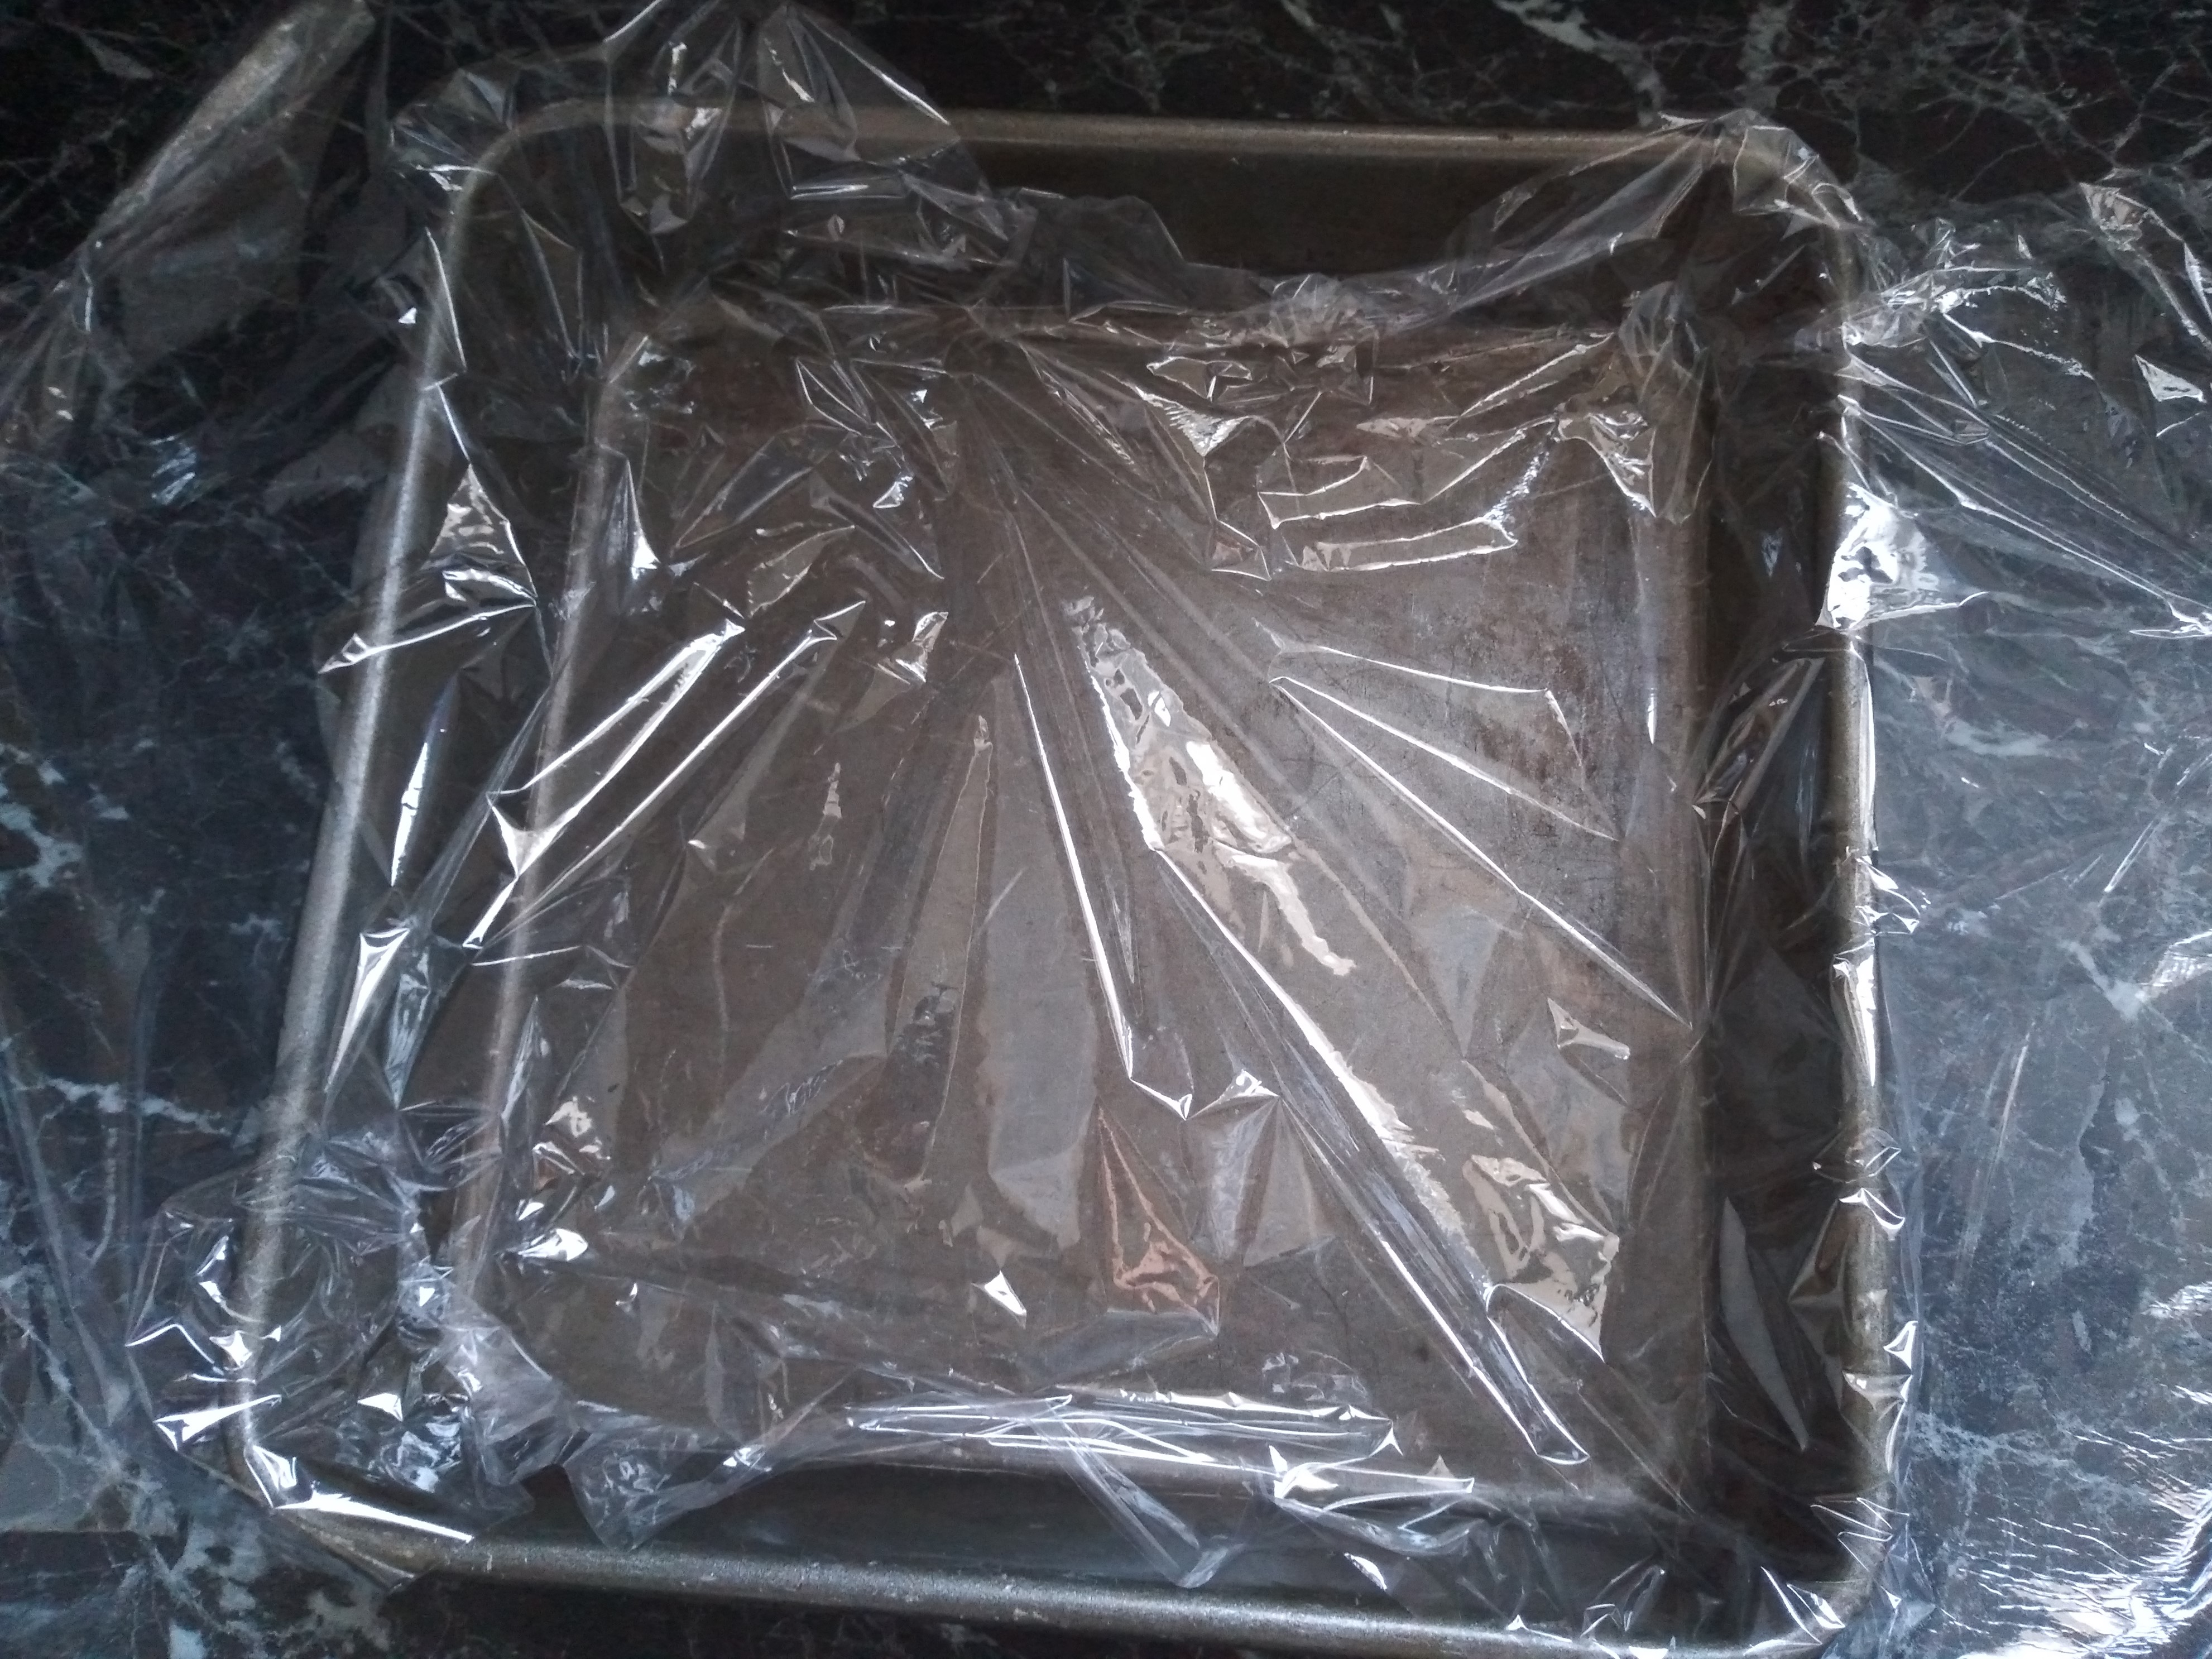
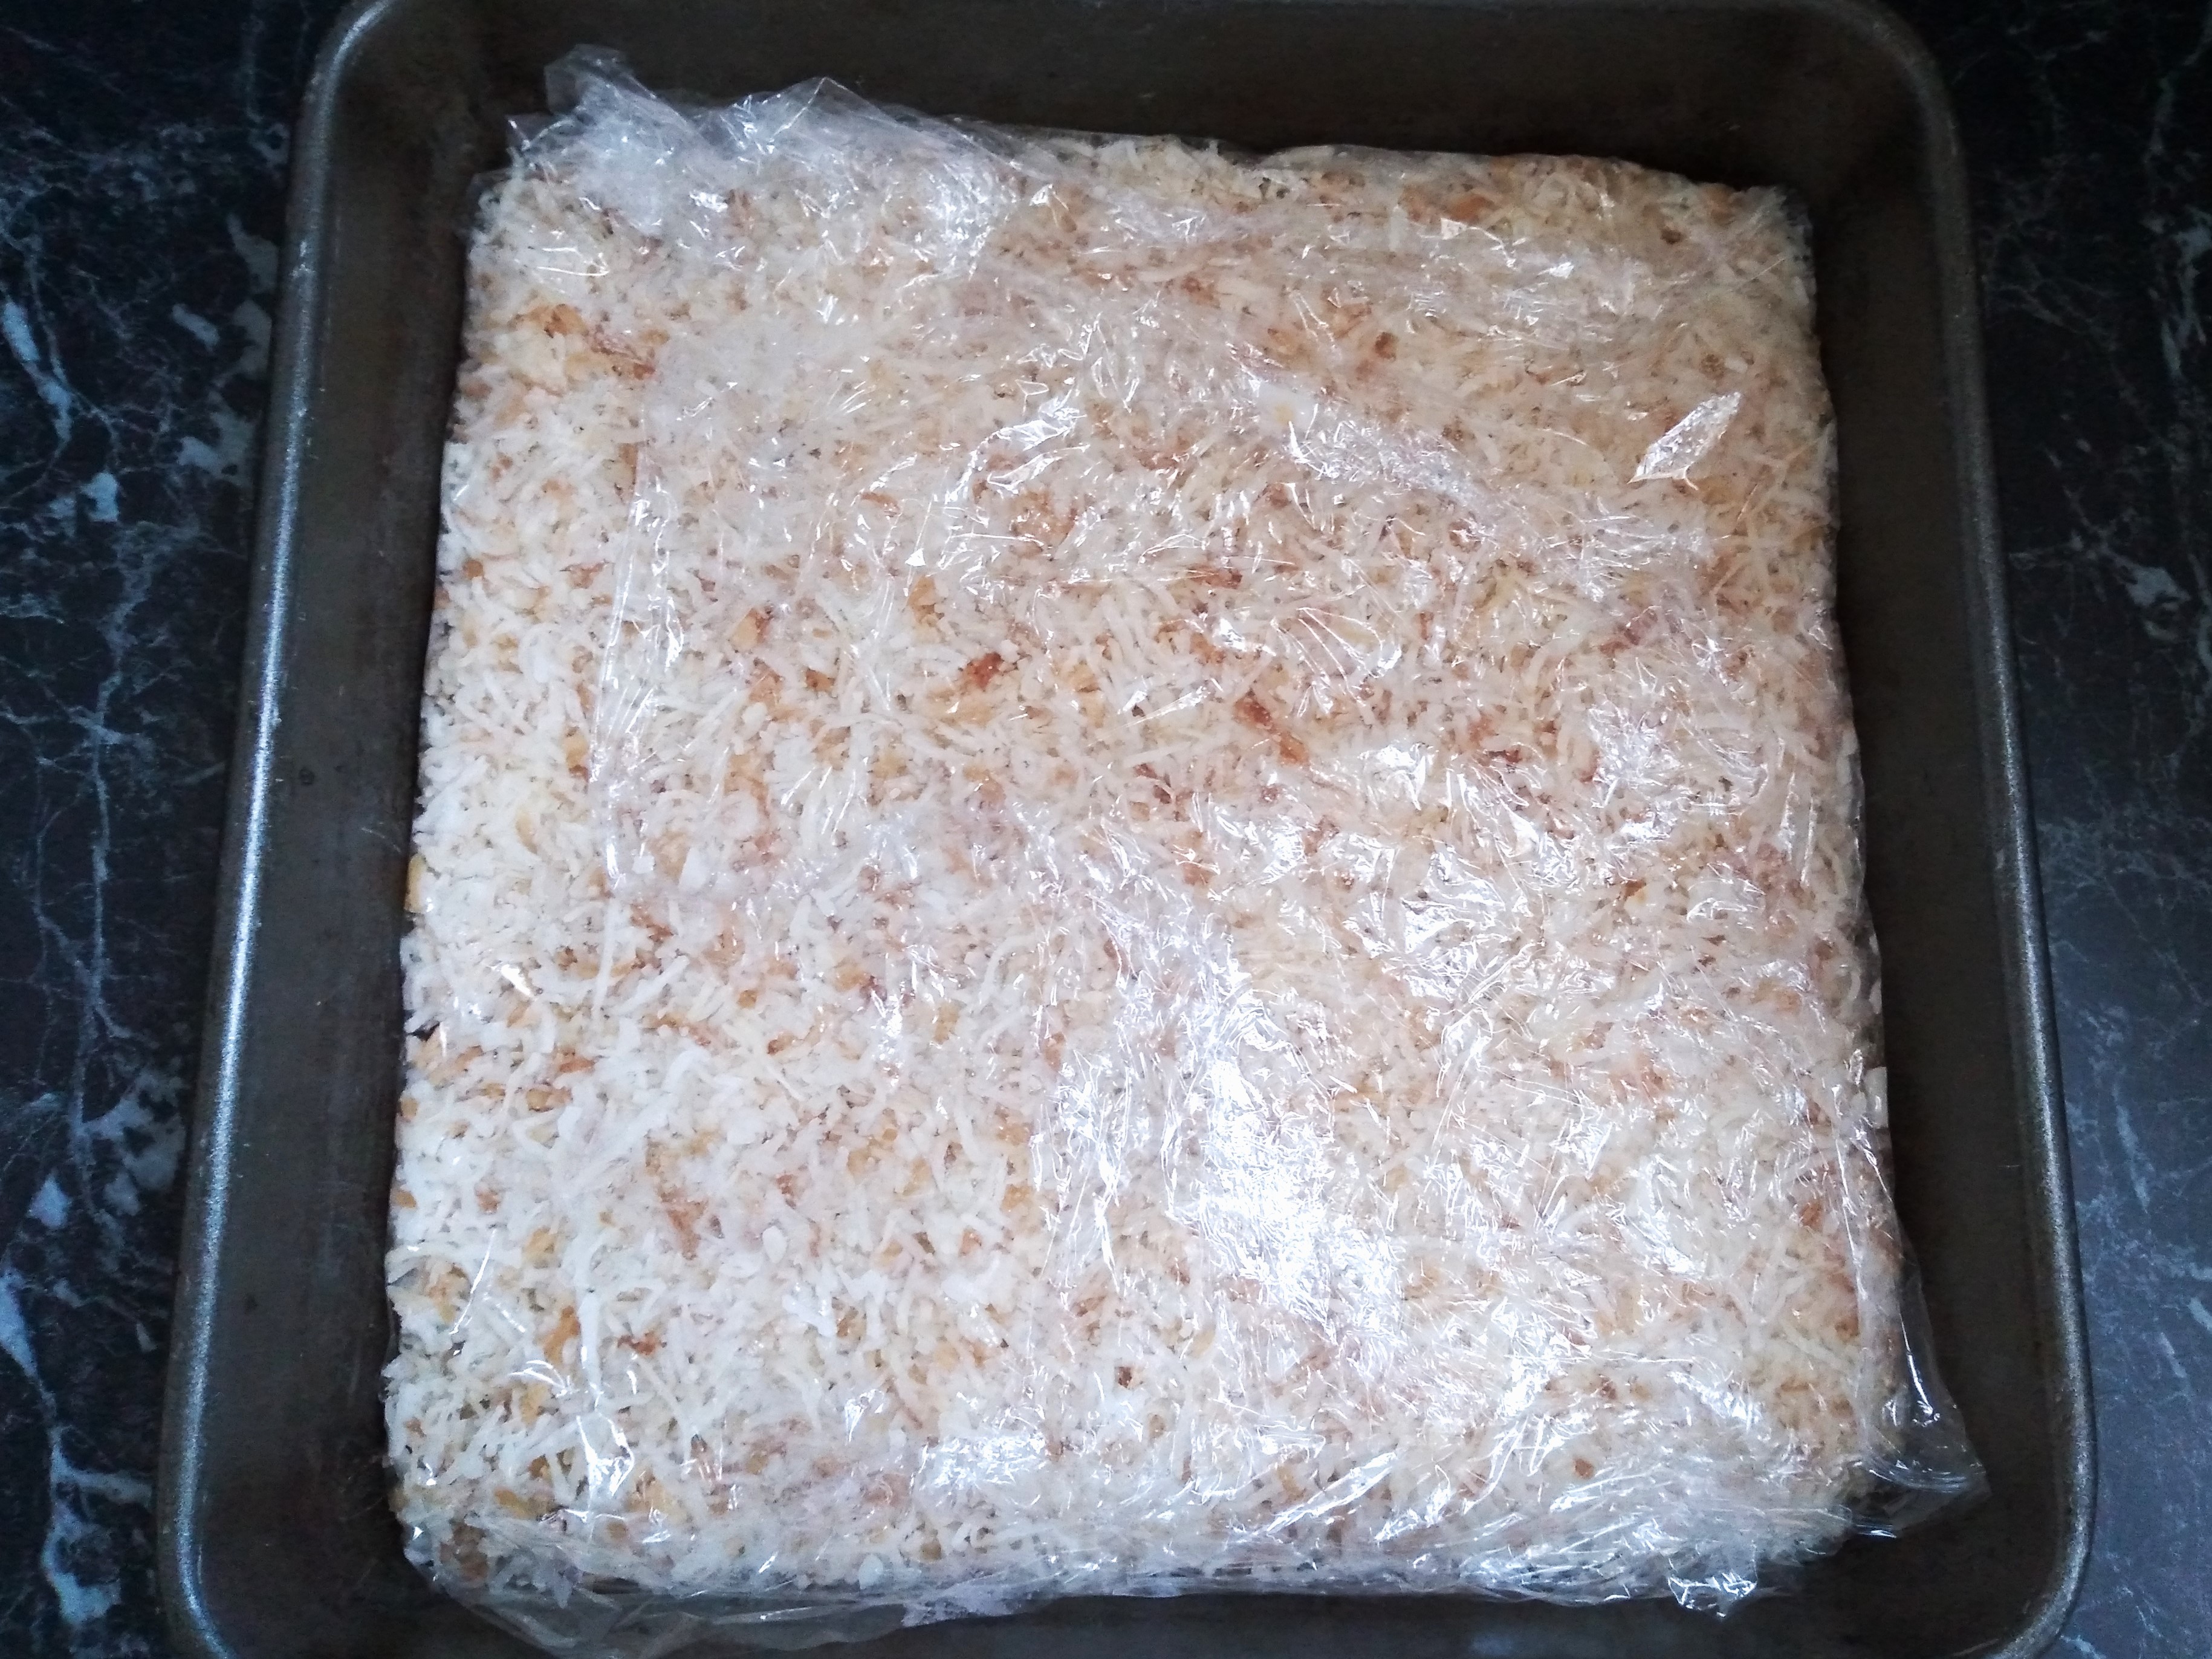
1. Line a 9 x 9 inch baking pan with cling film. You can use a different size pan if you want – that will just change the thickness of the coconut layer in each bite.
2. Melt the coconut oil in a small saucepan over a medium heat until fully melted. Remove from the heat and set aside to cool for a few minutes.

3. Place the shredded coconut and icing sugar in a large bowl and carefully add the melted coconut oil. If the oil is too hot, it may toast the shredded coconut slightly (as the photos show I ended up doing) but this won’t affect the final taste. Mix everything together until well combined.


4. Spread the coconut mixture evenly across the lined baking pan and then press down well to compact the coconut slightly and to create a flattish surface across the top.

5. Cover the top of the coconut mixture with cling film and place it in the freezer to firm up for at least 4 to 6 hours, but preferably overnight.
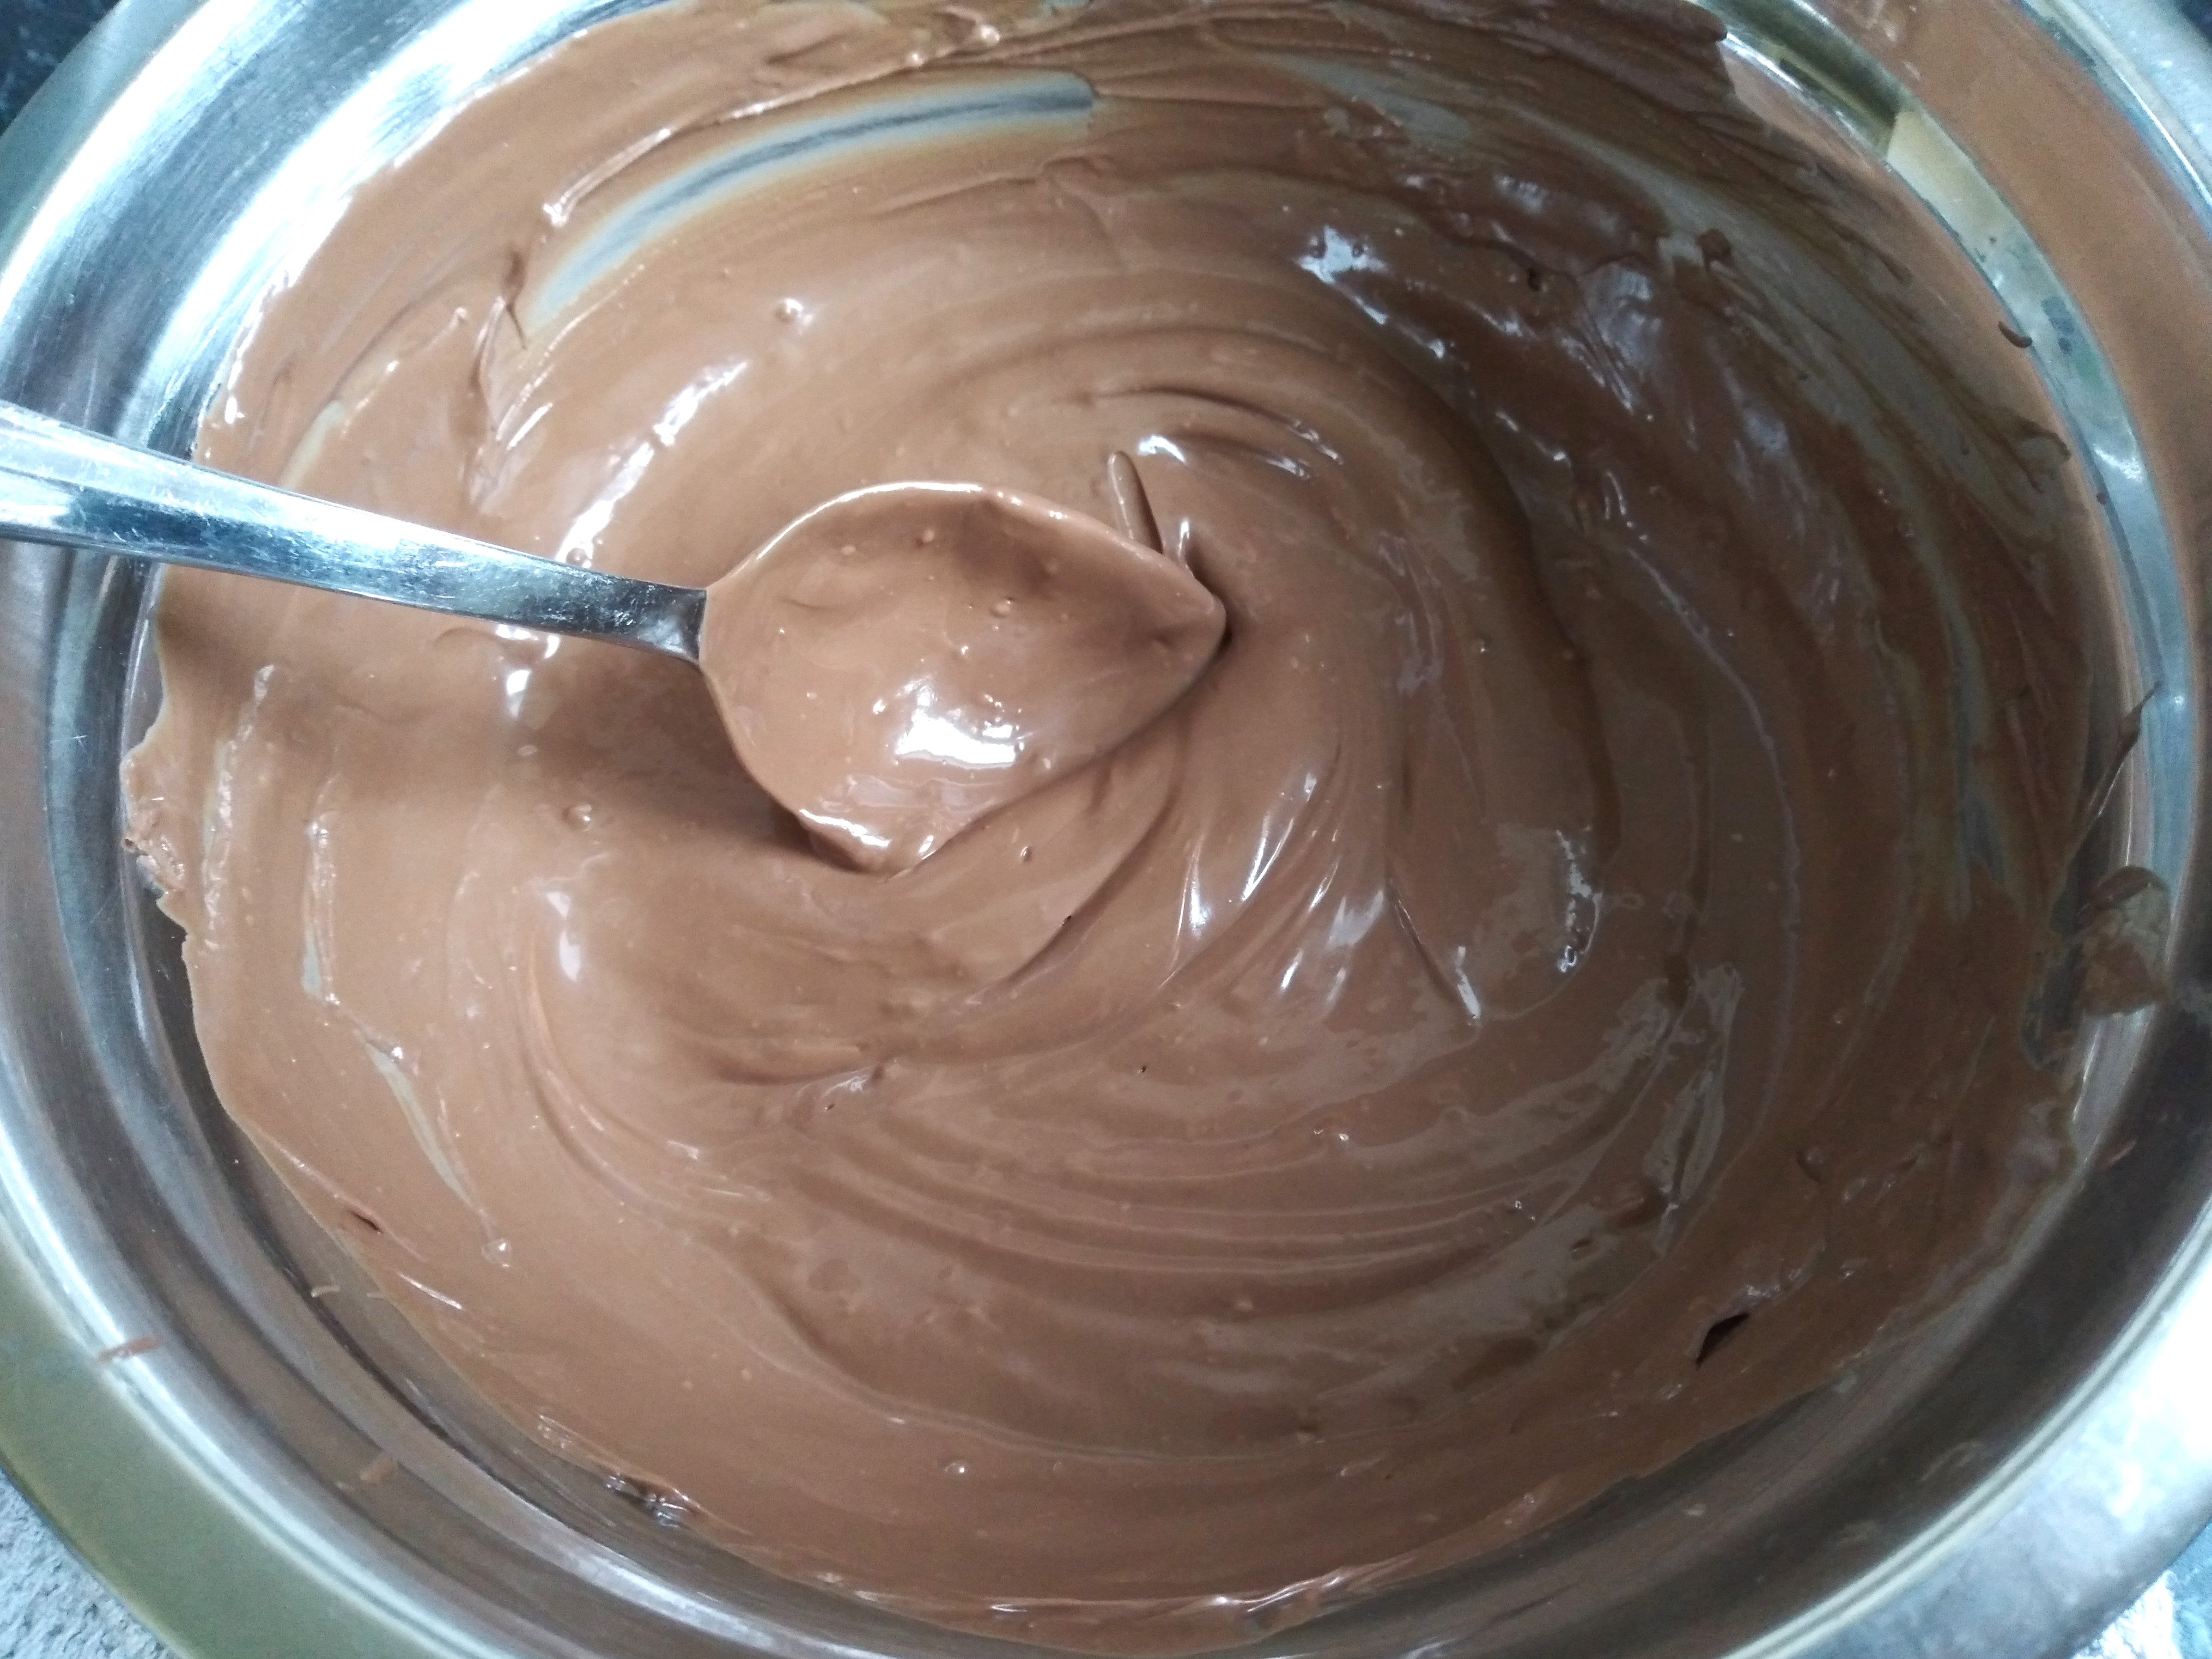
6. Just before removing the coconut mixture from the freezer, start melting the chocolate, being careful not to let any water into the chocolate. This can be done either in the microwave or in a double boiler. If in the microwave, break the chocolate into small pieces and place in a microwavable bowl. Microwave the chocolate on high in 15 to 20 second bursts at a time, mixing the chocolate between times with a fork, until it is fully melted. If in a double boiler, fill the bottom of the boiler with boiling water, break the chocolate into small pieces and place it in the top of the double boiler, and then put the top of the double boiler over the bottom. Place the whole thing on the stove over a medium heat and stir the chocolate occasionally until it has fully melted, at which point turn off the heat. If you melt the chocolate in a double boiler, it may be helpful to wrap the bottom of the bowl the chocolate is in in a clean tea towel, as this will help prevent drips of water falling on to the coconut bites during the next few steps below.
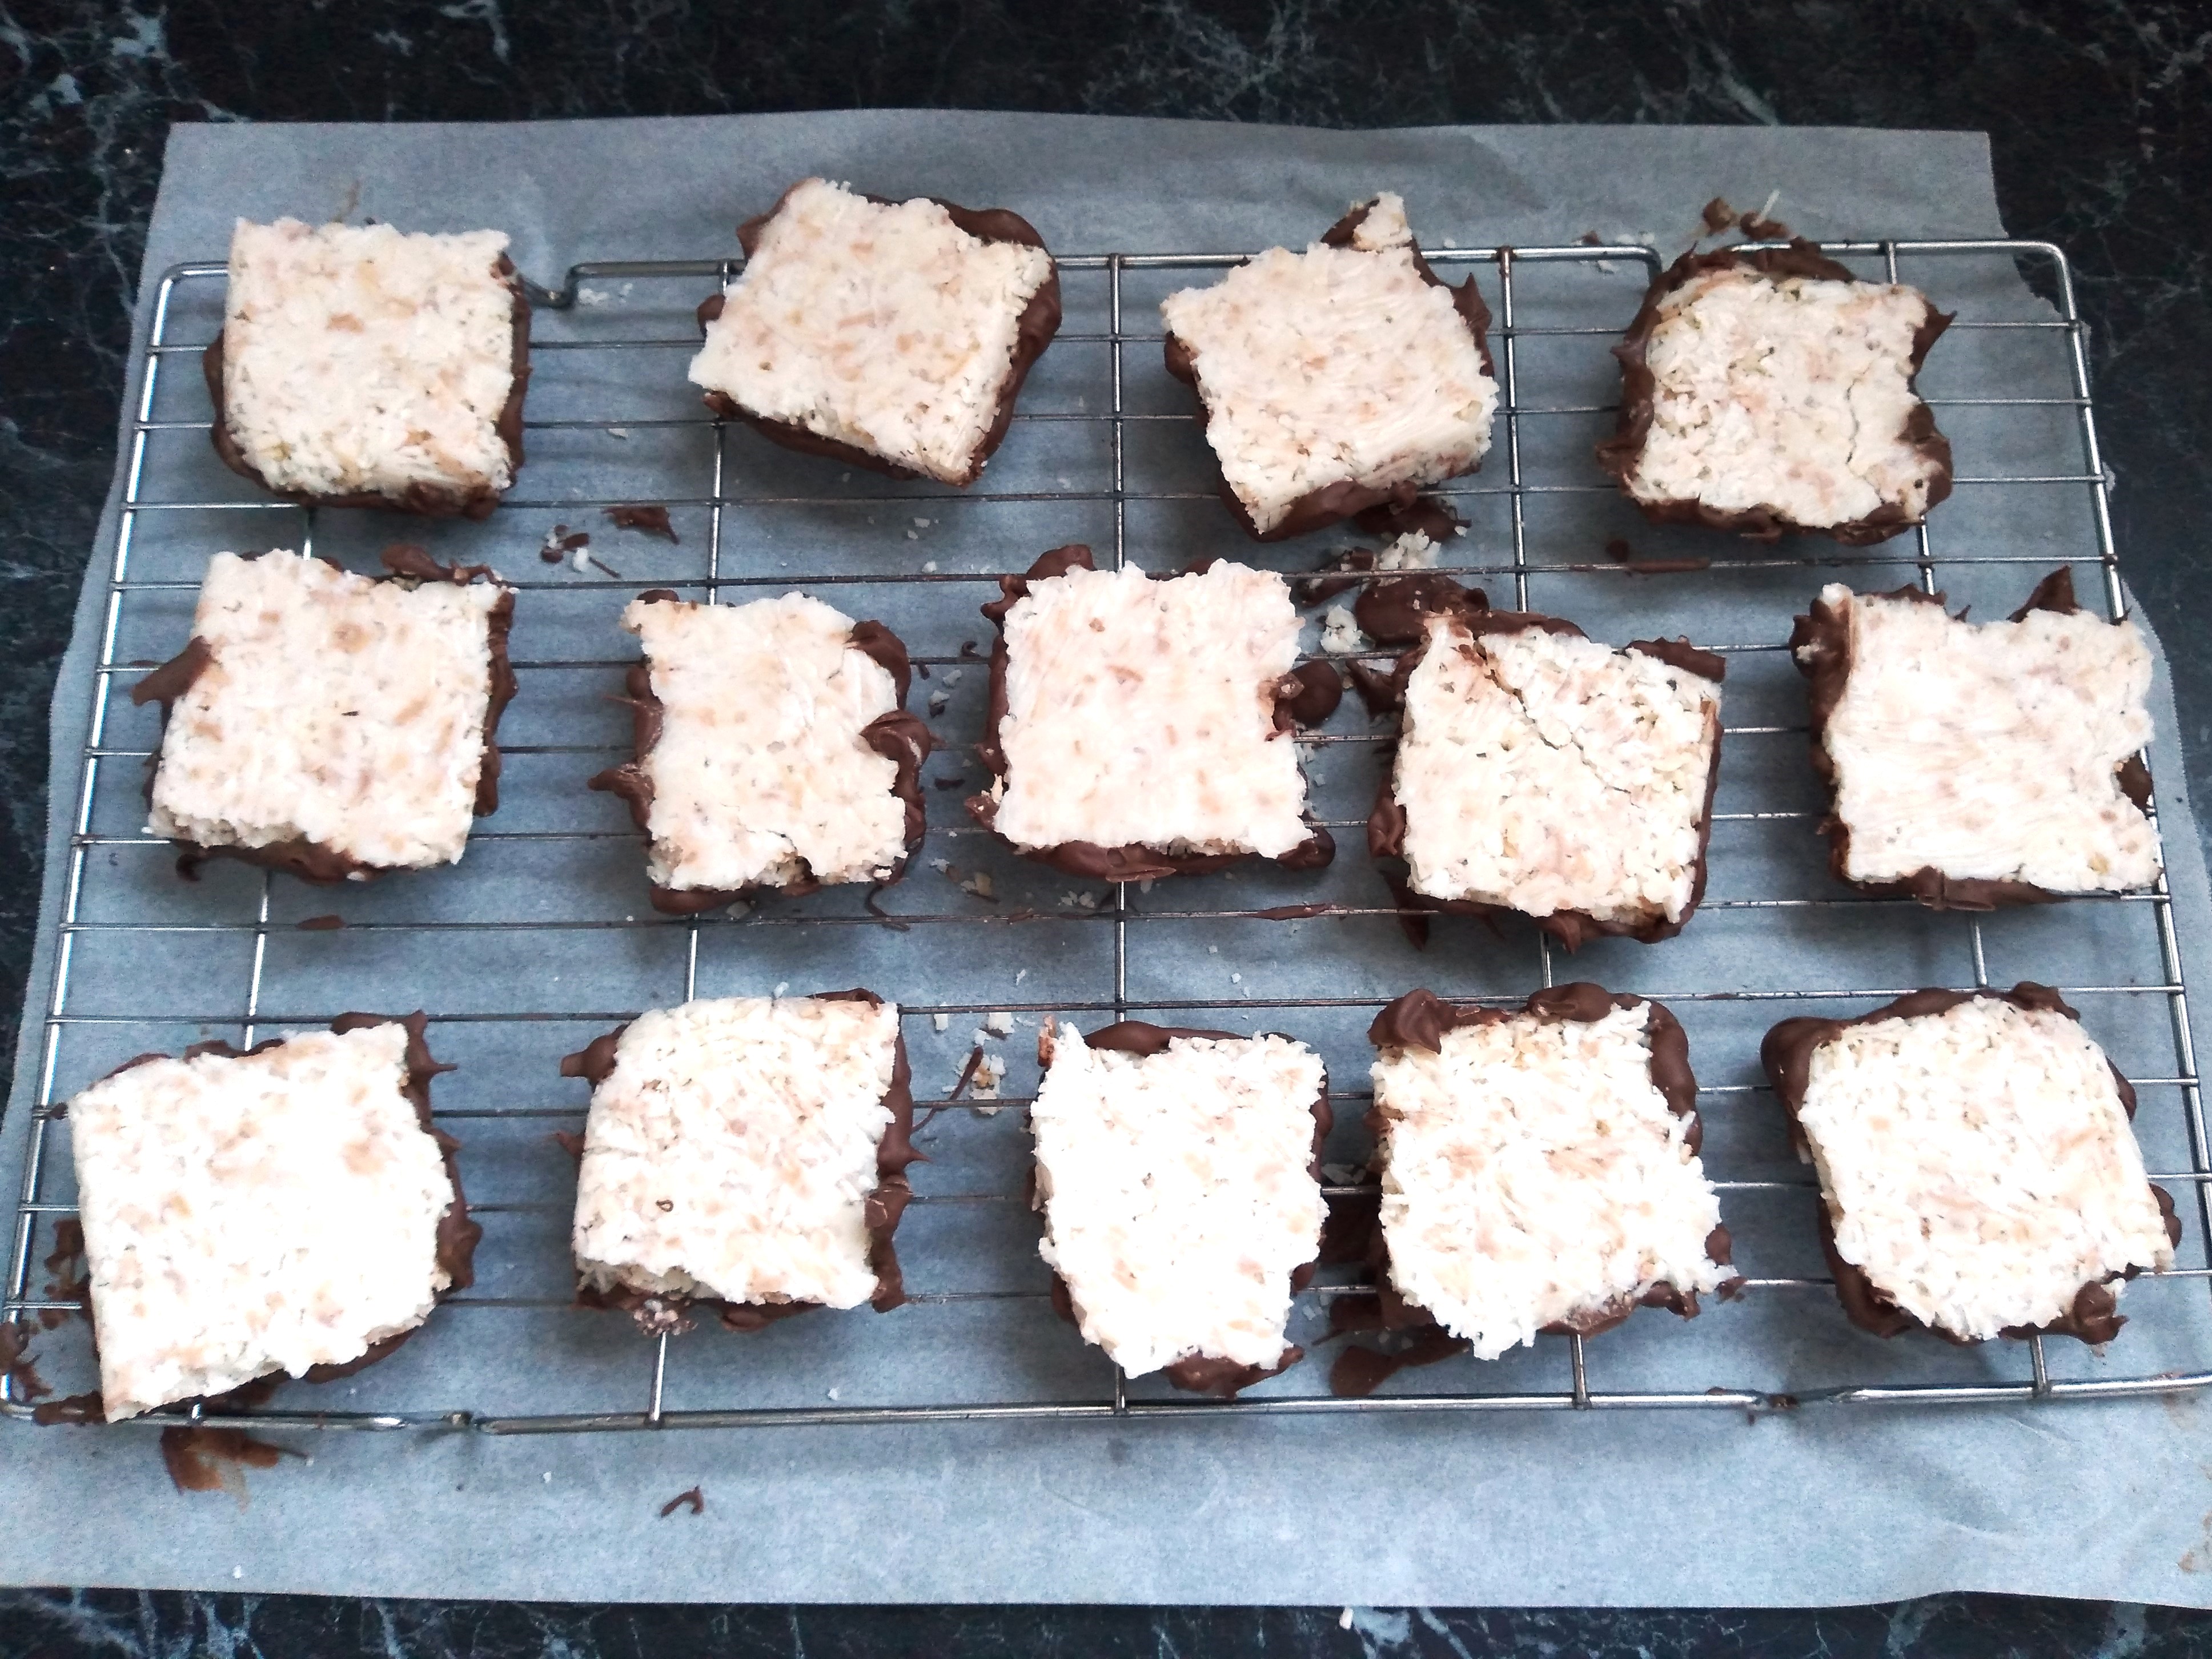
6. As the chocolate is melting, remove the coconut mixture from freezer and cut into pieces with a warm knife. To warm the knife, run it under hot water for a minute or two and then dry it before using. For more neat pieces, you should rewarm the knife regularly as you are cutting up the coconut – I tend to get lazy and aim for a more ‘rustic’ look! I initially cut mine into 16 pieces but will cut it into 32 next time – just cut pieces of whatever size you prefer!


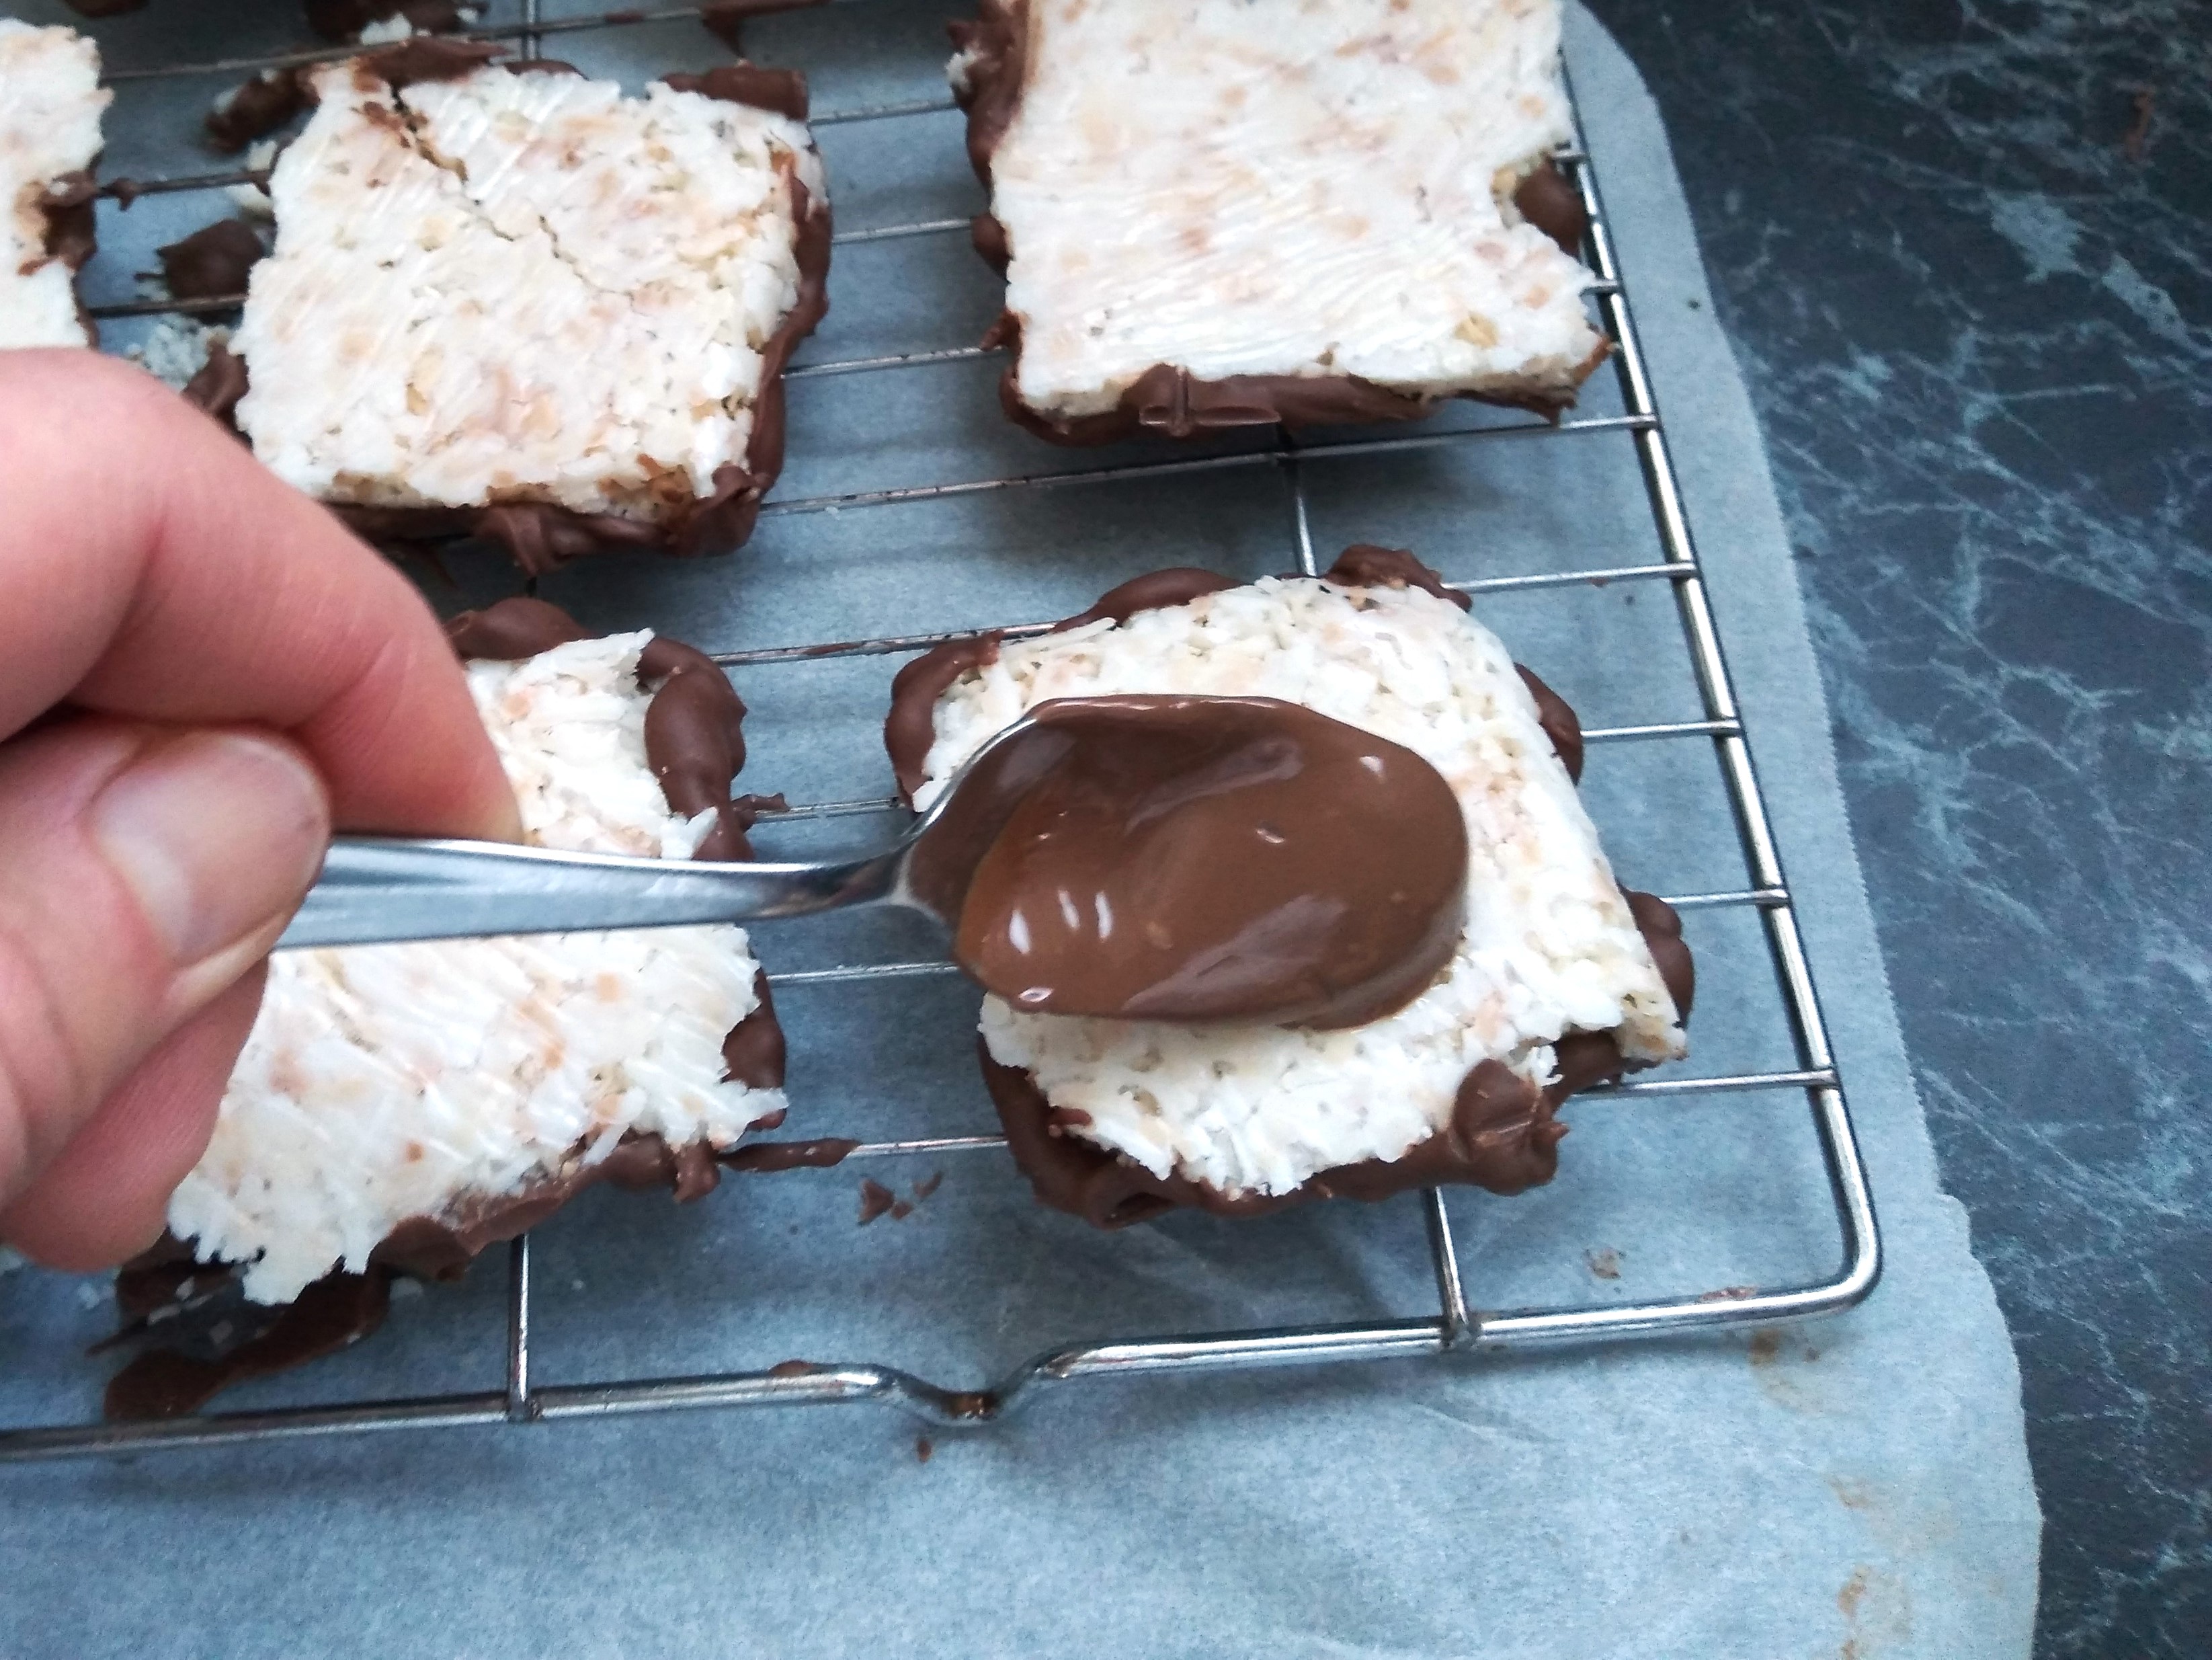
7. Spread the coconut pieces on a cooling rack with a piece of baking paper or something similar to catch chocolate drips below the cooling rack. Spread chocolate on top of each coconut piece and off the edges so that it drips down the sides. I found it easiest to do this with the back of a spoon. Once you have spread chocolate over the top of every piece, place the whole thing in the fridge for at least half an hour to set the chocolate.


8. Remove the cooling rack with chocolate coconut pieces on it from the fridge, placing it over the piece of baking paper or similar to catch the drips again. Carefully flip over each piece of chocolate coconut, using a butter knife to separate the pieces from the cooling rack where the chocolate has dripped down.

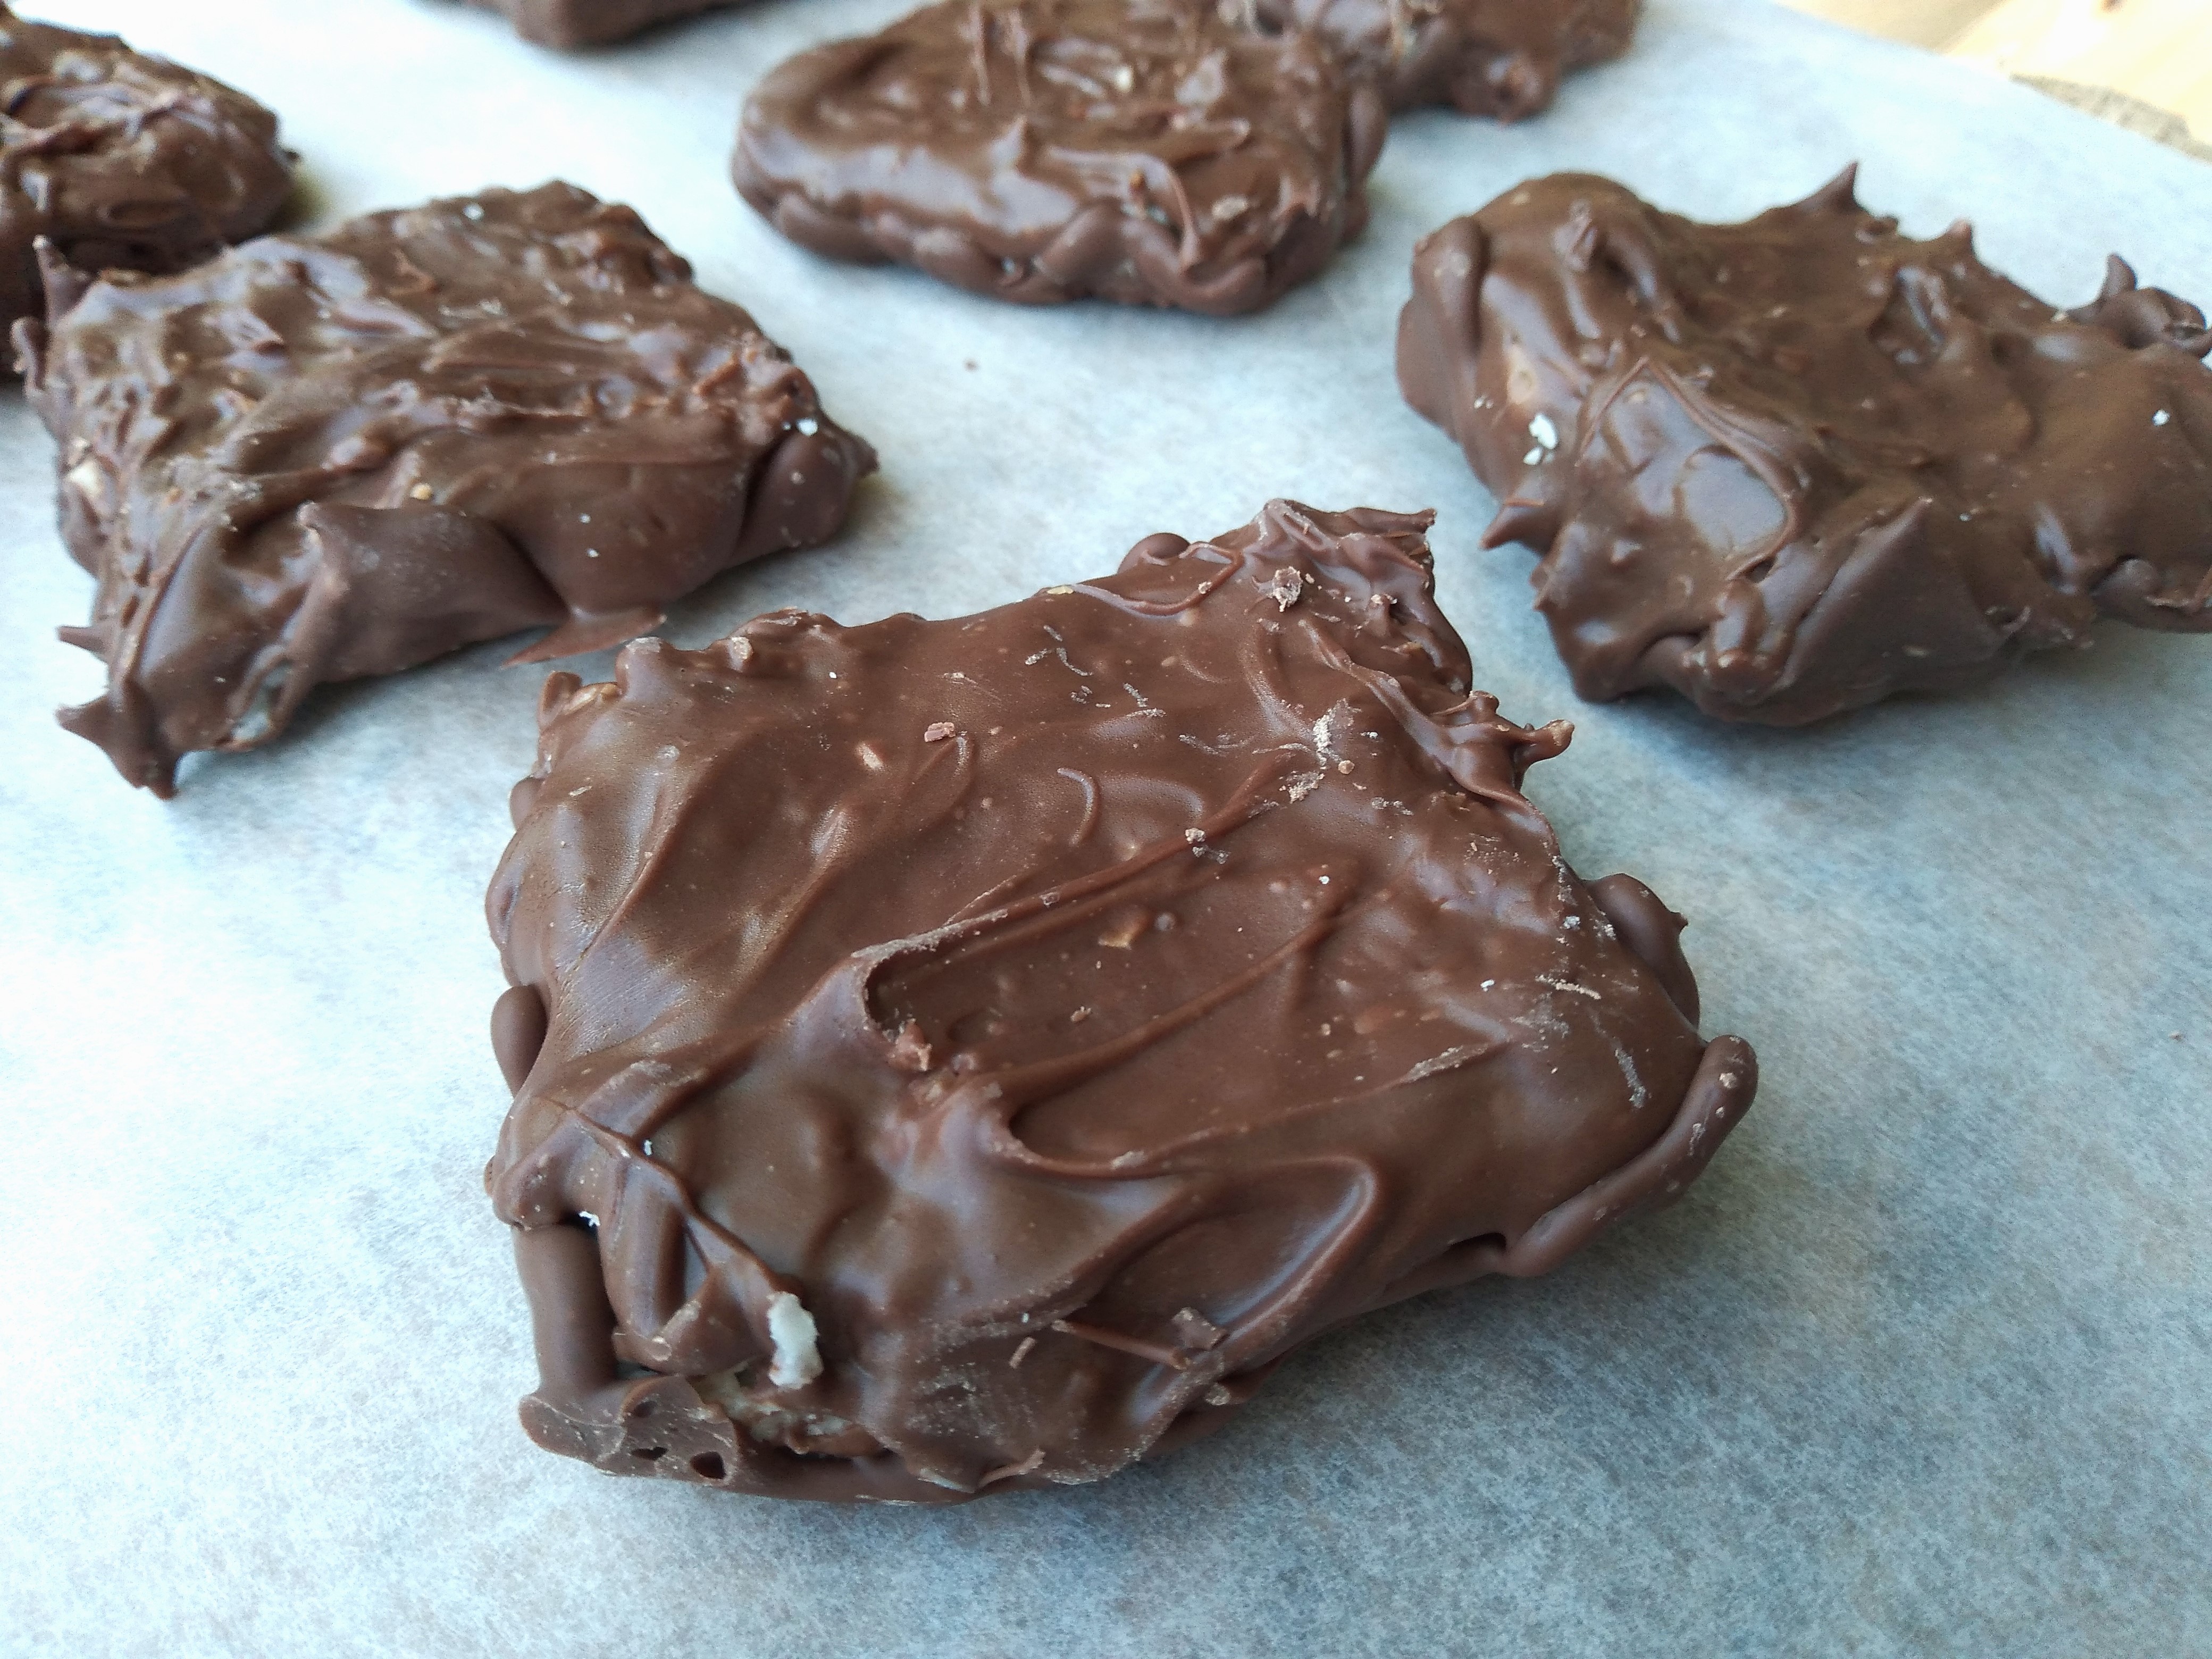
9. Spread chocolate over the top of each flipped-up piece of chocolate coconut, pushing it off the edges and down the sides where there are sides that are not completely covered in chocolate.
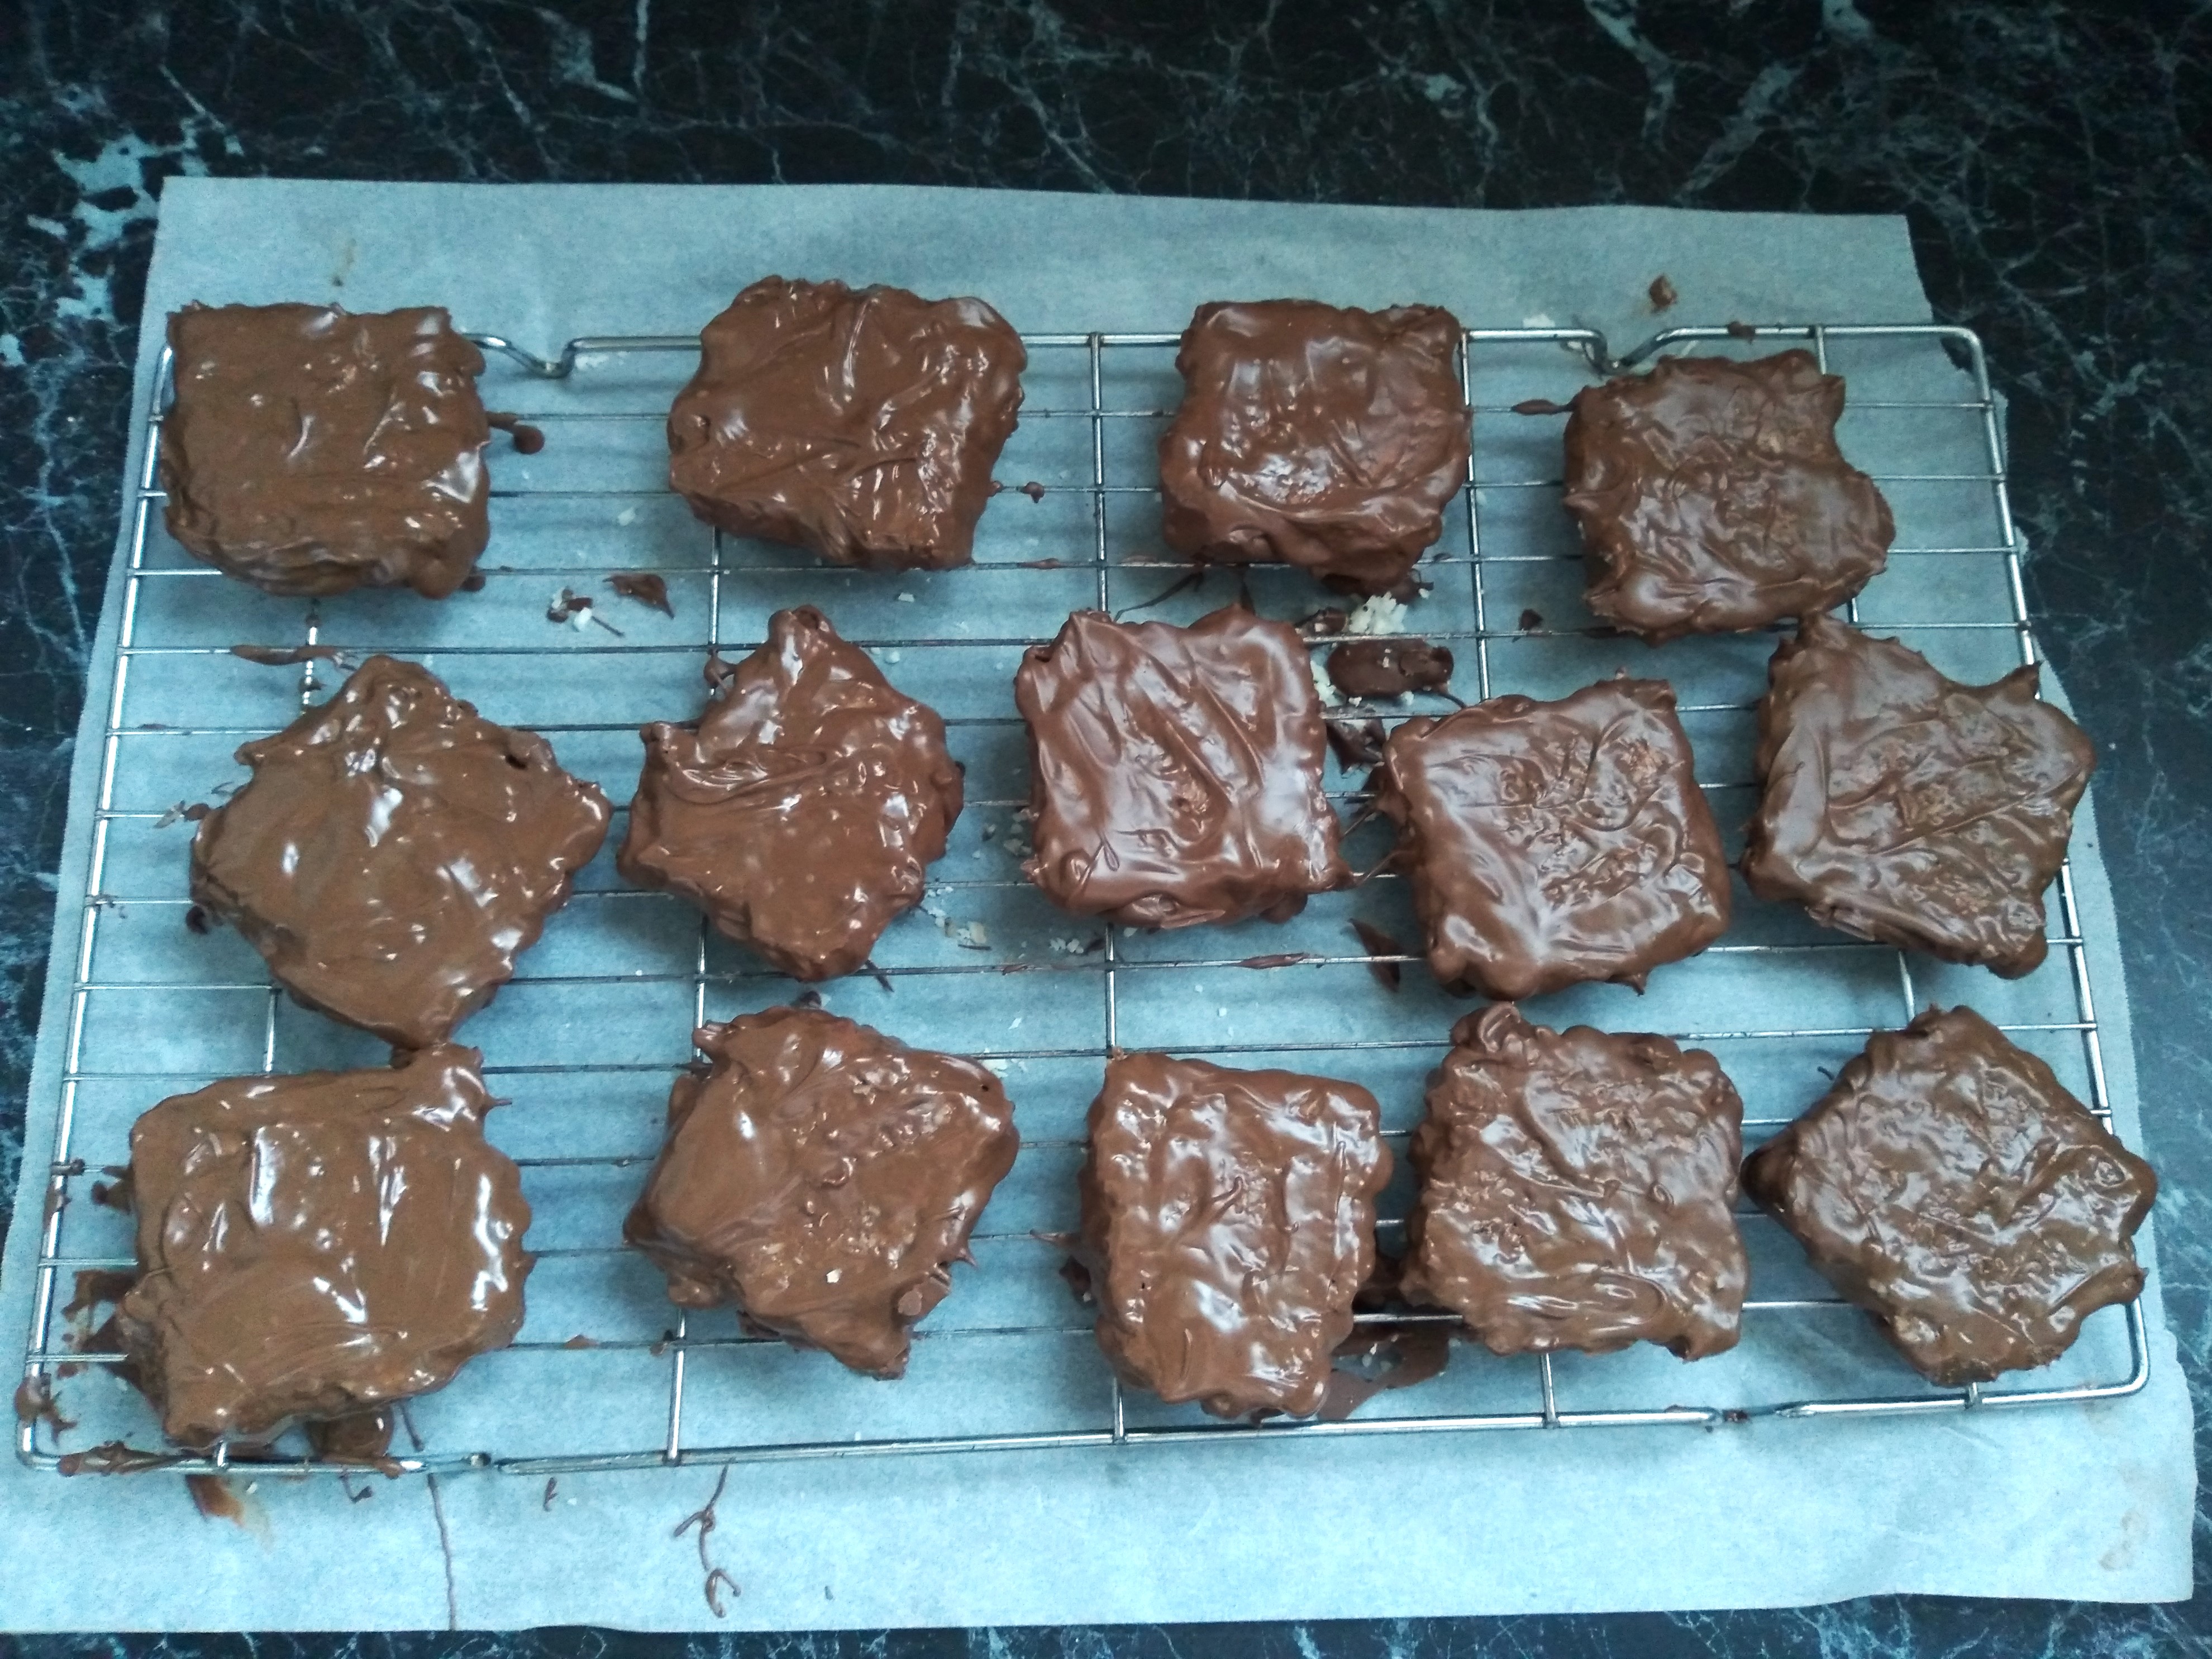
10. Once each piece is fully covered in chocolate, place the cooling rack back in the fridge until the chocolate has fully set.

11. Once set, take the chocolate coconut bites out of the fridge and store in an airtight container. These will hold their shape easily in the cold but will need to be kept somewhere cool or in the fridge in warm weather. I hope you enjoy them!