I was inspired by the results of just using white rice flour and cornflour in my gluten free playdough recipe (here) to try some breadmaking with just those two flours as they are relatively cheap and readily available compared to many other gluten free flours and starches (just check that the one you are buying is gluten free). This inspiration happened to coincide with a period of experimentation with xanthan gum in my gluten free bread baking, for when I want a very ‘white’ bread, and this recipe is the result. It is perfect for days when you don’t want to wait for yeasted dough to rise and can be made by hand, although it is quicker to use a handheld beater or stand-mixer to mix everything together. I use milk and vinegar instead of buttermilk in this, as that is what I had – I will try it with buttermilk at some point and update the recipe accordingly. This makes one loaf – half the recipe for a smaller loaf. As usual, this uses a 250 ml cup as equal to 1 cup.

What you need:
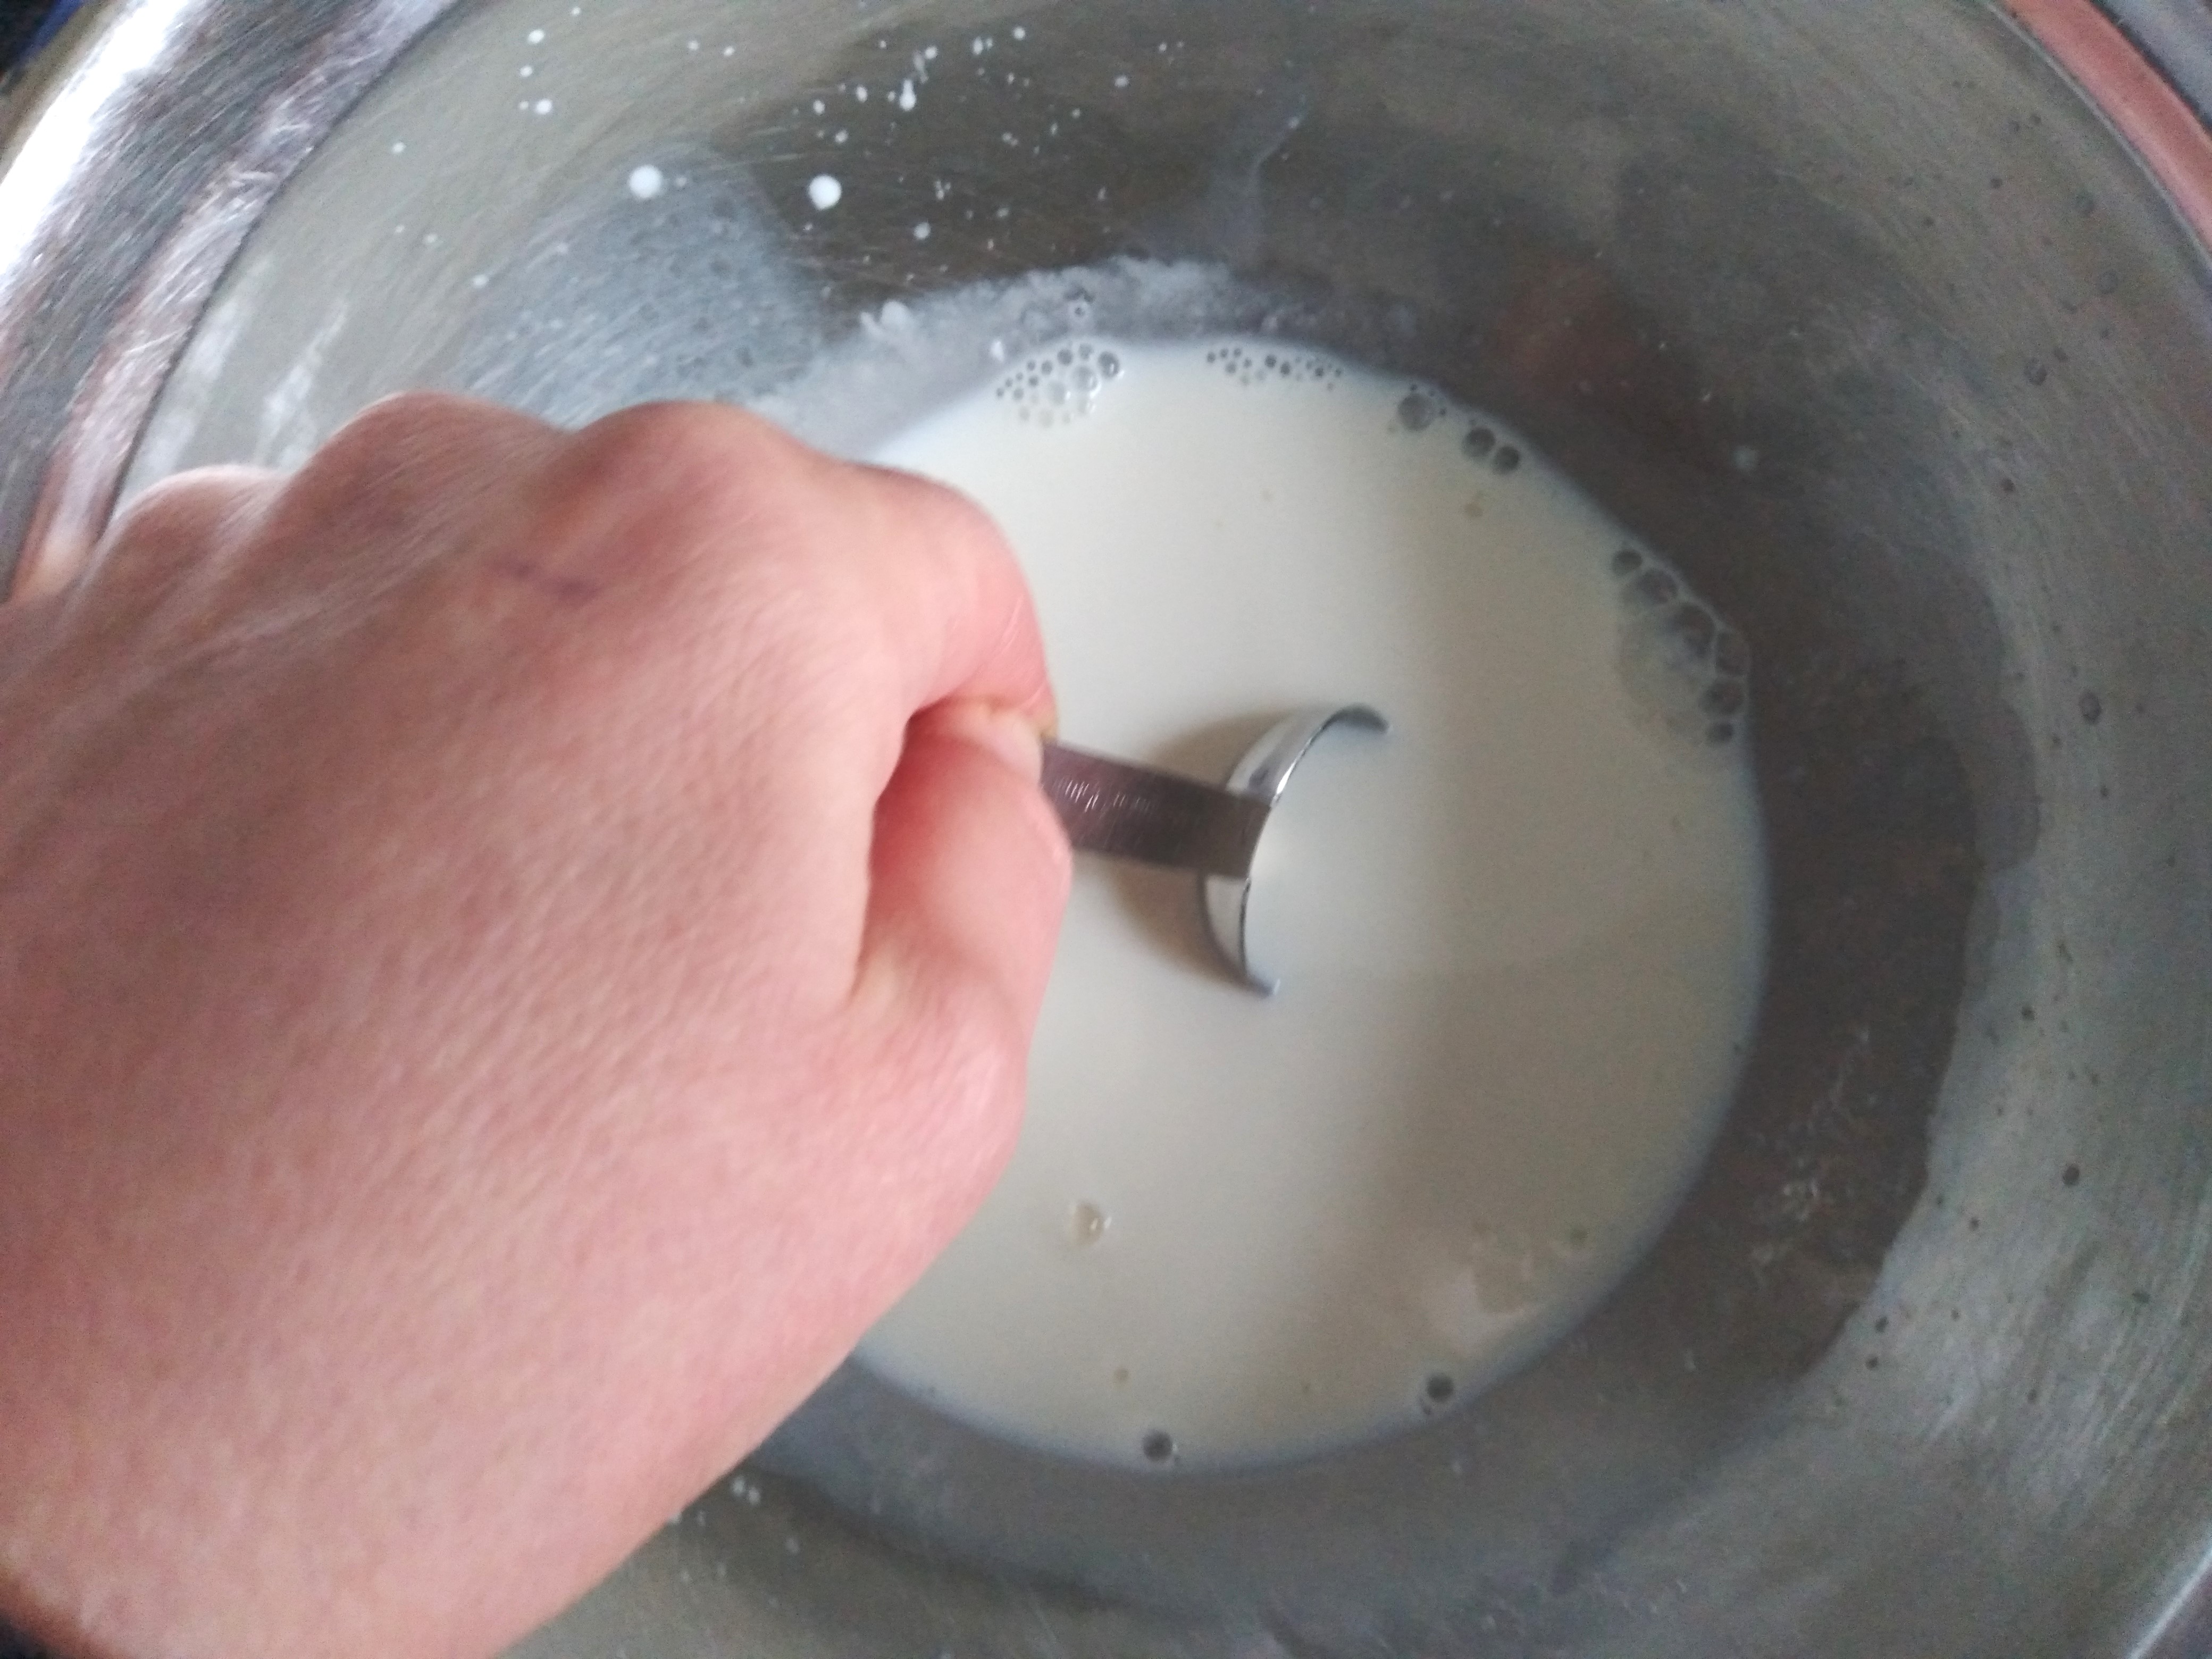
1 cup of milk
2 tablespoons of vinegar
2 cups of white rice flour
1 cup of cornflour (also called corn starch in some countries)
1 ½ teaspoons of xanthan gum
1 tablespoon of baking powder
1 teaspoon of salt
½ cup of butter
2 eggs
What to do:
1. Pre-heat the oven to 200°C fan and line a baking tray with baking paper.
2. Pour the milk into a bowl and then add and stir in the vinegar. Set aside while you mixed the remaining ingredients.

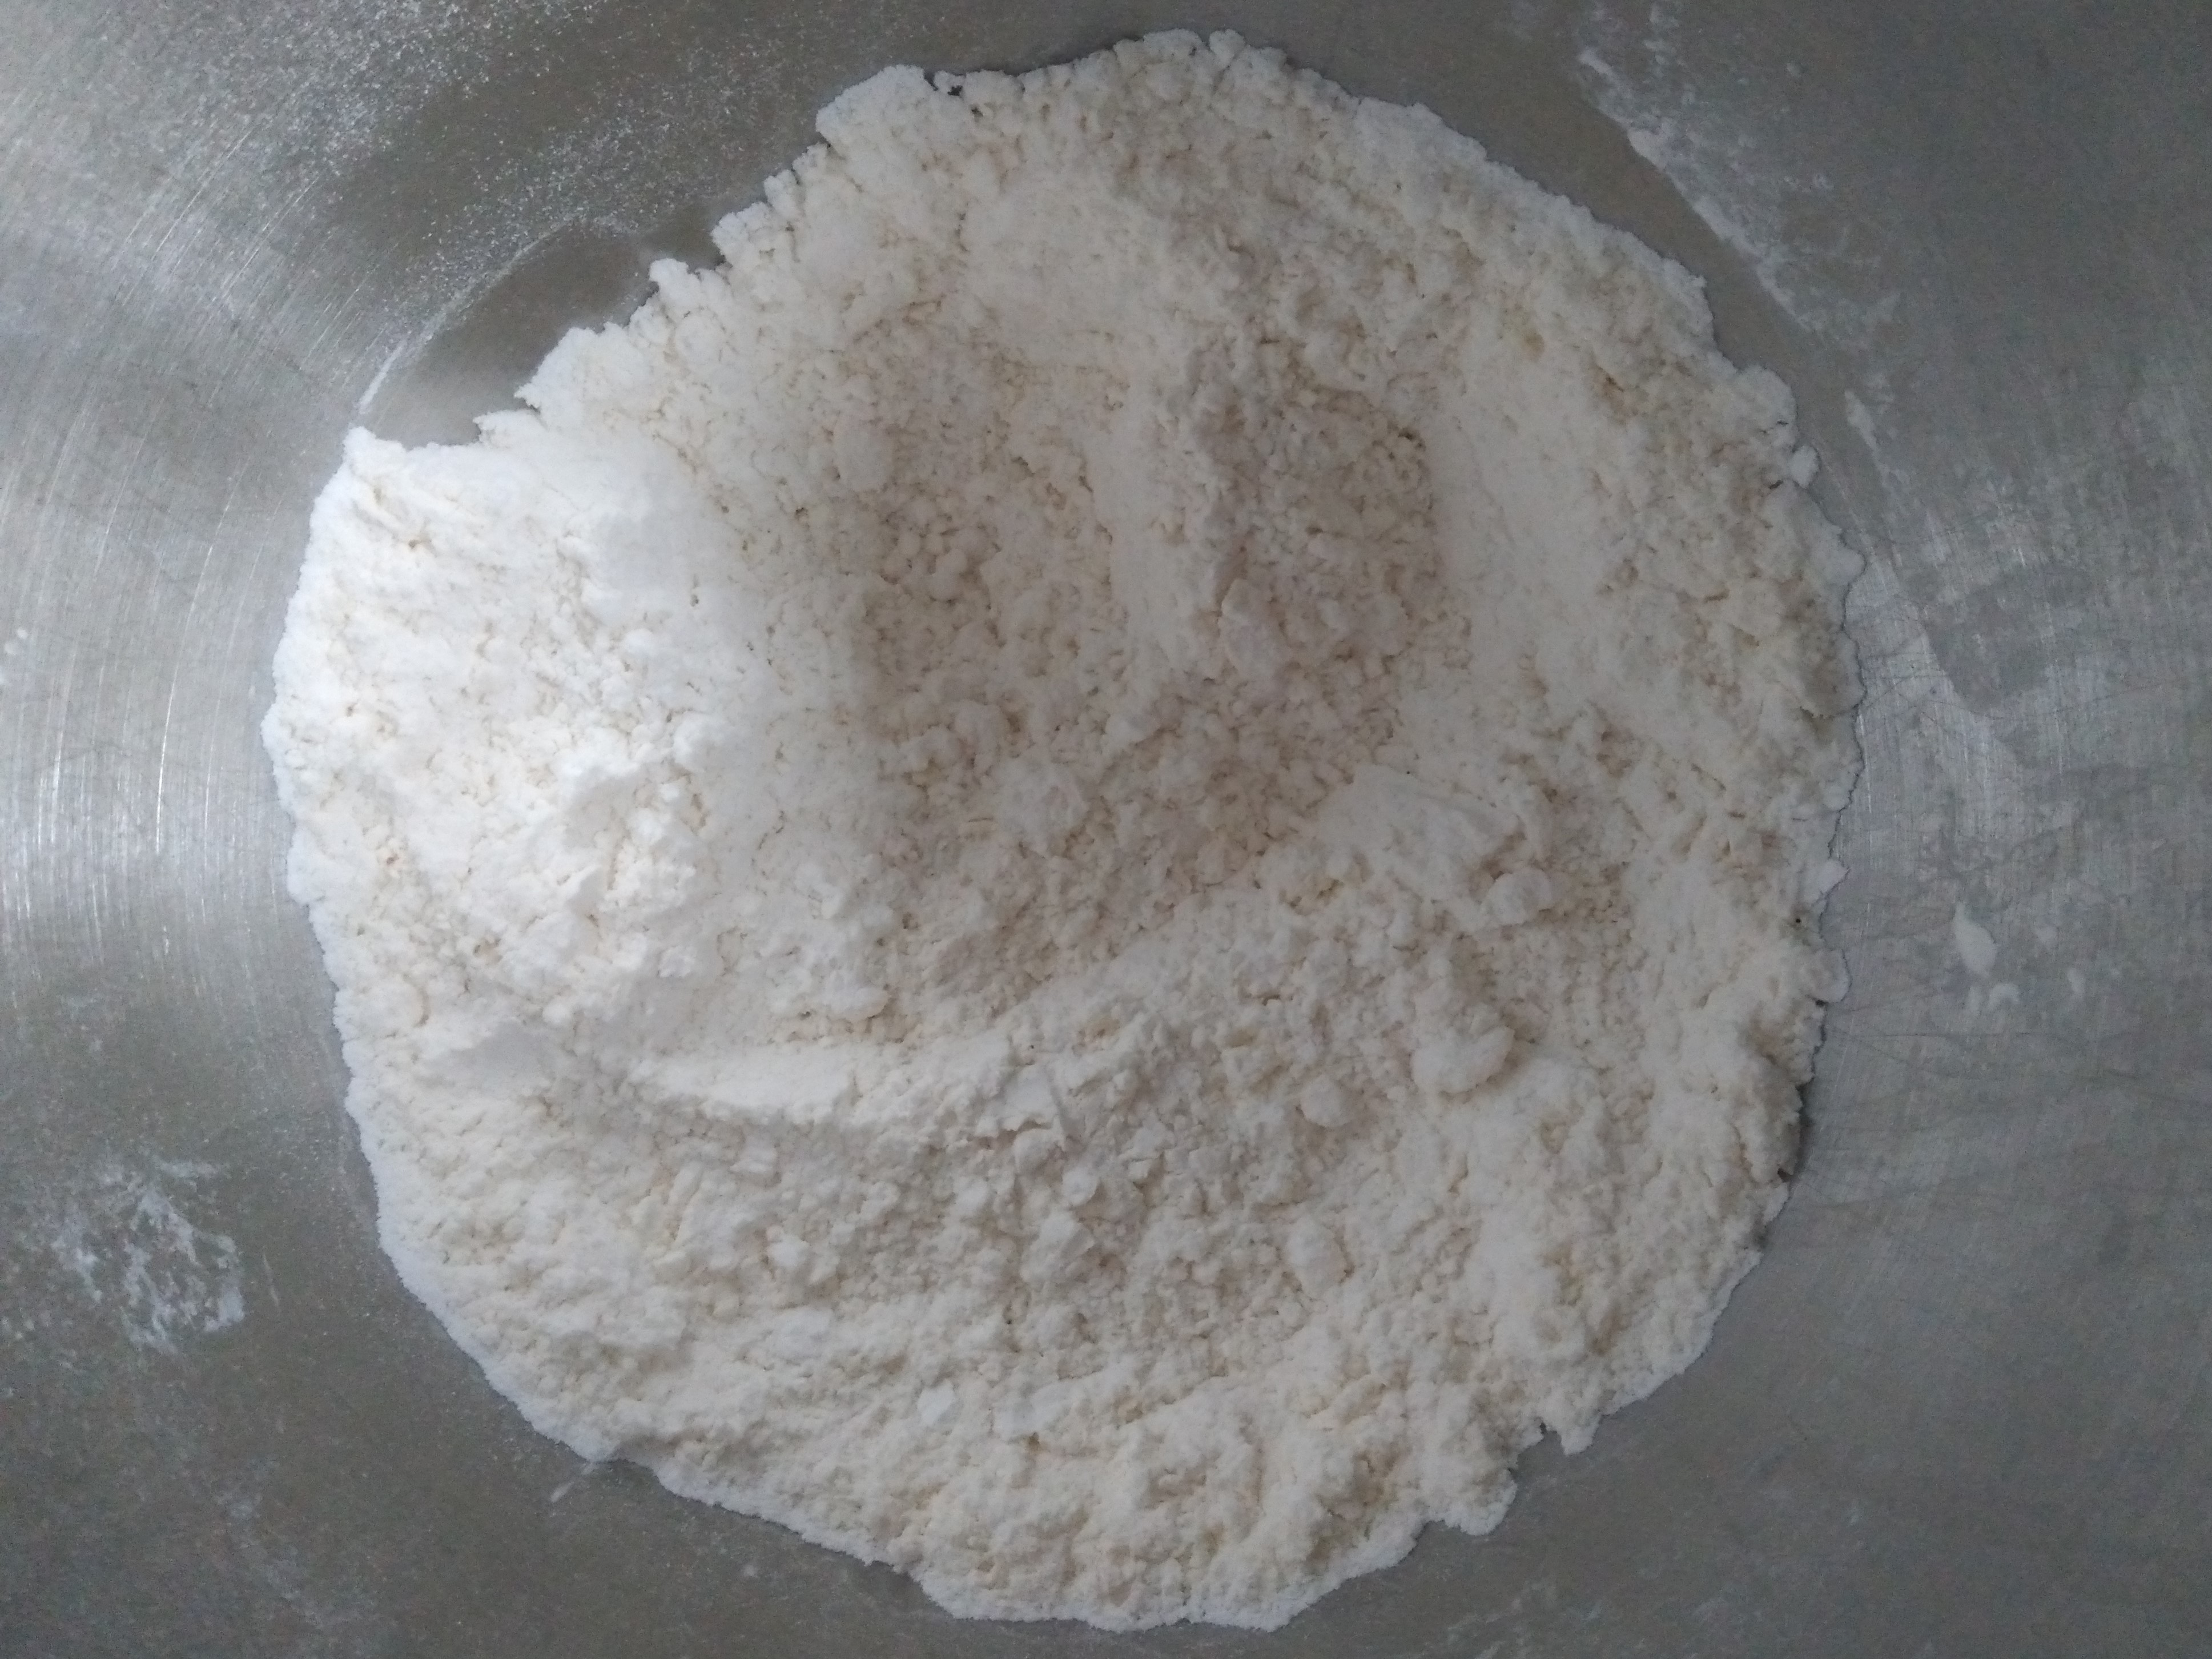
3. Place the white rice flour, cornflour, xanthan gum, baking powder and salt in a large mixing bowl. Roughly cube the butter and then add it to the mixing bowl and rub it into the dry ingredients.


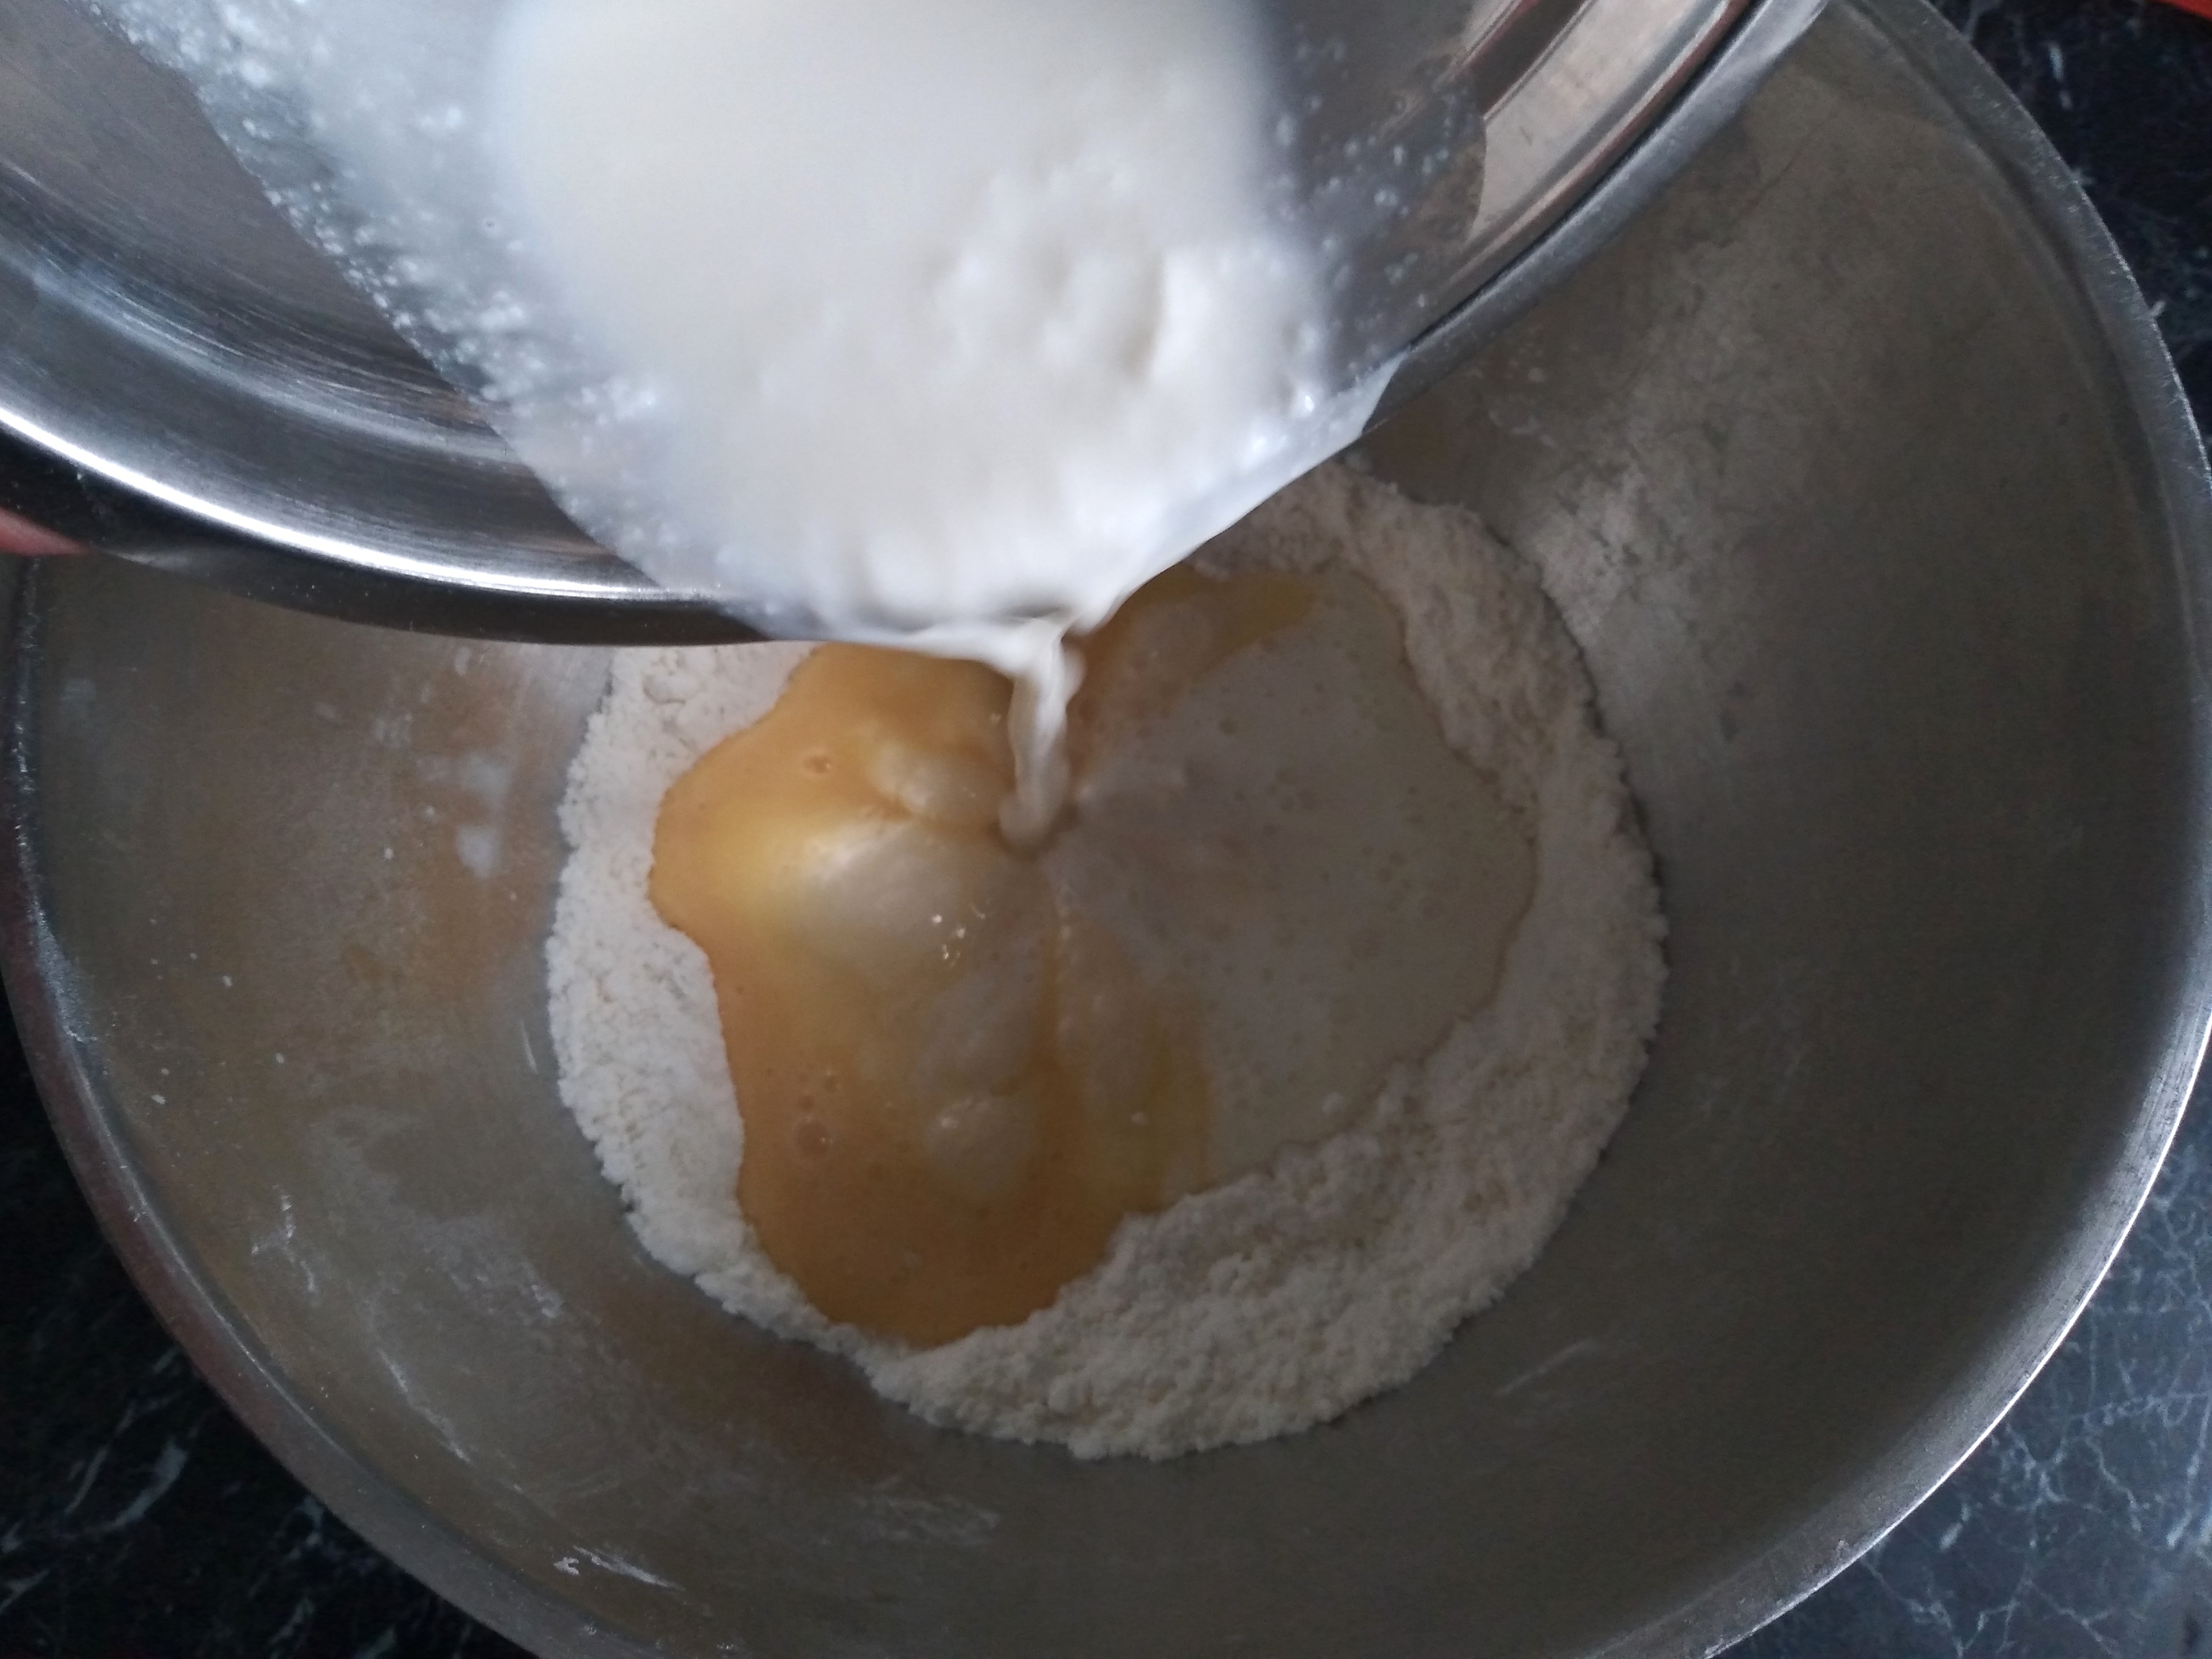
4. Lightly beat the eggs and then add them to the bowl with the dry ingredients and rubbed-in butter, along with the milk/vinegar mixture. Mix all the ingredients together until fully combined.


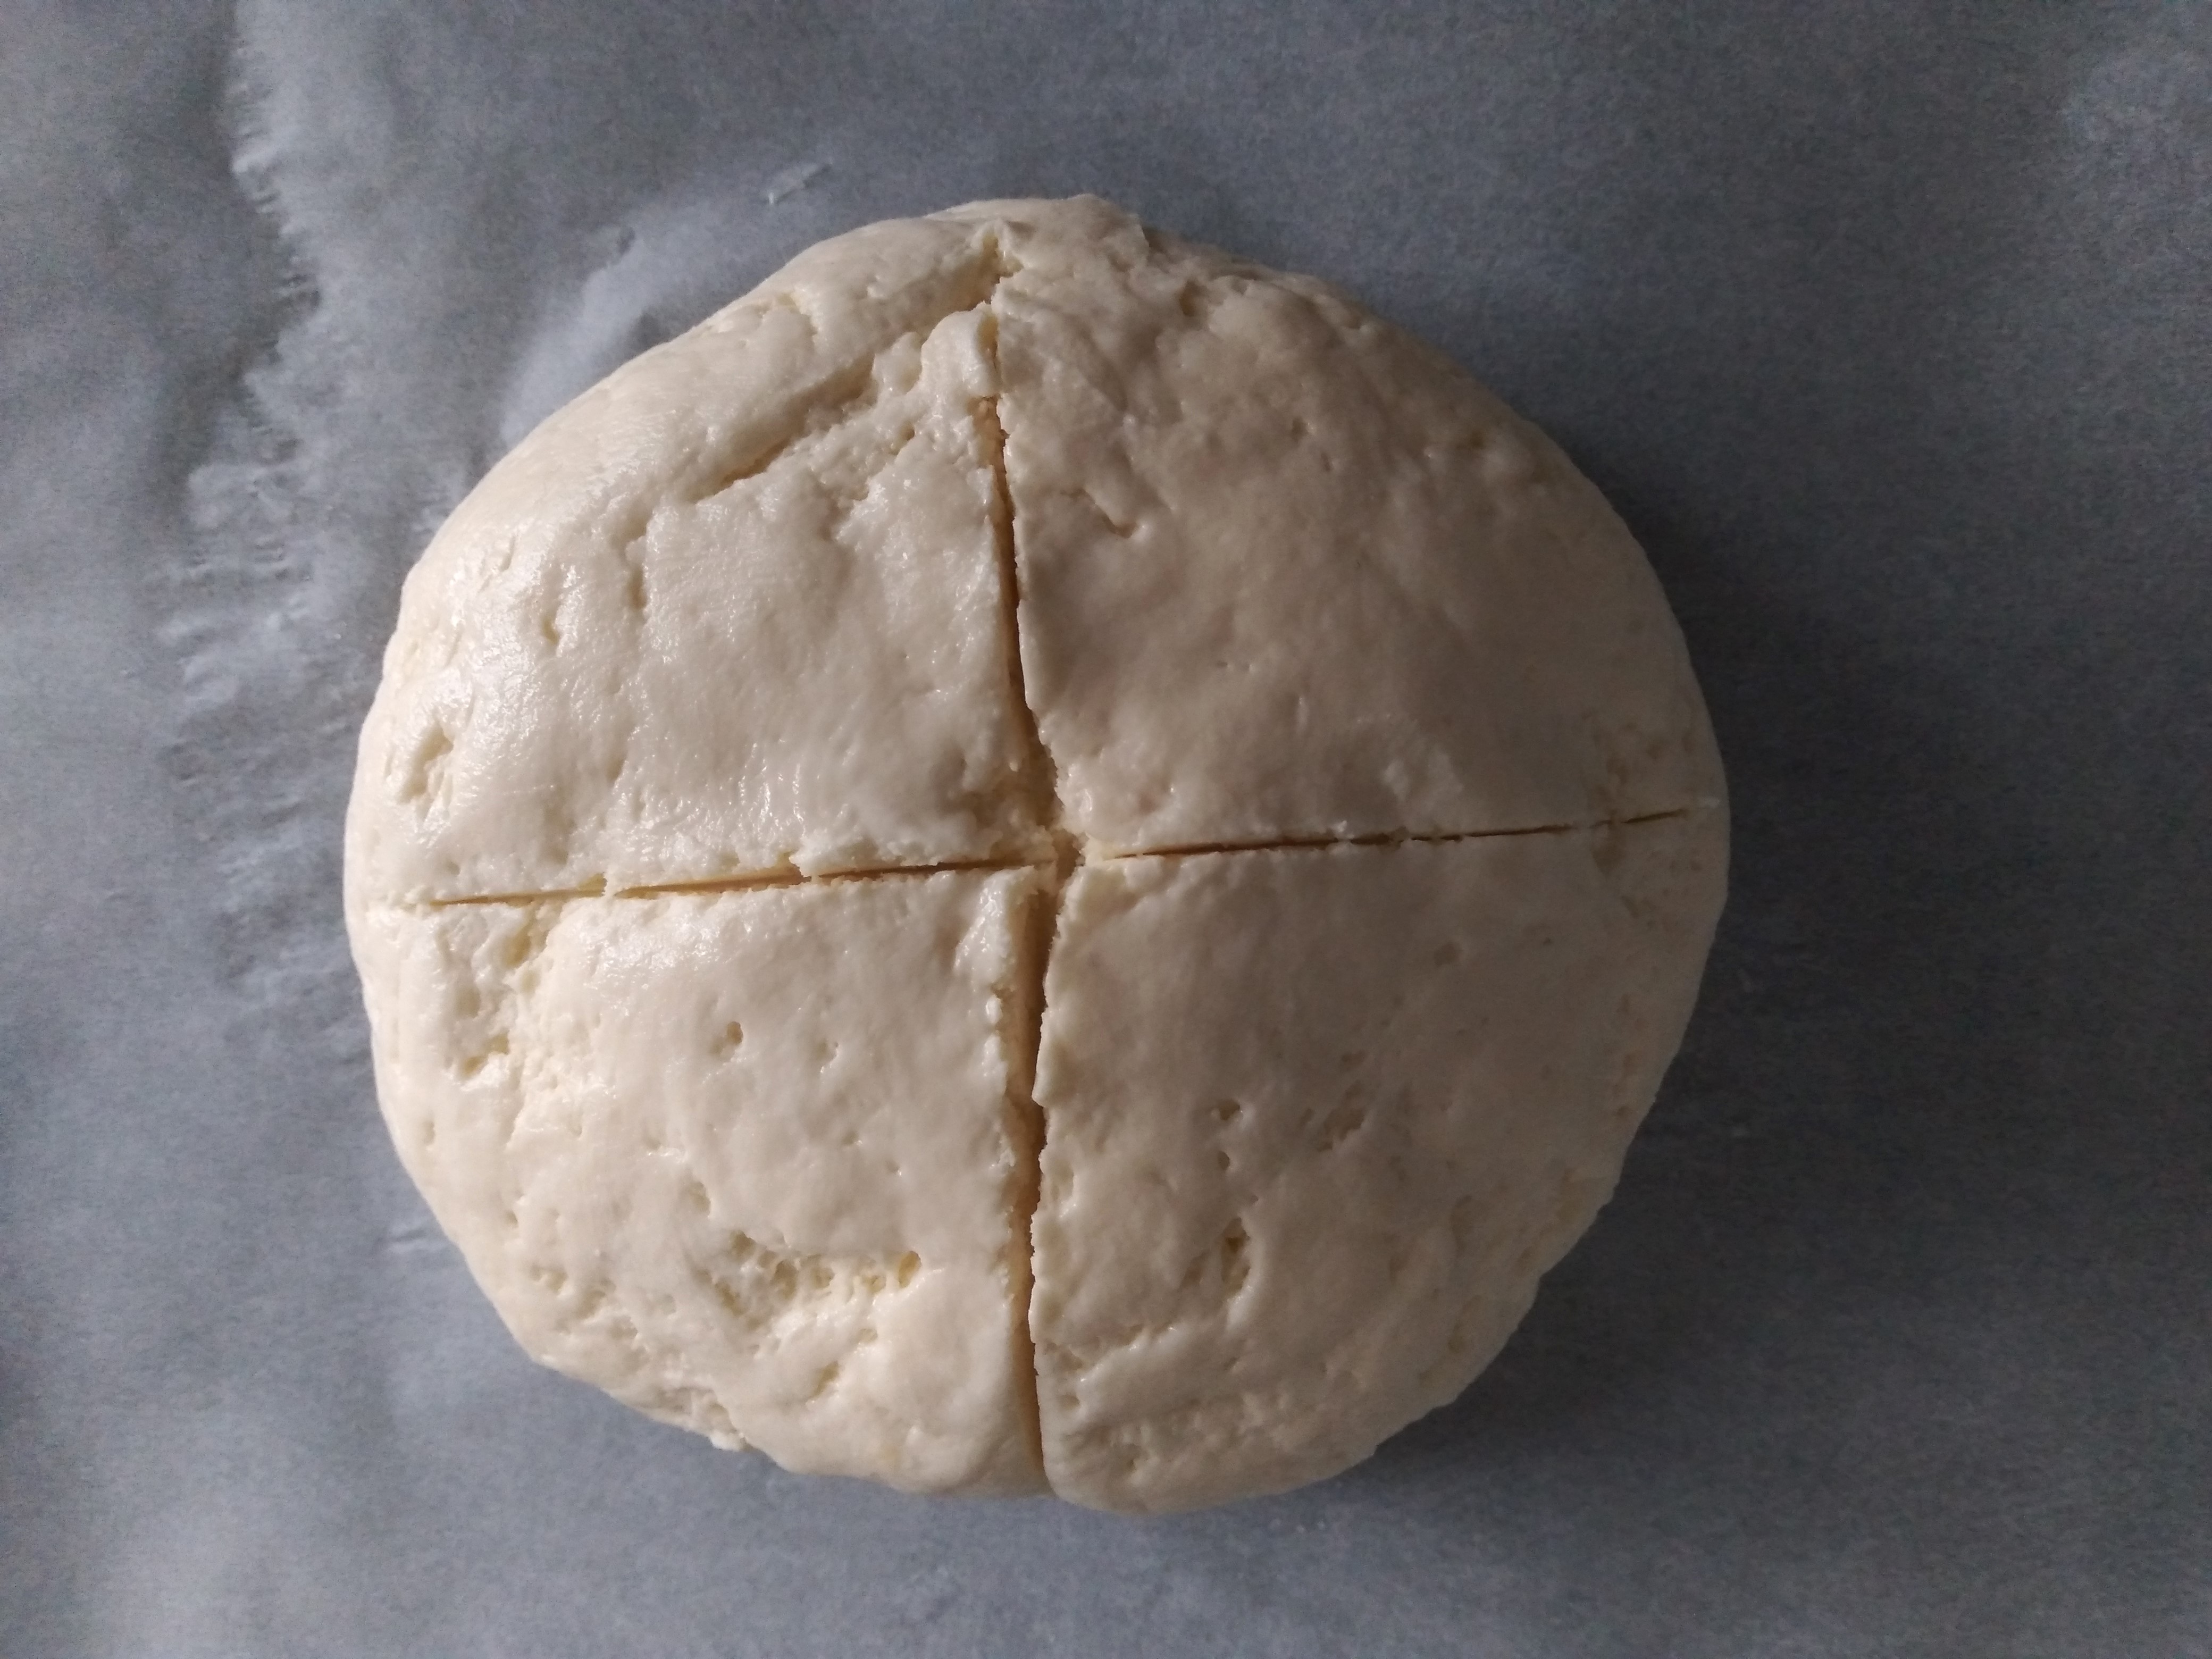
5. Tip the dough on to a lightly floured surface (or no flour, depending on how sticky your dough is!) and roughly shape into a ball. If you want to smooth the top a little, do so with slightly damp hands, but this isn’t essential. Mark a cross on the top of the ball with a knife and then place the ball of dough on the lined baking tray.

6. Place the baking tray in the middle of the pre-heated oven and bake for half an hour at 200°C fan and then turn down the temperature to 150°C for the remaining 20 minutes of baking time, or until the bread is golden brown and cooked through (one way to check for doneness is to see if there is any wet dough where the cross shape is at the top of the bread).
7. Once baked, remove the pan from the oven and leave the loaf to cool on the pan for 10 to 15 minutes.
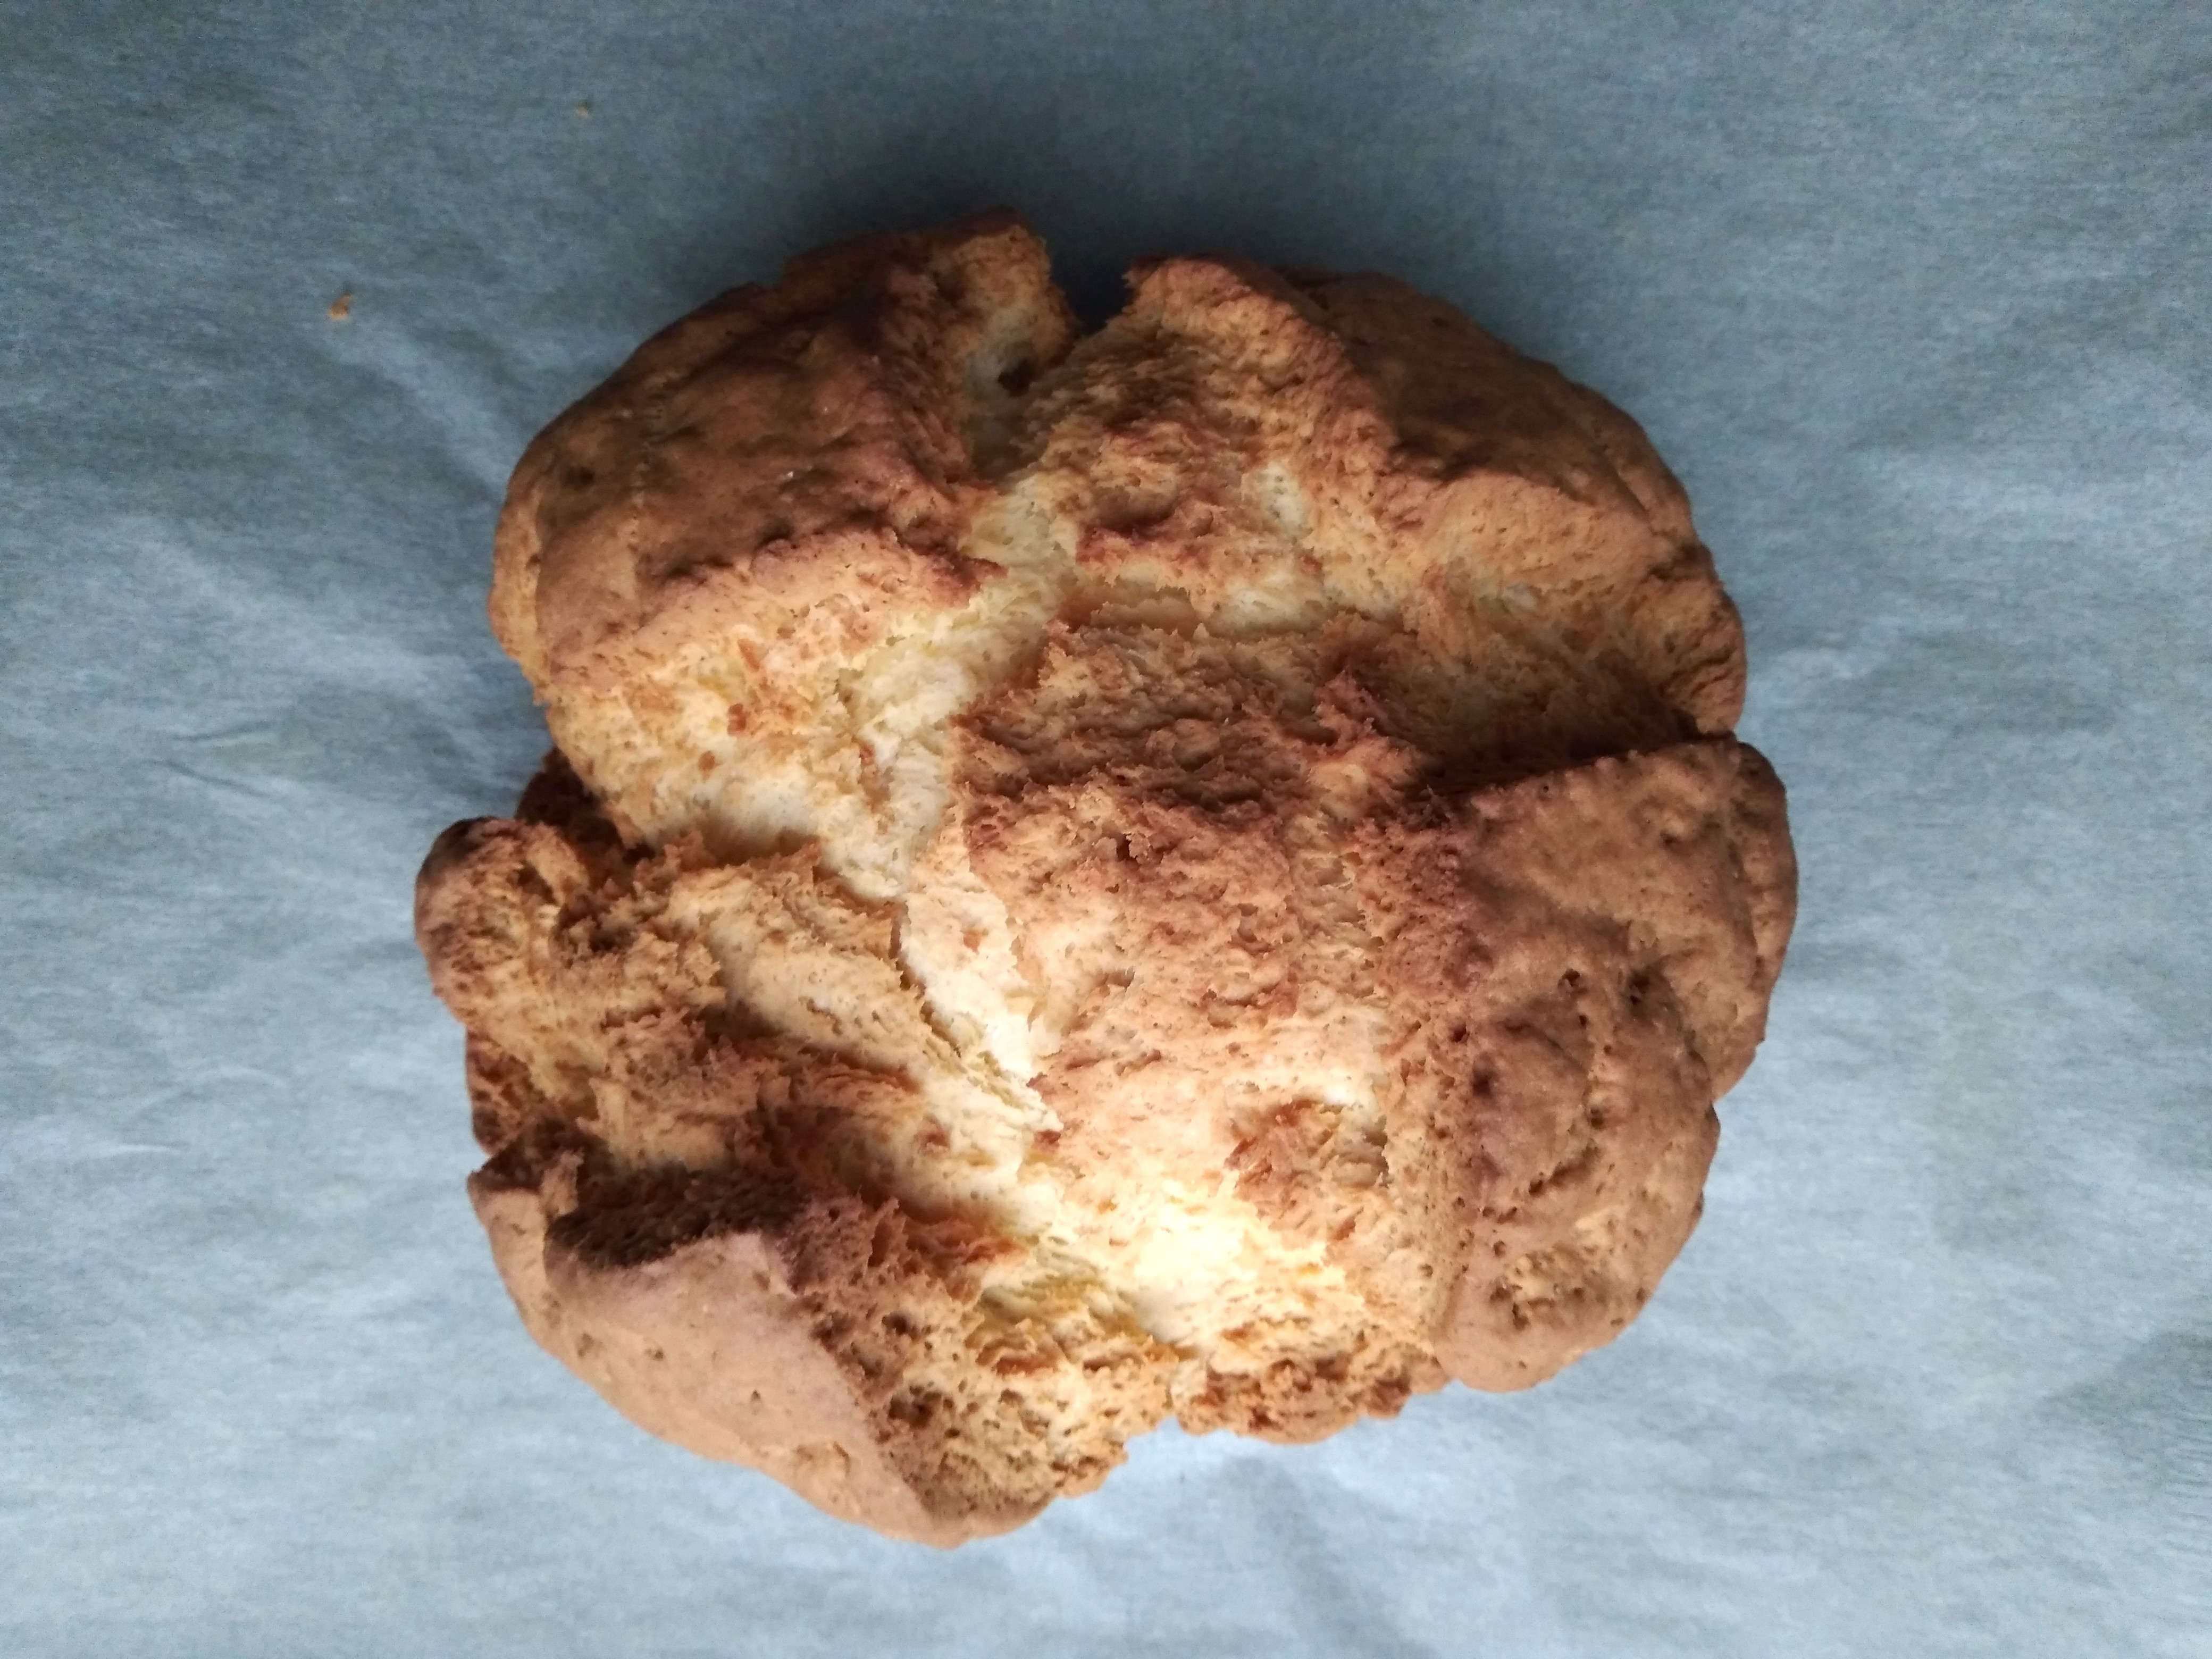
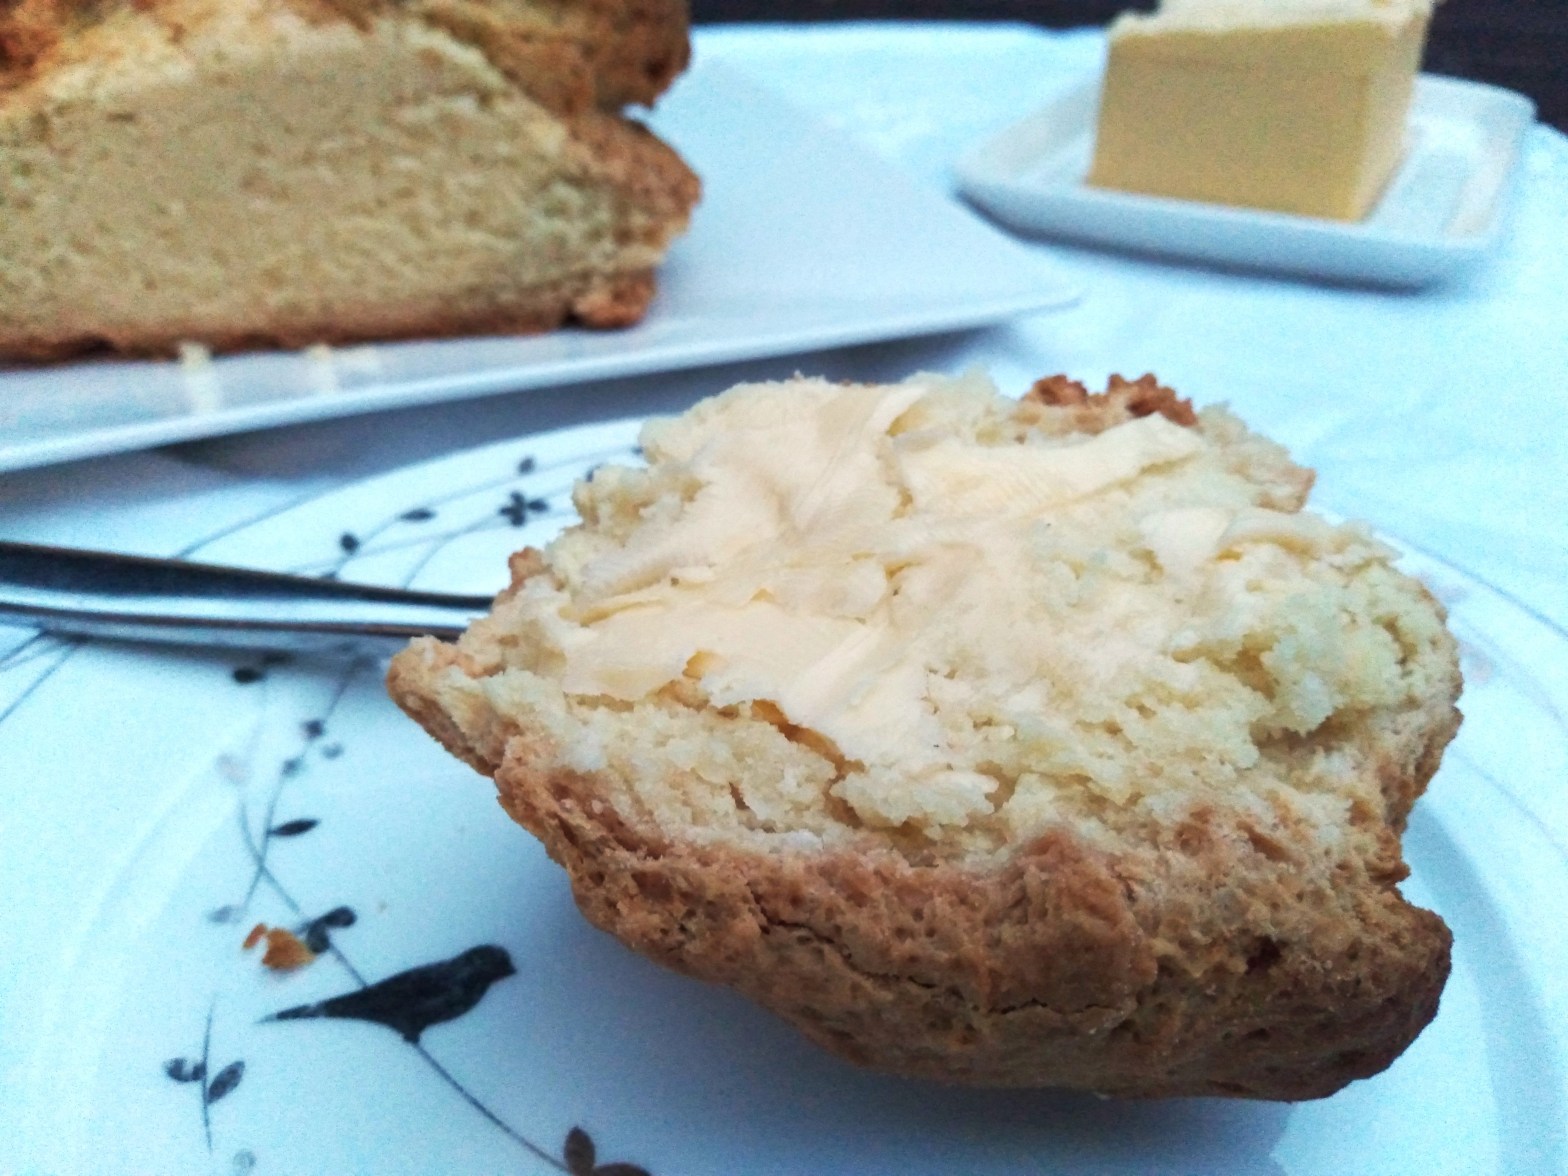
8. Carefully remove the loaf from the pan to finish cooling completely on a cooling rack, before slicing and enjoying! The bread will need to cool completely as if it hasn’t, it will be crumbly and difficult to cut. This is best eaten on the day it is made.
9. Enjoy!

