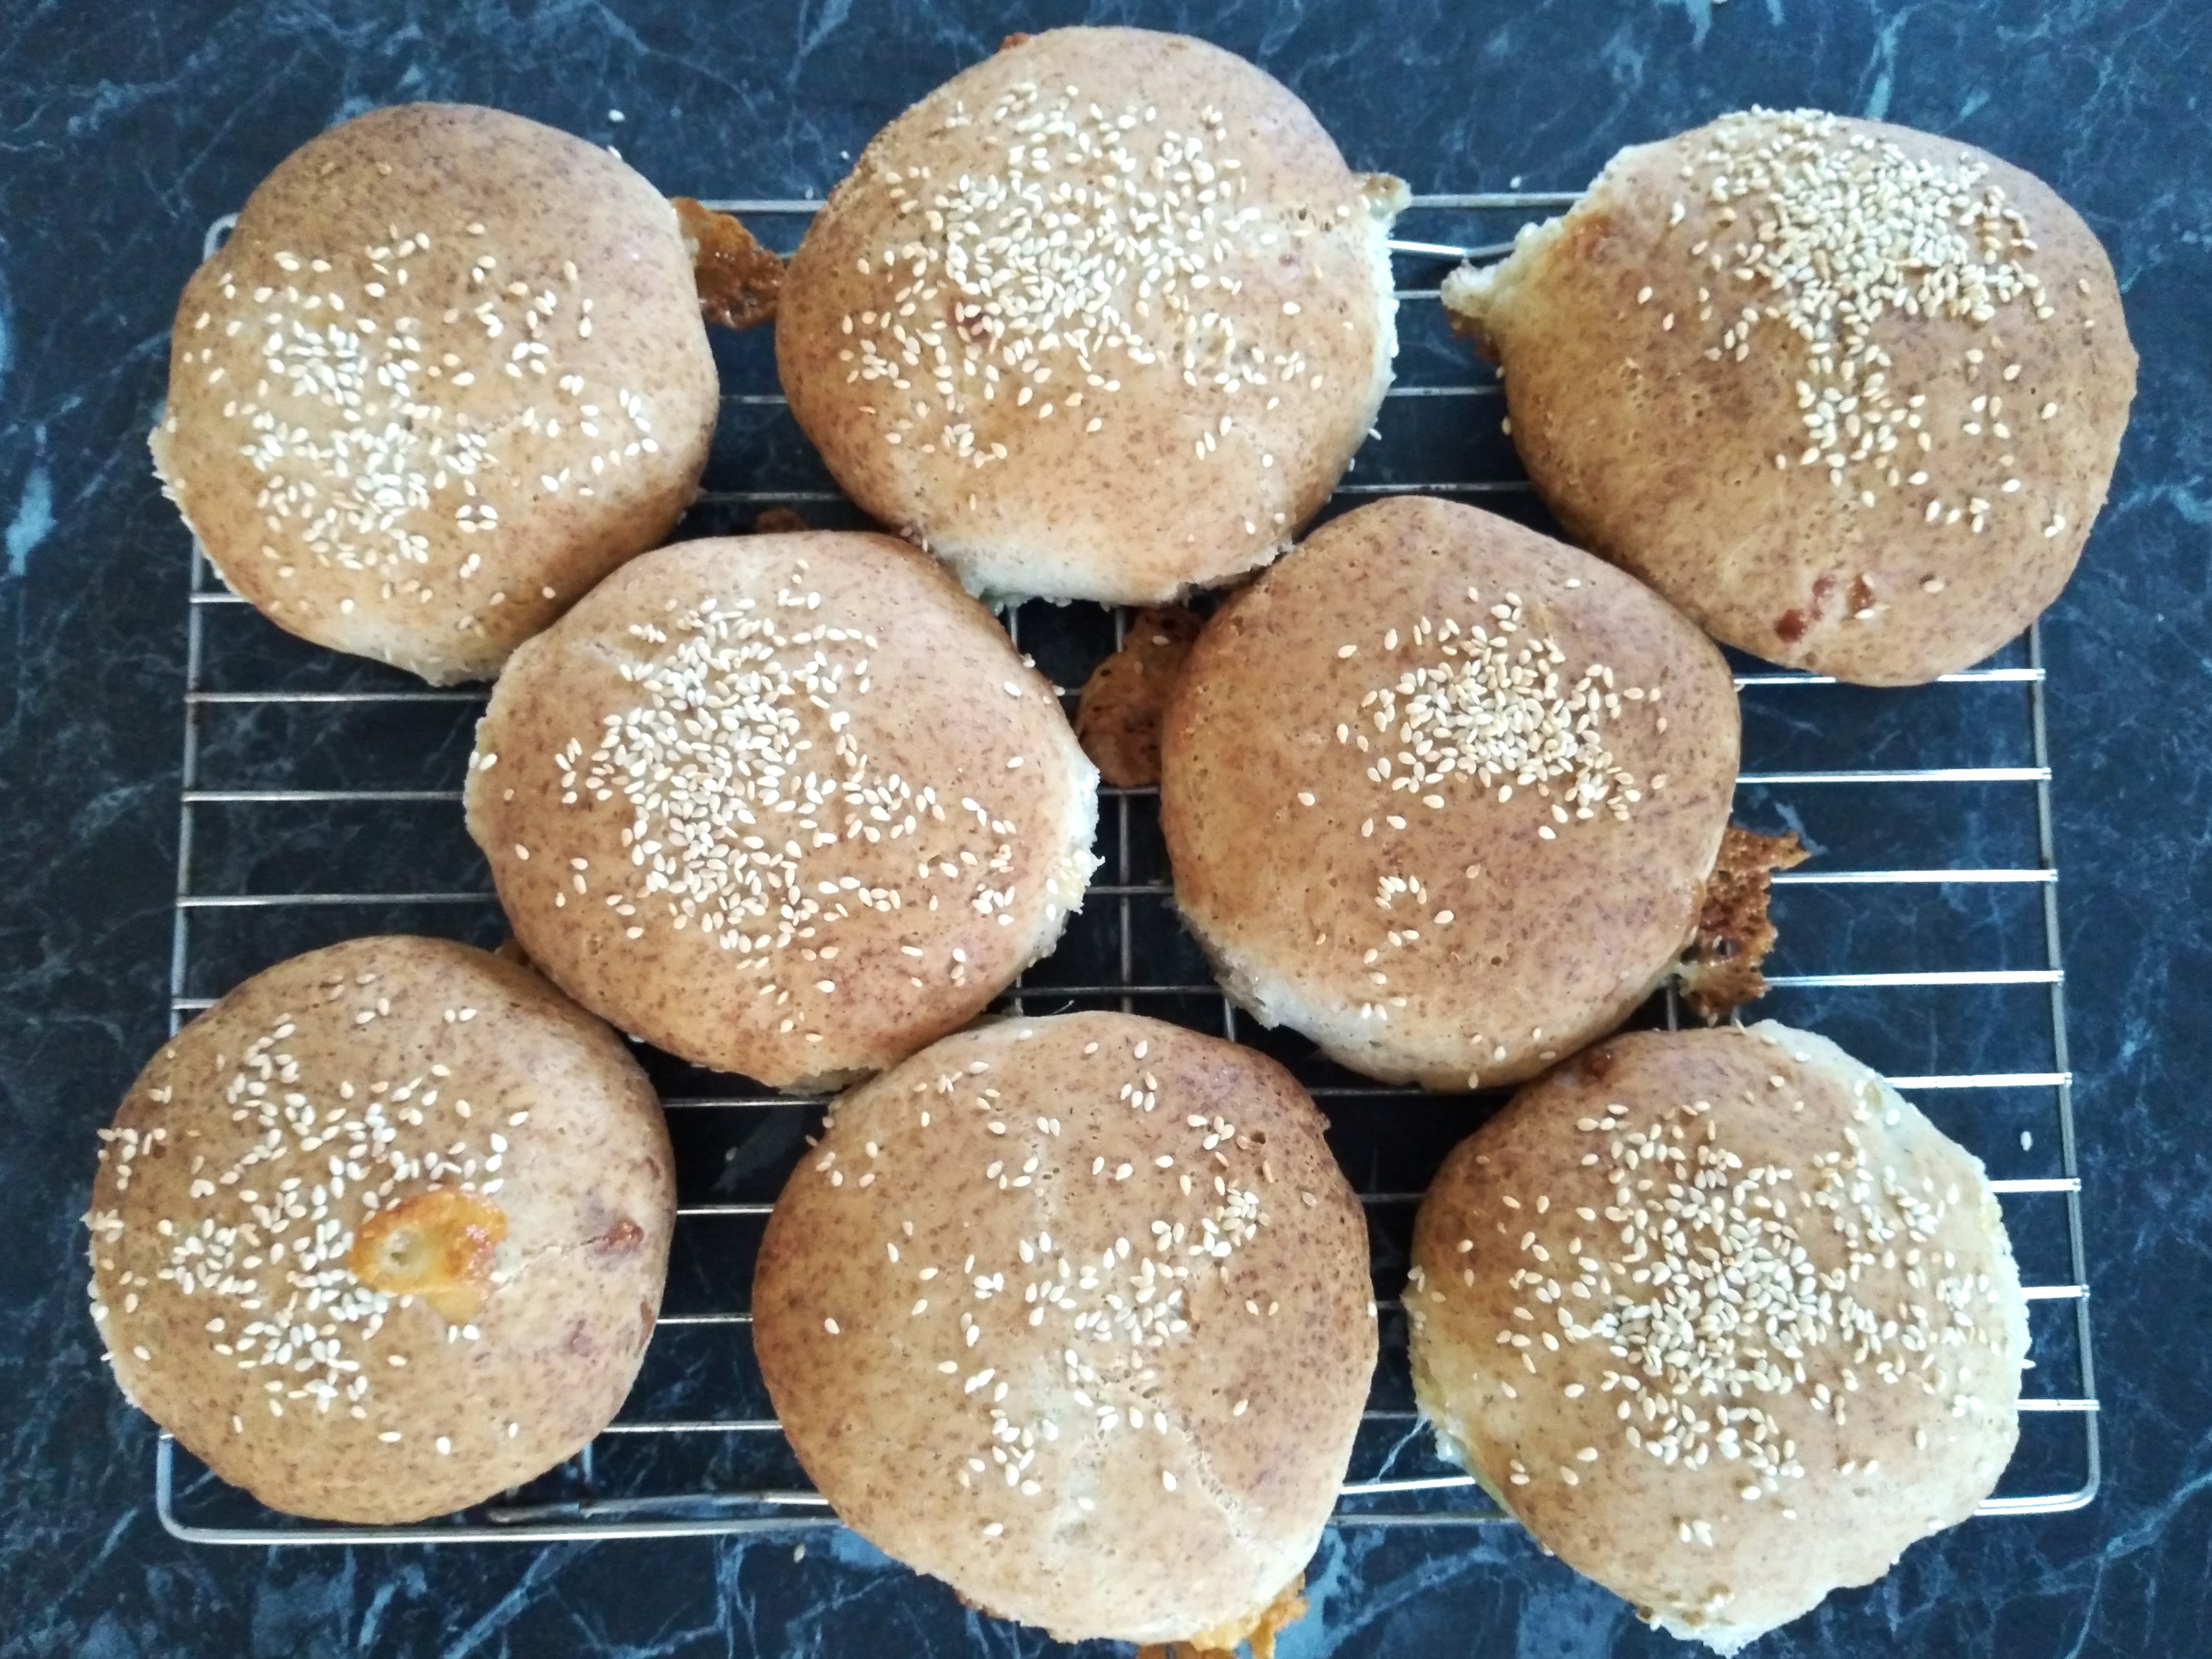
If you’re looking for gluten free lunchbox inspiration, hopefully I have something for you in this recipe! These airy buns can be stuffed with whatever you like, although I highly recommend lots of cheese is included with any other ingredients! Although these taste best served warm from the oven, they can be wrapped once cool and saved to eat within a few hours of being taken out of the oven. If you want them much later than that, I recommend freezing them and reheating in the oven or microwave just prior to eating. This recipe makes 8 buns and the cup measurements are based on a 250 ml cup as equal to 1 cup. I recommend using the scoop and level method when measuring by cups (scoop the ingredient into the cup measure and then level it off with the back of a knife) as this is more accurate than dipping the cup measure straight into the ingredient.
What you need:
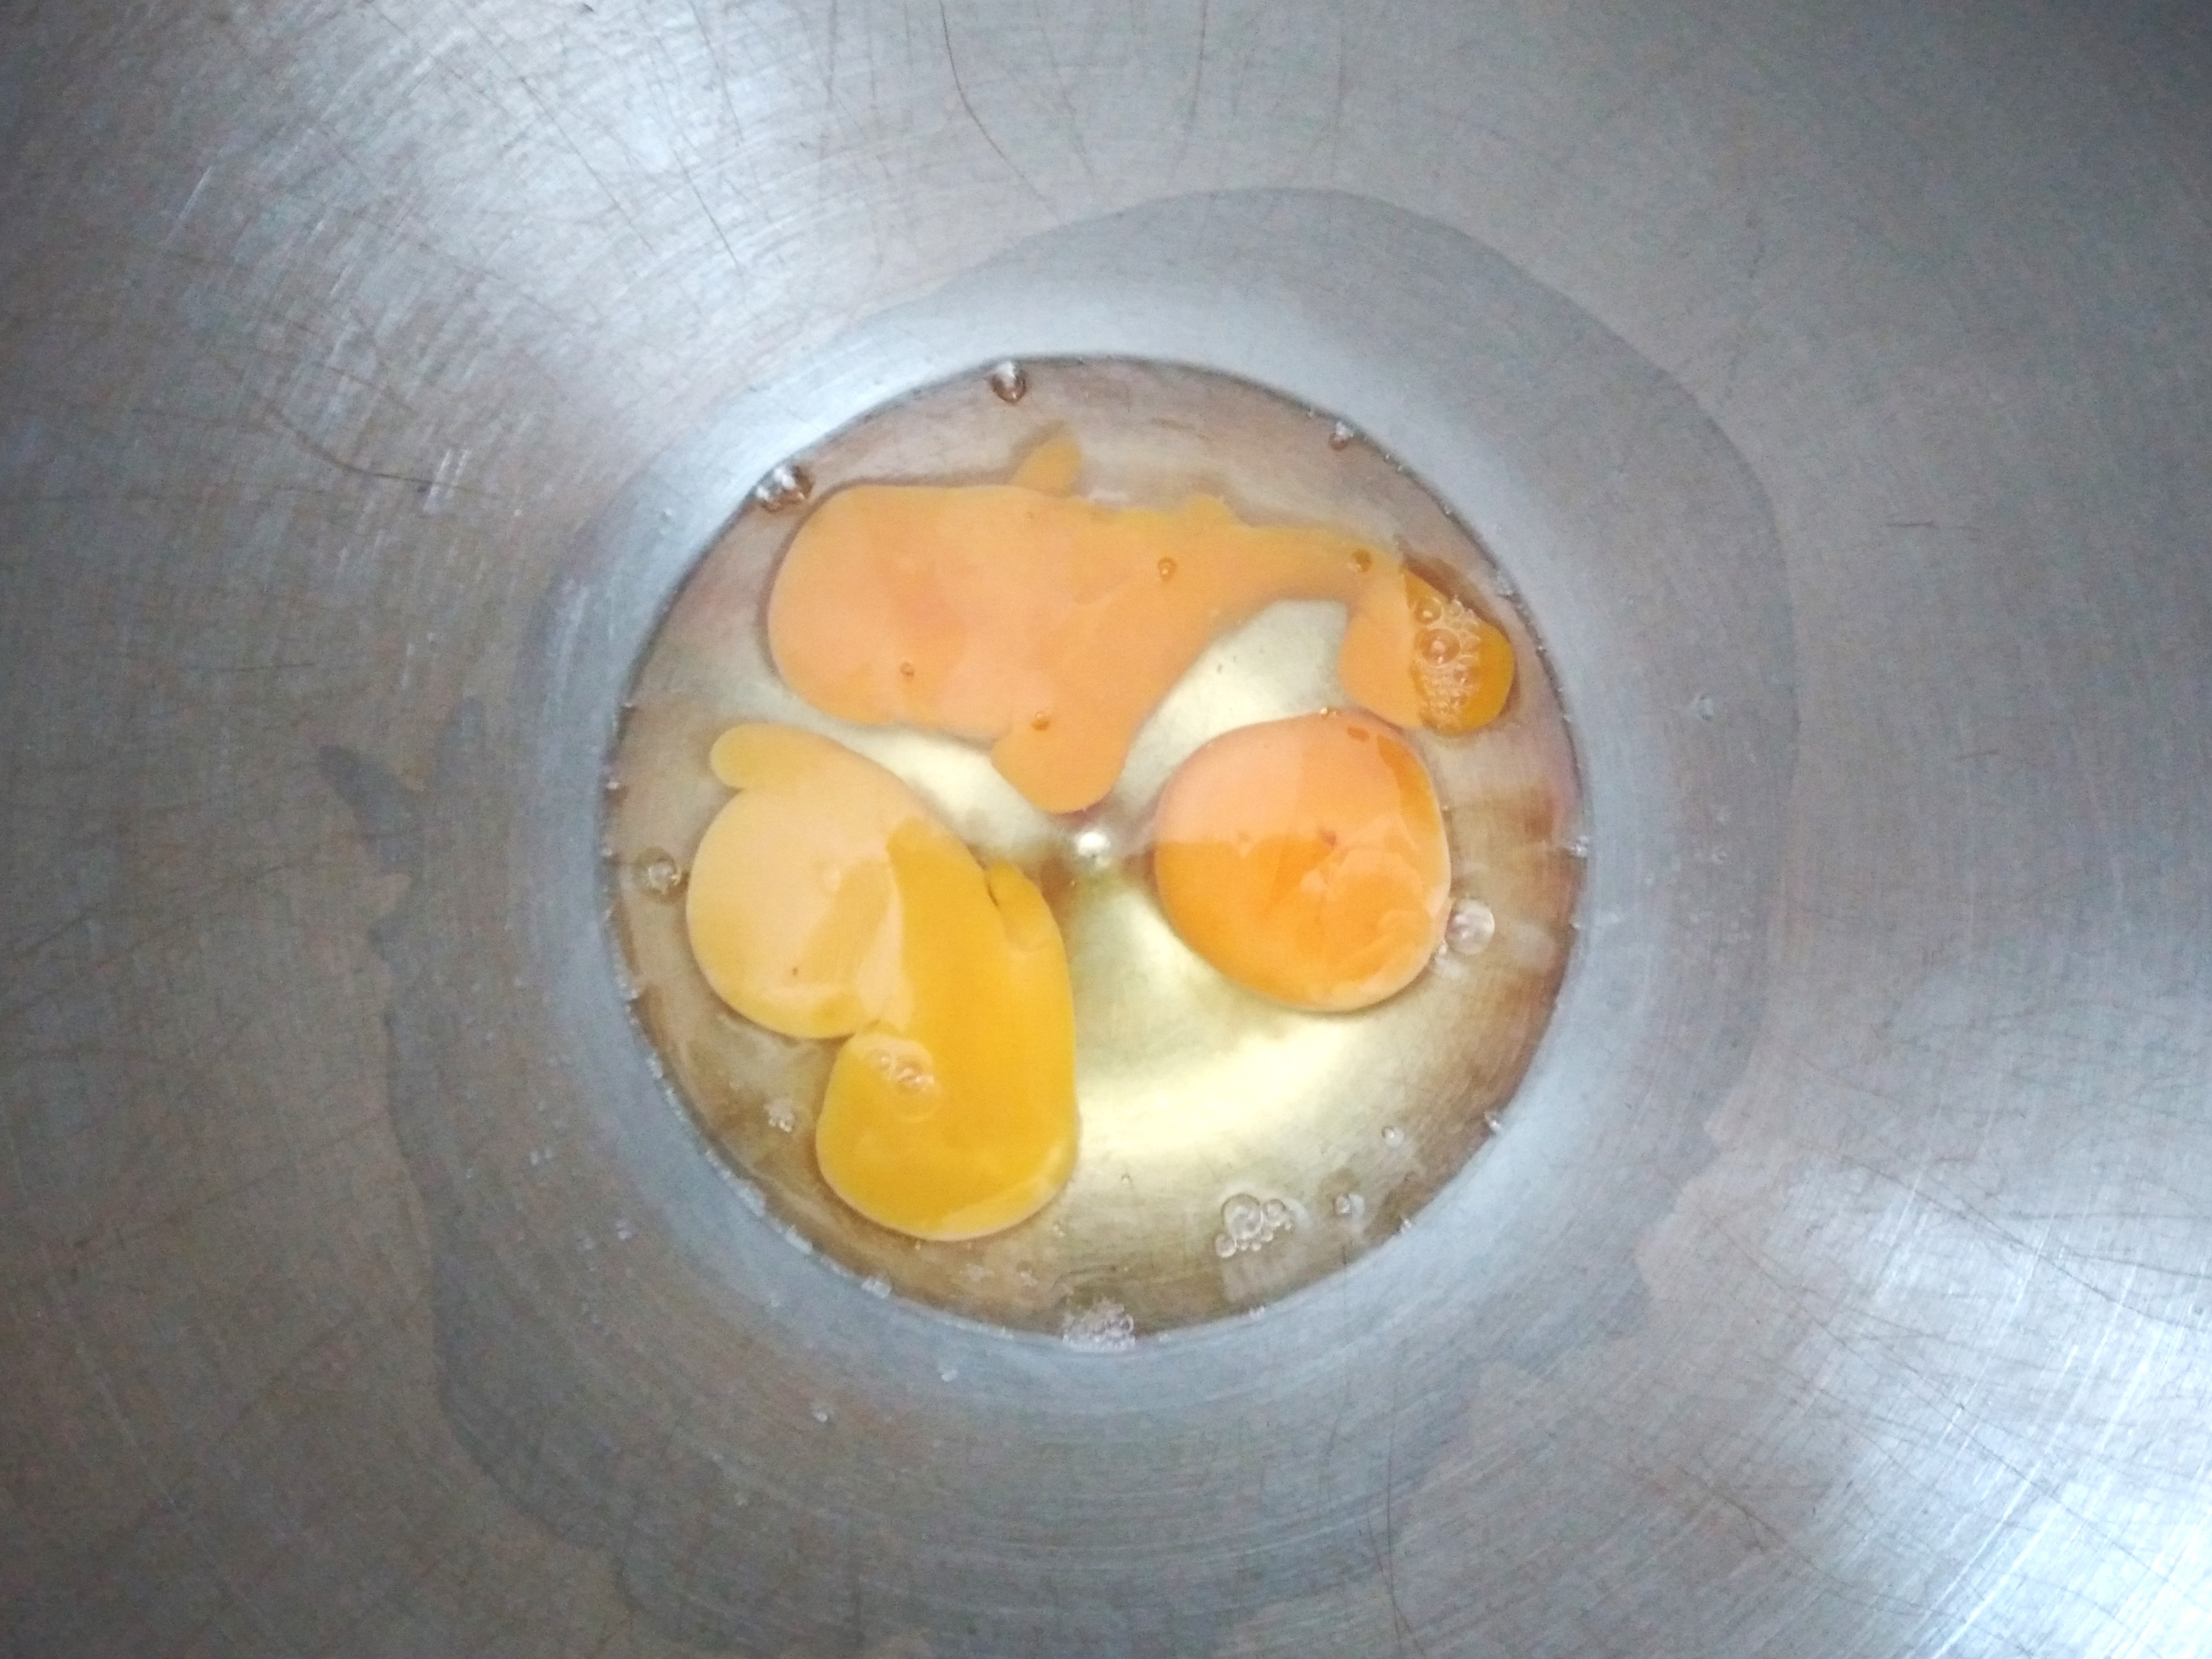
3 eggs
1 cup of white rice flour, plus extra for flouring while shaping the buns
1 ¼ cups of tapioca starch
¾ cup of potato starch
5 tablespoons of psyllium husk
2 teaspoons of instant dry yeast (if using other yeast, activate first with the sugar and some of the water listed below and then add all the other bun ingredients to the bowl with the activated yeast)
1 dessertspoon of sugar
1 teaspoon of salt
1 tablespoon of baking powder (ensure gluten free)
1/3 cup of neutral oil (I prefer sunflower oil or mild olive oil)
1 cup of lukewarm water
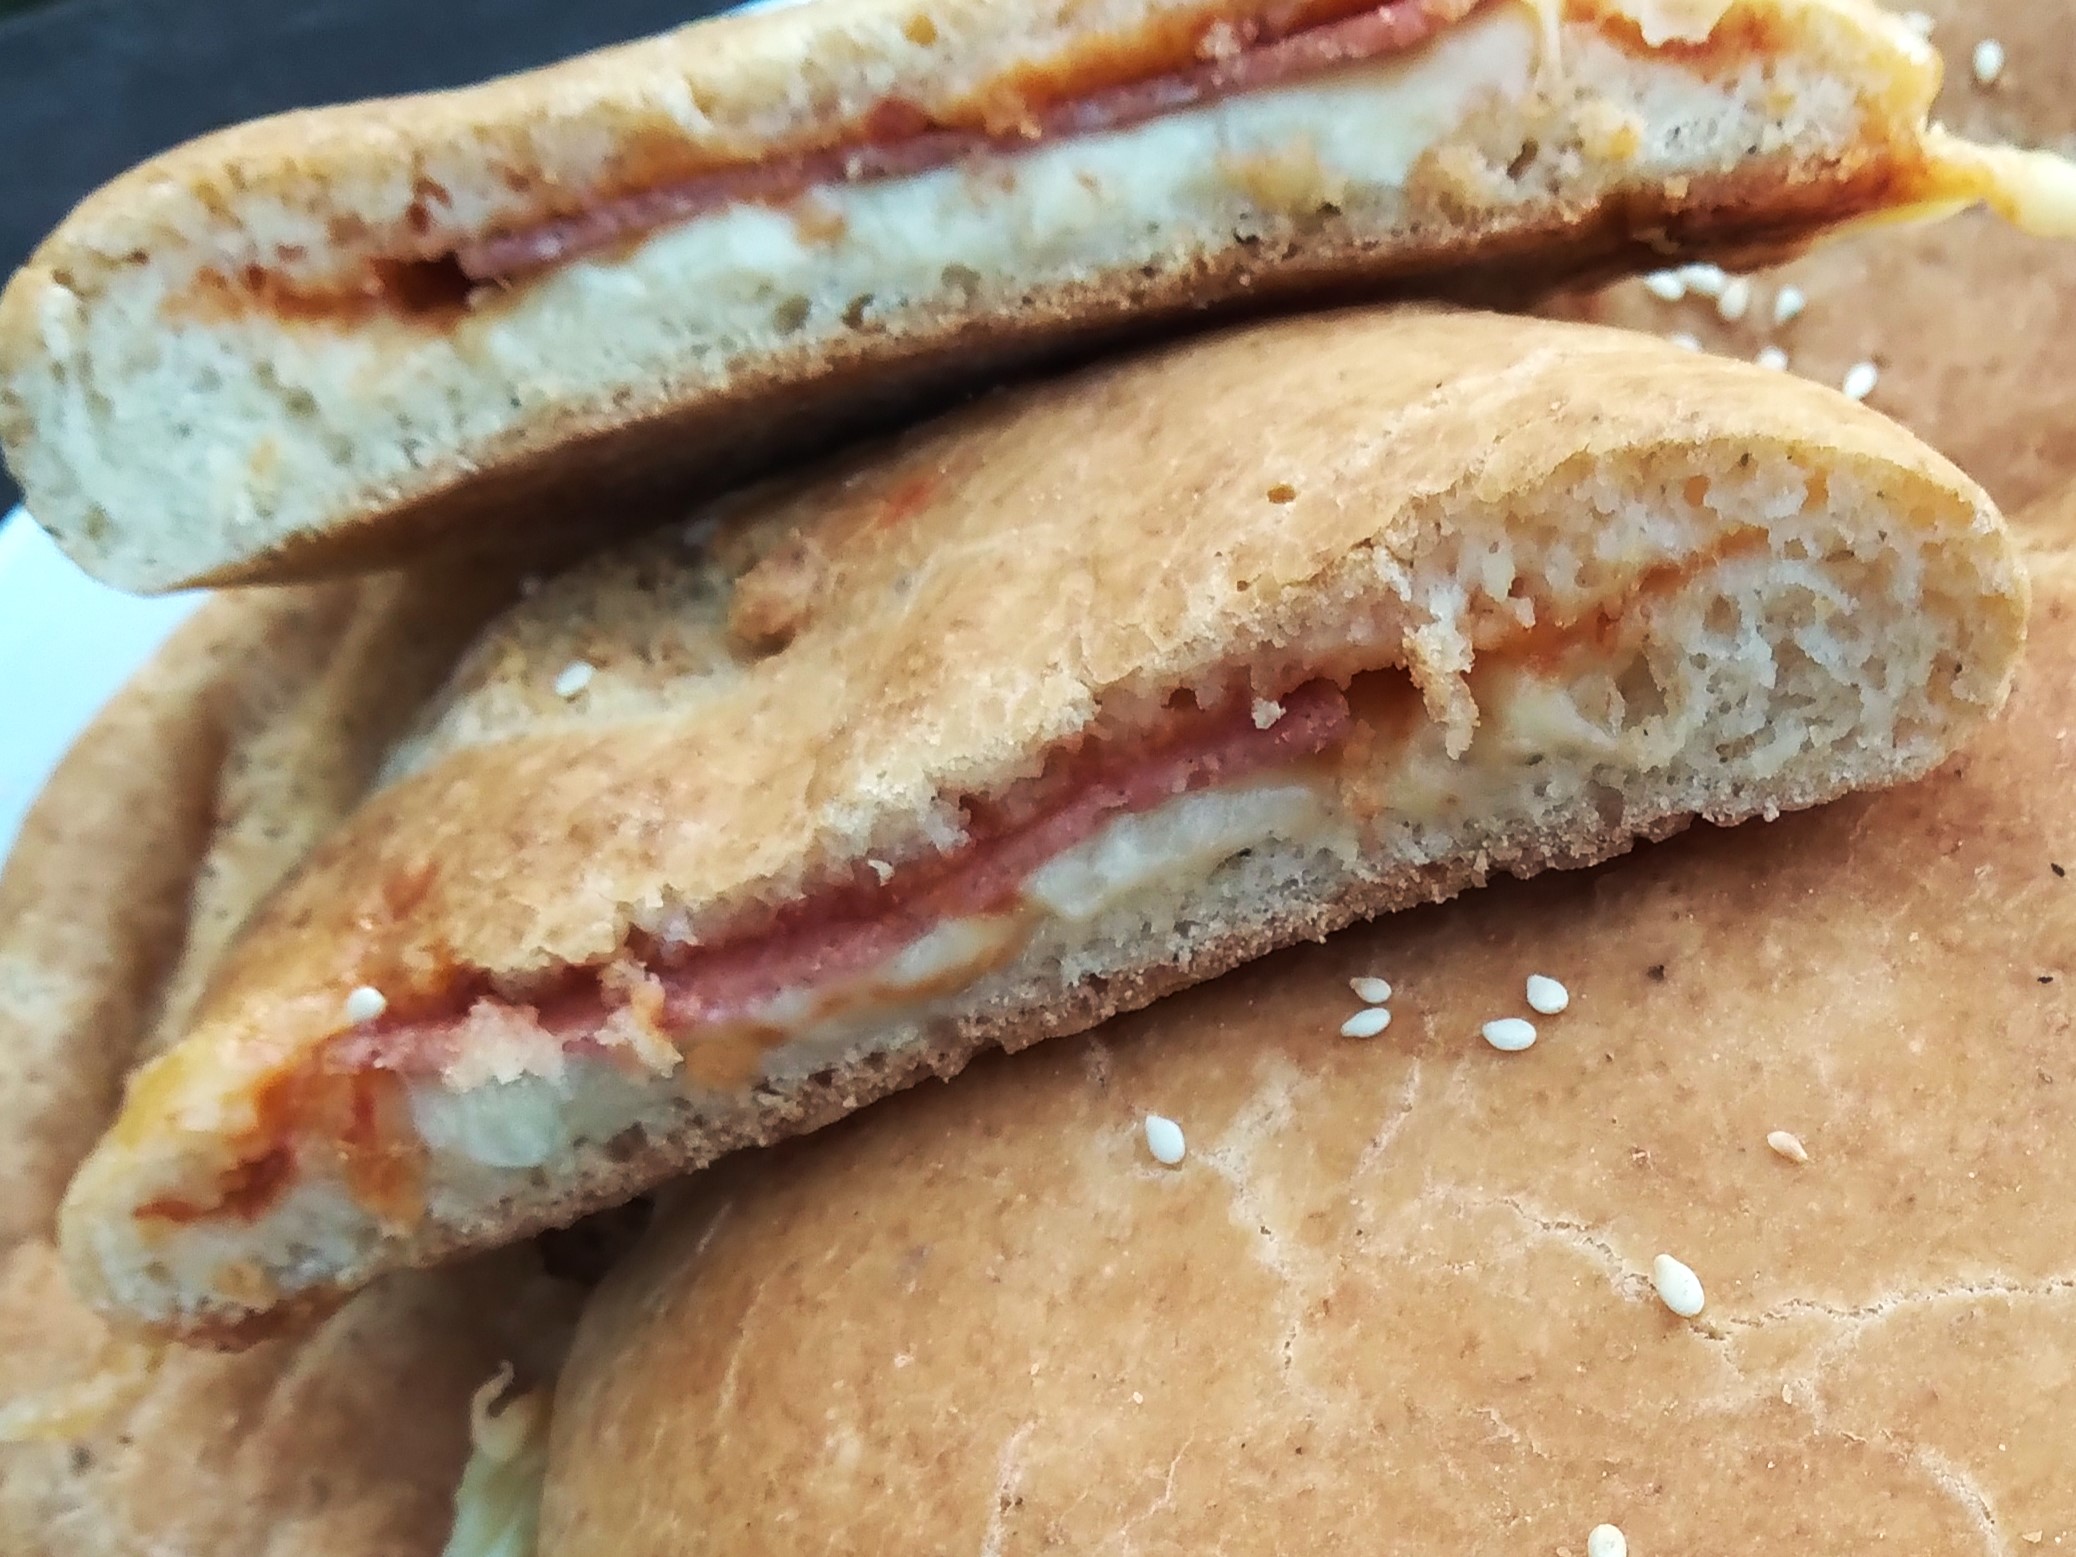
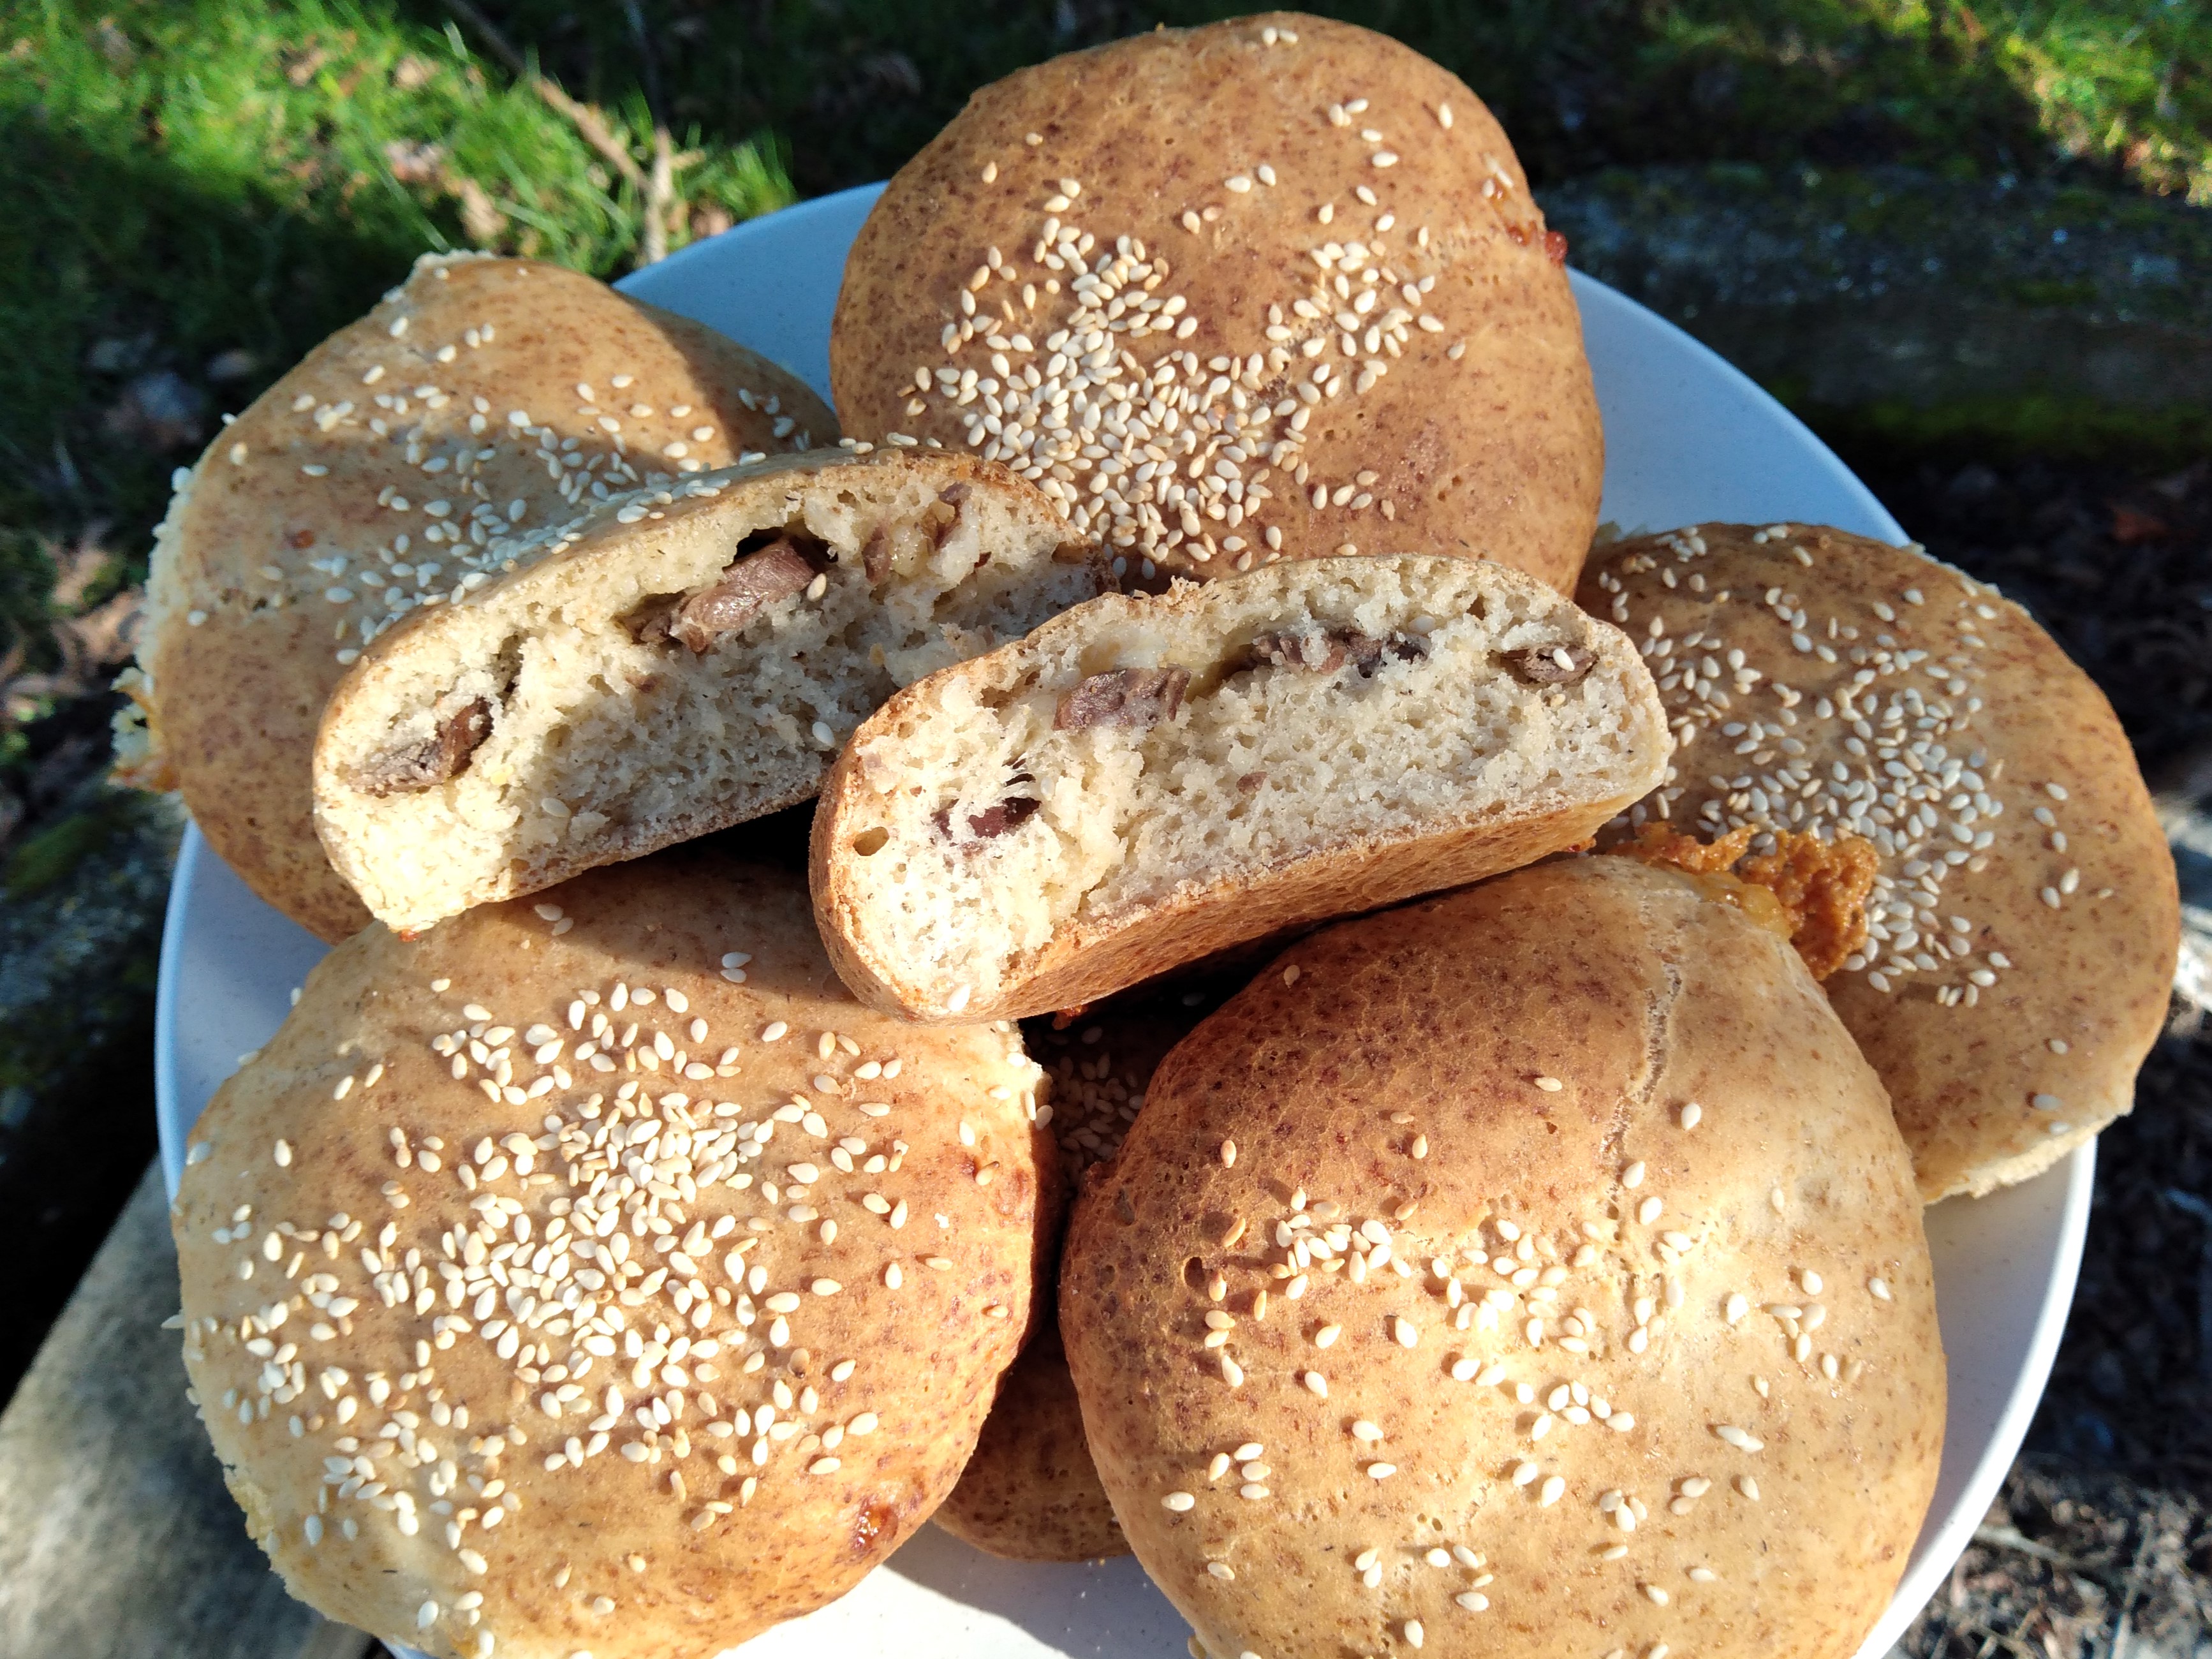
Filling ingredients as preferred (for example, pasta sauce, salami or pepperoni slices and mozzarella, steak and cheese, spinach and feta, roasted vegetables and cheese; for savoury buns, I recommend using at least 1 to 1 ½ cups of grated mozzarella and/or hard cheese such as Cheddar, Edam or Colby for lots of cheesy goodness)
About 3 tablespoons of milk
Seeds for topping each bun, if desired (for example, sesame seeds, poppy seeds, etc)
What to do:
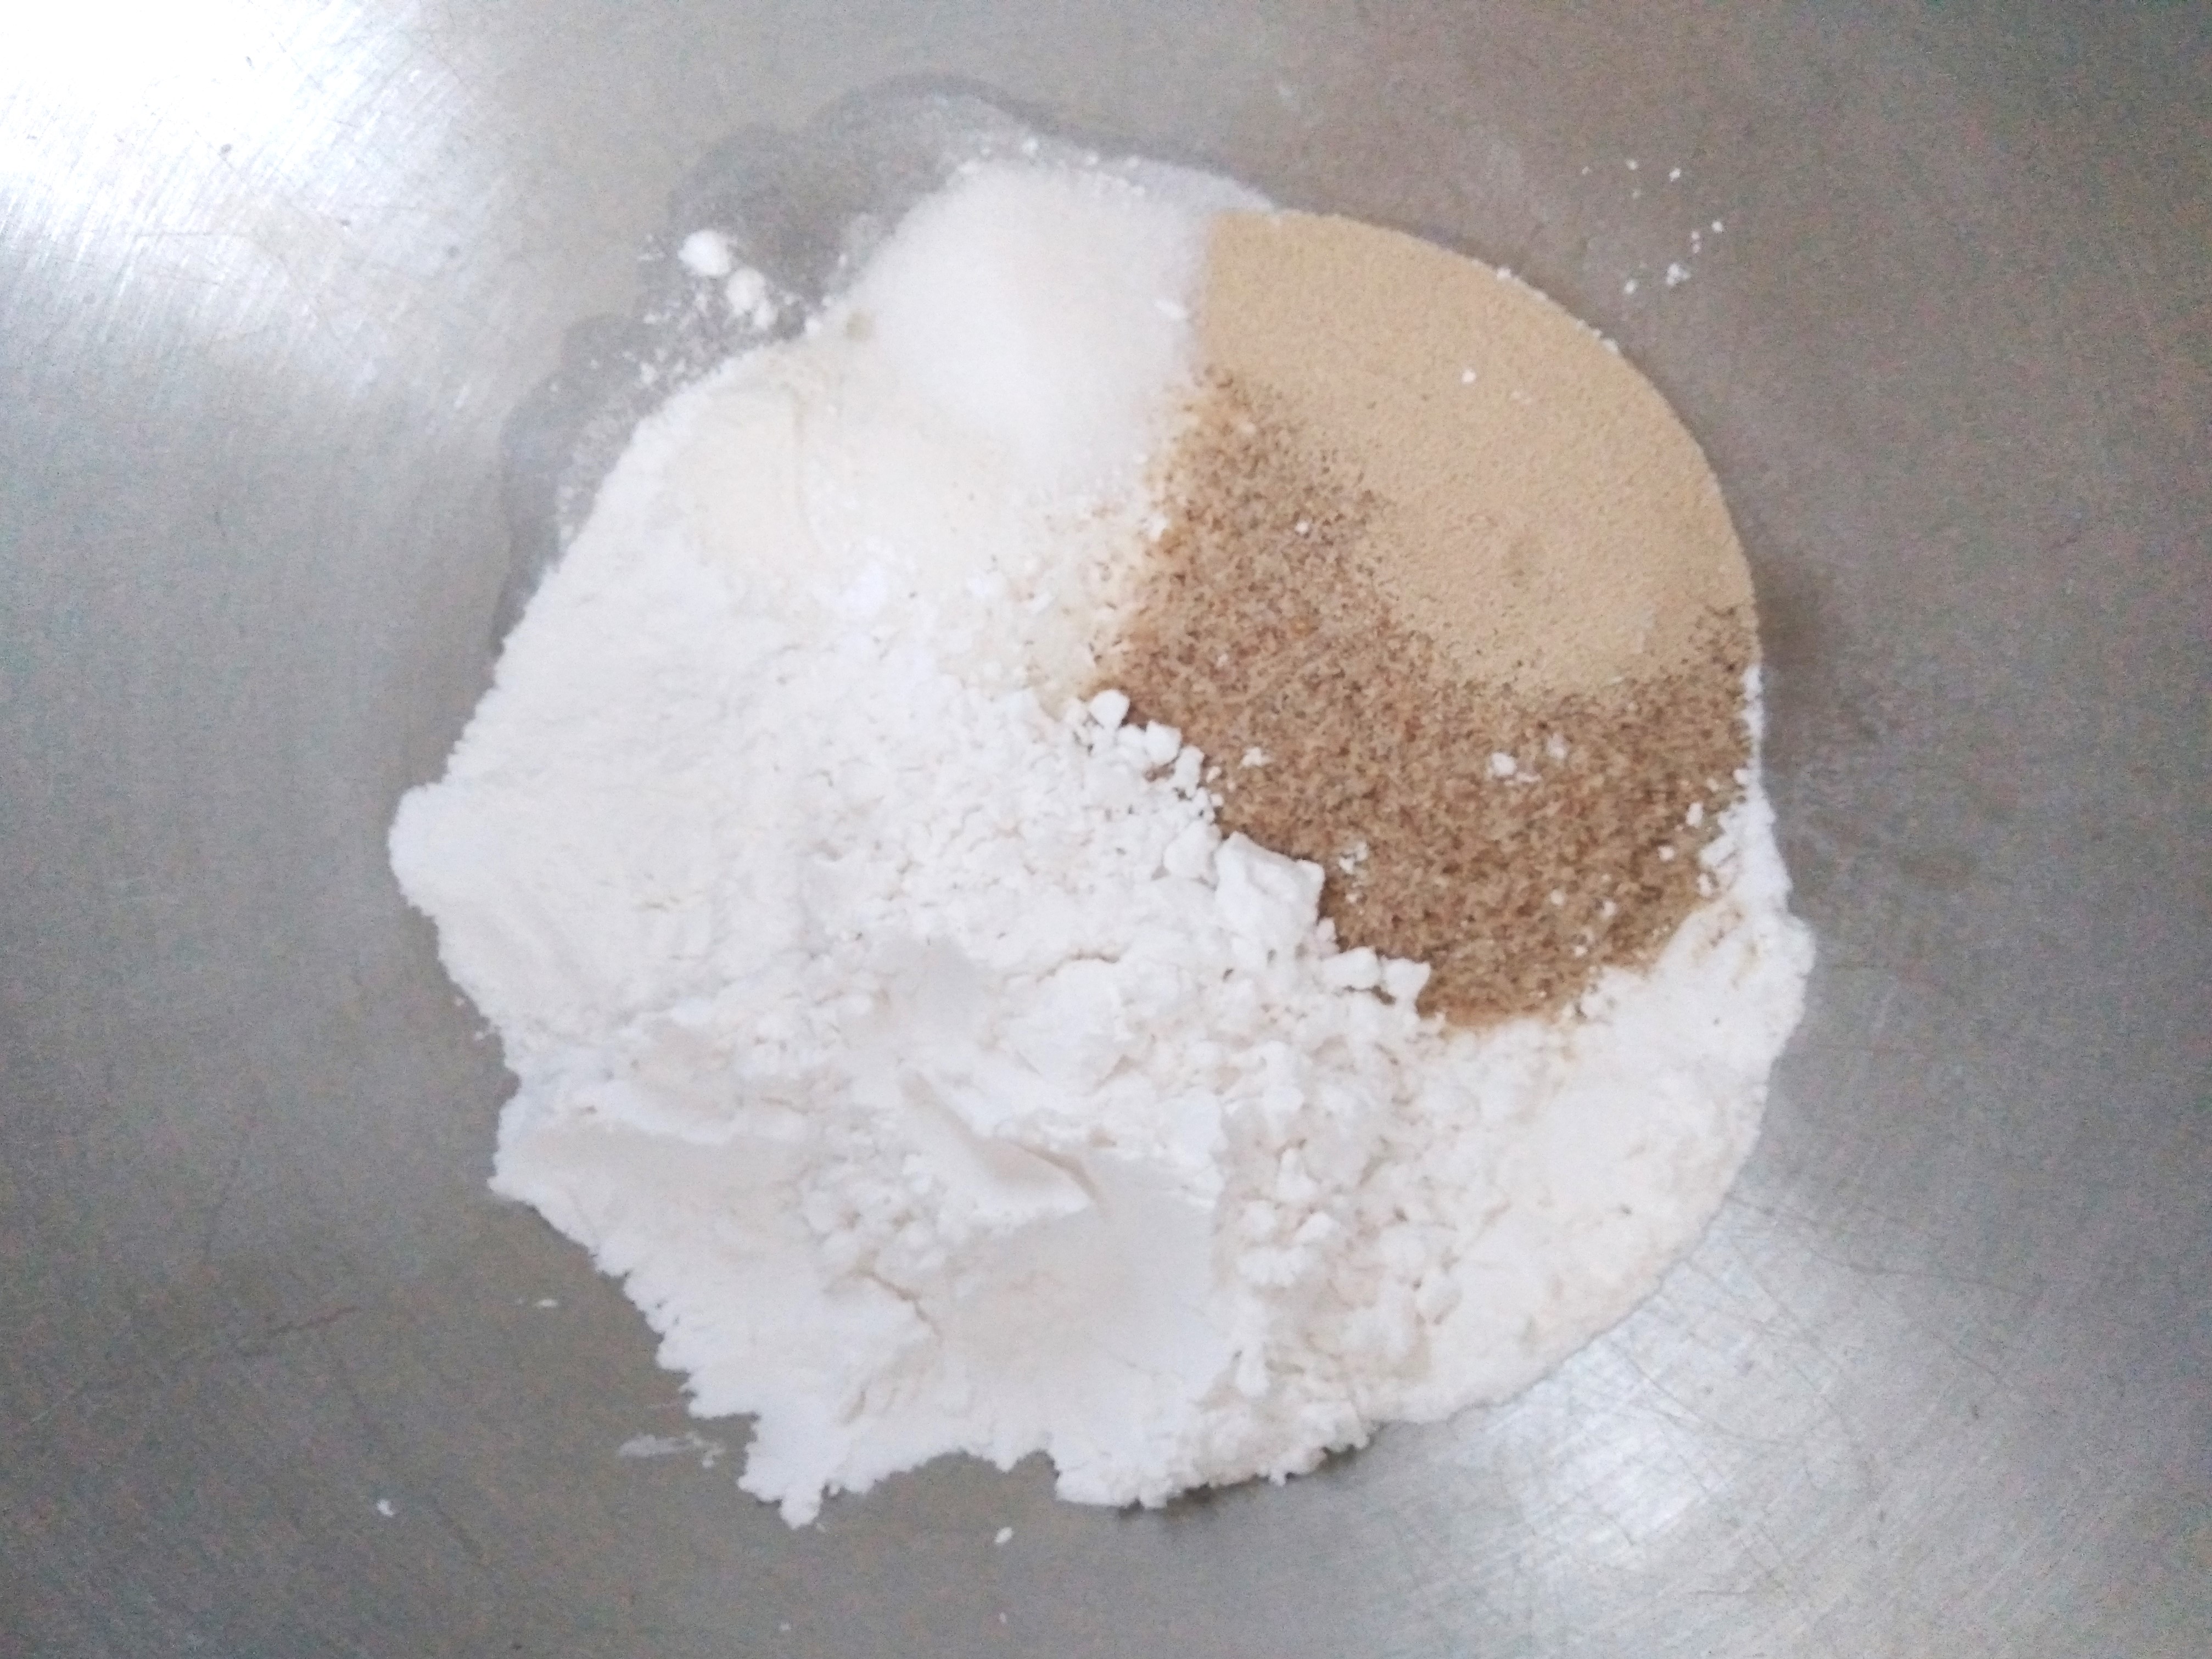
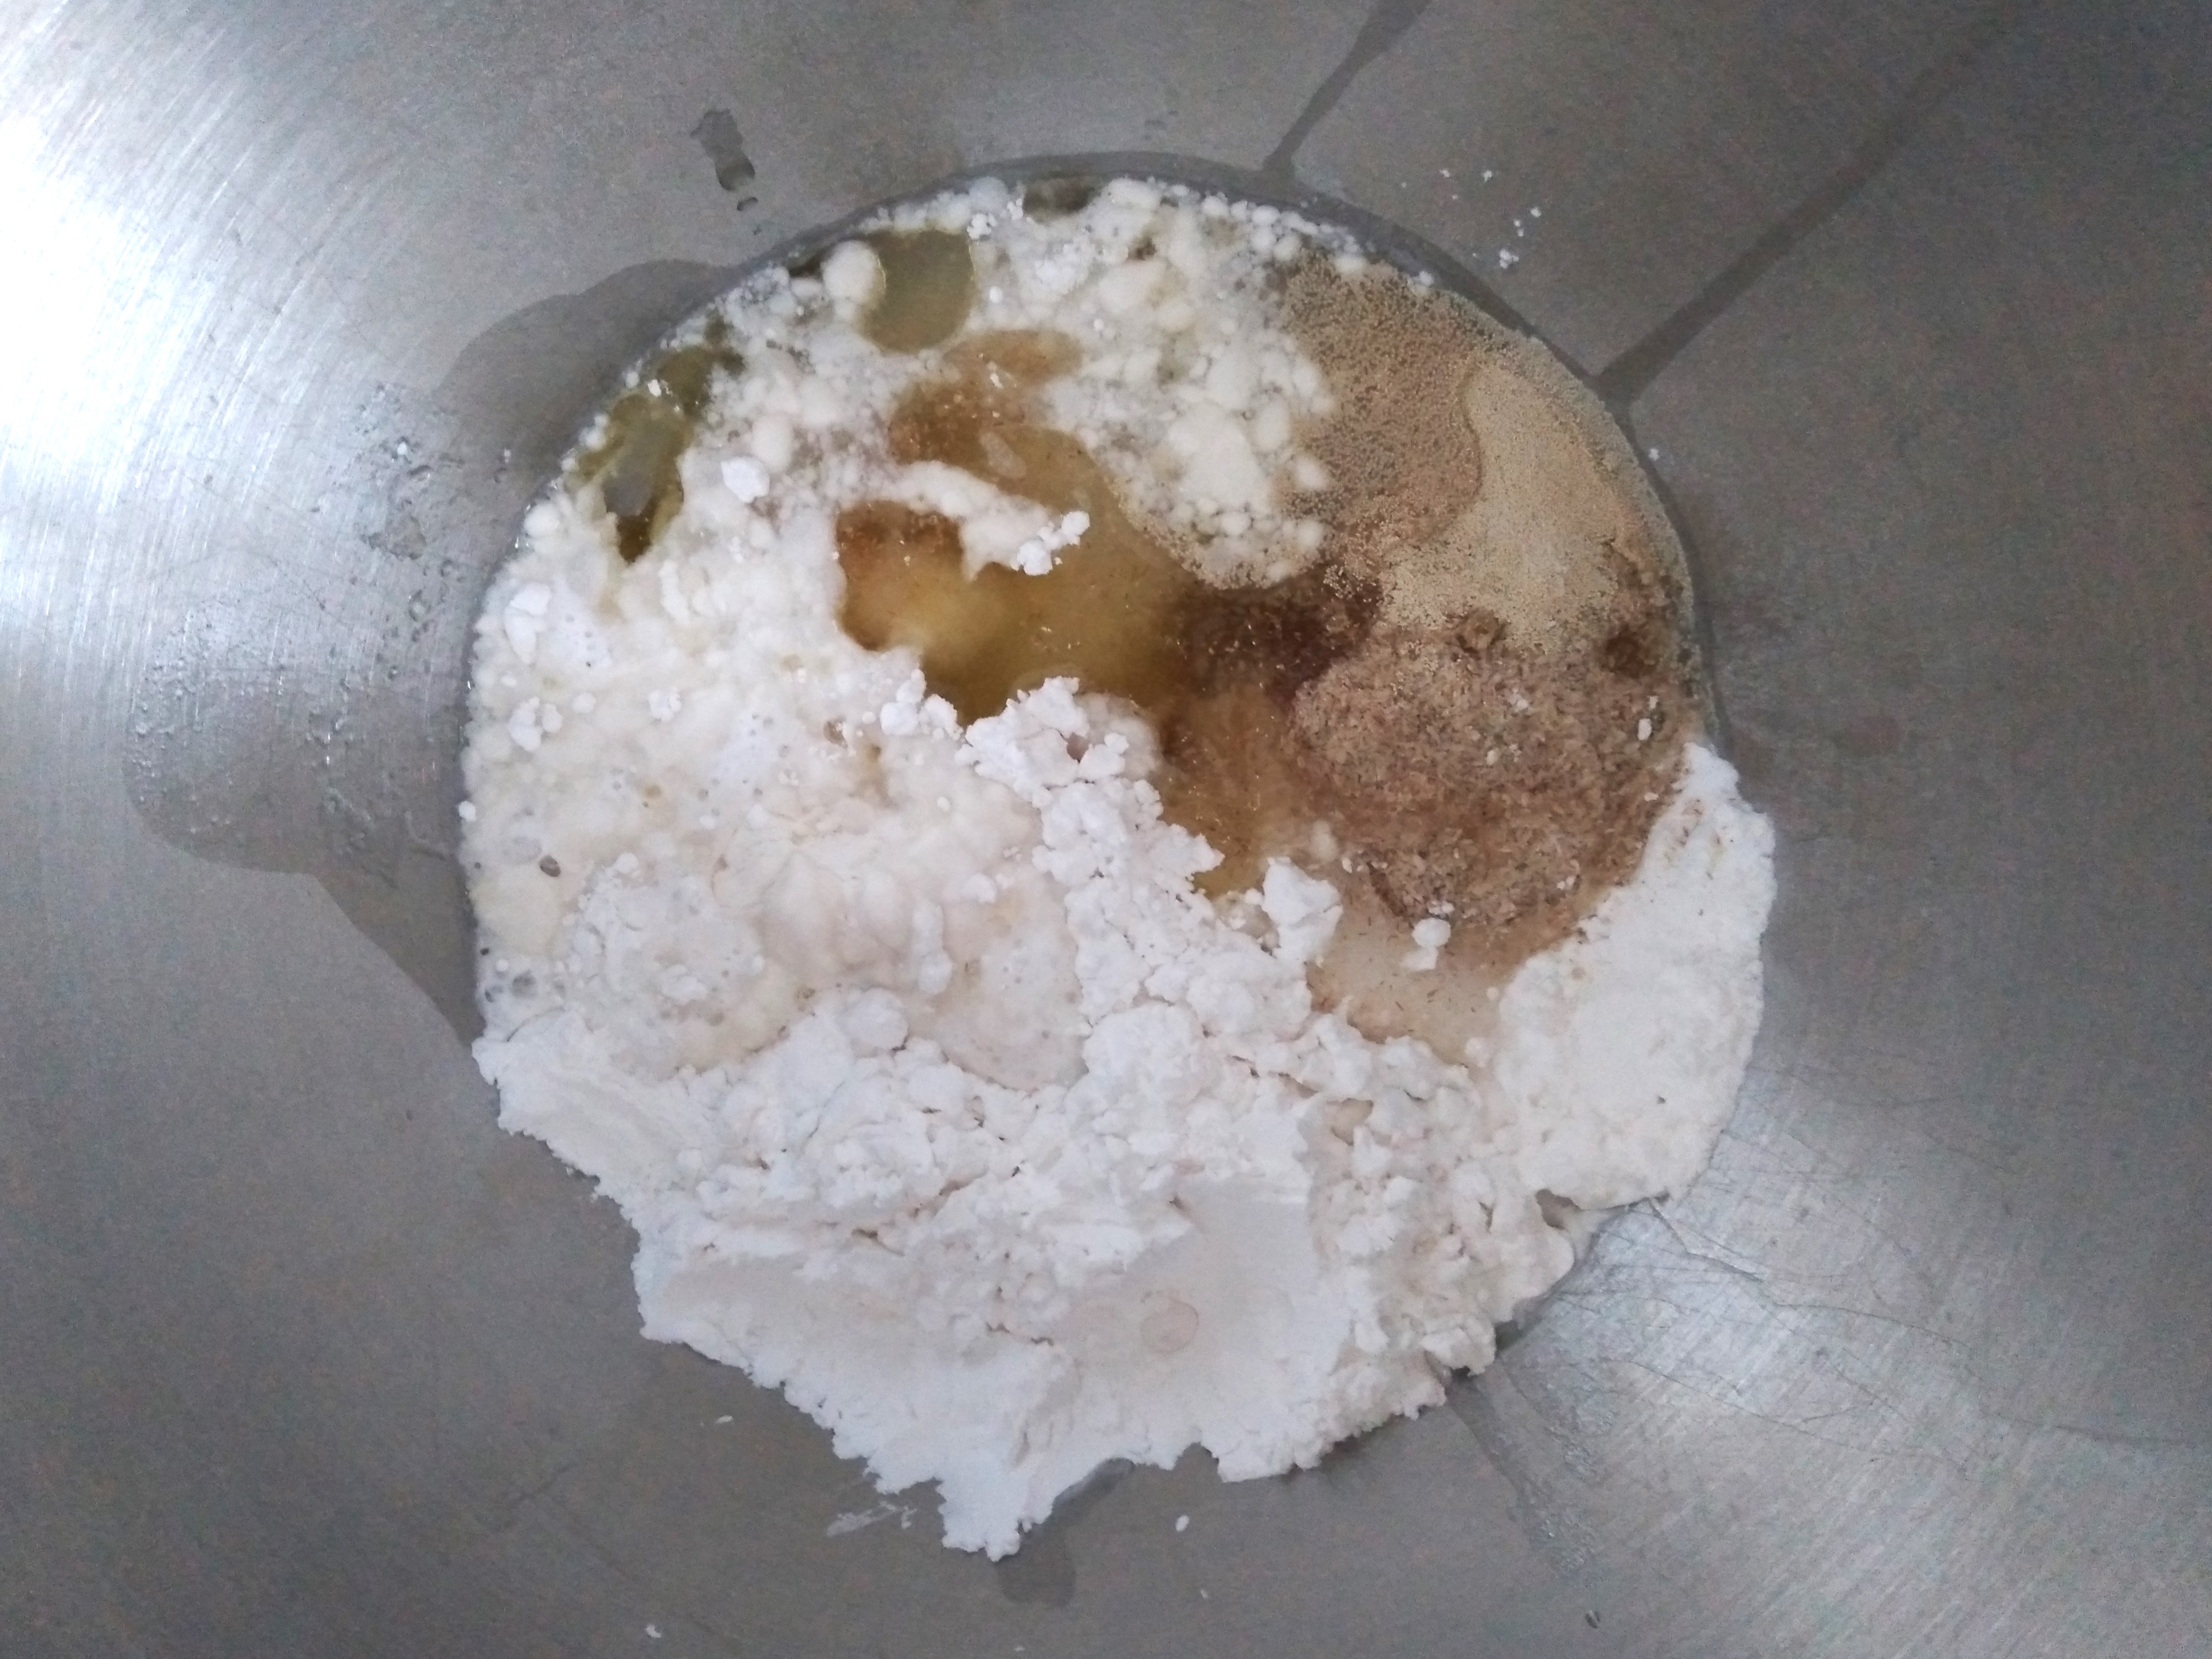
1. Place the eggs, white rice flour, tapioca starch, potato starch, psyllium husk, yeast, sugar, salt, baking powder, oil and water together in a large bowl and mix well. I do this with my stand mixer as it is easiest but have also done it by hand. There is no need to keep mixing once all the ingredients are fully combined as there is no gluten to work.
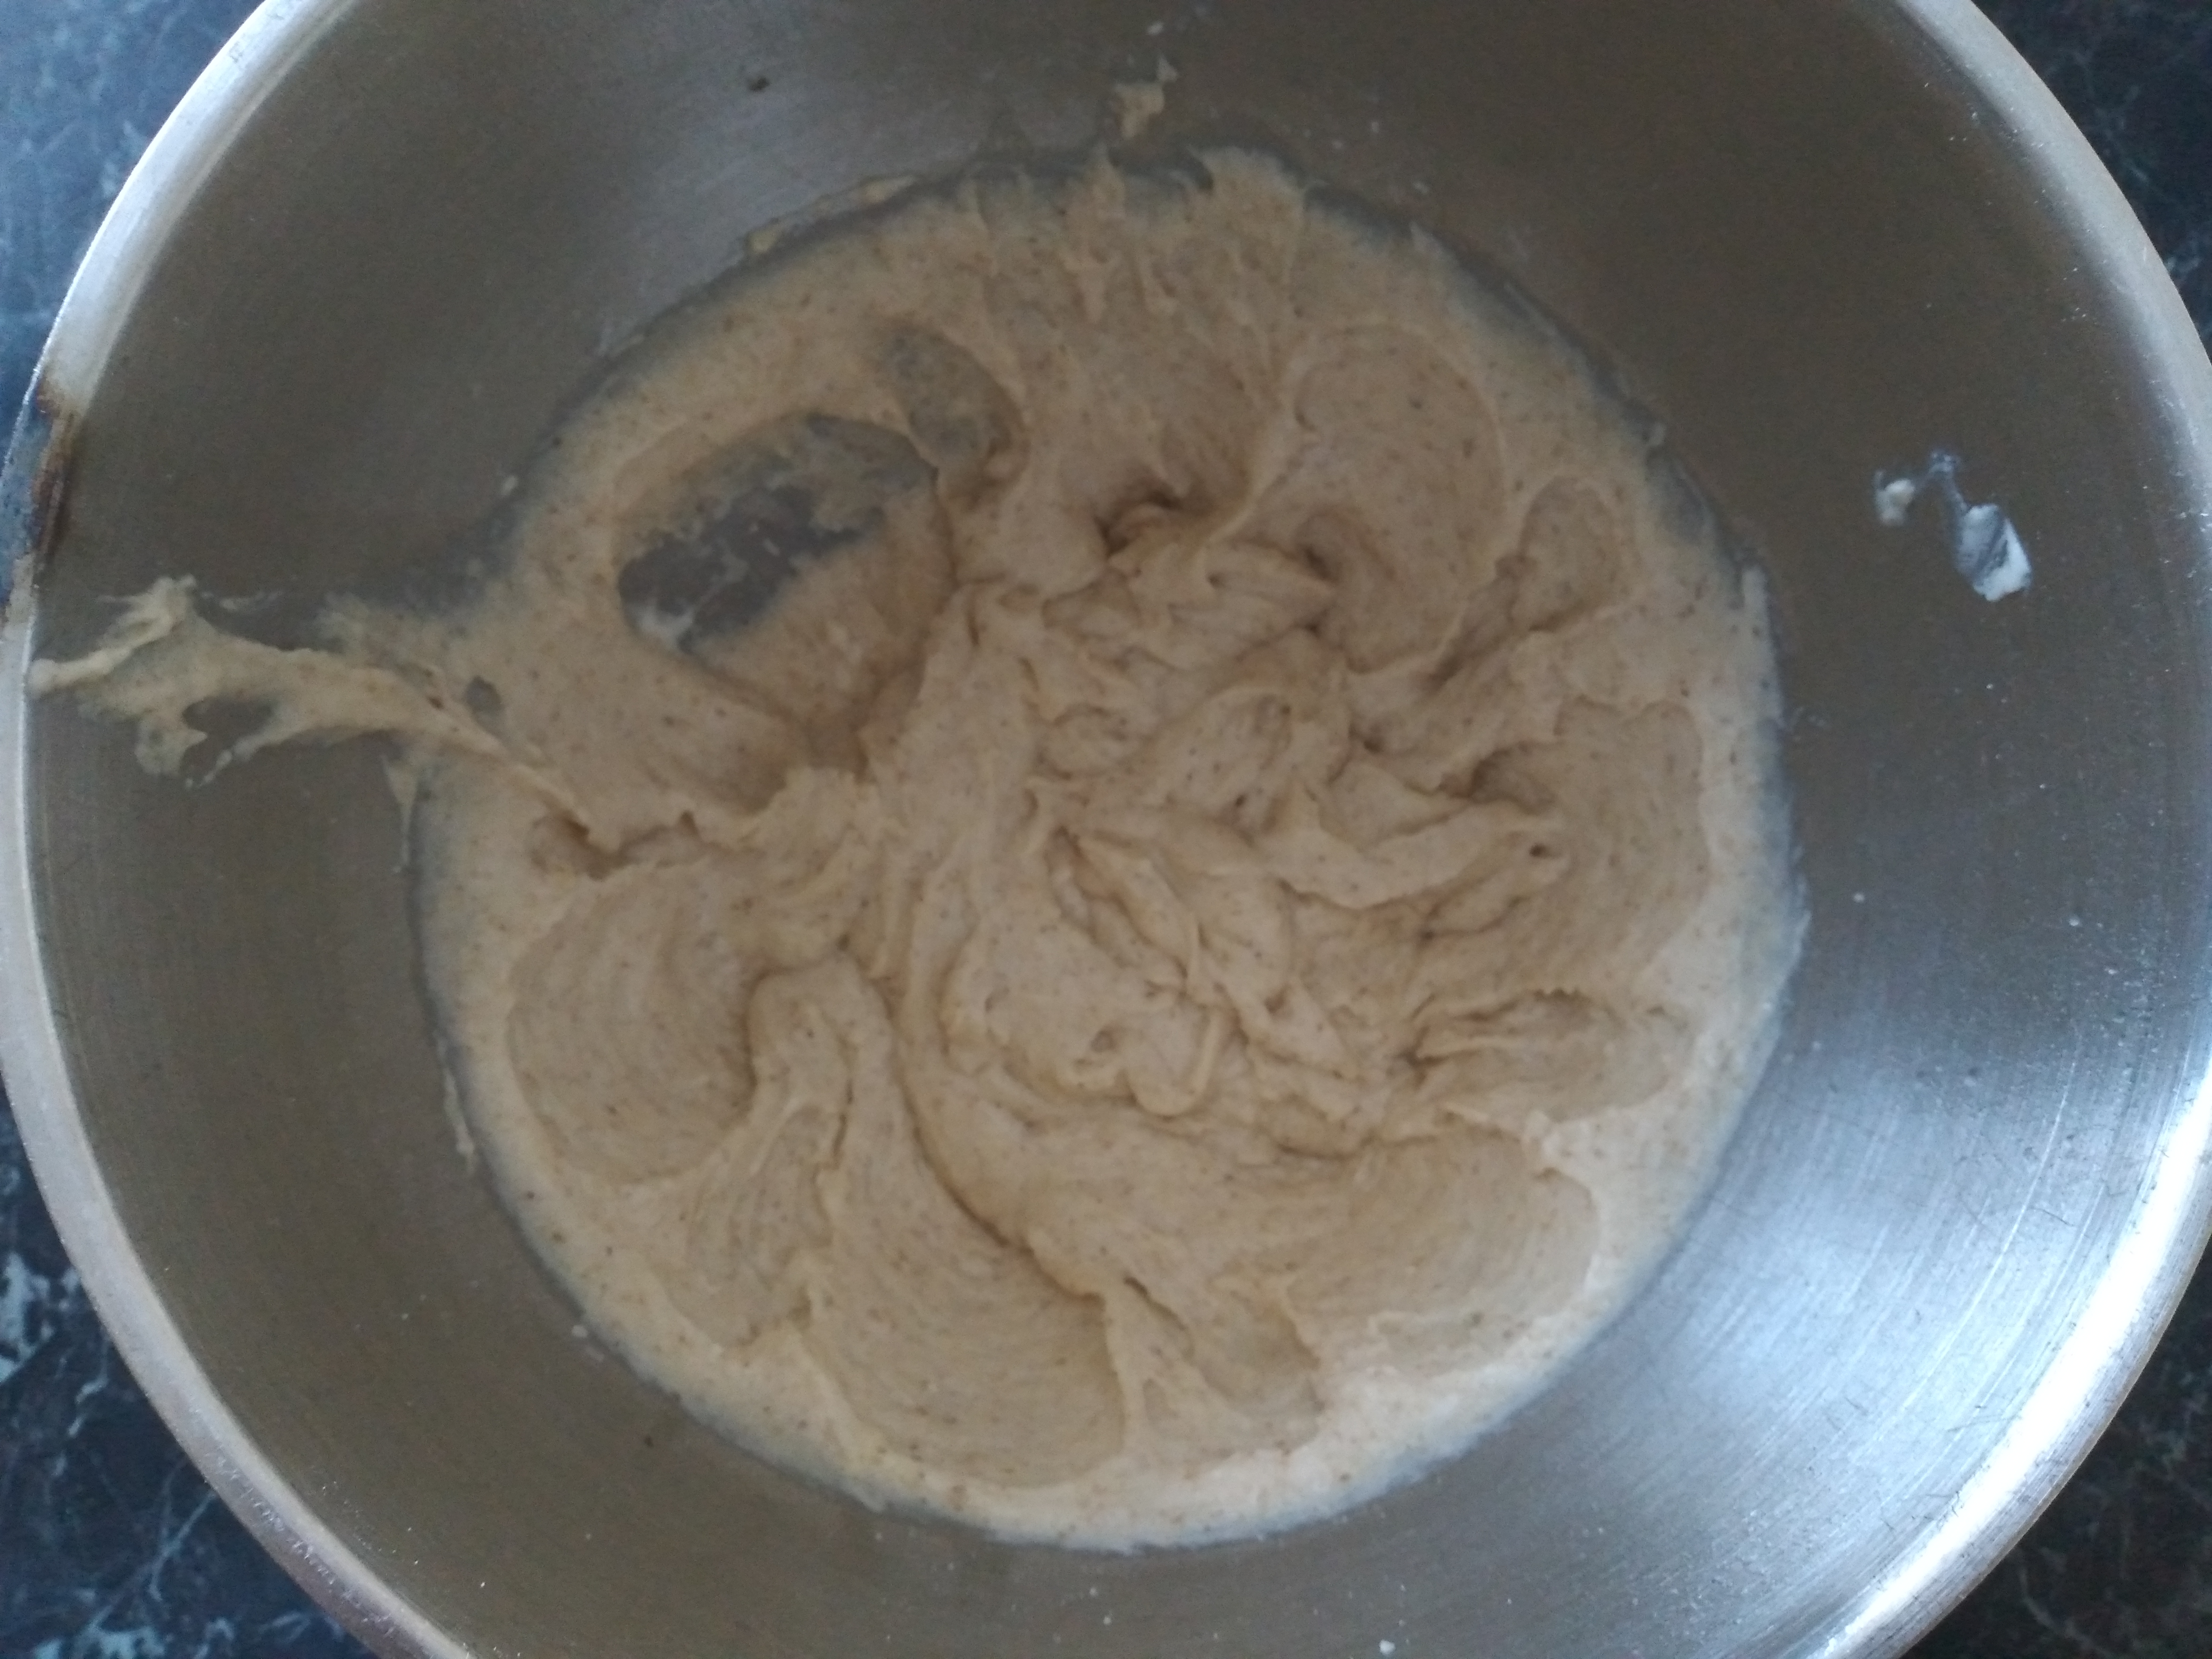
2. Cover the bowl with a damp cloth and set aside to rest for about 10 minutes. This gives time for the psyllium husk and starches to absorb the liquid and for the dough to become more pliable.
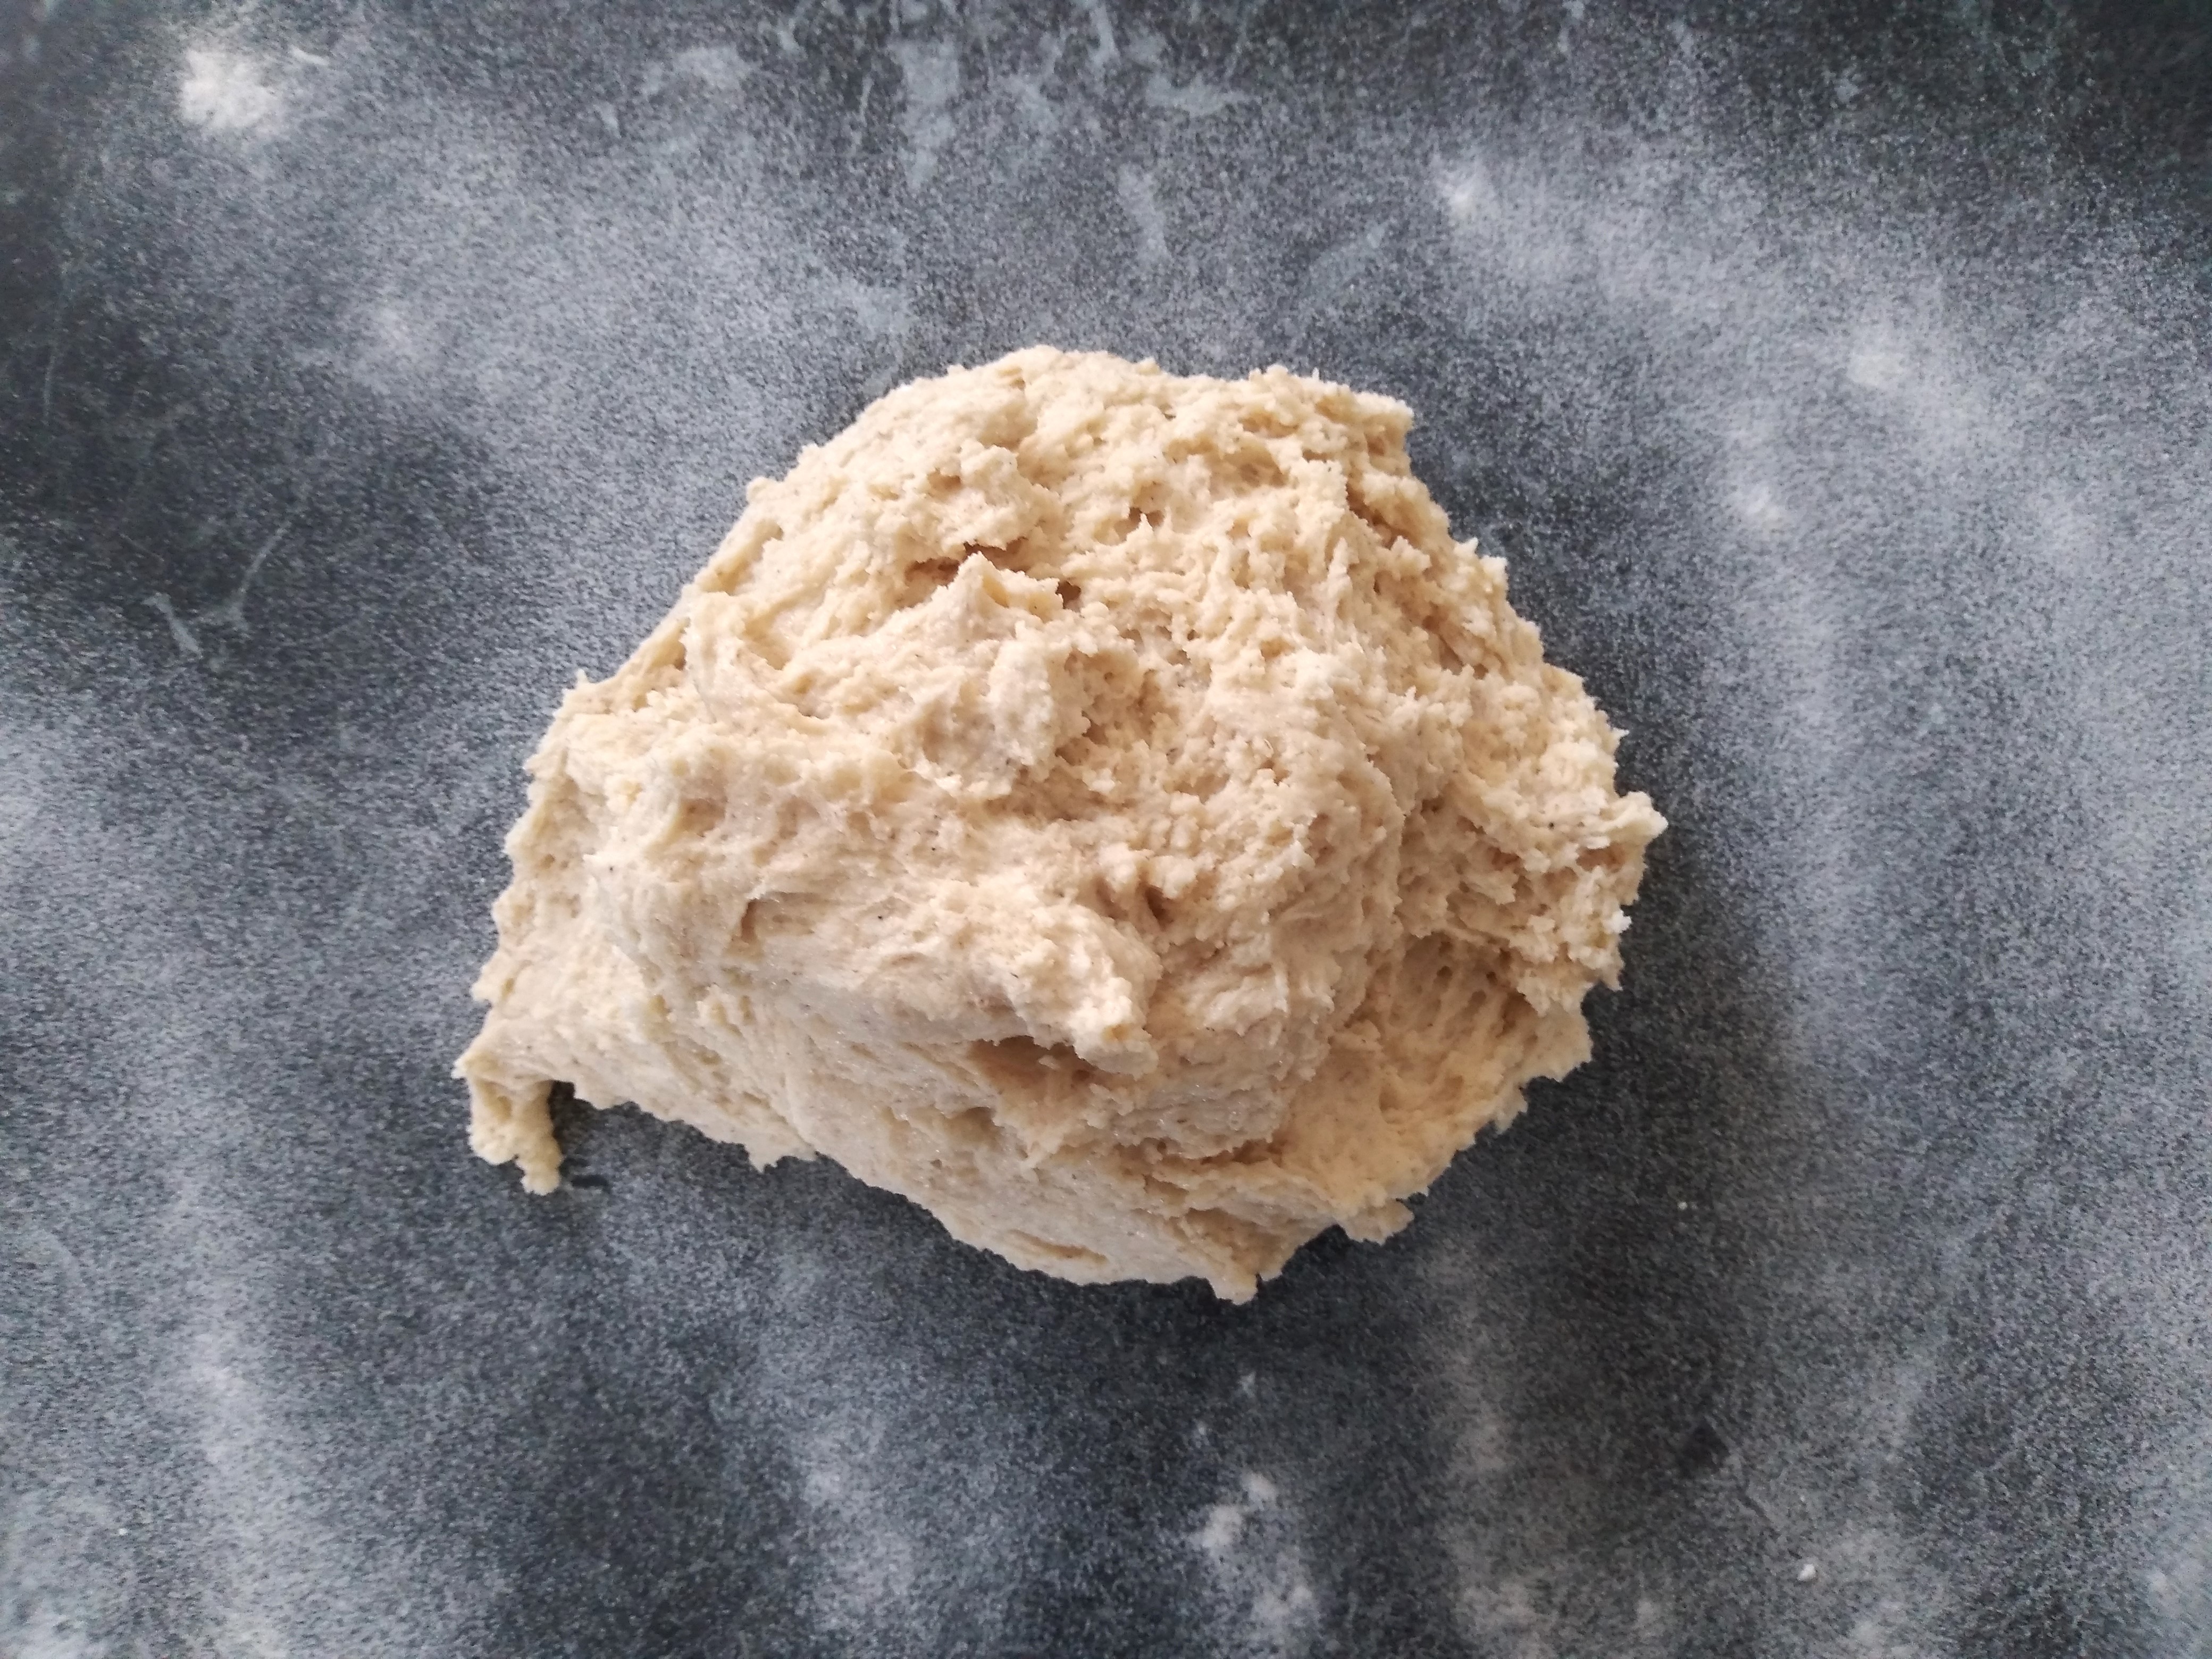
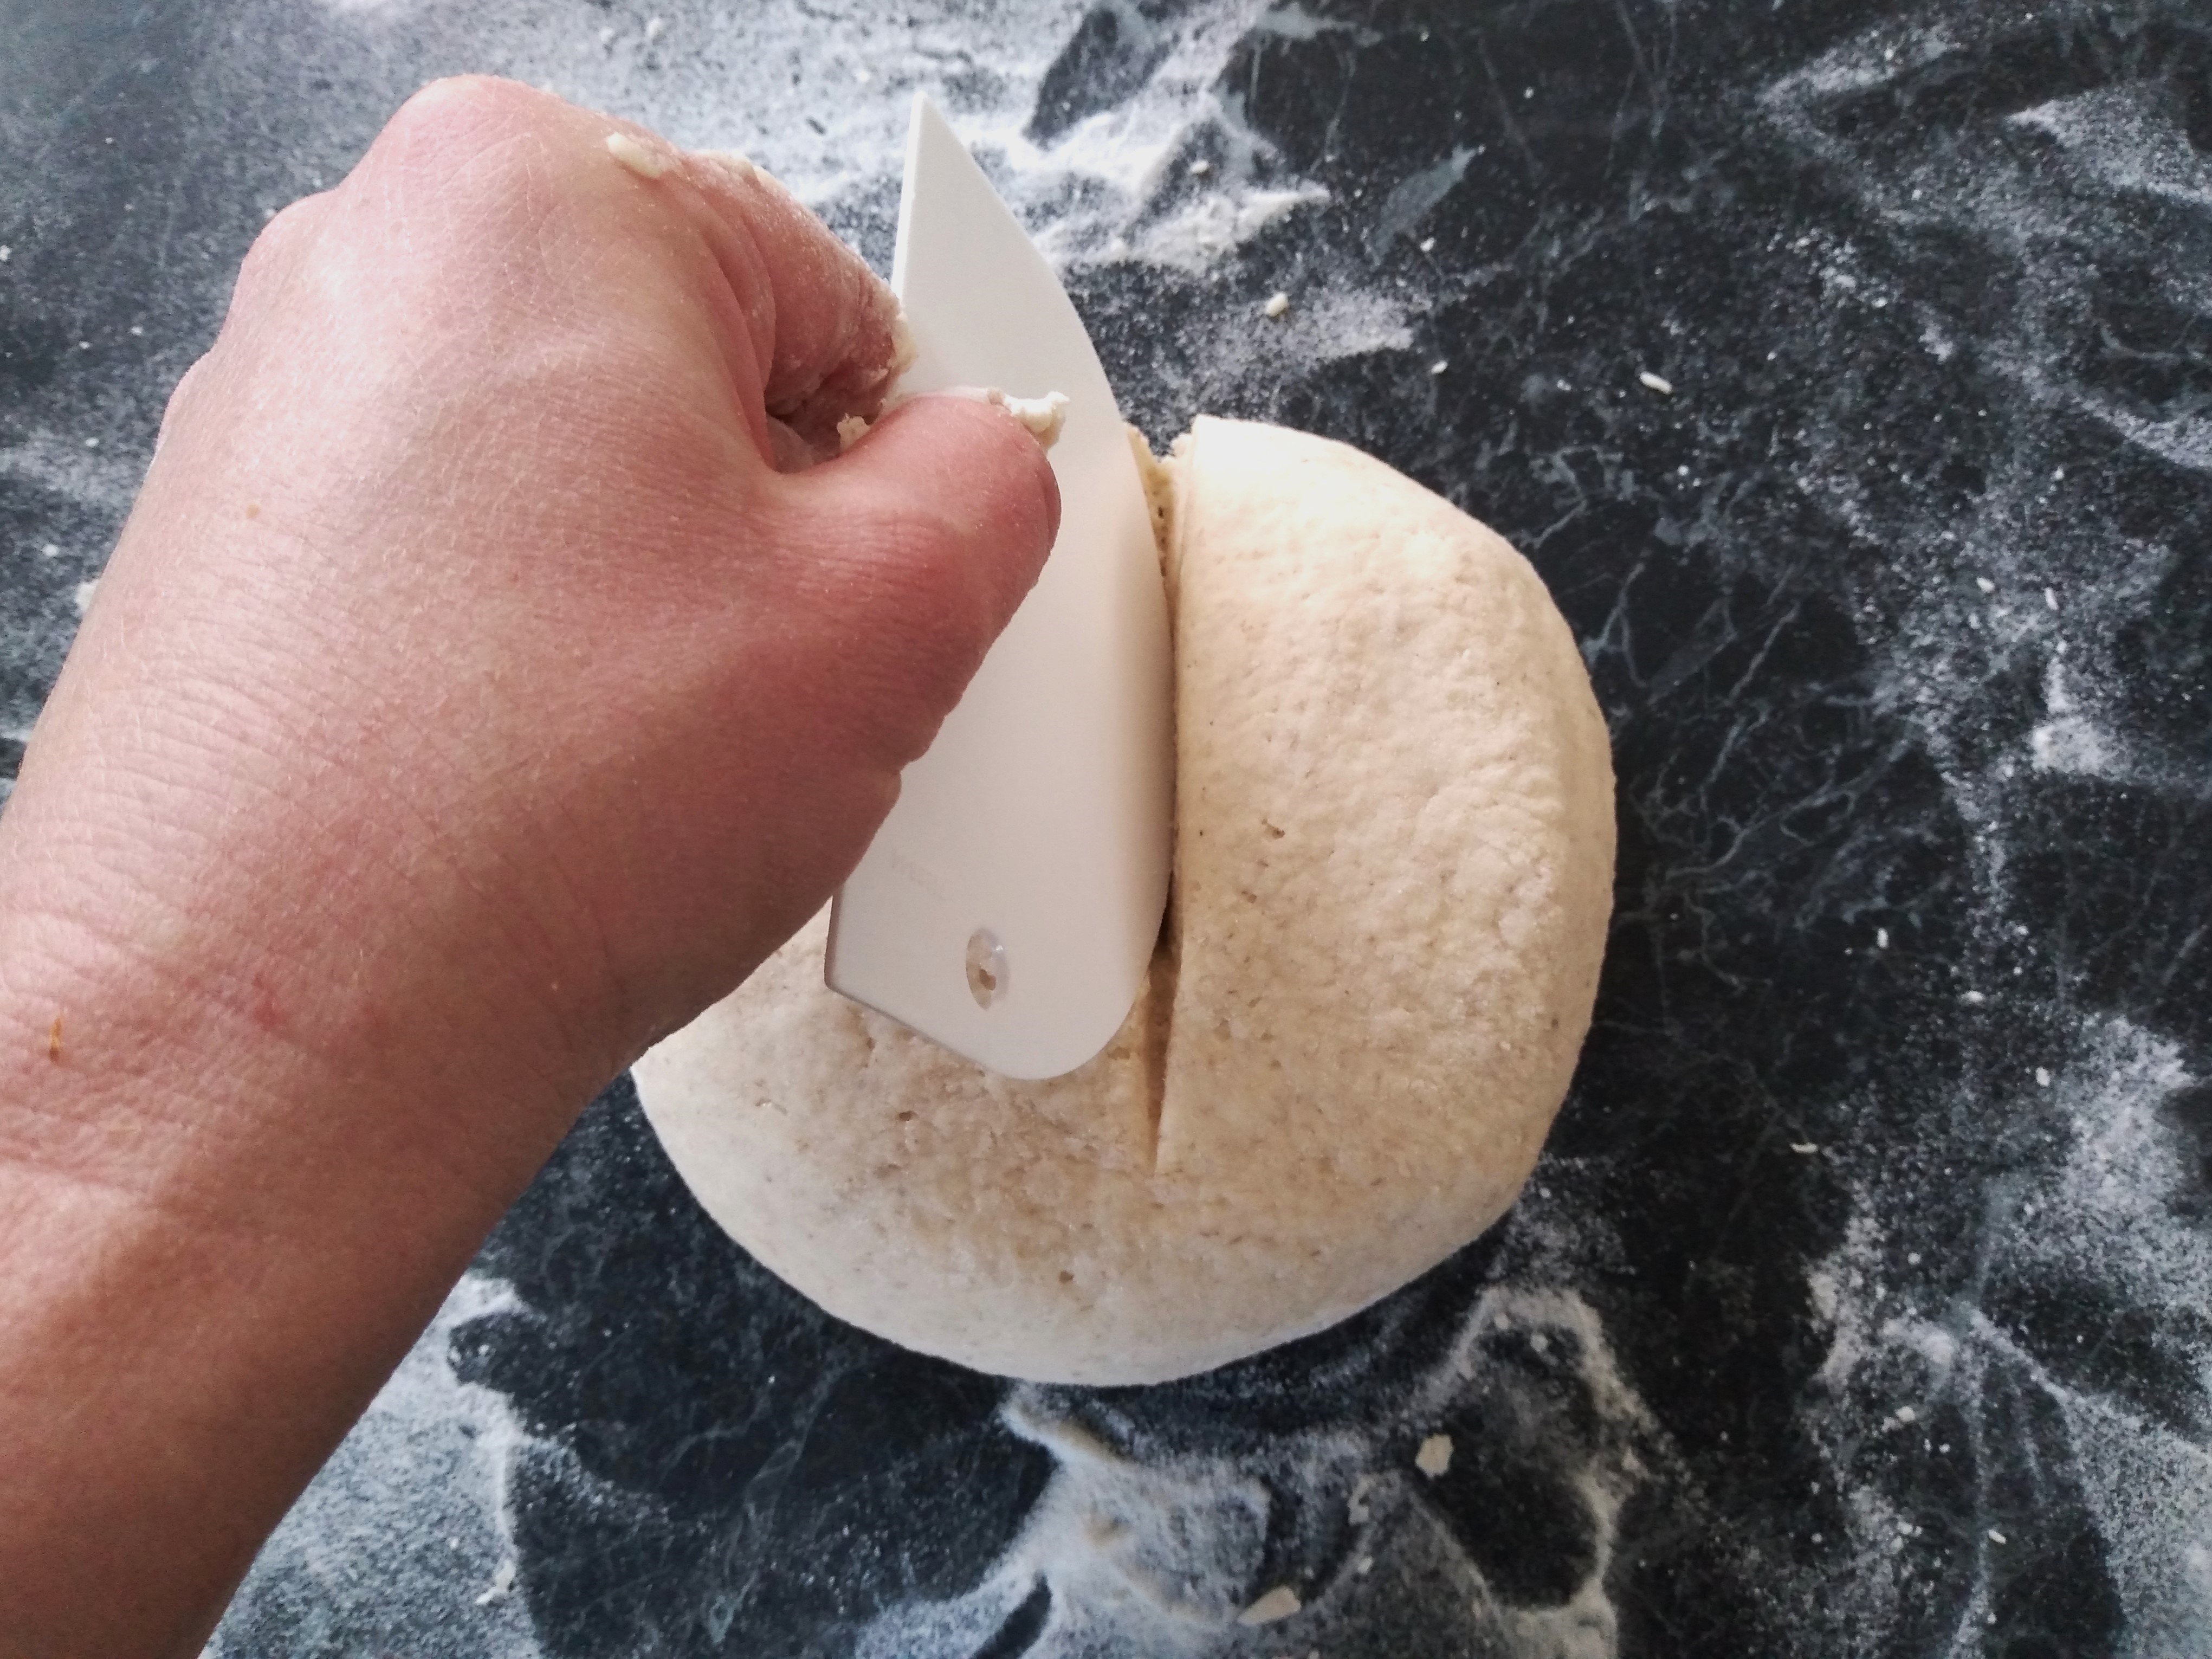
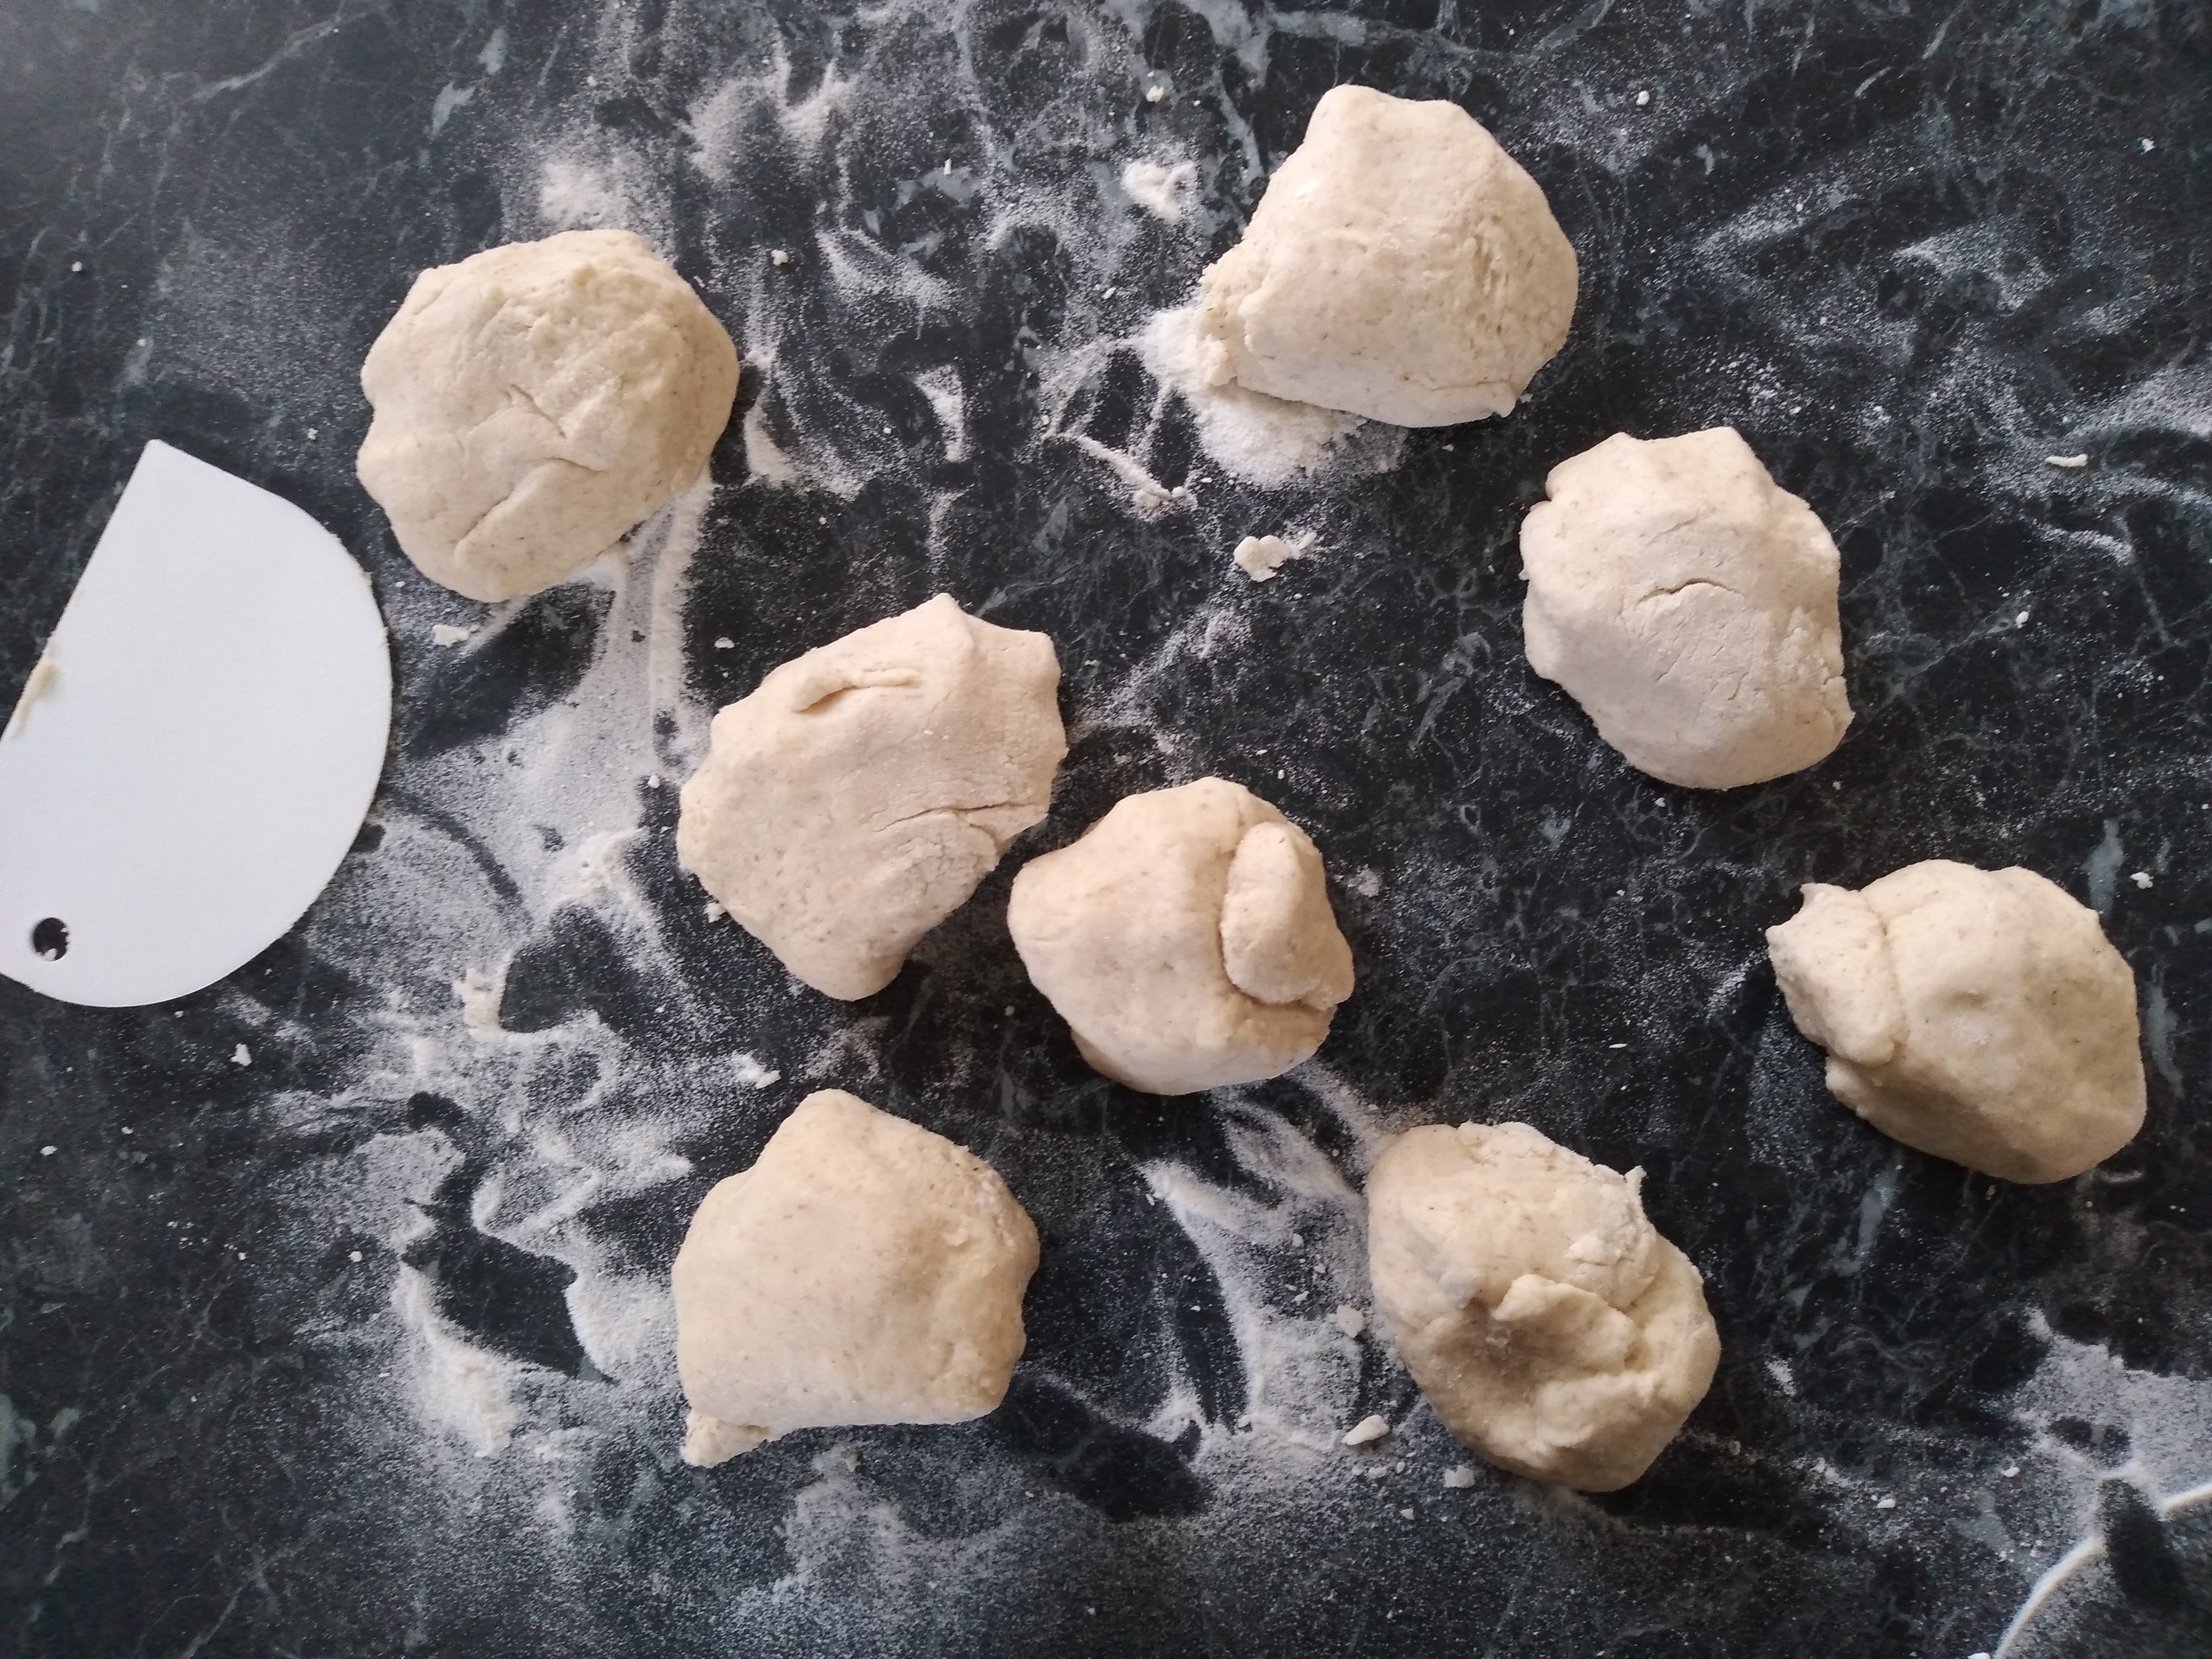
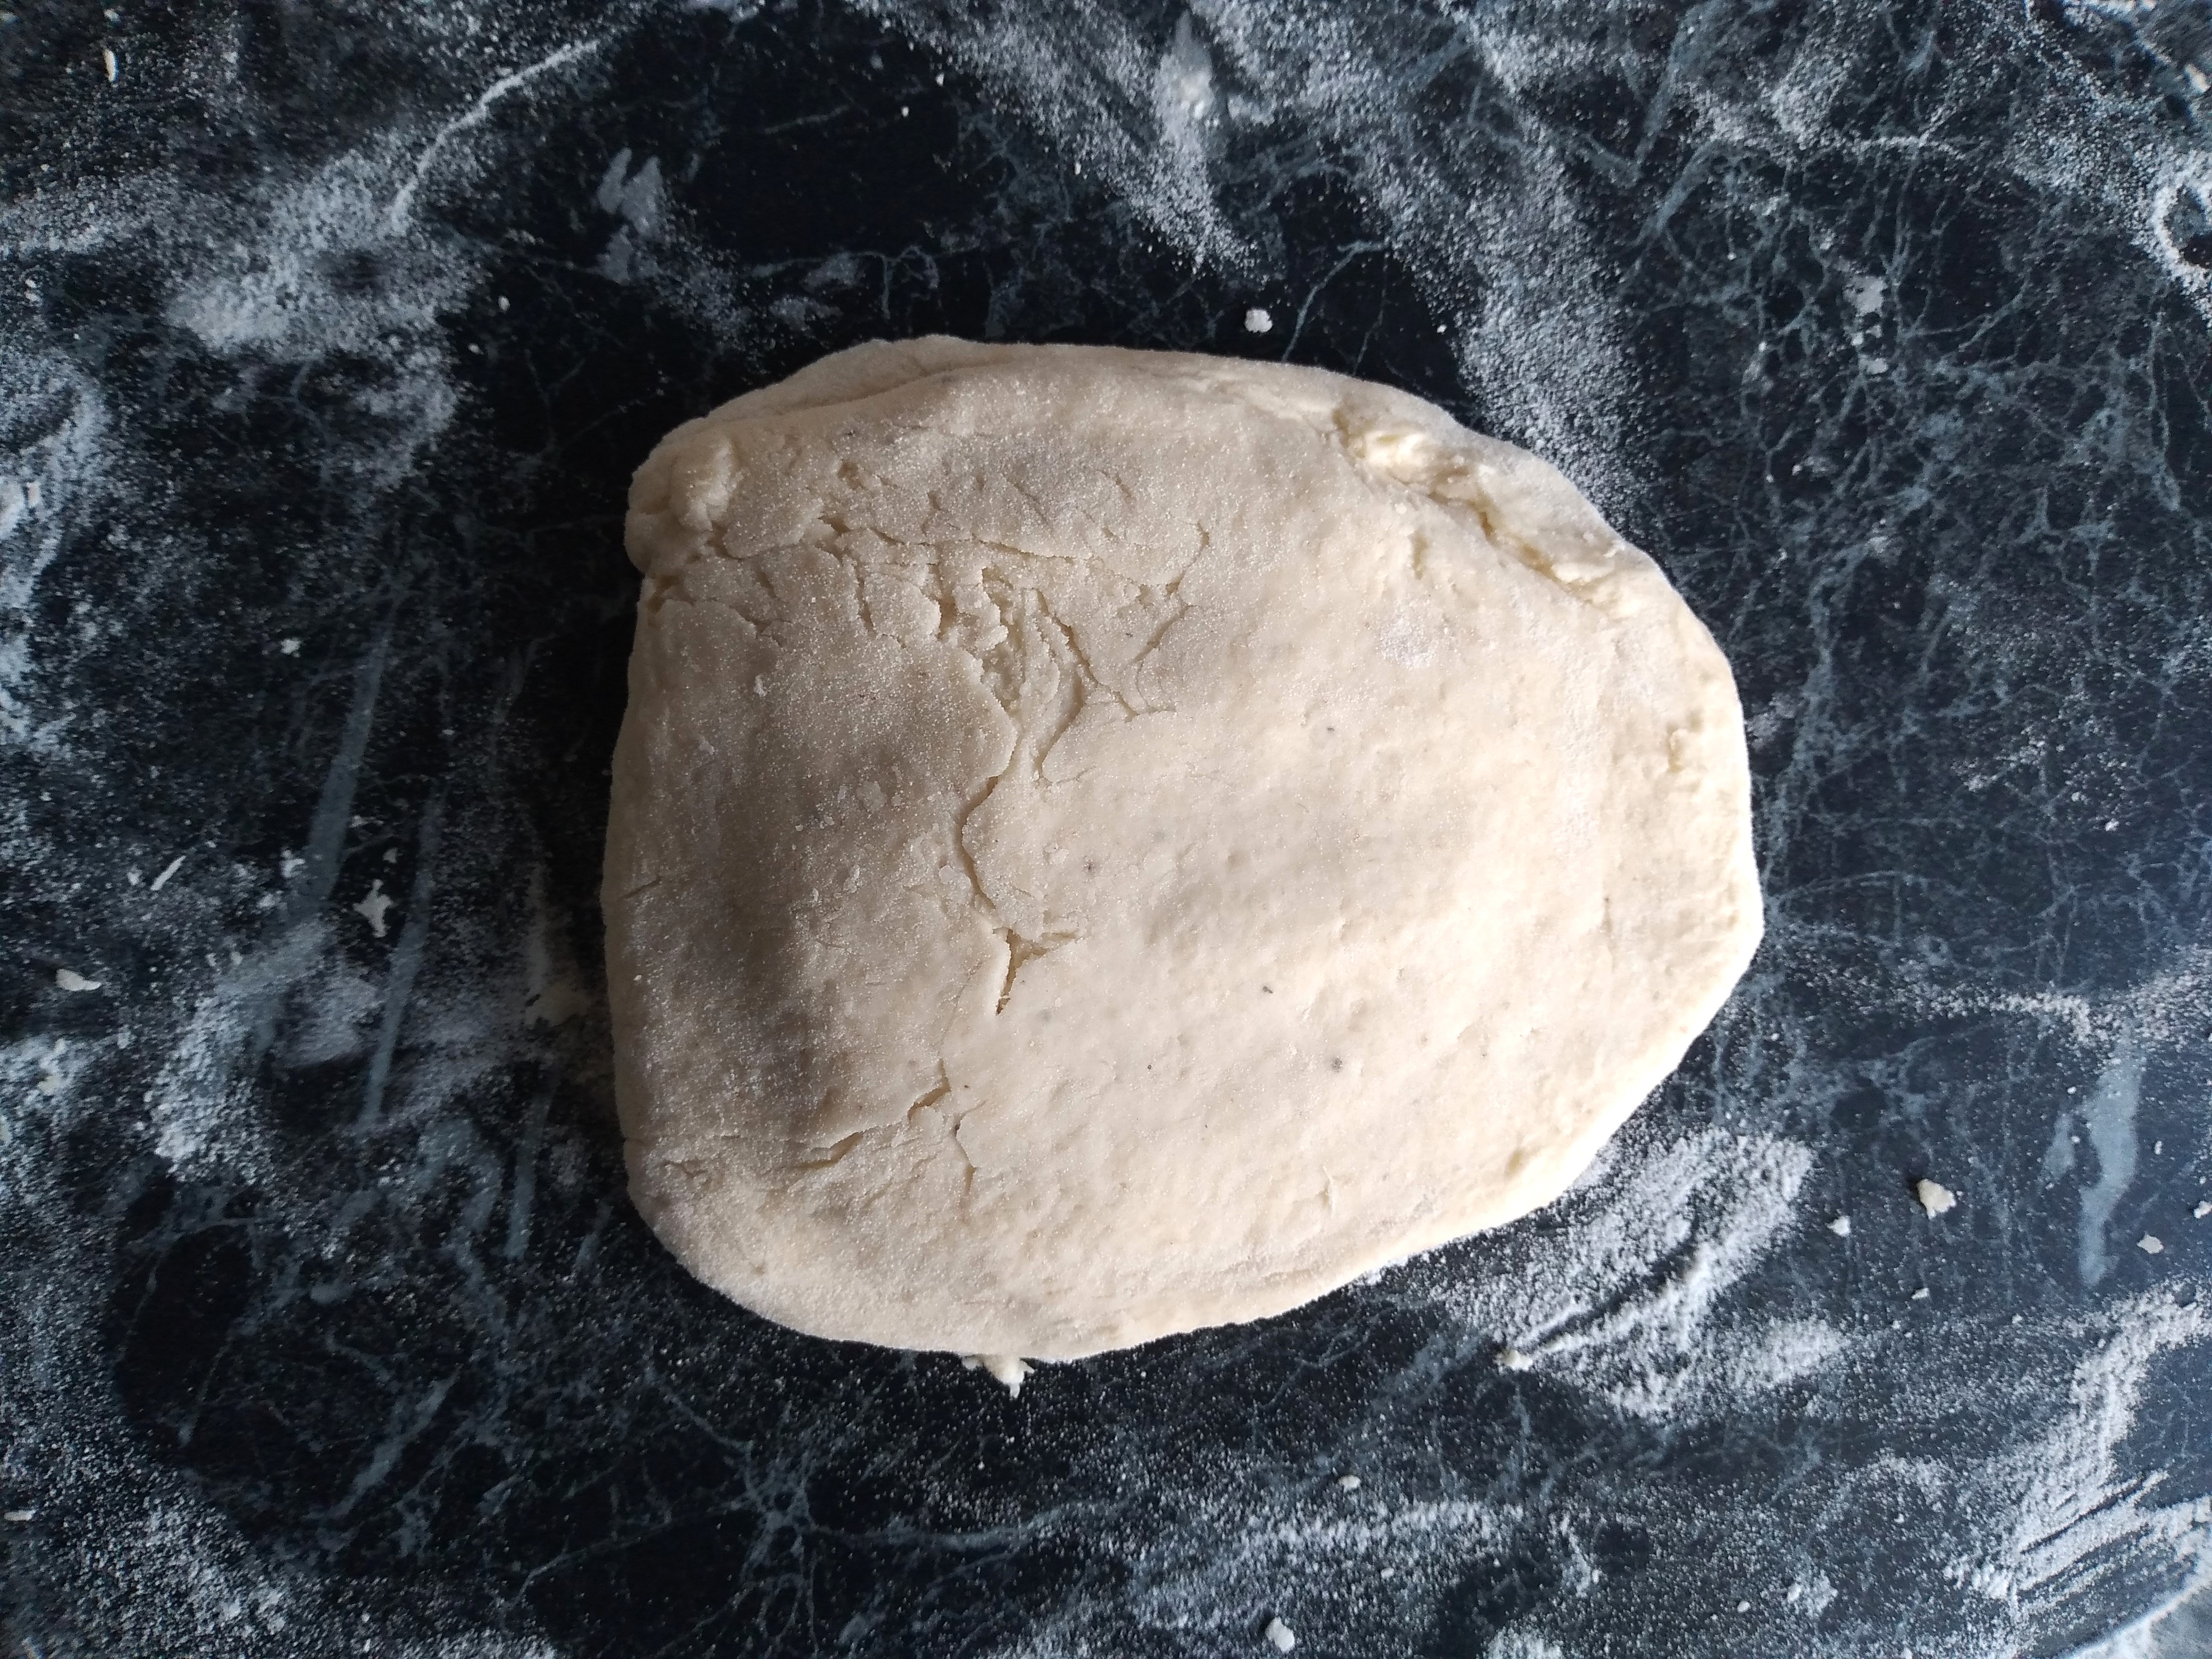
3. Once the dough has rested, it should be shapeable although it may still be quite sticky. Generously flour your work surface with some extra white rice flour and then tip the dough on to the surface and roughly knead into a ball. You may need quite a bit of flour to do this, but try to add as little extra as possible. Divide the ball into 8 equally-sized pieces.
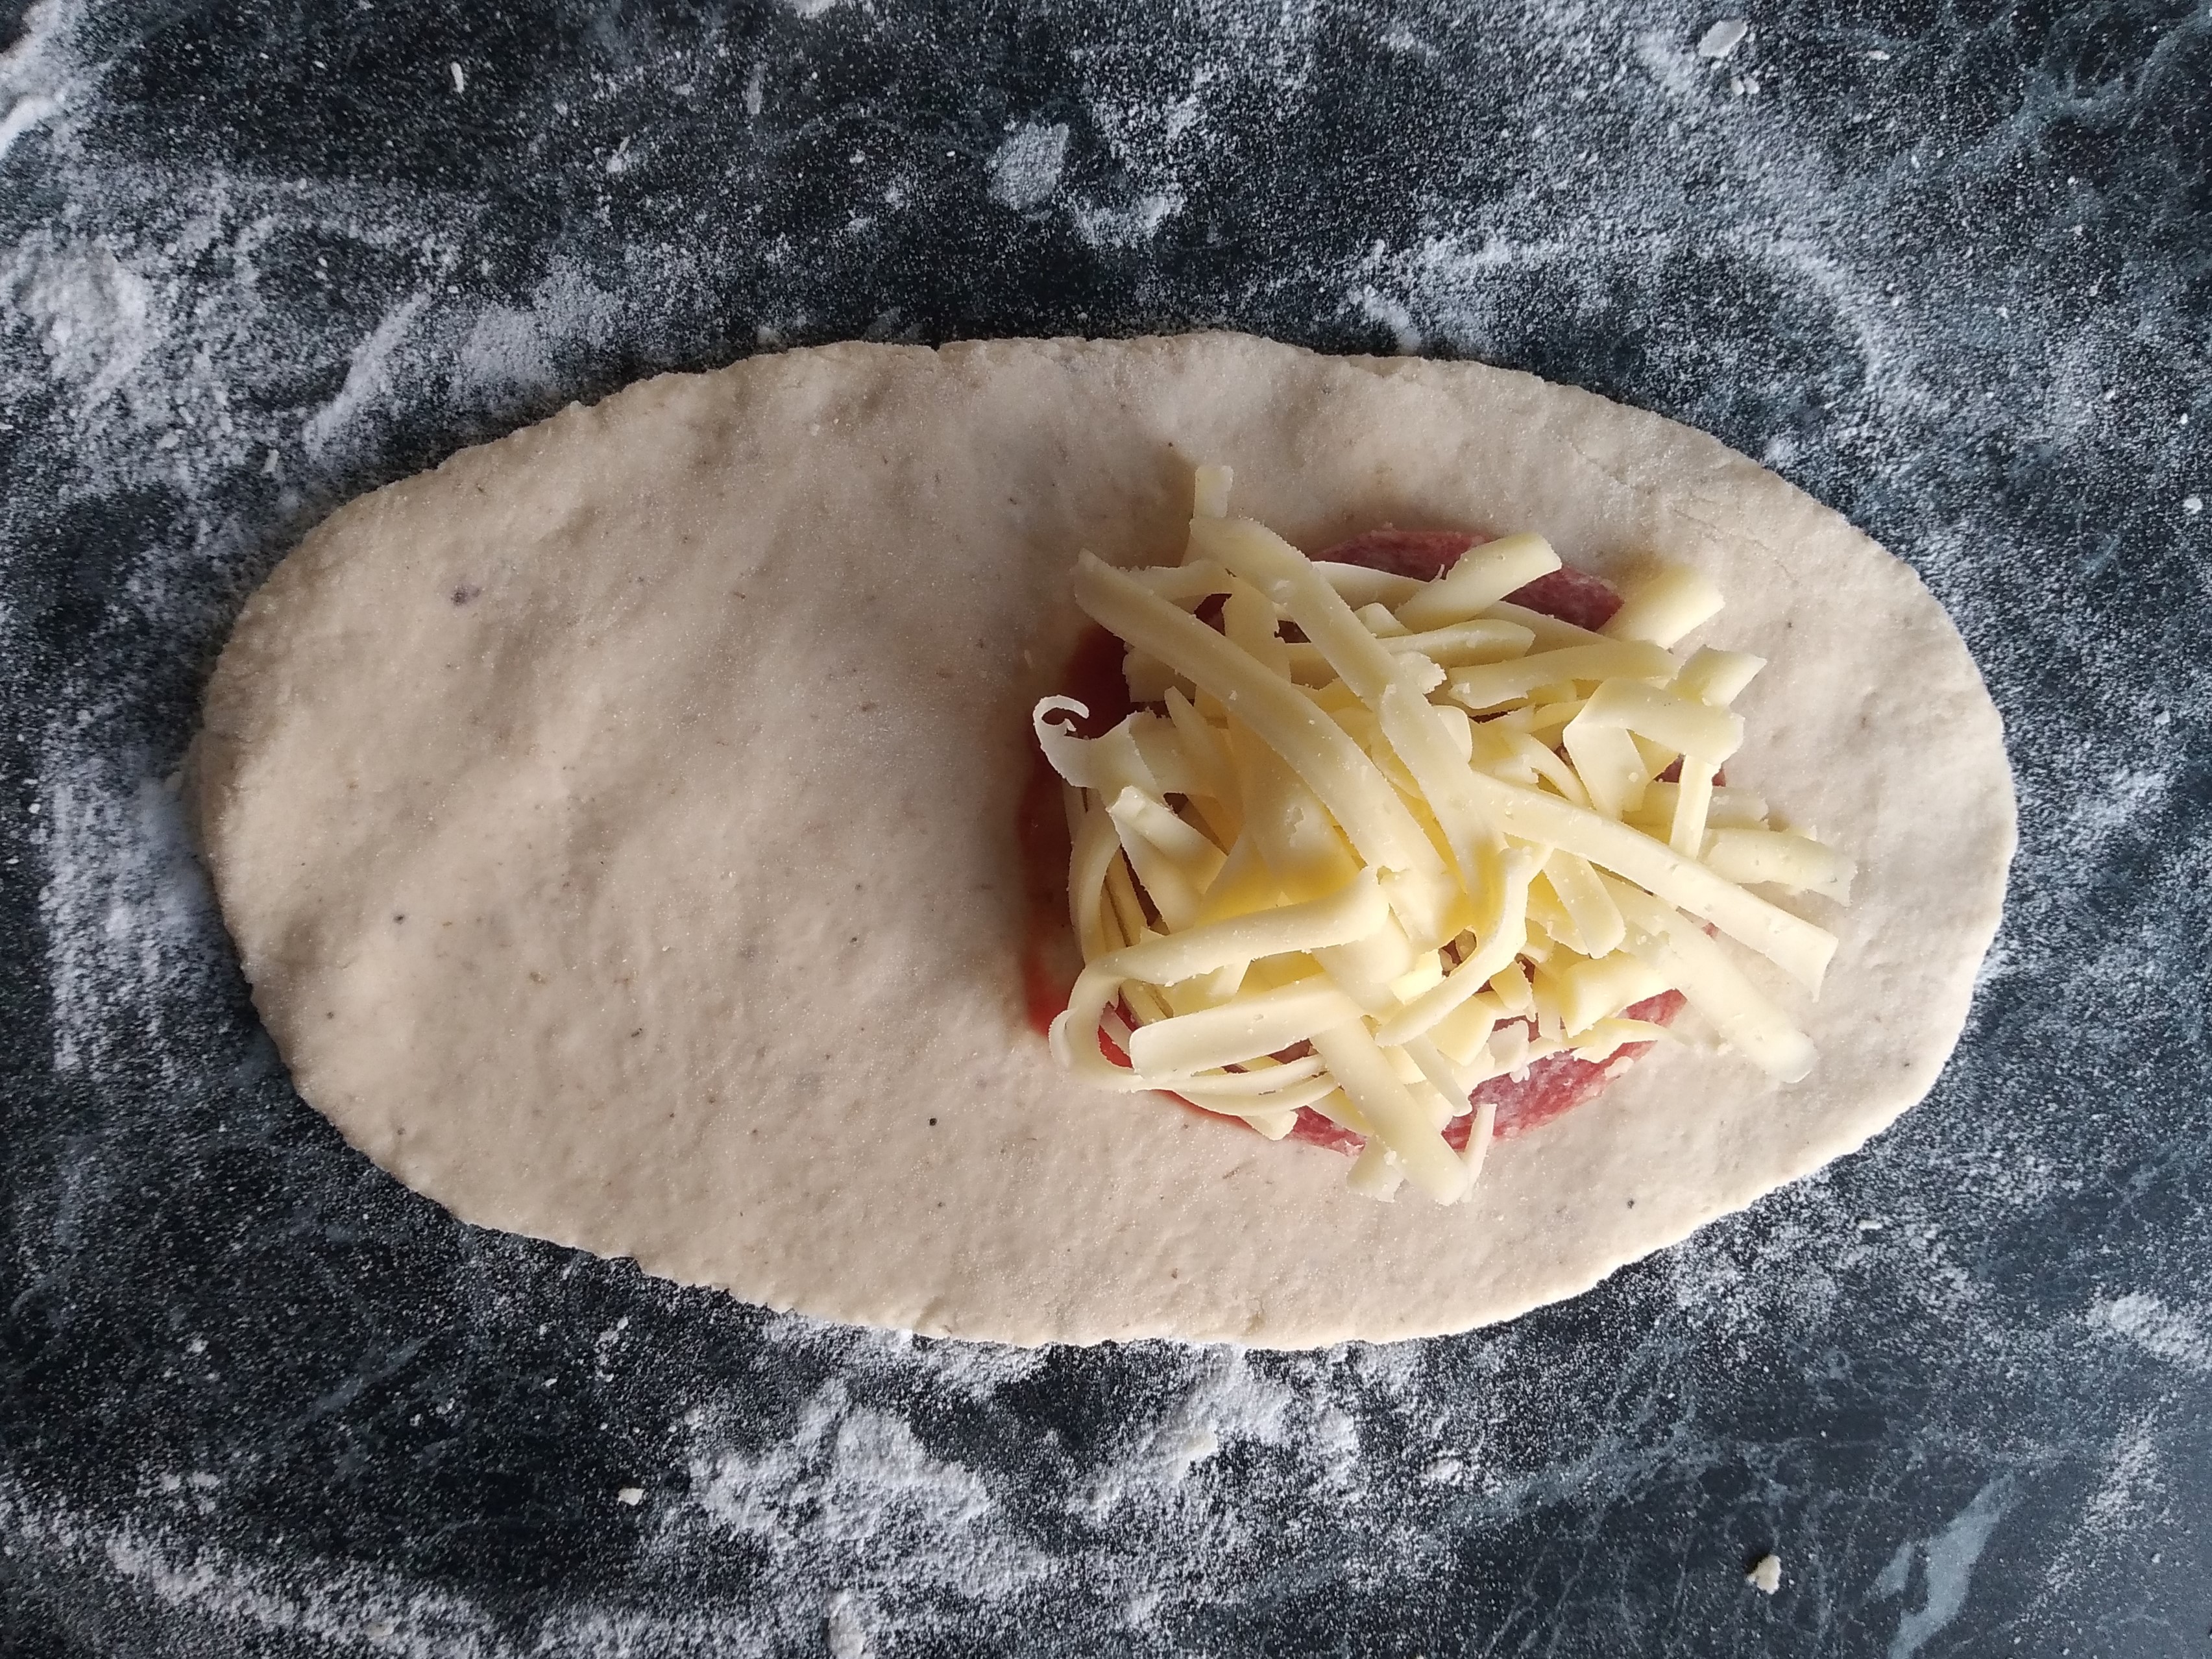
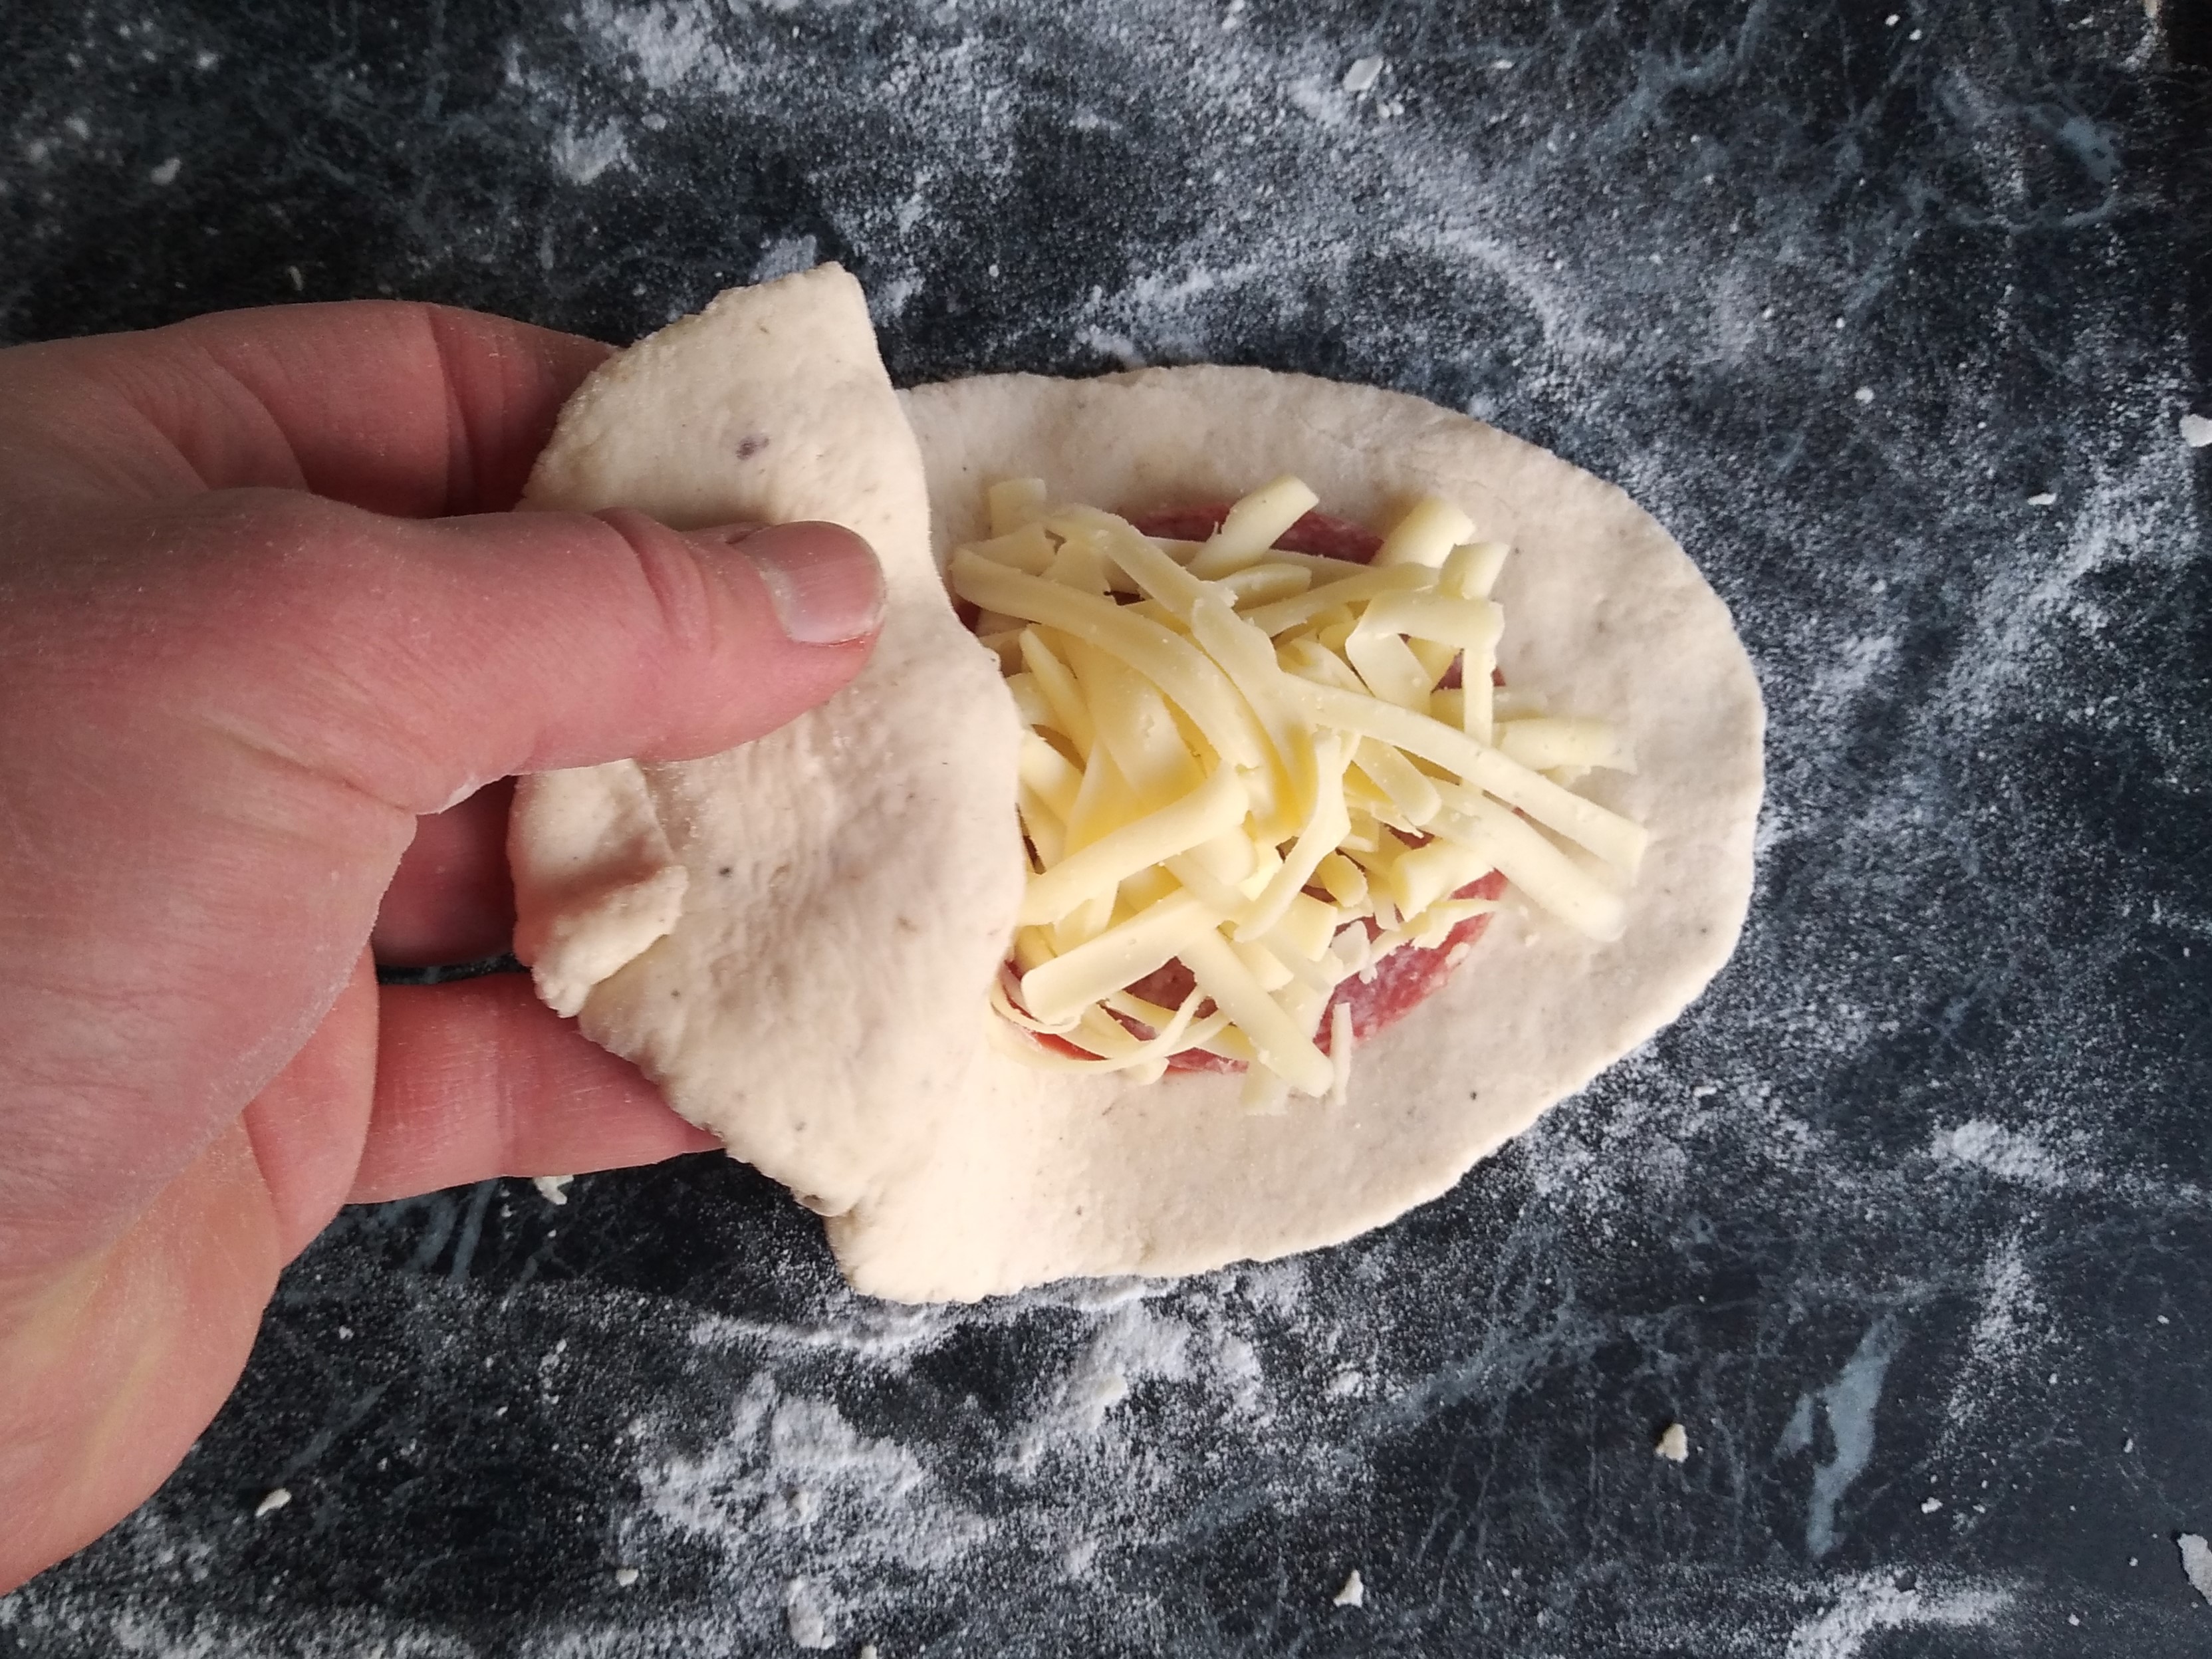
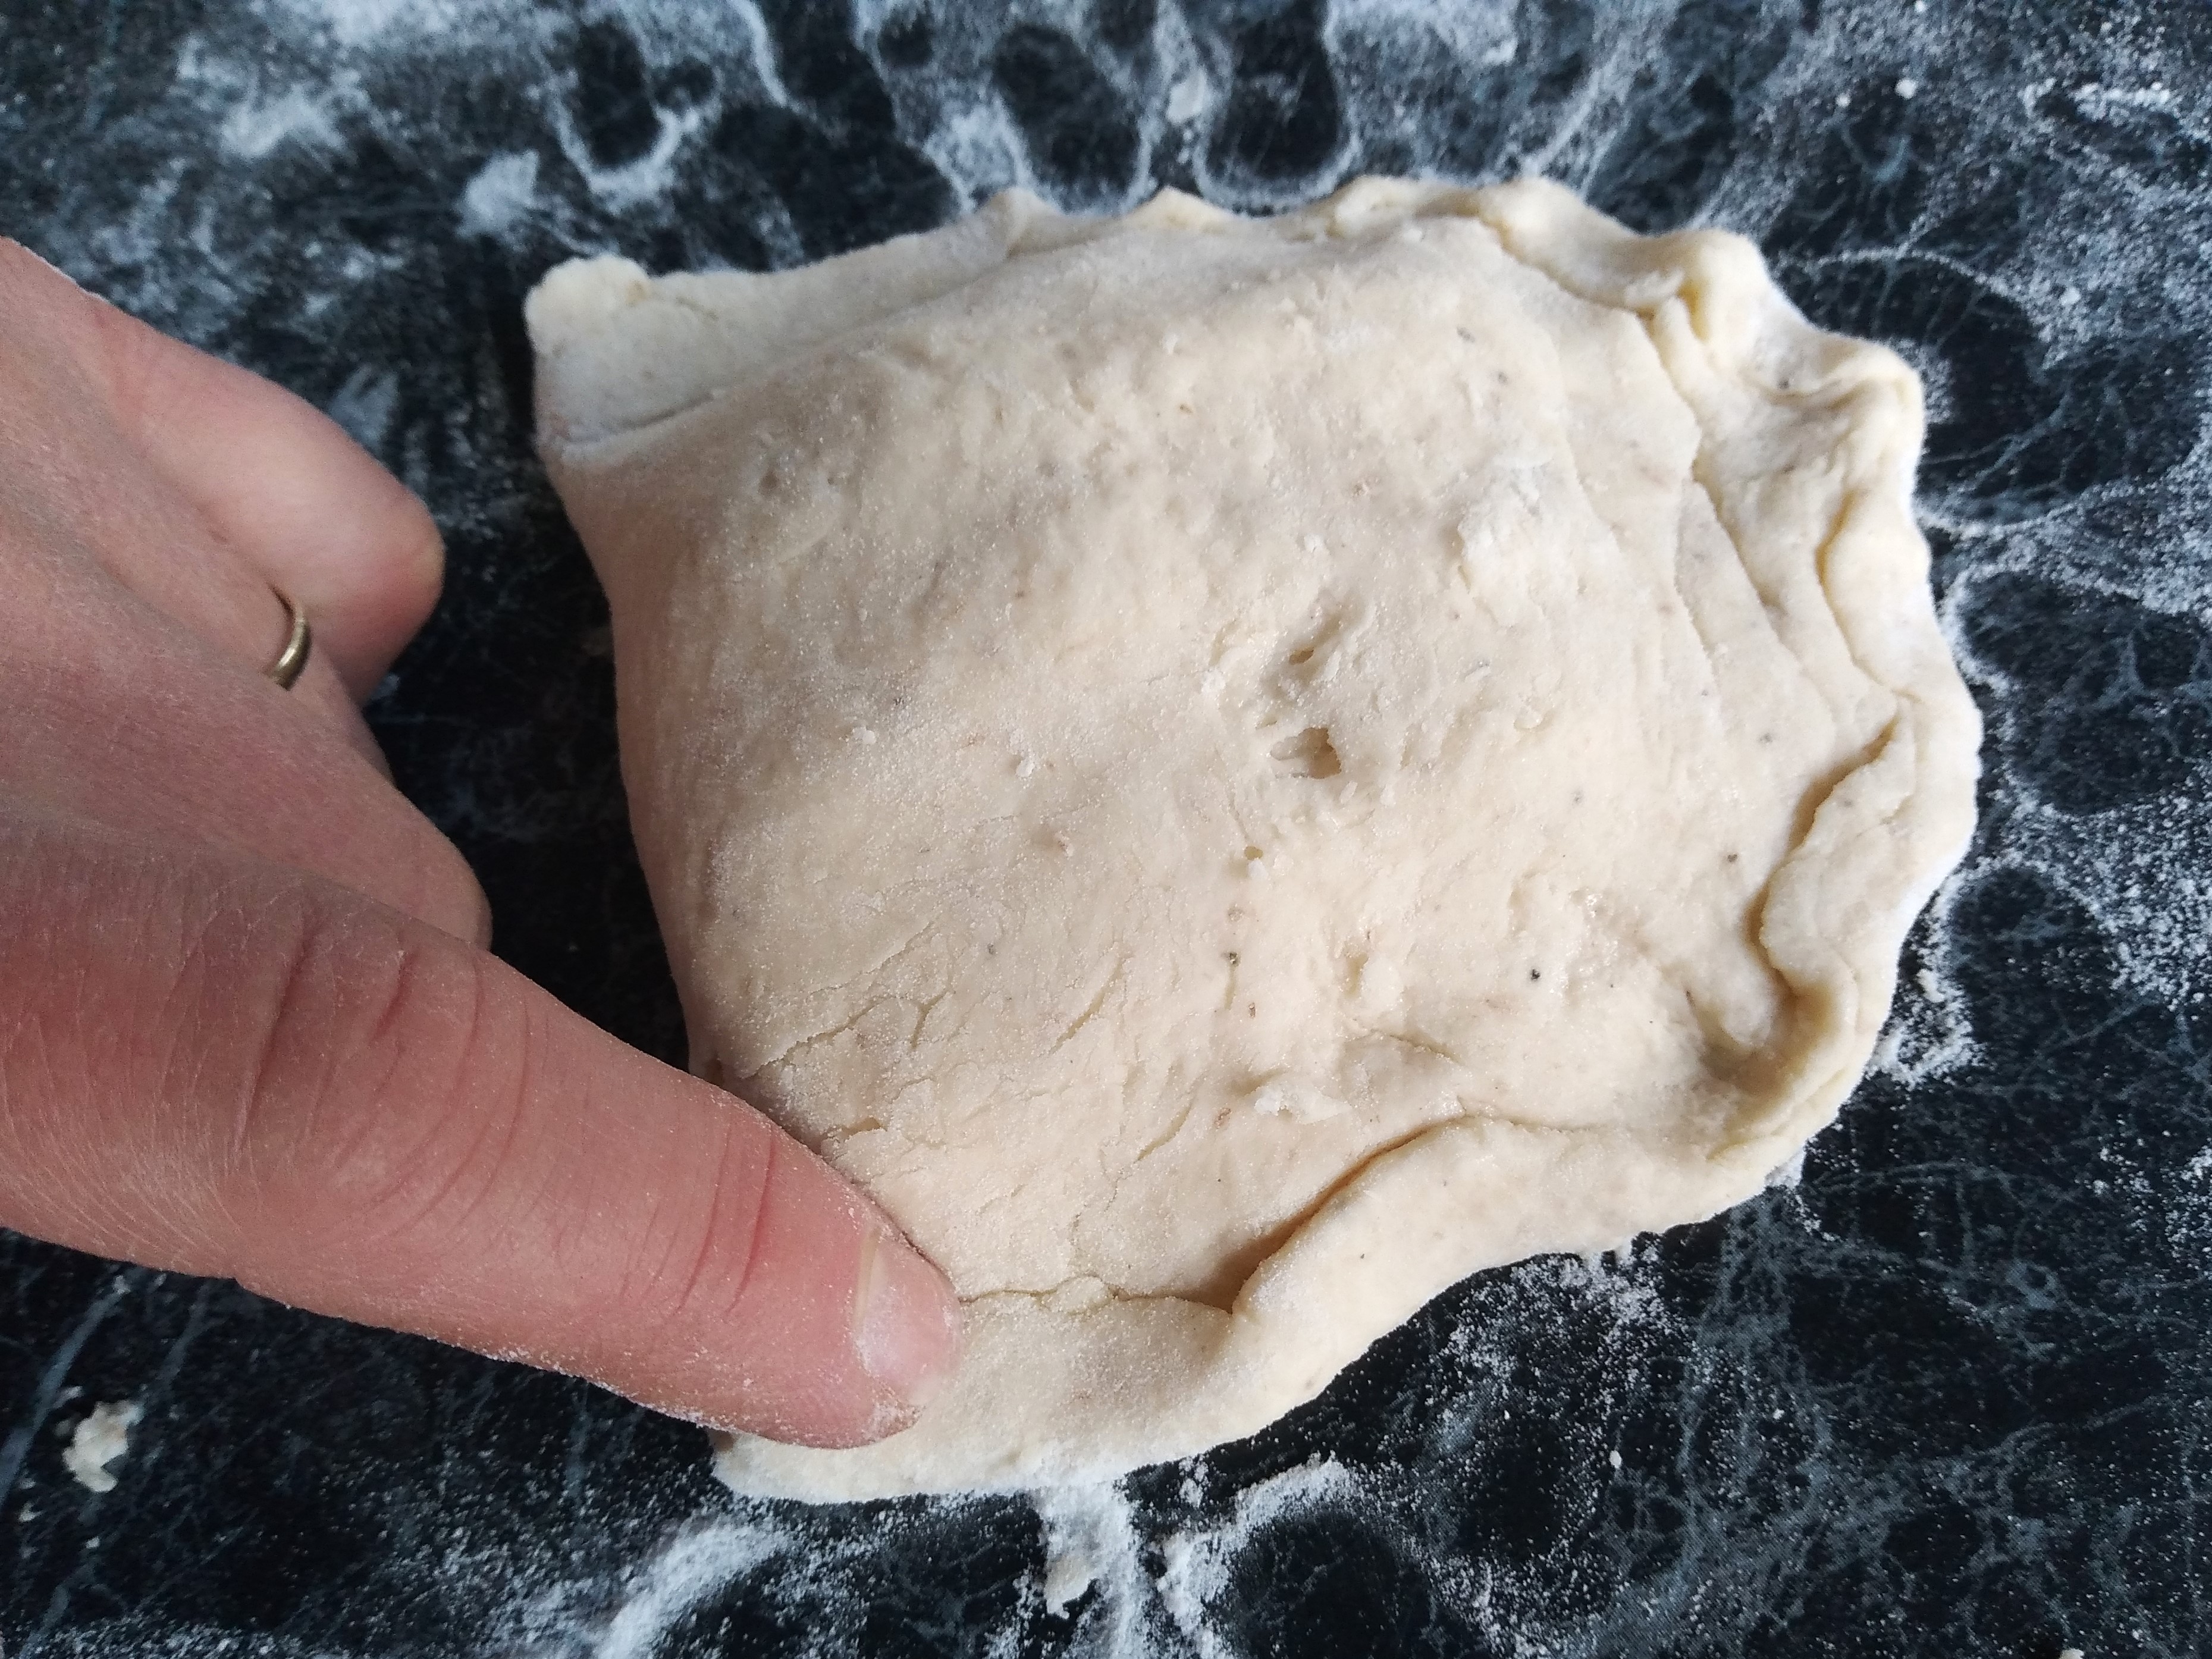
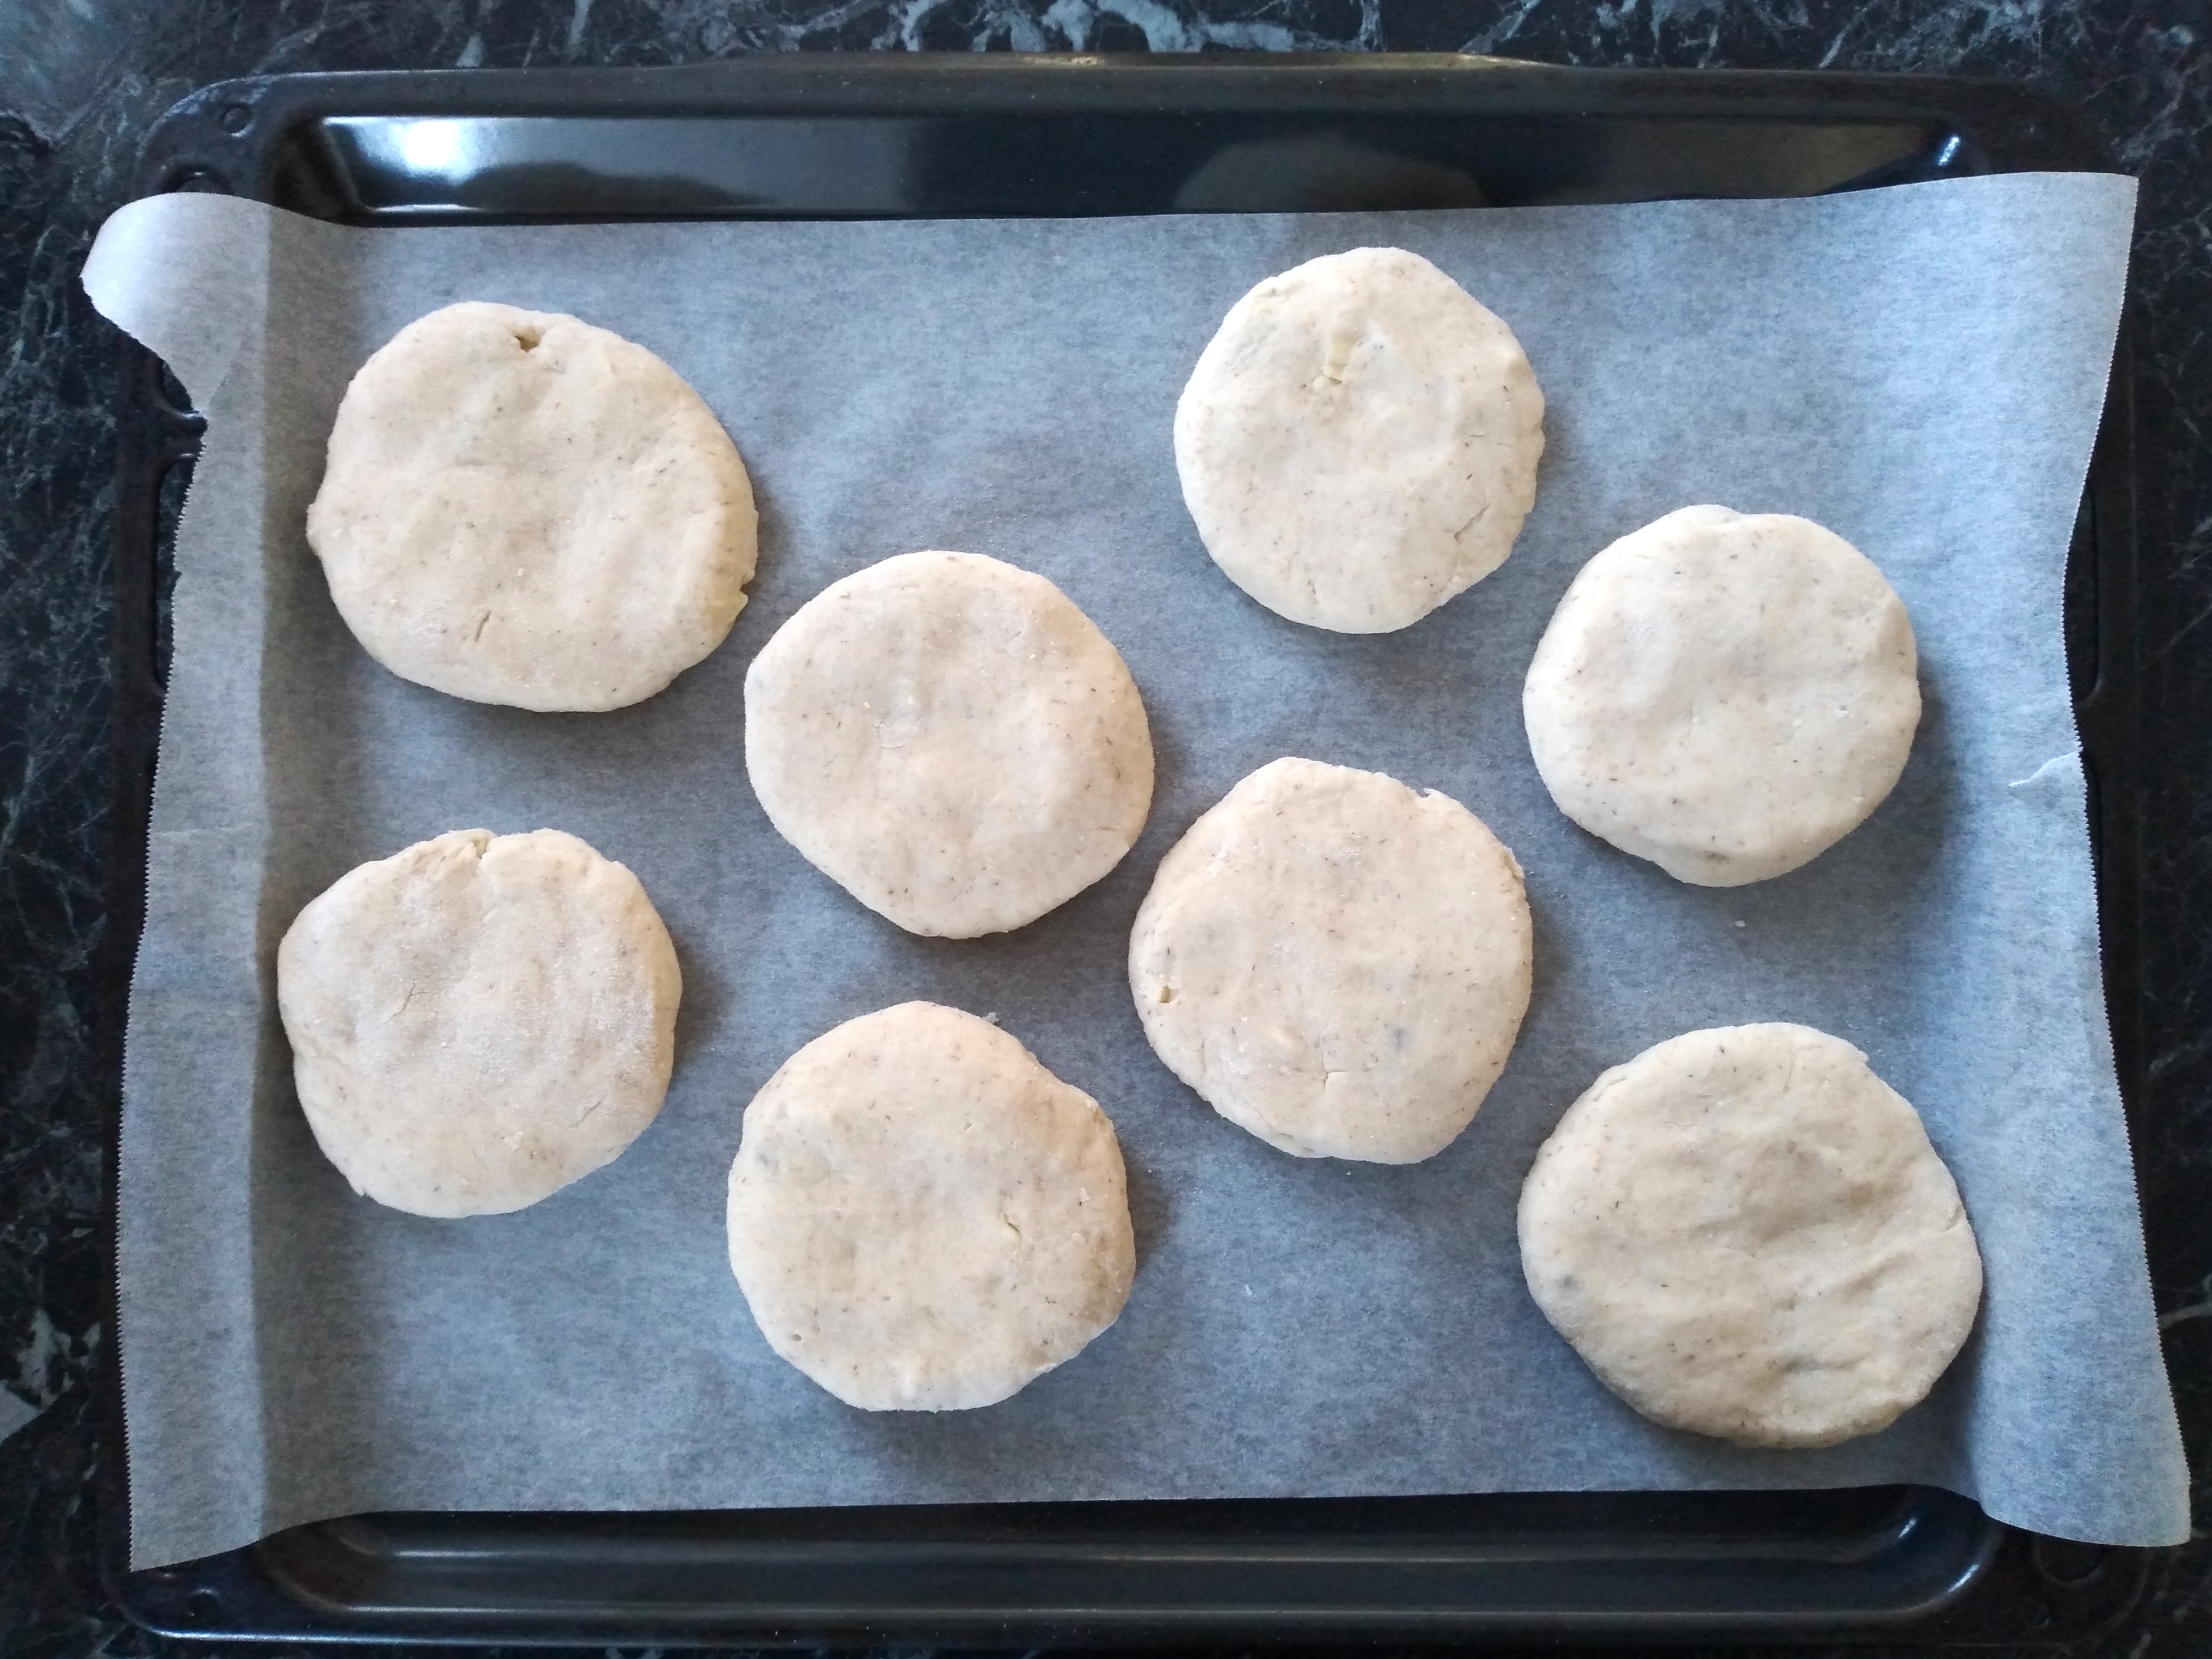
4. Roll each piece of dough into a ball and then into a flat oval shape about half a centimetre thick. Feel free to experiment with filling and shaping the buns as you prefer – I will describe here what I found the easiest (some of the pictures here are a different shape as I forgot to take as many pictures when I figured out the half-oval shape described here). Spread the bun filling across half of the oval, leaving a margin of about 1 cm to fold in the dough to encase the filling. Try not to put too much filling in each bun but do put in enough for good flavour – it is a tricky balance and I found erring on the side of lots of cheese but not too much of everything else was best! Then carefully fold the half of the oval with no filling over the half with filling (I lifted the half off the counter with my bench scraper and then flipped it by hand). Press down the bun dough along the margin to bring together the two halves of the dough oval and then make little folds of the dough around the margin to fully seal in the filling. Once this is done, carefully turn the now-half oval shaped bun over, neaten the shape a little (they are pretty rustic looking anyway!) and then place smoother-side up on a baking pan (or pans – depending on the shape and size, I sometimes need 2 pans) lined with baking paper. Repeat this process until all the buns have been filled and shaped.
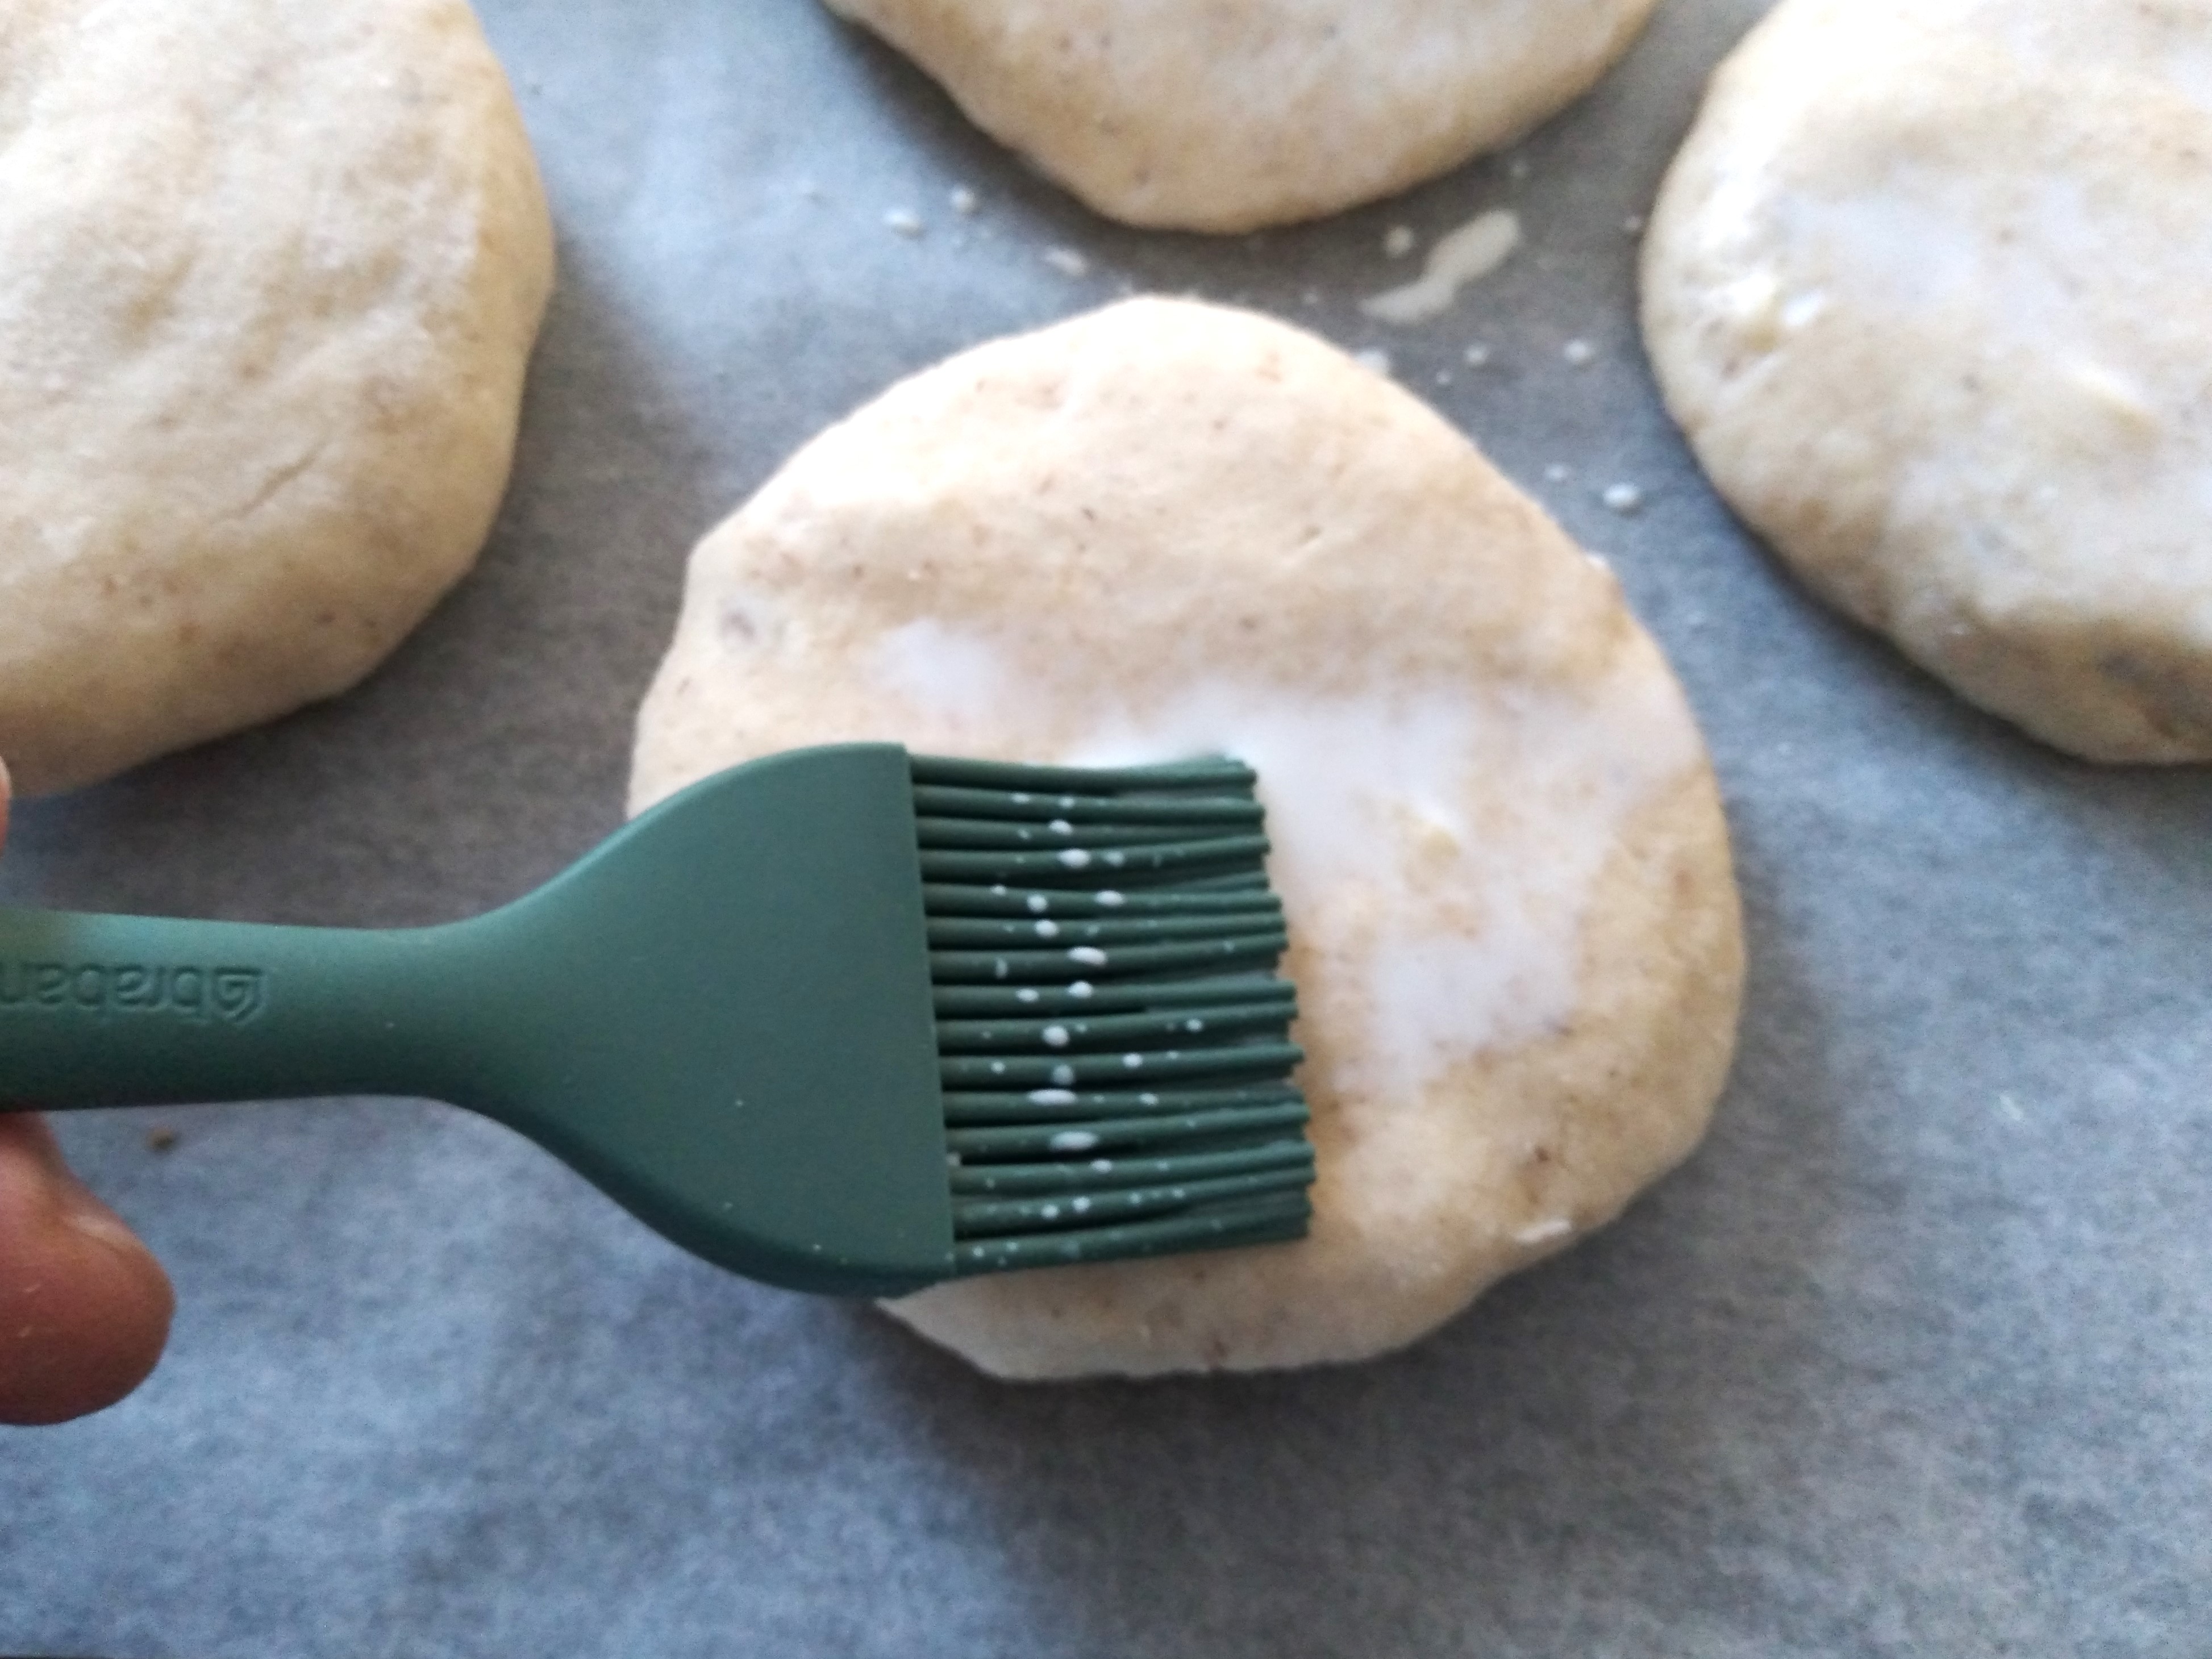
5. Generously brush milk over the top of each bun and then cover them and leave them somewhere warm to rise. I usually cover my dough with either a damp cloth or clingfilm and a cloth before leaving to rise. If the weather is cold, I will warm the oven to a low temperature while making the dough and then turn the oven off and leave the dough in the oven, with the door closed, to rise. If you do this, make sure that the oven is not too hot before putting the dough in, as if it is too hot, you may kill the yeast.
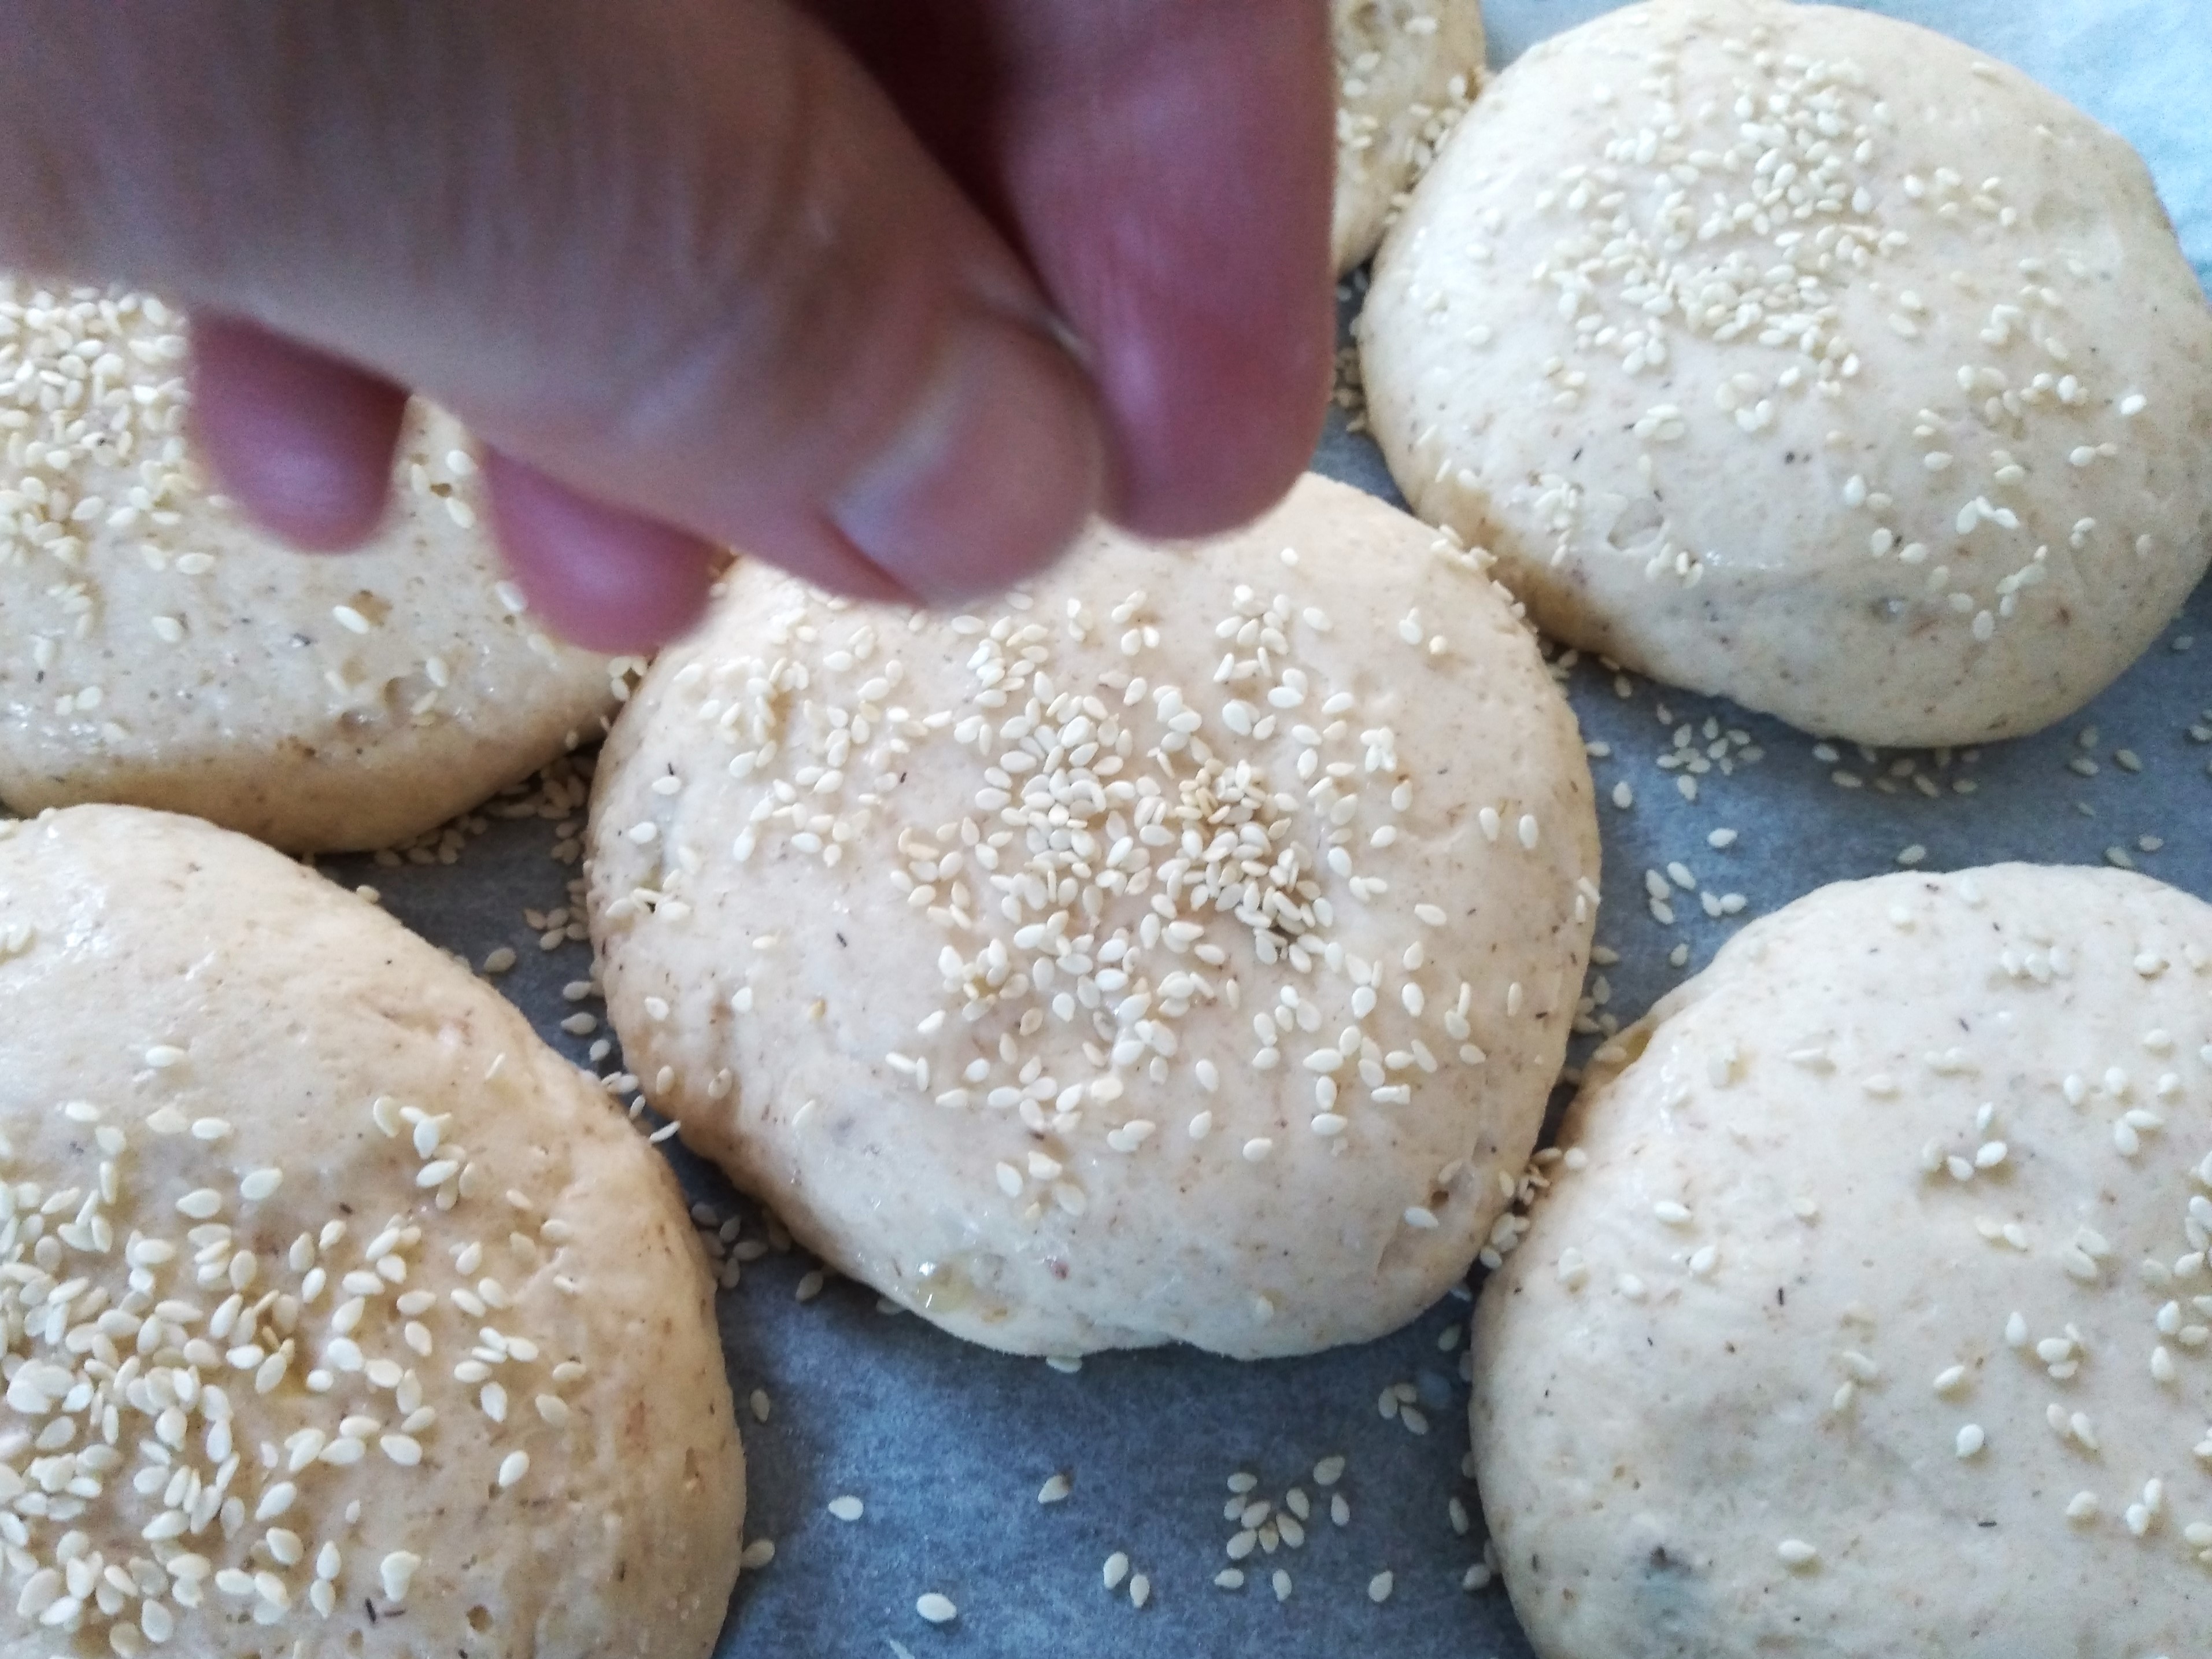
6. Once the buns have risen to 1.5 to 2 times their original size, preheat the oven to 180°C fan (if your dough is rising in the oven, remove it from the oven before you turn the oven on to pre-heat). While the oven is preheating, sprinkle seeds on top of each bun, if using.

7. When the oven is at temperature and the buns have been topped, place the baking pan in the middle of the oven to bake, for about 17 to 20 minutes or until the buns are golden brown and sound hollow when tapped.
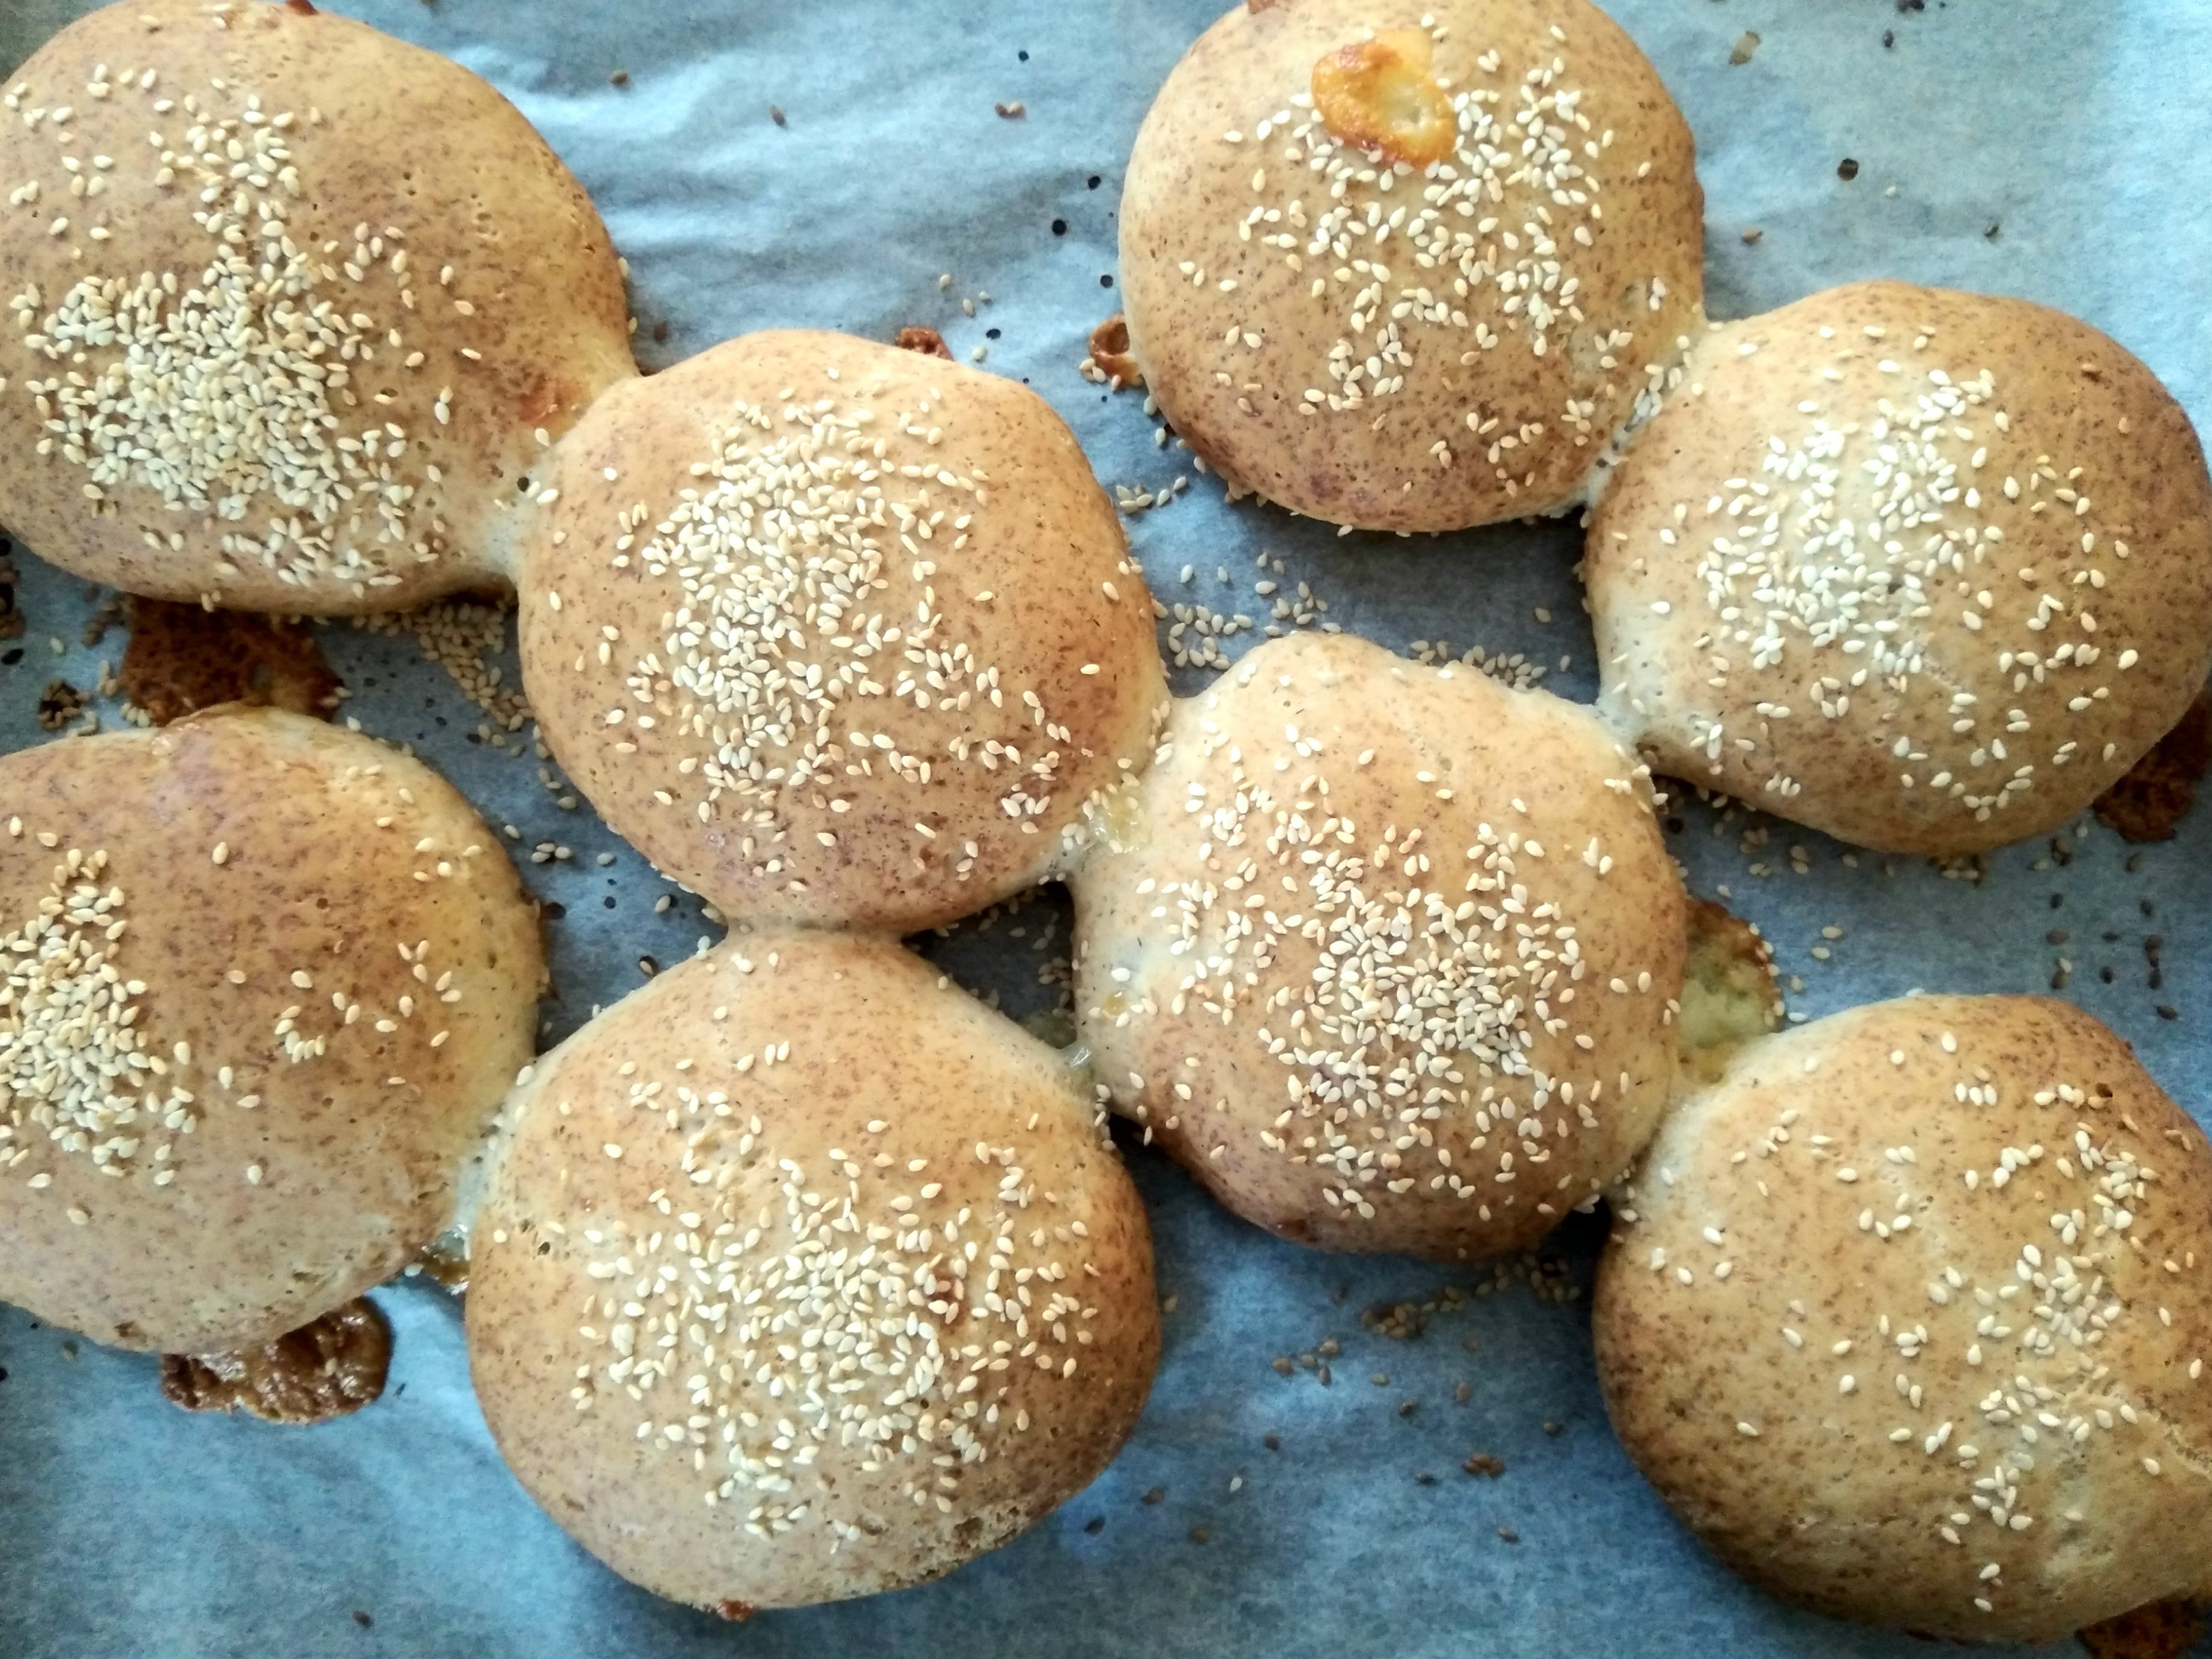
8. Once baked, remove the buns from the oven and place each one on a cooling rack to cool slightly before eating. Or eat hot straight from the oven. Or cool completely and then freeze for later. Or cool completely and then wrap tightly for a lunchbox. But whatever you do, I hope you enjoy them!