According to the date beside the scribbles of this recipe in the notebook I use for recipe development, I finalised this recipe last year. And I have made it numerous times since then as it is a great bread to make and take away with us. I have been planning to post it on here ever since then, but never got around to doing it. And so now, I finally am doing it!
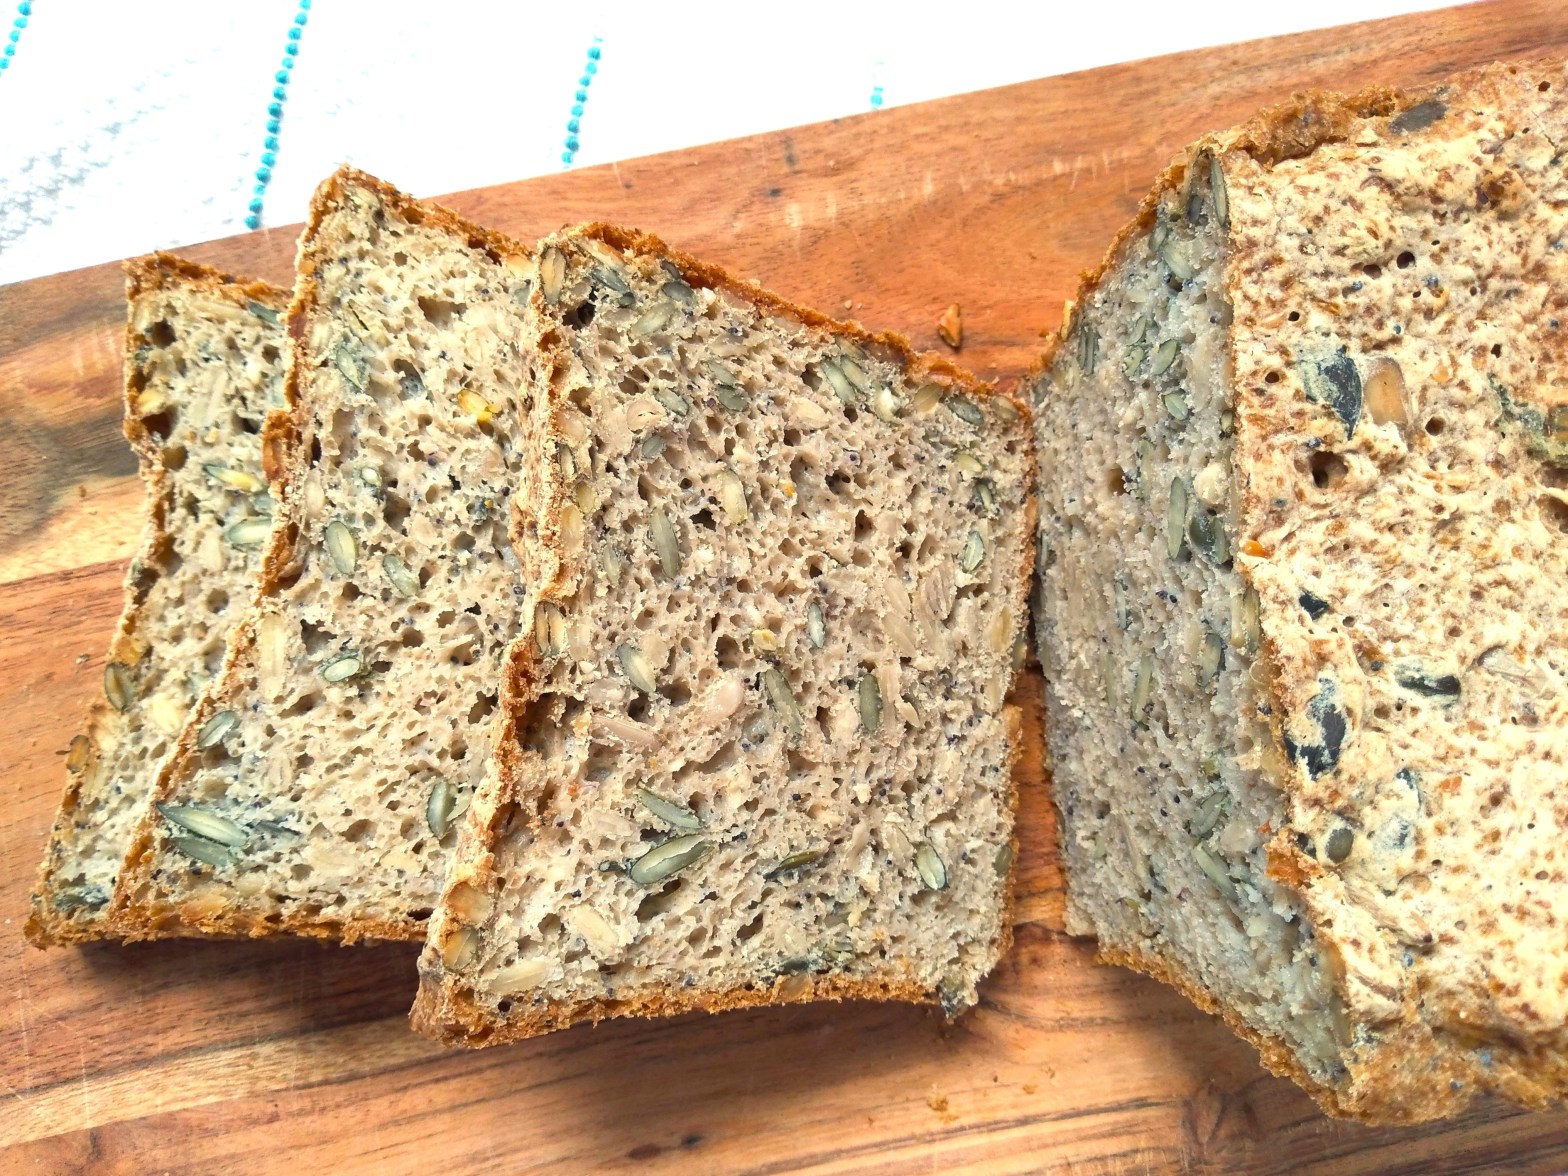
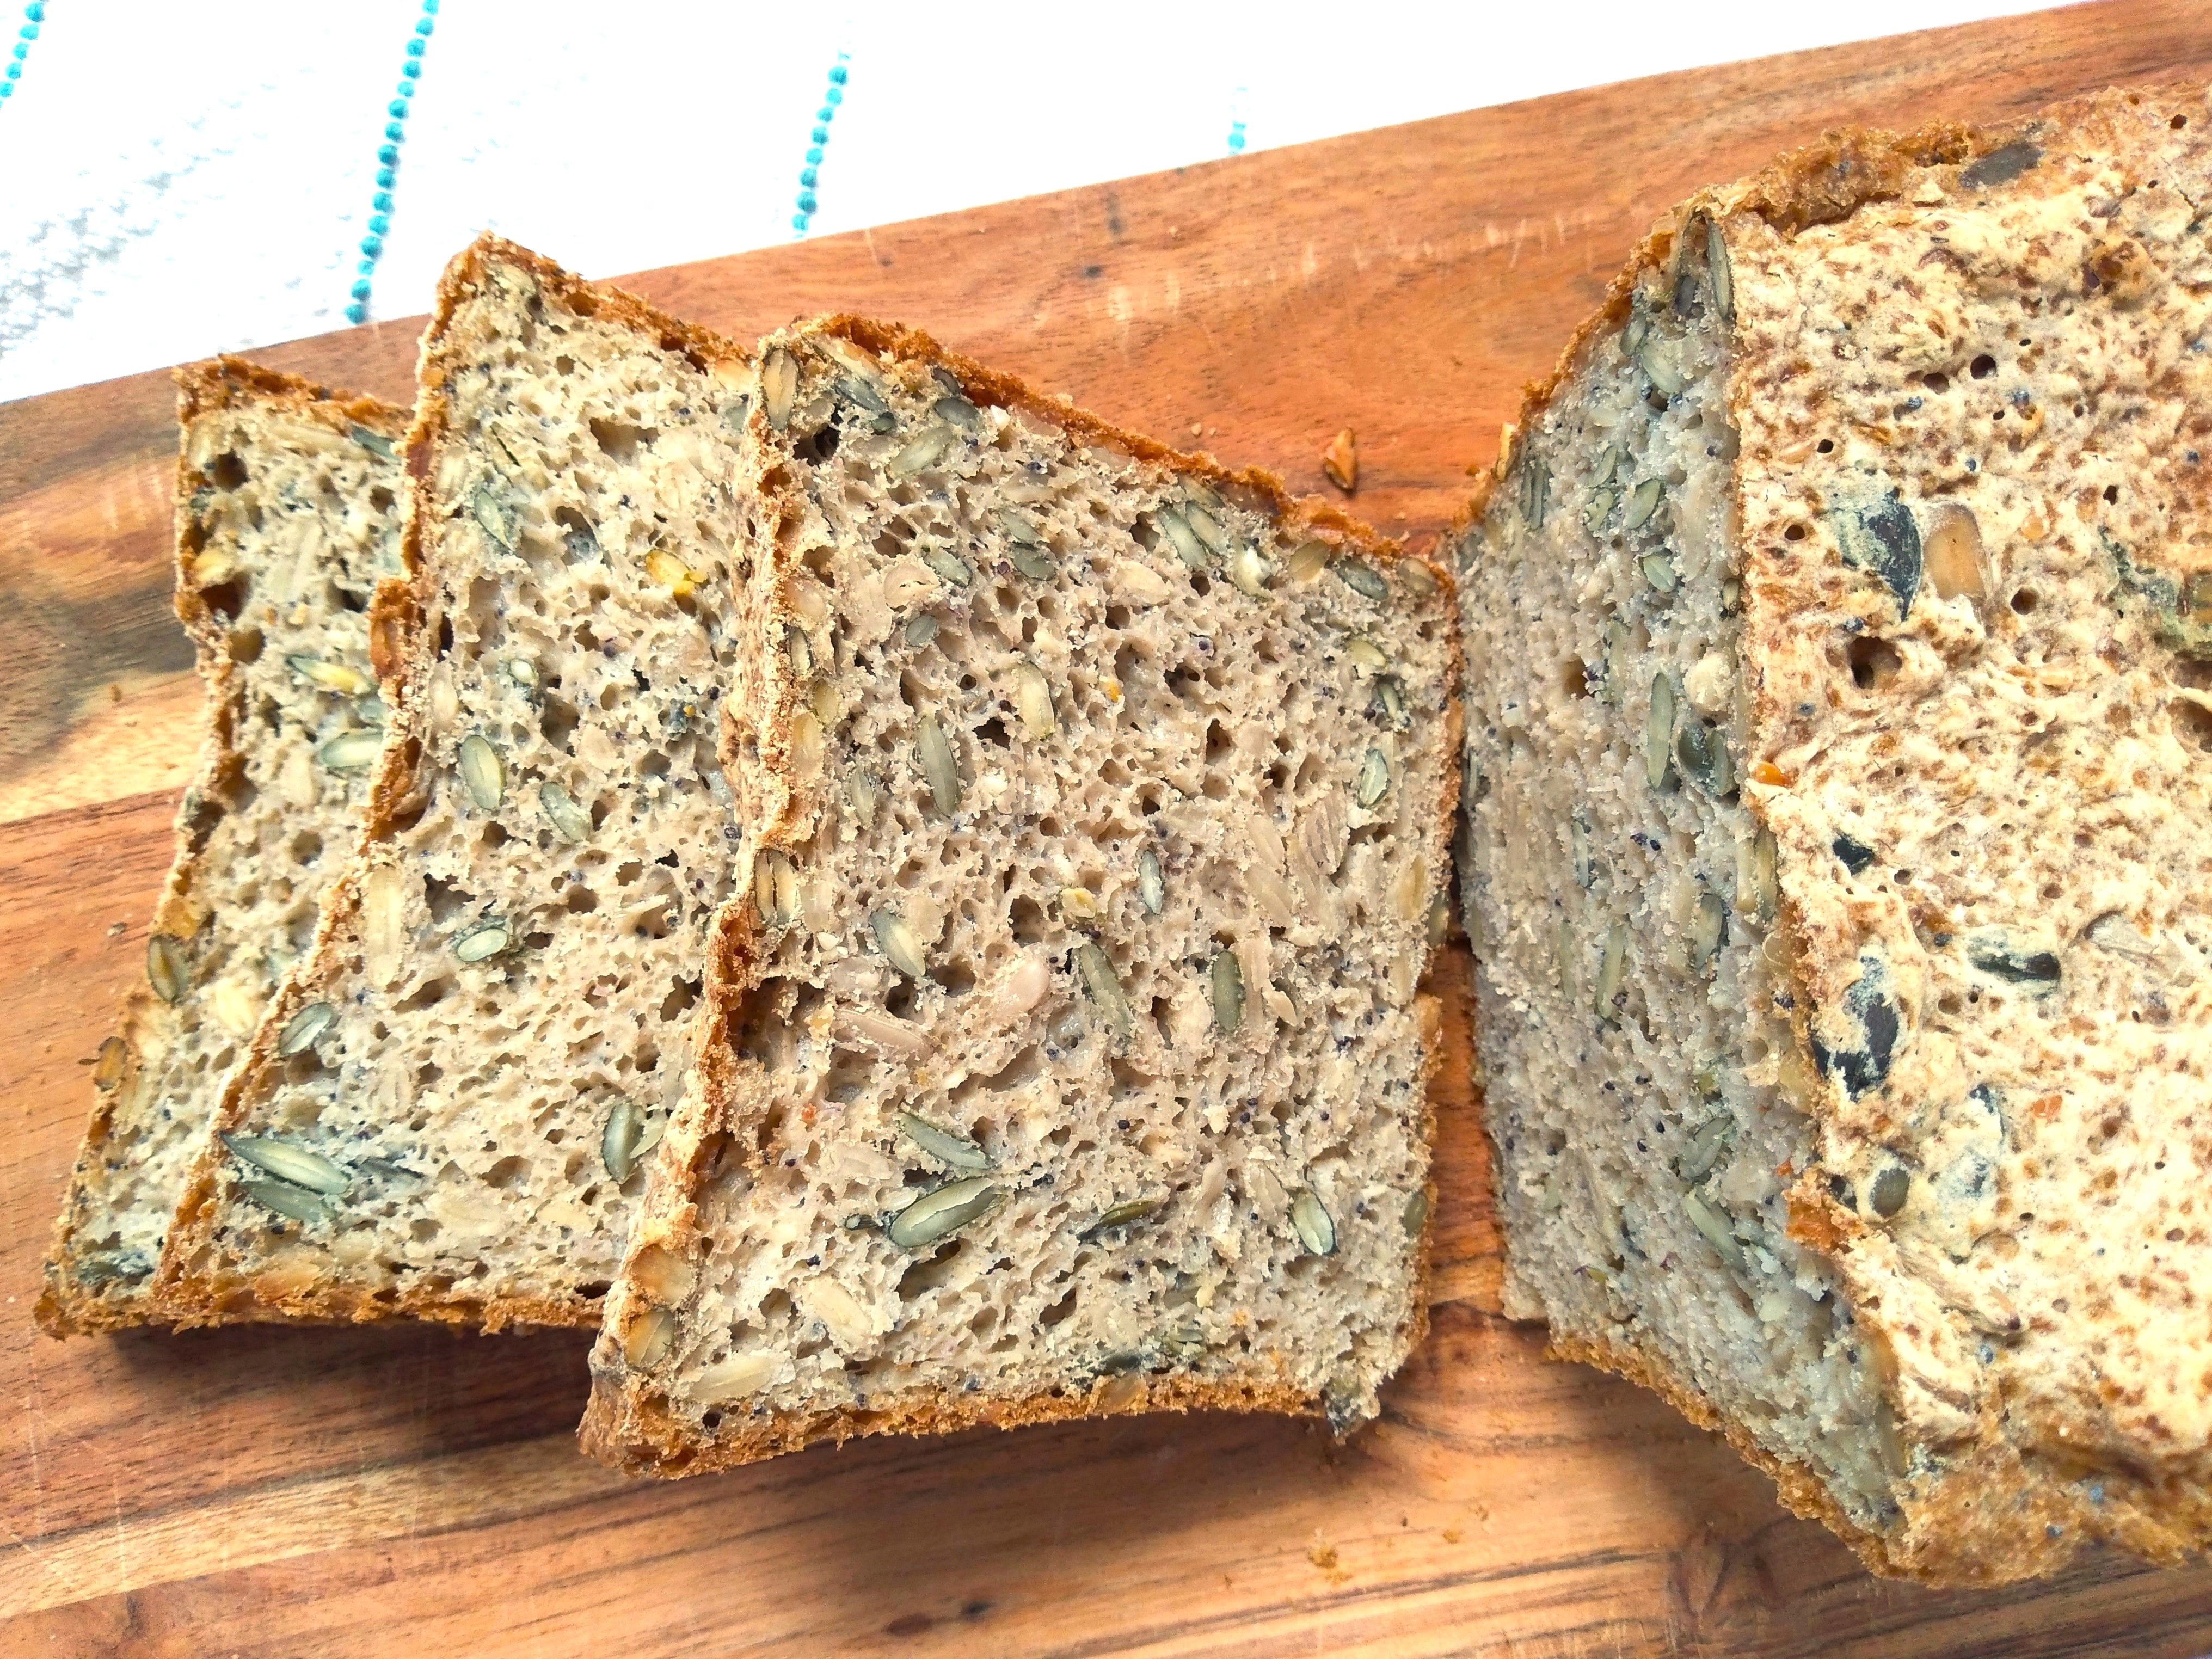
This bread is full of seedy goodness – I like to use a mix of a small quantity of small seeds, such as sesame seeds and poppy seeds, and a bigger quantity of big seeds, such as sunflower and pumpkin seeds, but feel free to experiment with whatever your preferences are (and let me know if you come up with an amazing combination!).
I used to use small loaf tins for this and was always frustrated because the dough filled one and half small tins comfortably. And then I found a larger pullman-style tin online and it has transformed my bread making. The tin I now use is 27 cm x 11 cm x 11 cm and has a capacity of 2.8 litres. If you have smaller tins, just divide the dough equally between two tins, or fill one to halfway to make as a big a loaf as possible for your tin size and then make a smaller, flatter loaf with the remaining dough in a second tin. If you do this, adjust the baking times accordingly and err towards overcooked rather than undercooked the first time you make this loaf, and then adjust timings for the future.
Overcooking the loaf shouldn’t affect the taste and texture too much (except that the crust may be harder) but may affect the keeping time. I usually find this loaf can be eaten once it has cooled down and keeps pretty well in an airtight container until the day after I make it. For use after this time, I prefer to slice and freeze it once it has cooled. Sometimes, I make this loaf the evening before I need it, in which case I aim for the baking to finish right before I go to bed, and I remove the loaf from the oven and wrap it in a muslin cloth and then leave it overnight on a cooling rack, and then store in an airtight container from first thing the next morning.
All the measurements below are made using a 250 ml cup as equal to 1 cup. To measure the dry ingredients, spoon them into the cup and then level off the ingredient with the back of a butter knife, rather than scooping the ingredient directly into the cup. When I make this in my large loaf tin (dimensions given above), the loaf I end up with is only a bit smaller than some supermarket gluten bread loaves.
What you need:
1 cup of sorghum flour
1 cup of buckwheat flour
½ cup of tapioca starch
½ cup of potato starch
2 cups of seeds*
5 tablespoons of psyllium husk
1 teaspoon of instant dry yeast
1 tablespoon of light brown sugar
1 tablespoon of baking powder
1 teaspoon of salt
2 tablespoons of mild oil (I like sunflower oil or mild olive oil)
1 teaspoon of vinegar (for example, apple cider vinegar, white vinegar or white wine vinegar)
2 2/3 cups of warm water
Mild oil or butter to grease the loaf pan (use oil for dairy free)
What to do:
1. Place all the ingredients, except the oil or butter to grease the pan, together in a large bowl and mix together thoroughly. I usually put the yeast on the opposite side of the bowl to the salt and baking powder when I add them to the bowl, to ensure that the yeast isn’t killed by too great a concentration of salt before all the ingredients are mixed together.
2. Grease a loaf pan (or 2 pans, if using small pans) thoroughly with mild oil or butter. If using a pullman-style pan, grease the lid as well as the pan.
3. Spread the dough evenly across the bottom of the greased pan, using slightly damp hands to push it into the corners of the pan and to spread the top of the dough evenly. In my large pullman-style tin, the dough usually comes up to about halfway up the tin. If using smaller tins, either divide the dough equally between two tins (for two small, flattish loaves) or fill one tin to about 2/3 high and then put the rest of the dough in a second tin, for one higher loaf and one flattish loaf.
4. Cover the dough (I either use the lid of my pullman-style tin or cover the tin with a plastic freezer bag cut along one side and the bottom to make a big sheet of plastic, with a clean tea towel over the plastic) and set aside to rise until the dough is about 1.5 to 2 times its original size. My dough usually takes about half an hour to rise if I leave it somewhere warm.
5. When the dough is nearing the end of its rising time, turn the oven on to 180°C to preheat.
6. Once the oven has preheated, remove the lid or cover from the tin or tins and place in the middle of the preheated oven to bake for about 50 minutes, or until thoroughly baked – the bread should look golden brown and crusty on top and sound hollow when tapped when it is ready.
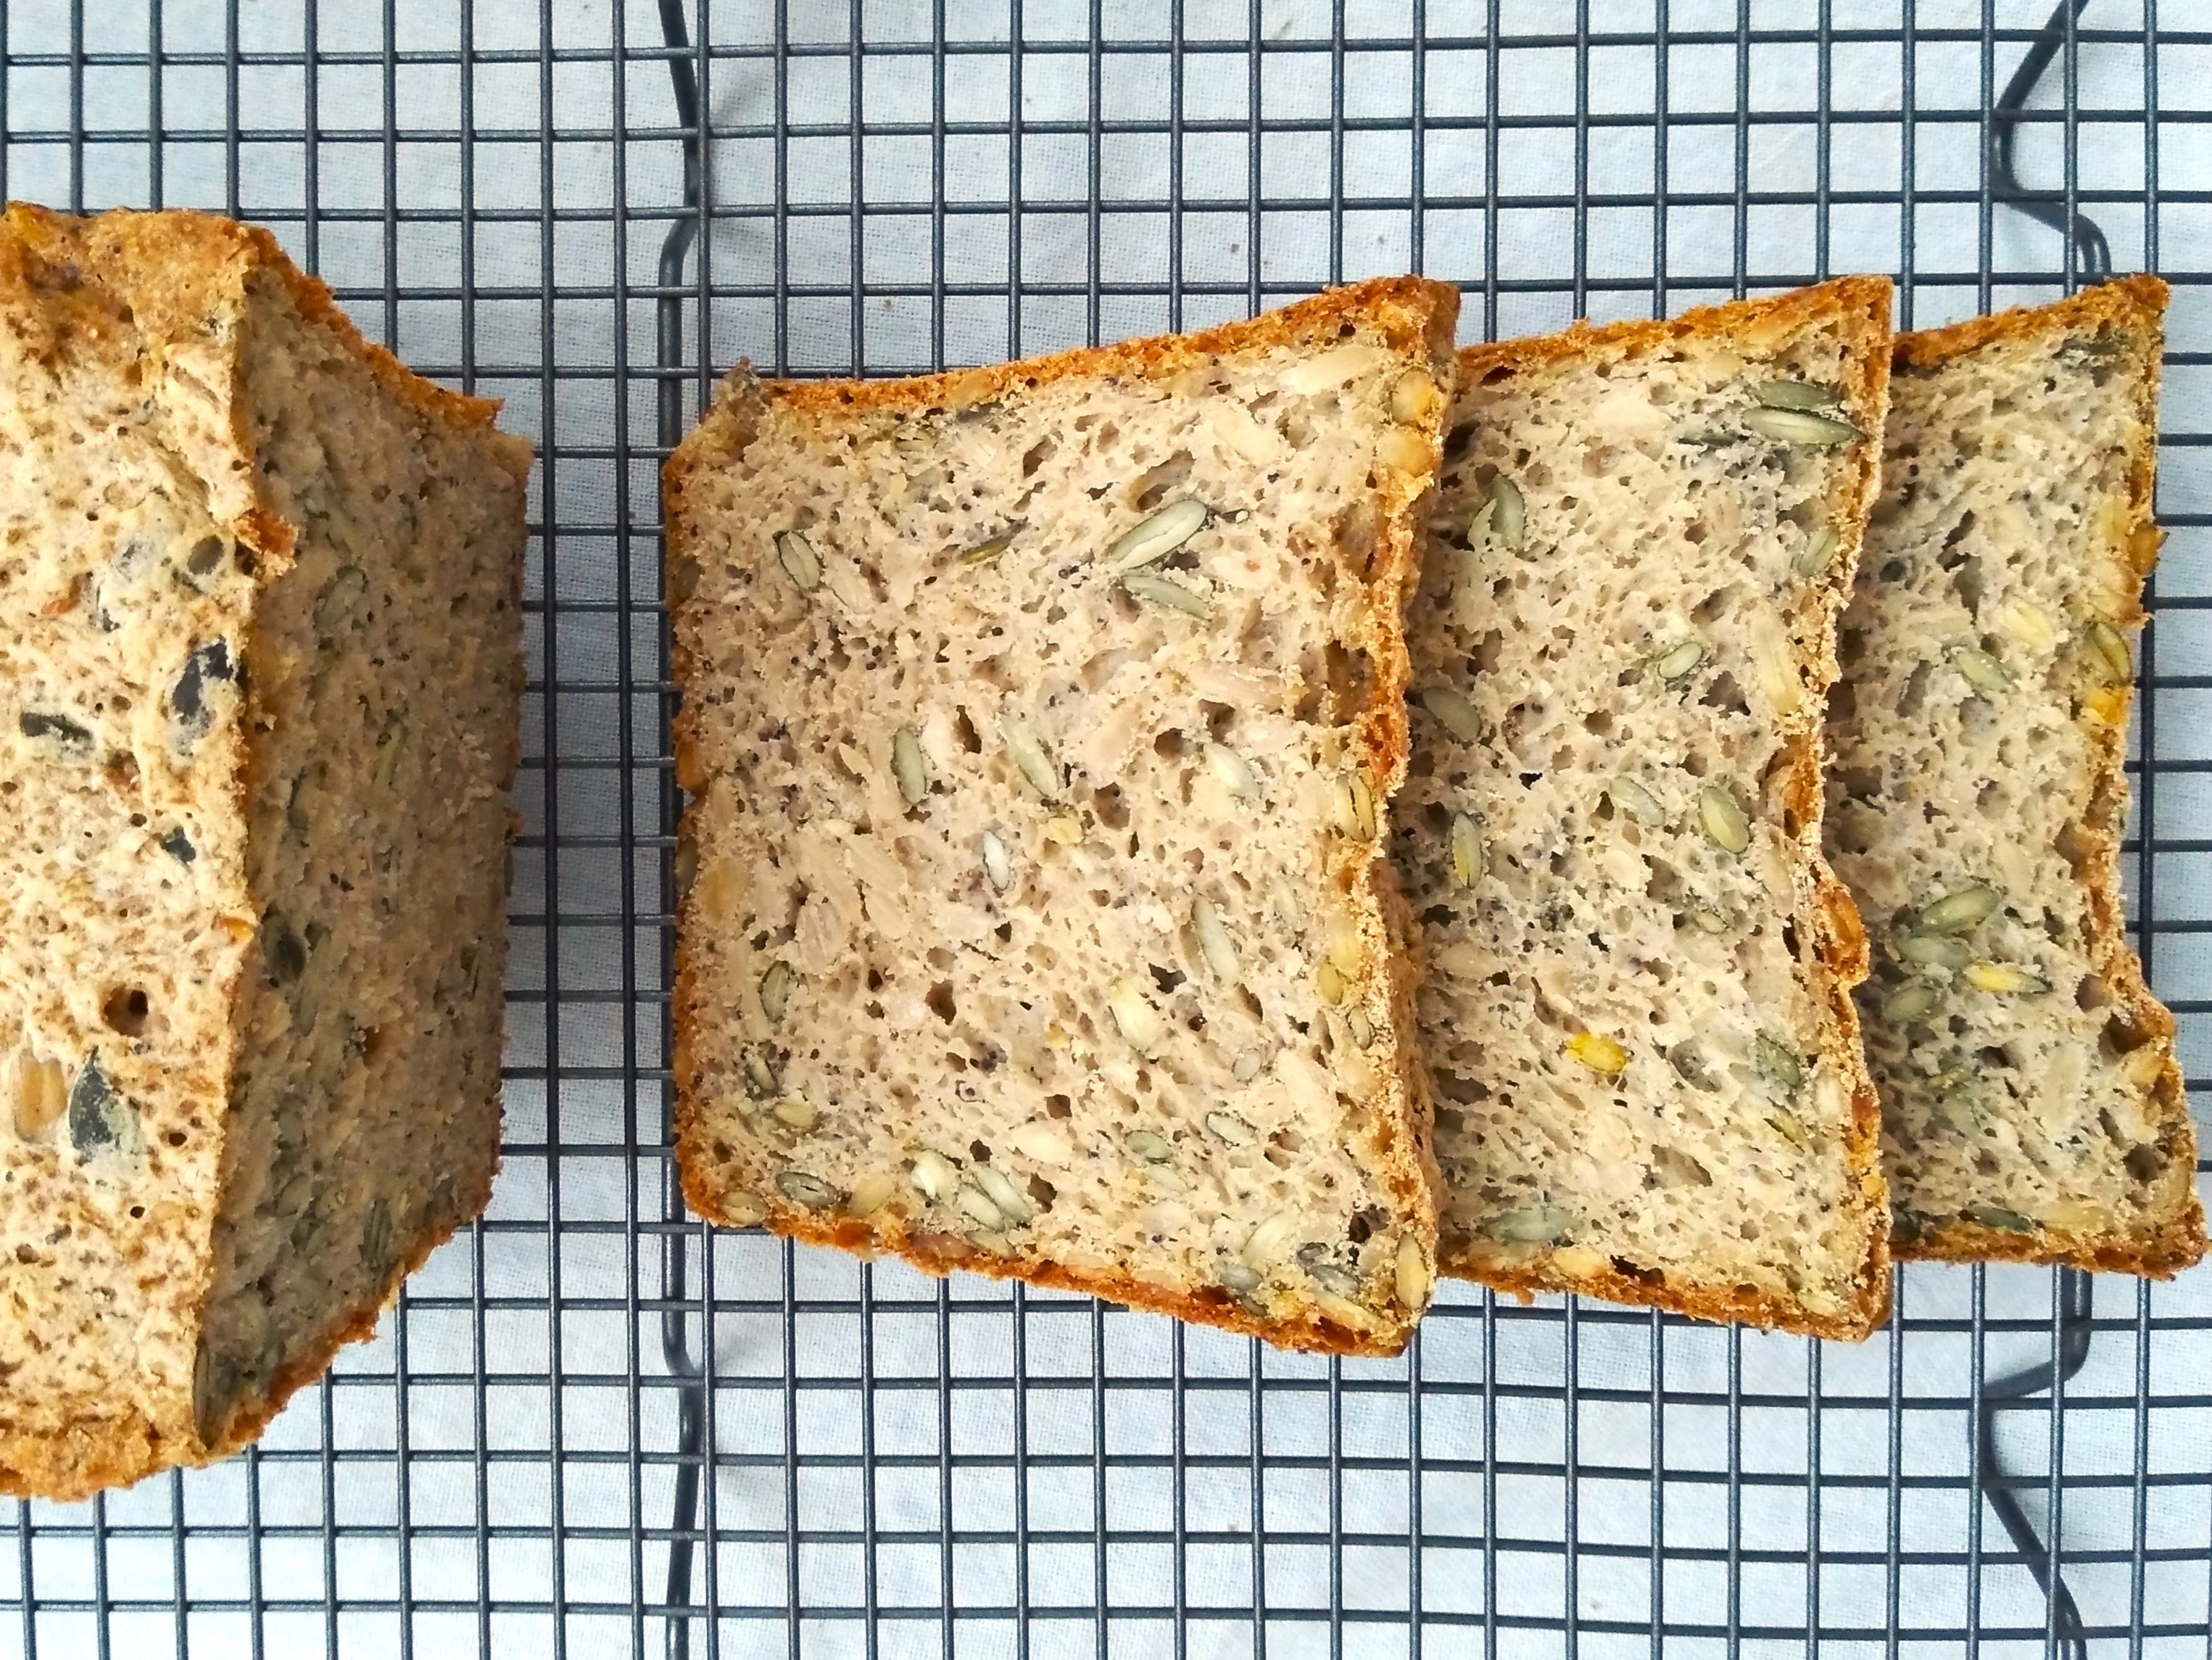
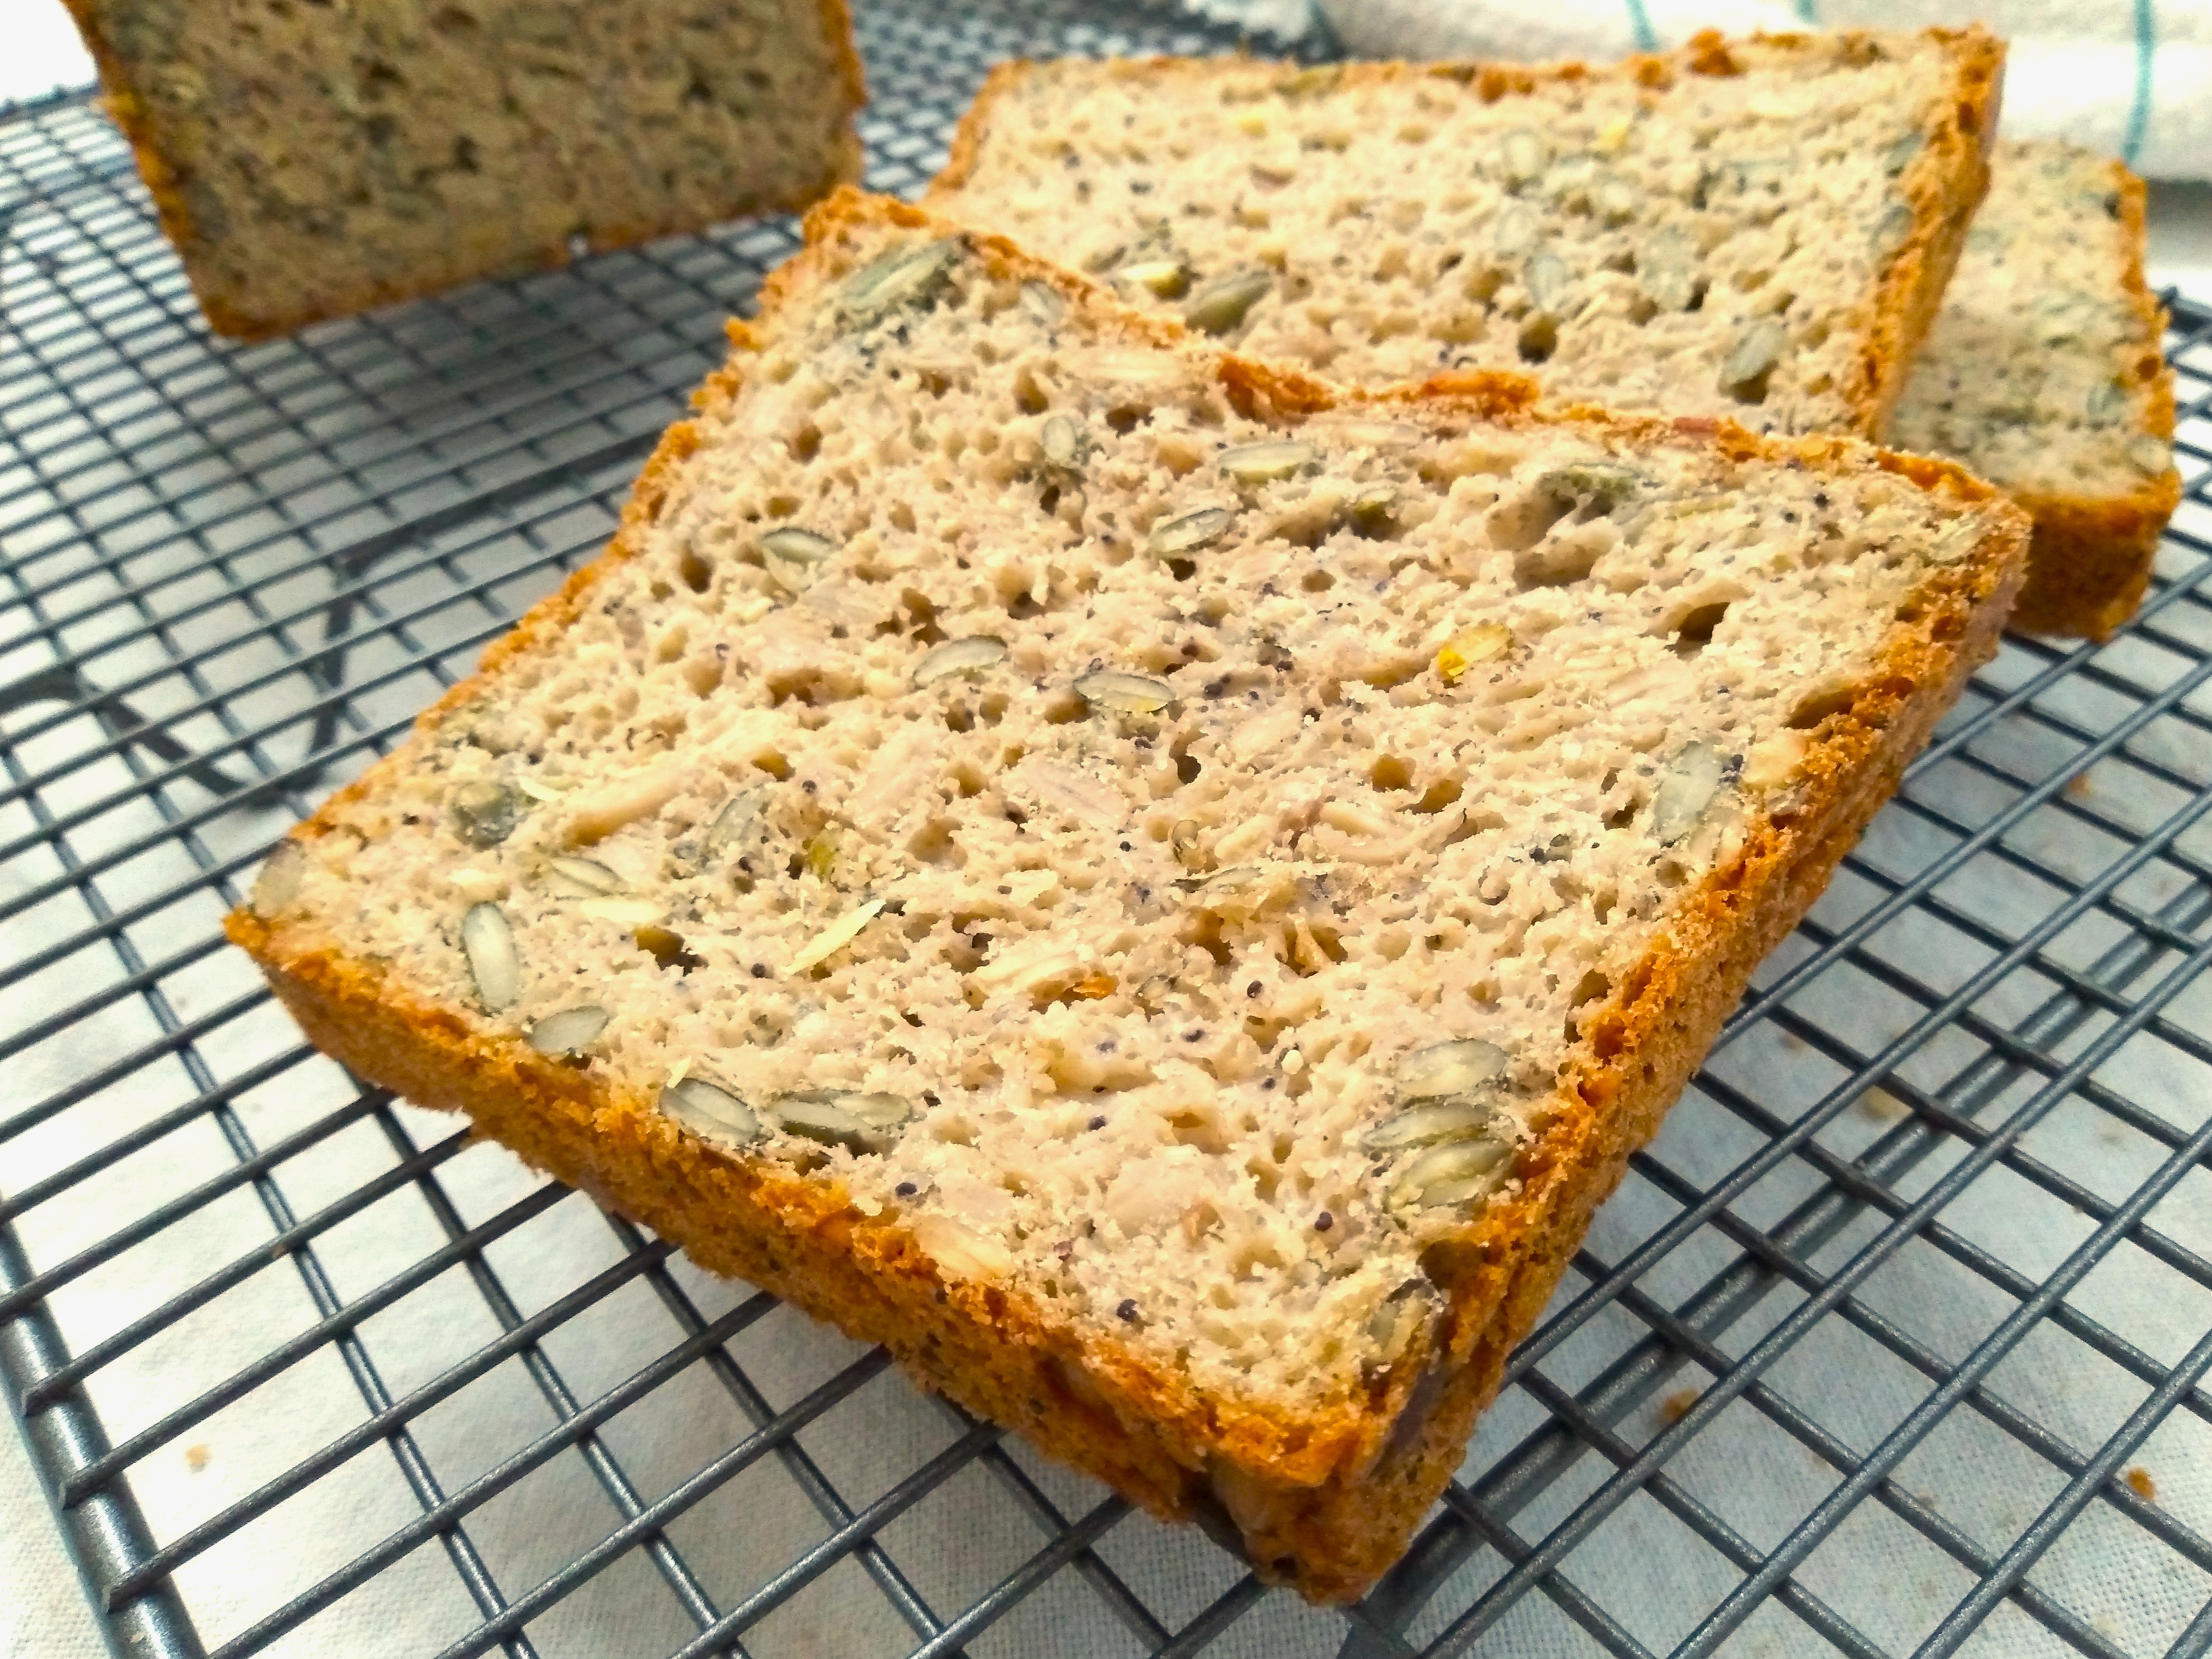
7. Remove the loaf tin or tins from the oven and immediately tip the bread out of the tin or tins on to a cooling rack to cool completely before eating. Store in an airtight container until the day after baking or slice and freeze for later use once cool.
8. Enjoy!
*I like usually put a couple of spoons of small seeds such as poppy seeds or sesame seeds in the cup measure and then fill it up to a full cup with larger seeds such as sunflower seeds or pumpkin seeds

One thought on “Seedy Bread (Gluten Free, Dairy Free, Gum Free, Egg Free)”