GF DF NF
Makes 10 naans
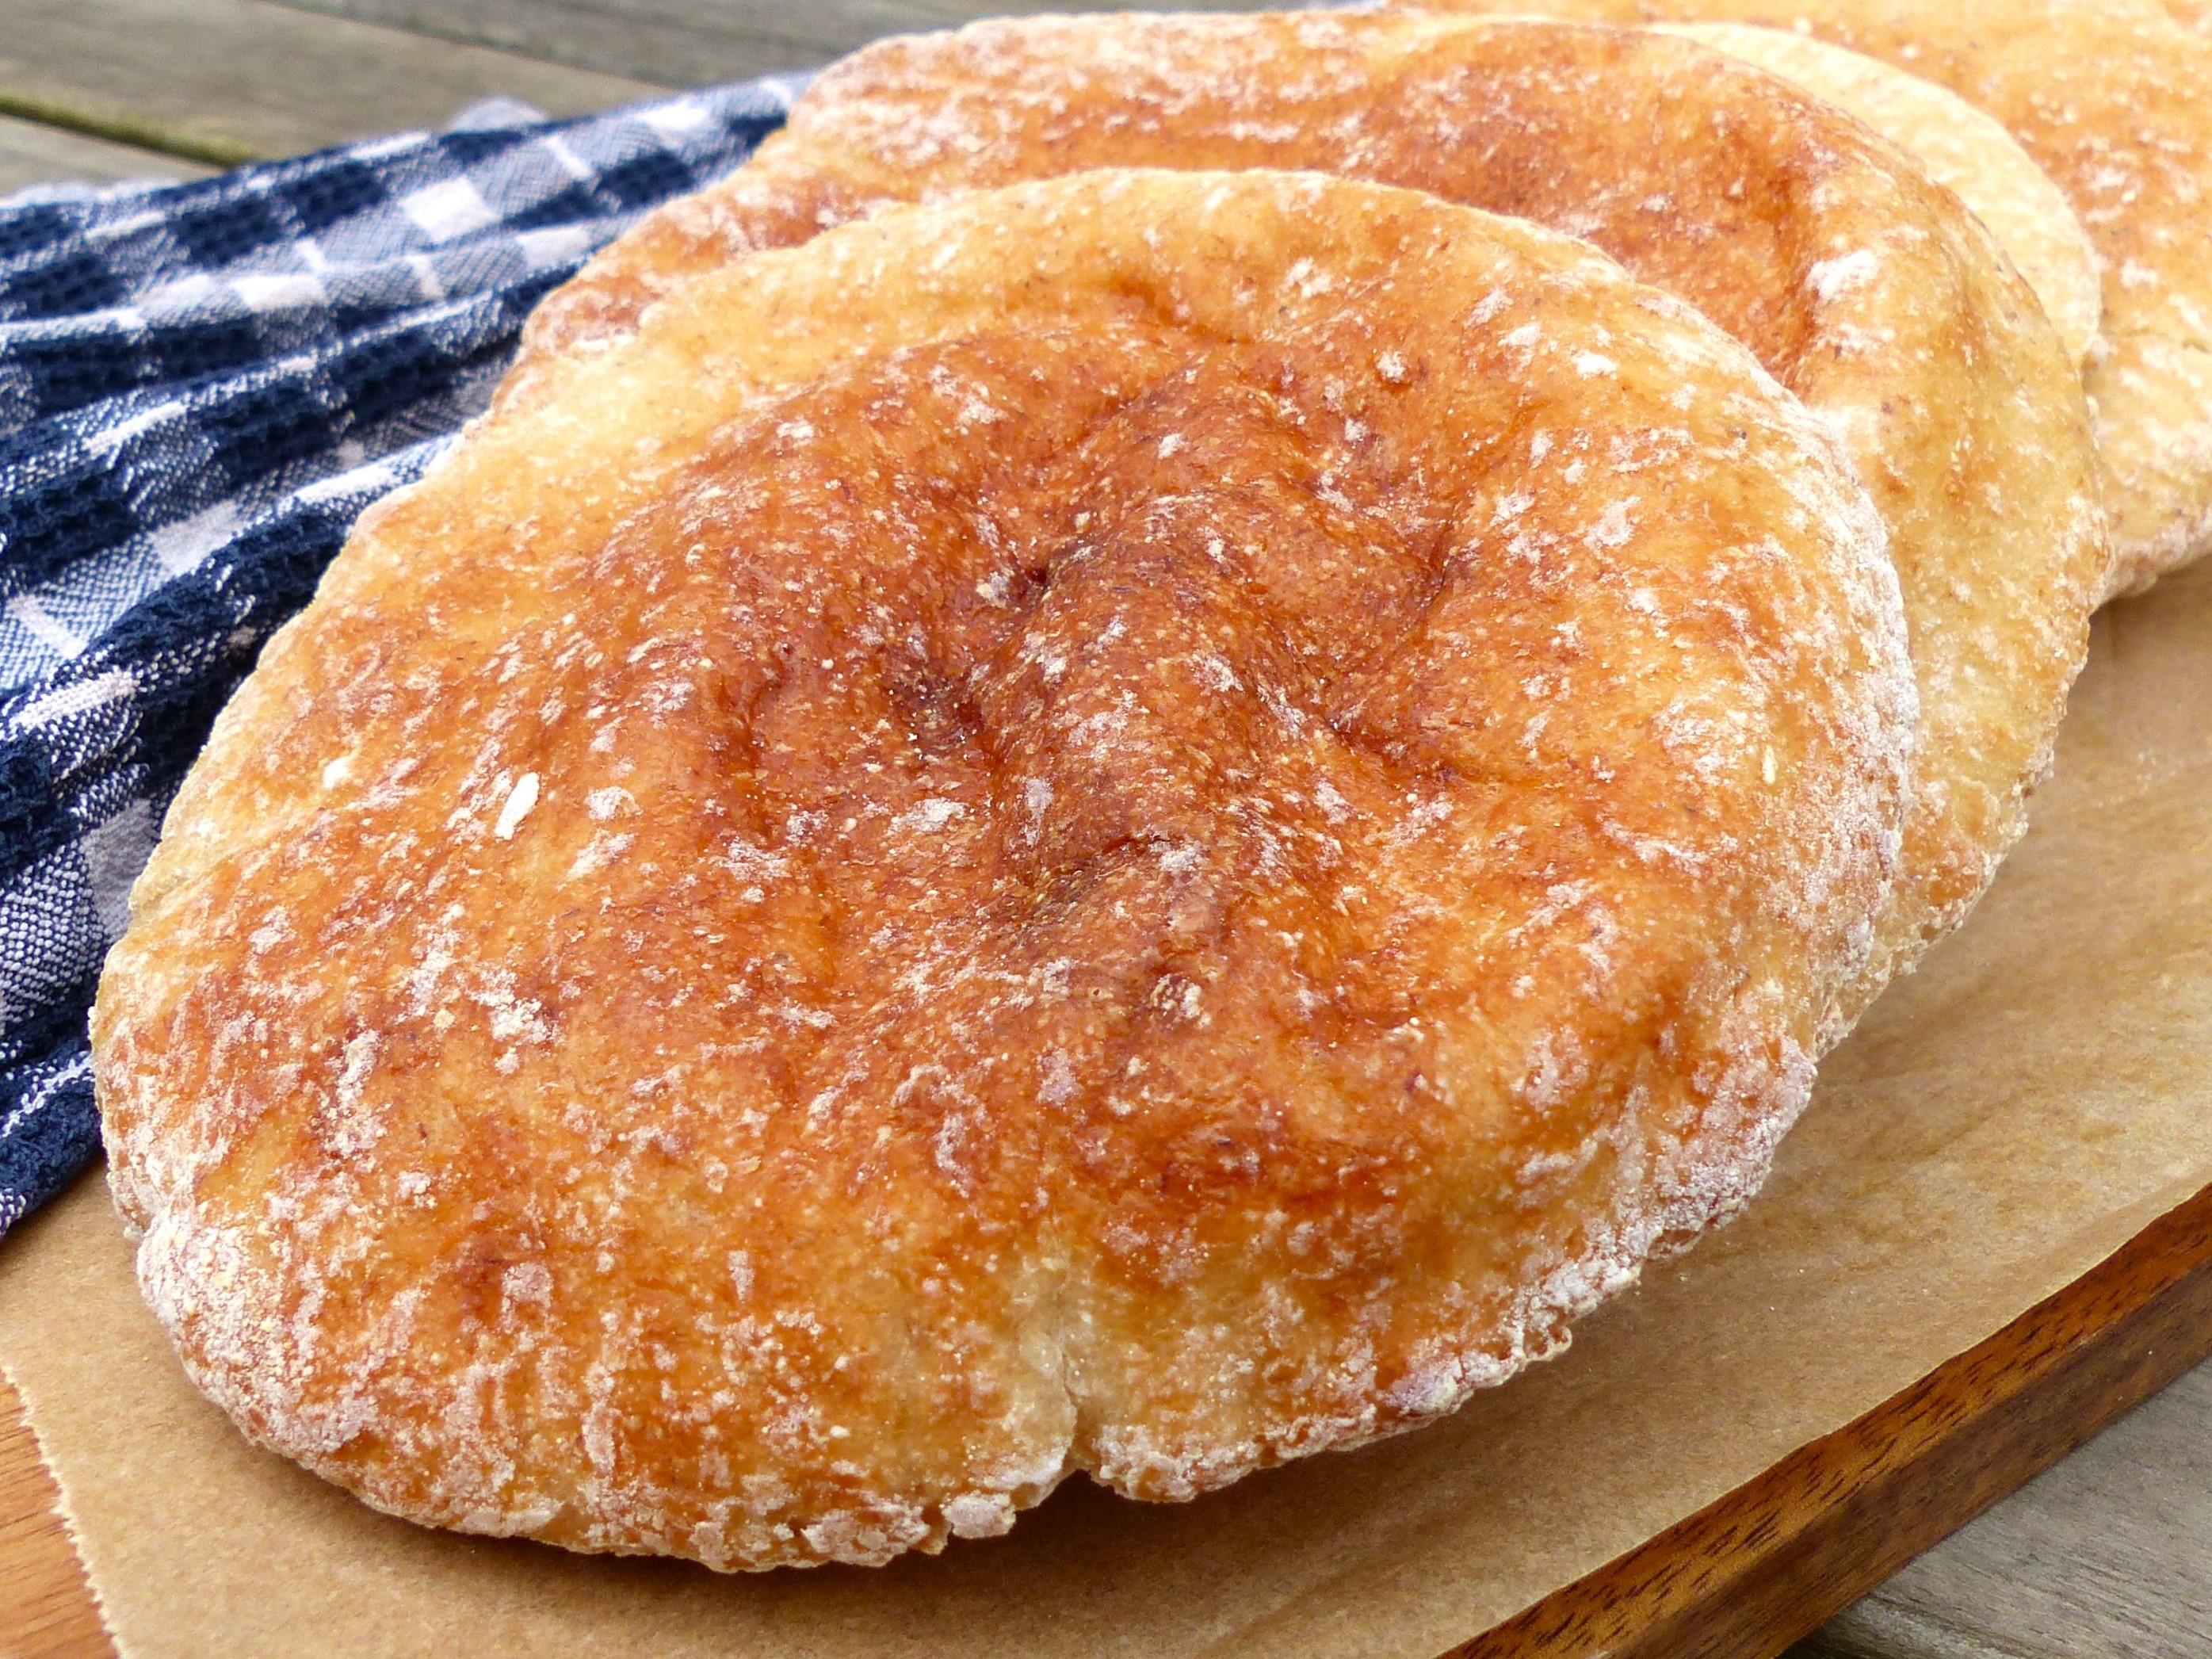
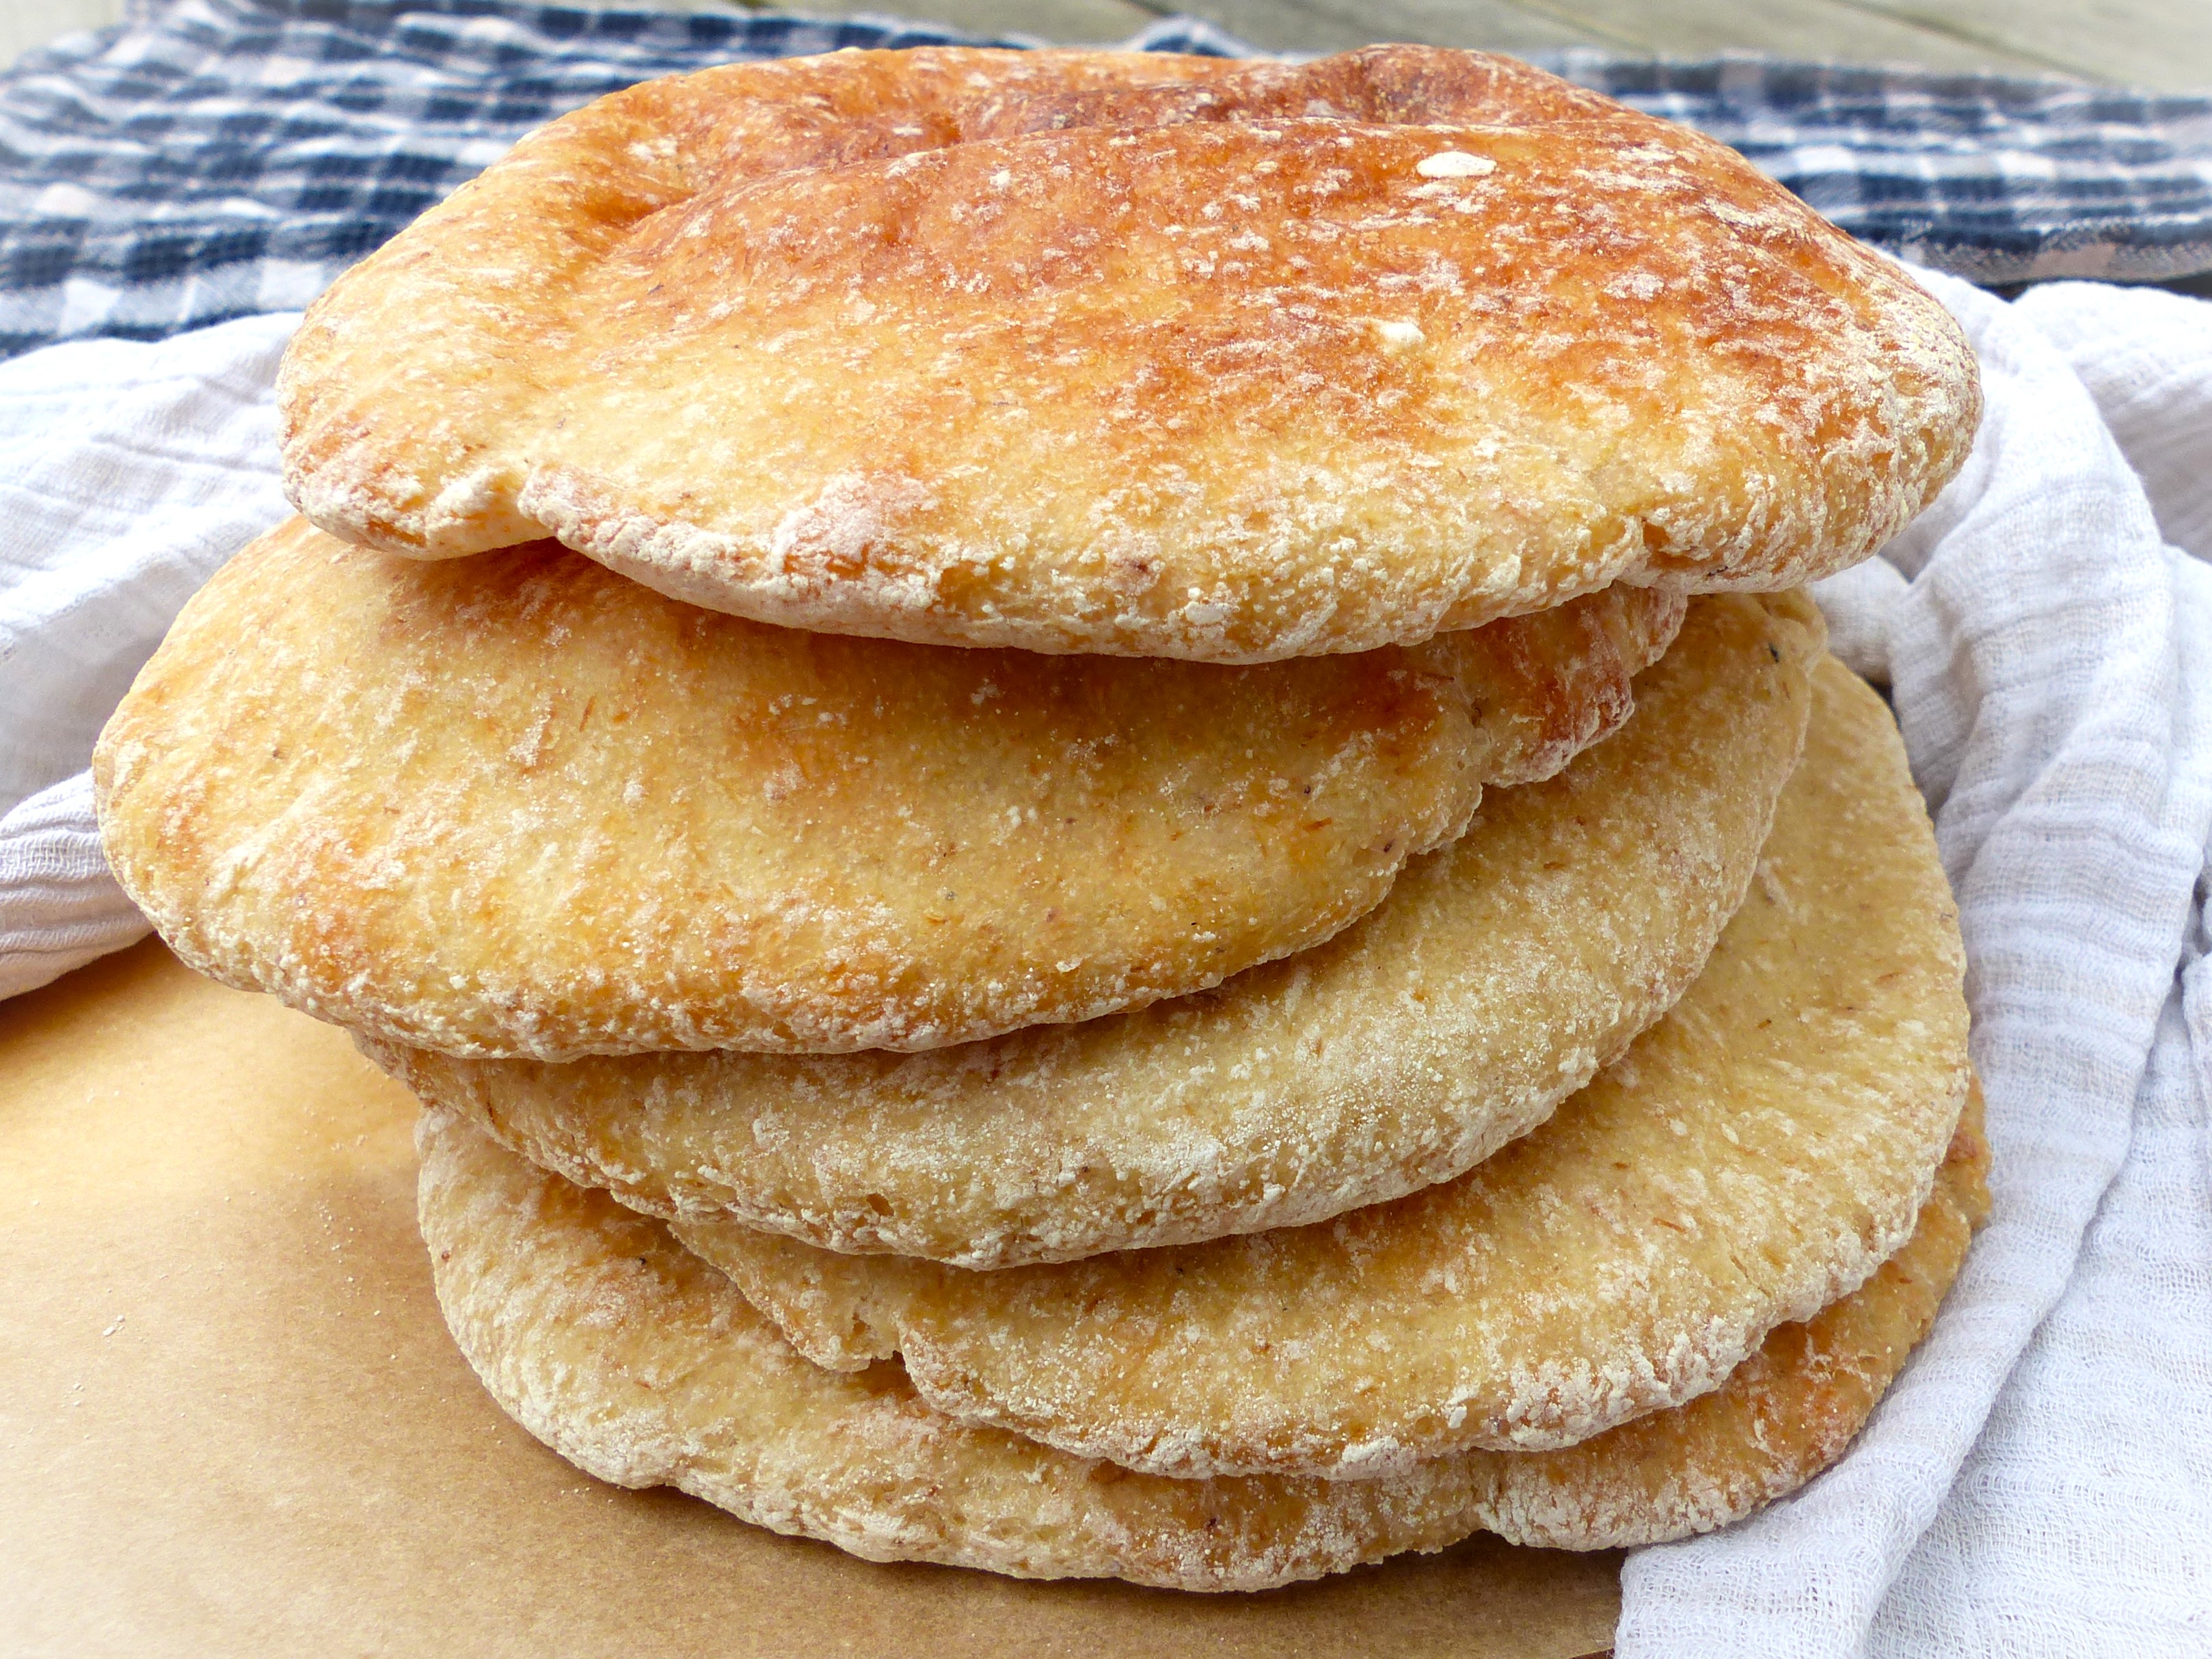
I don’t make naan bread very often, and when I do, I tend to fill it with cheese to up the taste and try cover the fact that it is gluten free to any wary gluten eaters. So, my initial response to a request for gluten free and dairy free naans was trepidation. In the end, however, these didn’t actually take many attempts to get right and, it turns out, the recipe is perfect not only for naan bread but also for soft, tasty pizza bases, but maybe I’ll devote a separate blog post to that (always up for an excuse to eat pizza!).
As usual, the measurements below are based on a 250 ml cup as equal to 1 cup in the recipe. To measure the dry ingredients, spoon the ingredient into the the relevant measuring cup until it is just overflowing out of the cup, and then level the ingredient to the top of the cup with the back of a spoon or the blunt side of a butter knife.
What you need:
2 cups of brown rice flour
1 cup of white rice flour + extra for rolling out the naans
2/3 cup of tapioca starch
1 cup of potato starch
½ cup of psyllium husk
2 teaspoons of xantham gum
2 teaspoon of salt
2 tablespoons of sugar
2 teaspoons of instant dry yeast
2 ¼ cups of lukewarm water
2 eggs
What to do:
1. Place all the ingredients together in a large mixing bowl and mix until fully combined. I do this using my stand mixer but it can also be done by hand.
2. Once mixed, cover the bowl with a clean cloth, such as a tea towel, and set aside for about 5 minutes whilst the dough thickens and becomes shapeable.
3. Lightly sprinkle white rice flour (or any other available gluten free flour) over your work surface and then tip the dough onto the flour. Divide the dough into 10 roughly-equal portions (I do this by shaping the dough into a large ball and then dividing it using a bench scraper).
4. To shape each portion of dough, roll it into a ball and then flatten the ball into a rough circle or oval shape, about ½ centimetre thick, using a rolling pin. Use extra rice flour as needed to prevent the dough from sticking to the work surface and rolling pin but try not to use too much as this will change the texture of the final naans.
5. Place the shaped dough on baking trays lined with baking paper, leaving at least 2 cms between each piece, cover and leave to rise. I usually cover my dough with plastic sheets (made from freezer bags cut open) and a clean tea towel or a clean, damp tea towel. The amount of time to rise will vary depending on the ambient temperature – I usually aim for the dough to rise to at least one and a half to two times its original height.
6. Once the dough has risen, cook the naans. It is likely that the naans will need to be cooked in batches. The cooking instructions below apply for each batch – I can fit about 3 naans in a batch on my oven trays but the instructions below should work regardless of how many are cooked at a time. The naans can either be cooked in the middle of an oven preheated to 180°C or under an oven grill preheated to 200°C. To cook in the oven, place the baking tray in the middle of the oven. Bake for about 20 minutes in total, turning each naan over after they have been in the oven for about 15 minutes. Once baked, remove the batch from the oven, wrap in a clean tea towel and leave to start cooling somewhere at room temperature. If the naans have swollen and don’t flatten in the tea towel, the naans in the tea towel can be gently pressed to flatten them once they have cooled (don’t try this whilst they are hot as the steam inside the naans can cause burns). Repeat with batches of the remaining naans until they are all cooked. To cook the naans under the oven grill, place a baking tray with risen, shaped naan dough just below the oven grill and cook for about 10 minutes. Once the top side is golden brown, turn over each naan and cook the other side for 7 – 10 minutes until it too is cooked. Keep an eye on the naans to ensure they don’t burn and adjust cooking time accordingly. Once cooked, remove the batch from under the oven grill and wrap in a clean tea towel whilst the remaining batches cook, as described above.
7. Once all the naans are cooked, eat soon after making them. Any that aren’t eaten (or if you’re making them in advance) can be frozen for later use and defrosted in a warm oven for a few minutes when they’re needed.
8. Enjoy!