
EDIT: I updated this recipe with revised ingredients on 5th May 2022. There wasn’t anything wrong with the previous versions – I just feel the updated version is better!
I had been trying and trying to make a reasonable gluten free white bread with no success. And then, this came together as as a completely last minute attempt to make a naan alternative to go with takeaway curry when friends came over. Maybe I had been overthinking all my previous attempts!
As with most gluten free breads, these rolls are best served on the day they are made. They are fantastic while still a bit warm from the oven and spread thickly with butter. The inside is soft and fluffy (and can be rolled into little balls – an indicator of gluten or gluten-like bread according to one of my sons!) and the outside is crusty and crisp when still warm. This recipe makes about 12 rolls that can be shaped according to your preferences. As usual the cup measurements below are based on a 250 ml cup as equal to 1 cup. Don’t be put off by measuring your own flours and starches – this is literally one bowl and everything in this recipe should be available in most supermarkets with a good selection of gf baking products.

What you need:
3 eggs
1 cup of white rice flour (plus a bit more when kneading the dough)
1 1/4 cups of tapioca starch
3/4 cup of potato starch
5 tablespoons of psyllium husk
1 dessertspoon of instant dry yeast
1 dessertspoon of sugar
1 teaspoon of salt
1 dessertspoon of baking powder
1/3 cup of neutral oil, such as mild olive oil or sunflower oil
1 cup of lukewarm water
What to do:
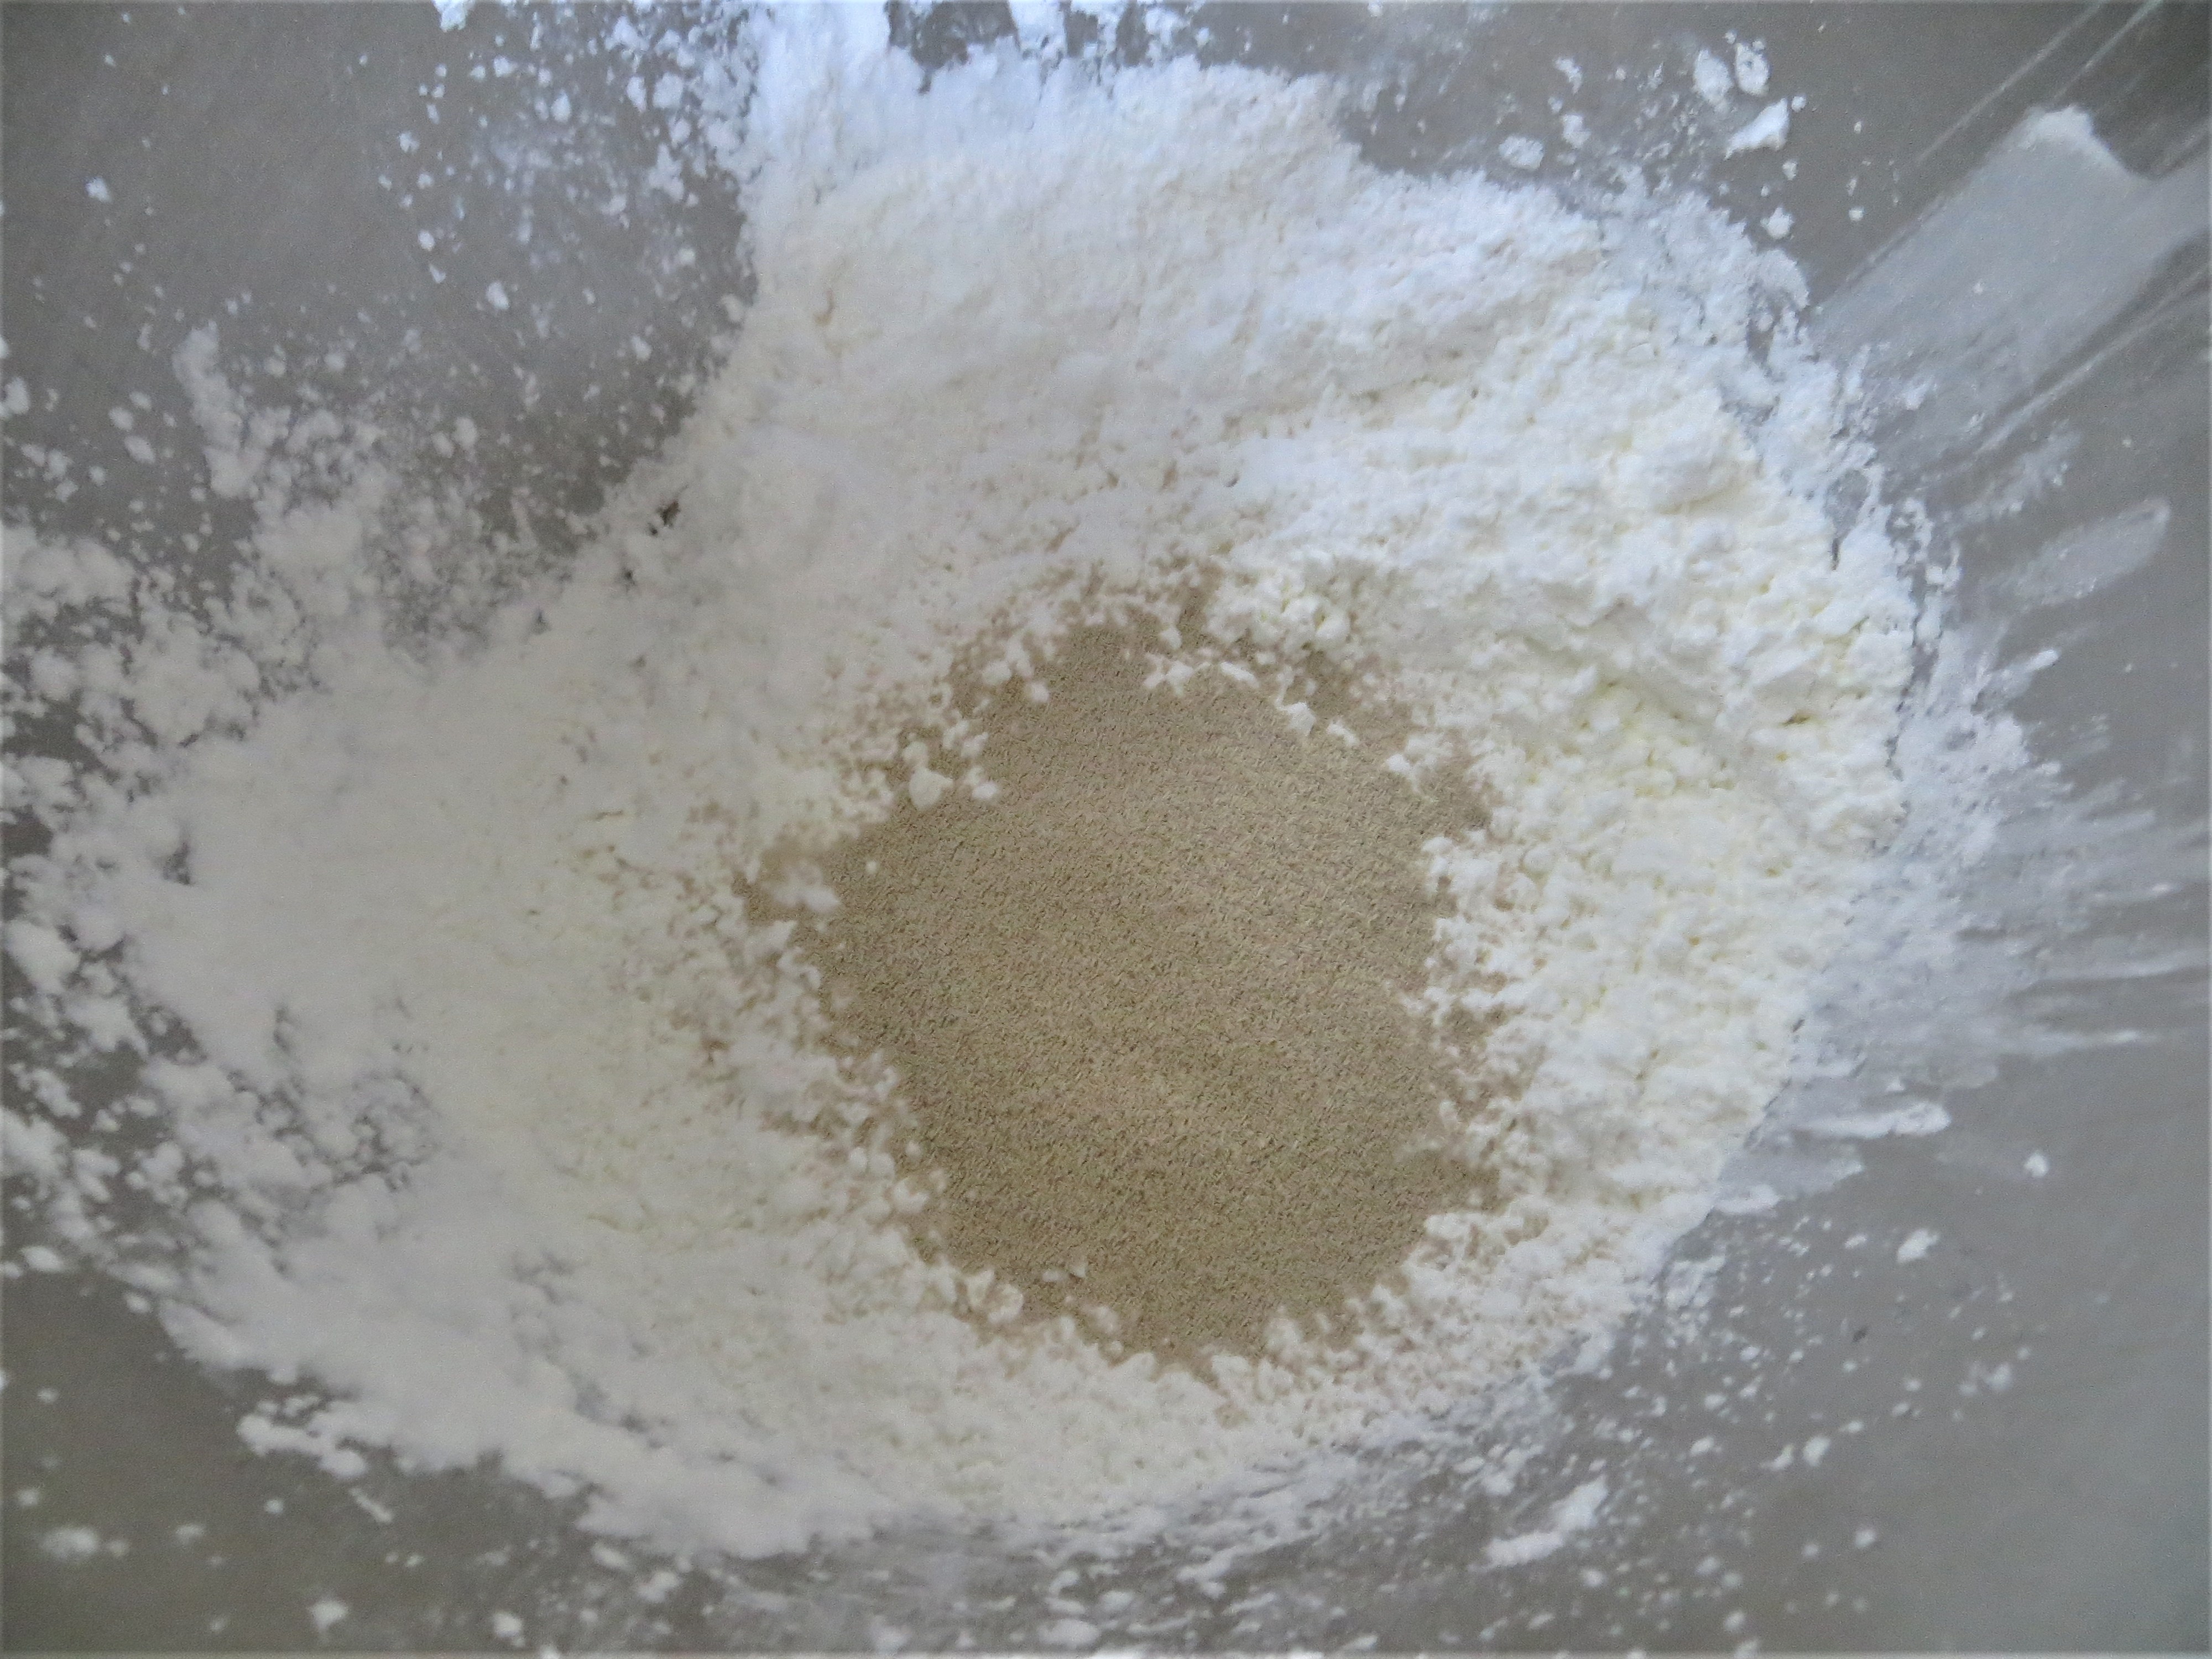
1. Place all the ingredients in a large bowl and mix together thoroughly. I prefer to do this in my stand mixer, and I find putting the eggs in the bowl first seems to reduce the chance of ingredients sticking to the bottom of the bowl. Keep mixing until the dough thickens and becomes relatively cohesive rather than runny. This may take a few minutes as the dough texture changes as the psyllium husk absorbs the liquid in the mixture. You may need to scrape down the bowl once or twice during mixing to ensure everything is incorporated evenly.


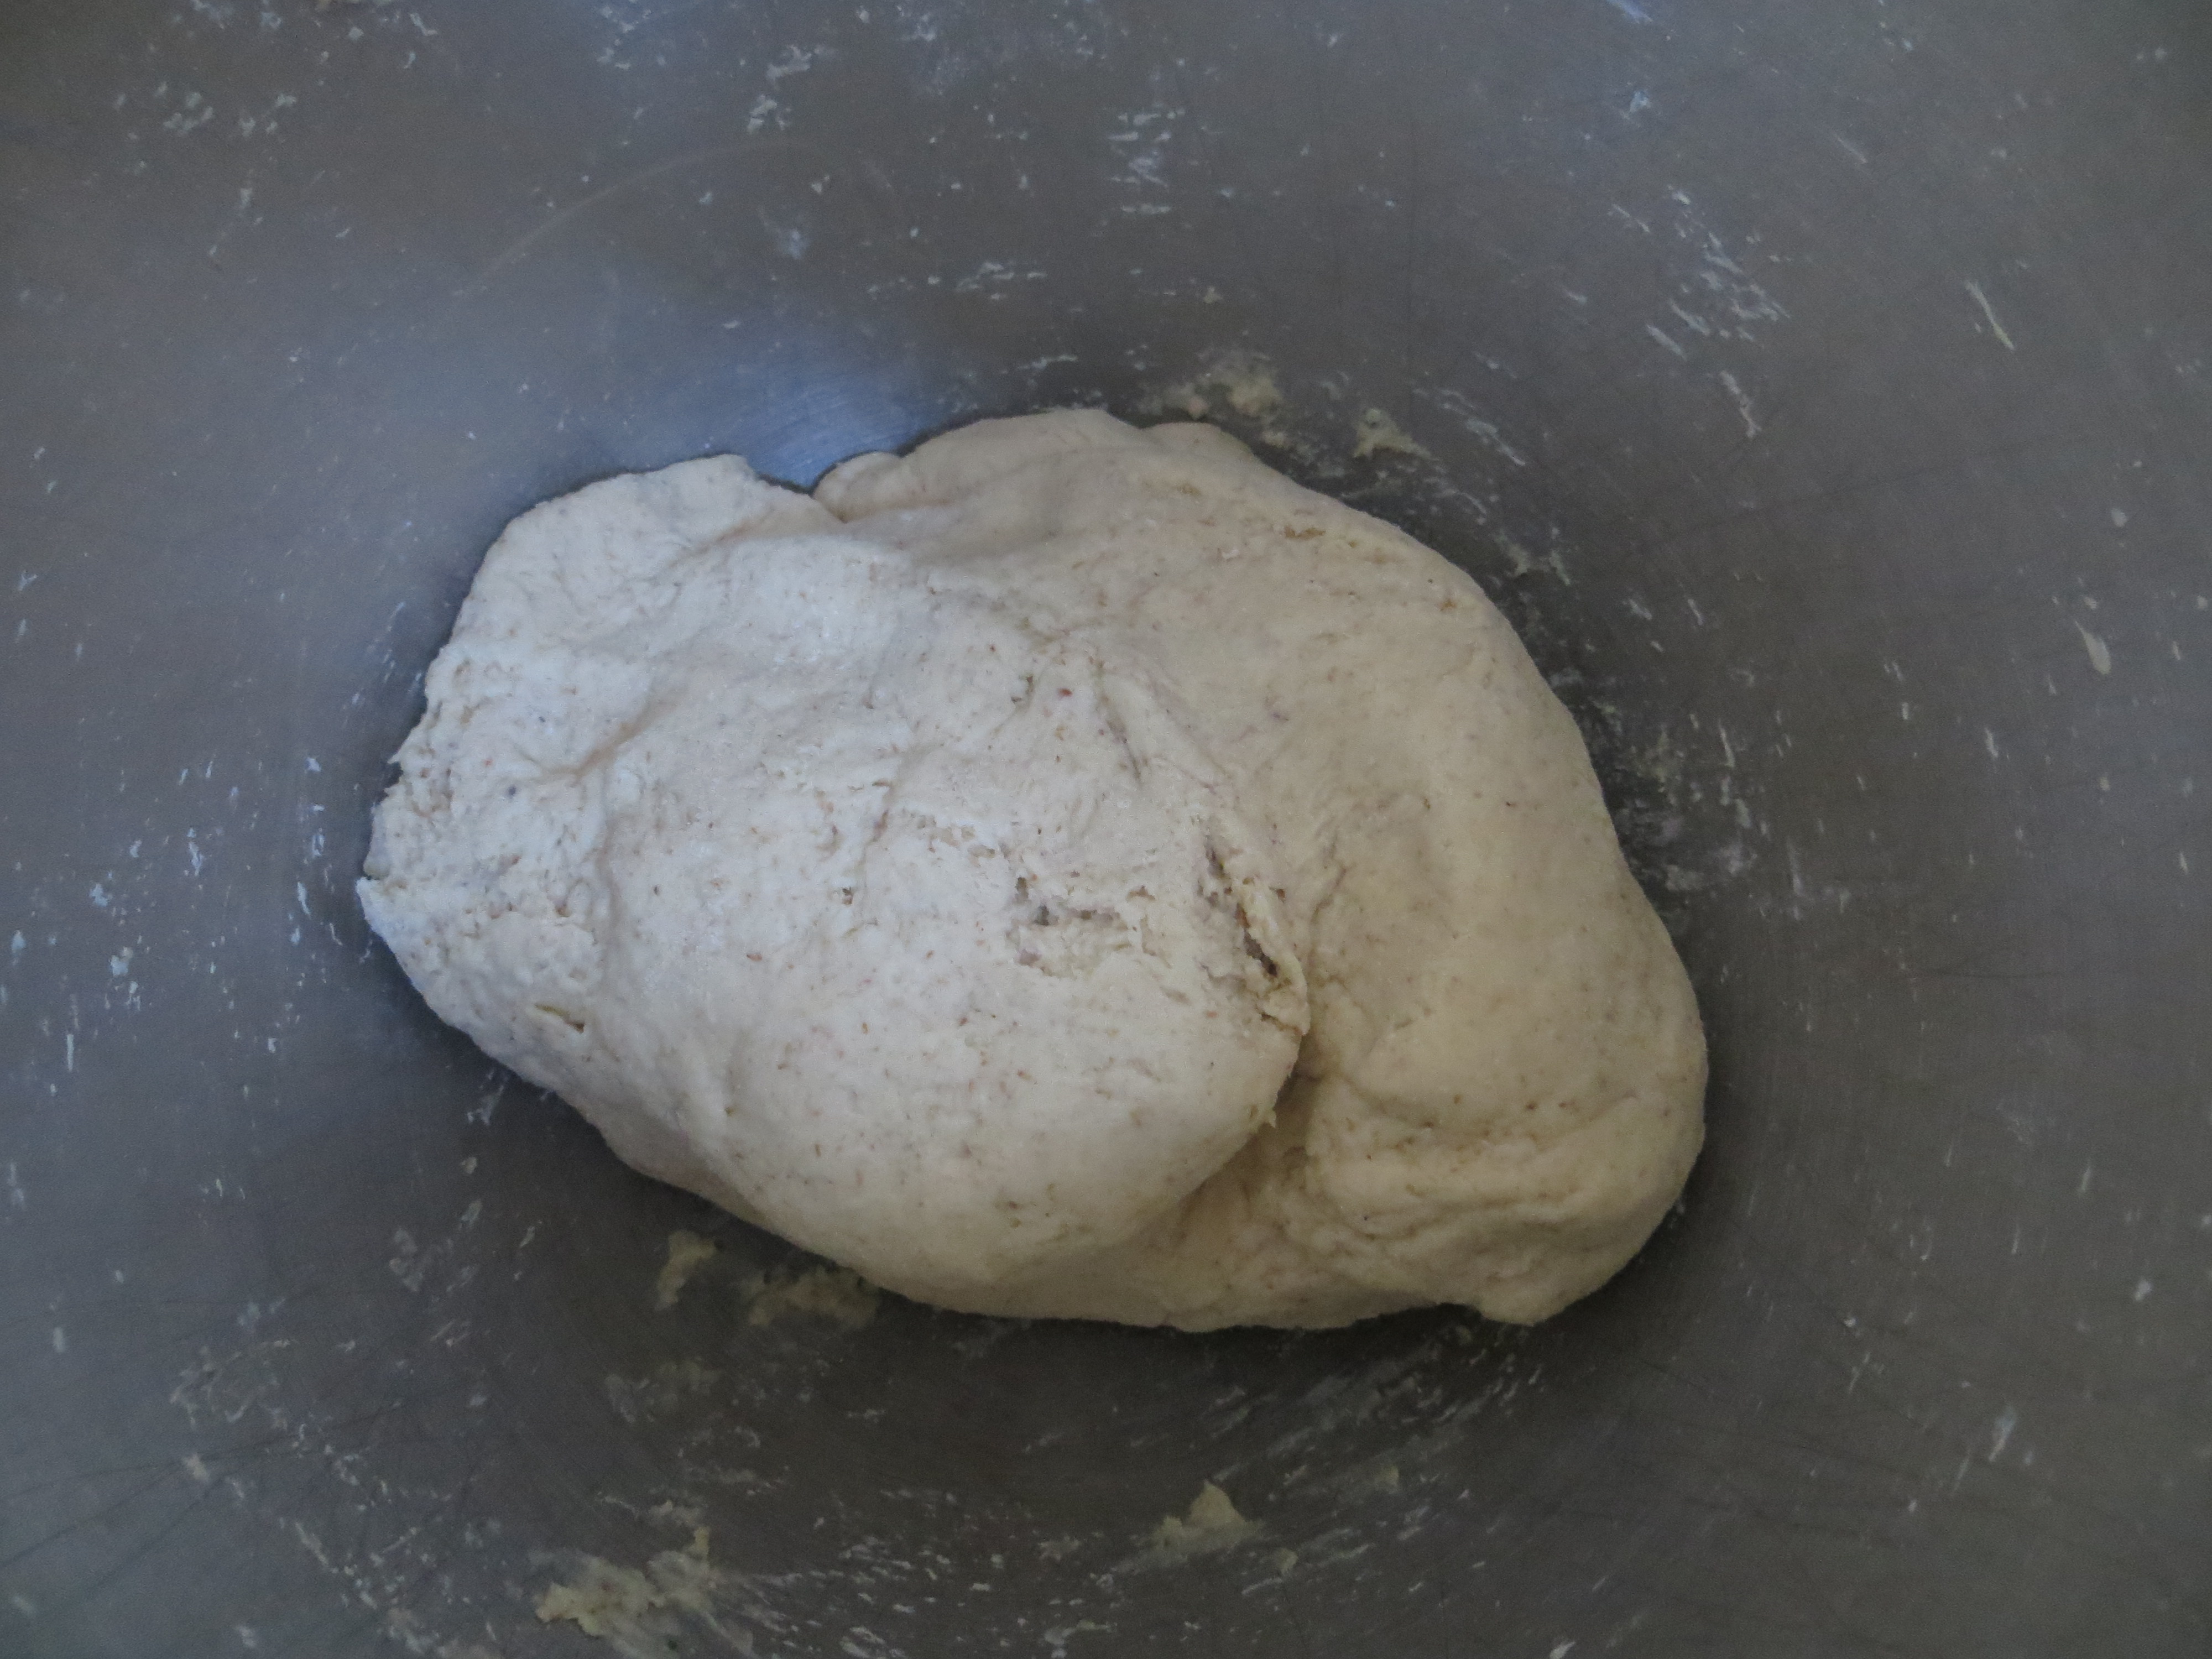
2. Generously sprinkle rice flour on a work surface and then tip the dough on to the floured surface. You may need a spatula to get all the bits of dough out of the bowl. Knead the dough a couple of times until it is soft and easy to work with. If the dough is too sticky to work with when you first tip it out of the bowl, leave it for a few minutes in case the psyllium is still absorbing water and then try kneading it again. If it is still sticky after this time, slowly knead in small sprinklings of white rice flour until the dough is soft and pliable, kind of like gluten bread dough.

3. Divide the dough into 12 equal pieces and shape according to your preference.
4. Place the shaped rolls on a lined baking tray, slightly apart to allow room for expansion, cover with a damp cloth and leave somewhere warm to rise. The dough should rise to about 1.5 to 2 times its original volume. The amount of time this takes will depend on how warm the environment is – I find it usually takes about half an hour somewhere warmish and draft-free.


5. Once the dough has risen, turn the oven on to 180*C to pre-heat. I usually allow about 5 minutes for this.
6. Once the oven is hot, remove the cloth from the rolls and place them in the middle of the pre-heated oven to bake for about 30 minutes, or until the outside is brown and the rolls sound hollow when tapped.

7. Once baked, remove the rolls from the oven and place them on a cooling rack to cool before eating. Eat on the day these are made, or freeze for future use and reheat before eating. Enjoy!

2 thoughts on “Gluten Free Bread Rolls”