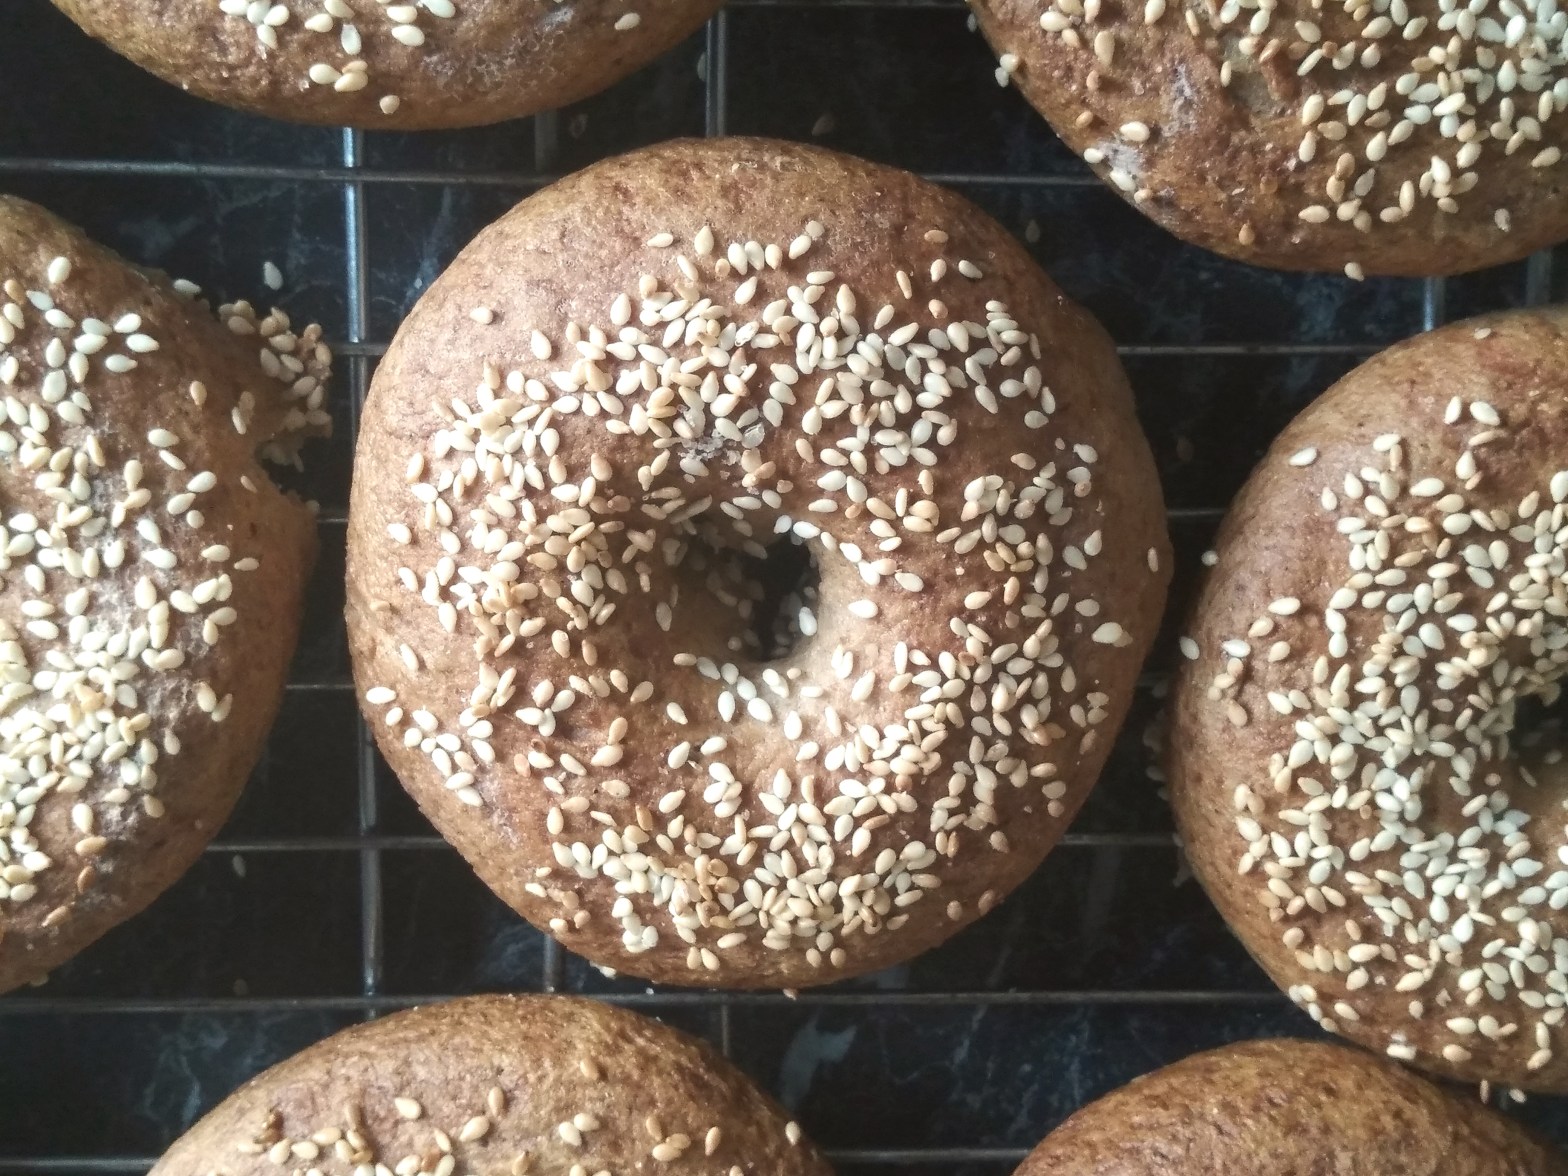
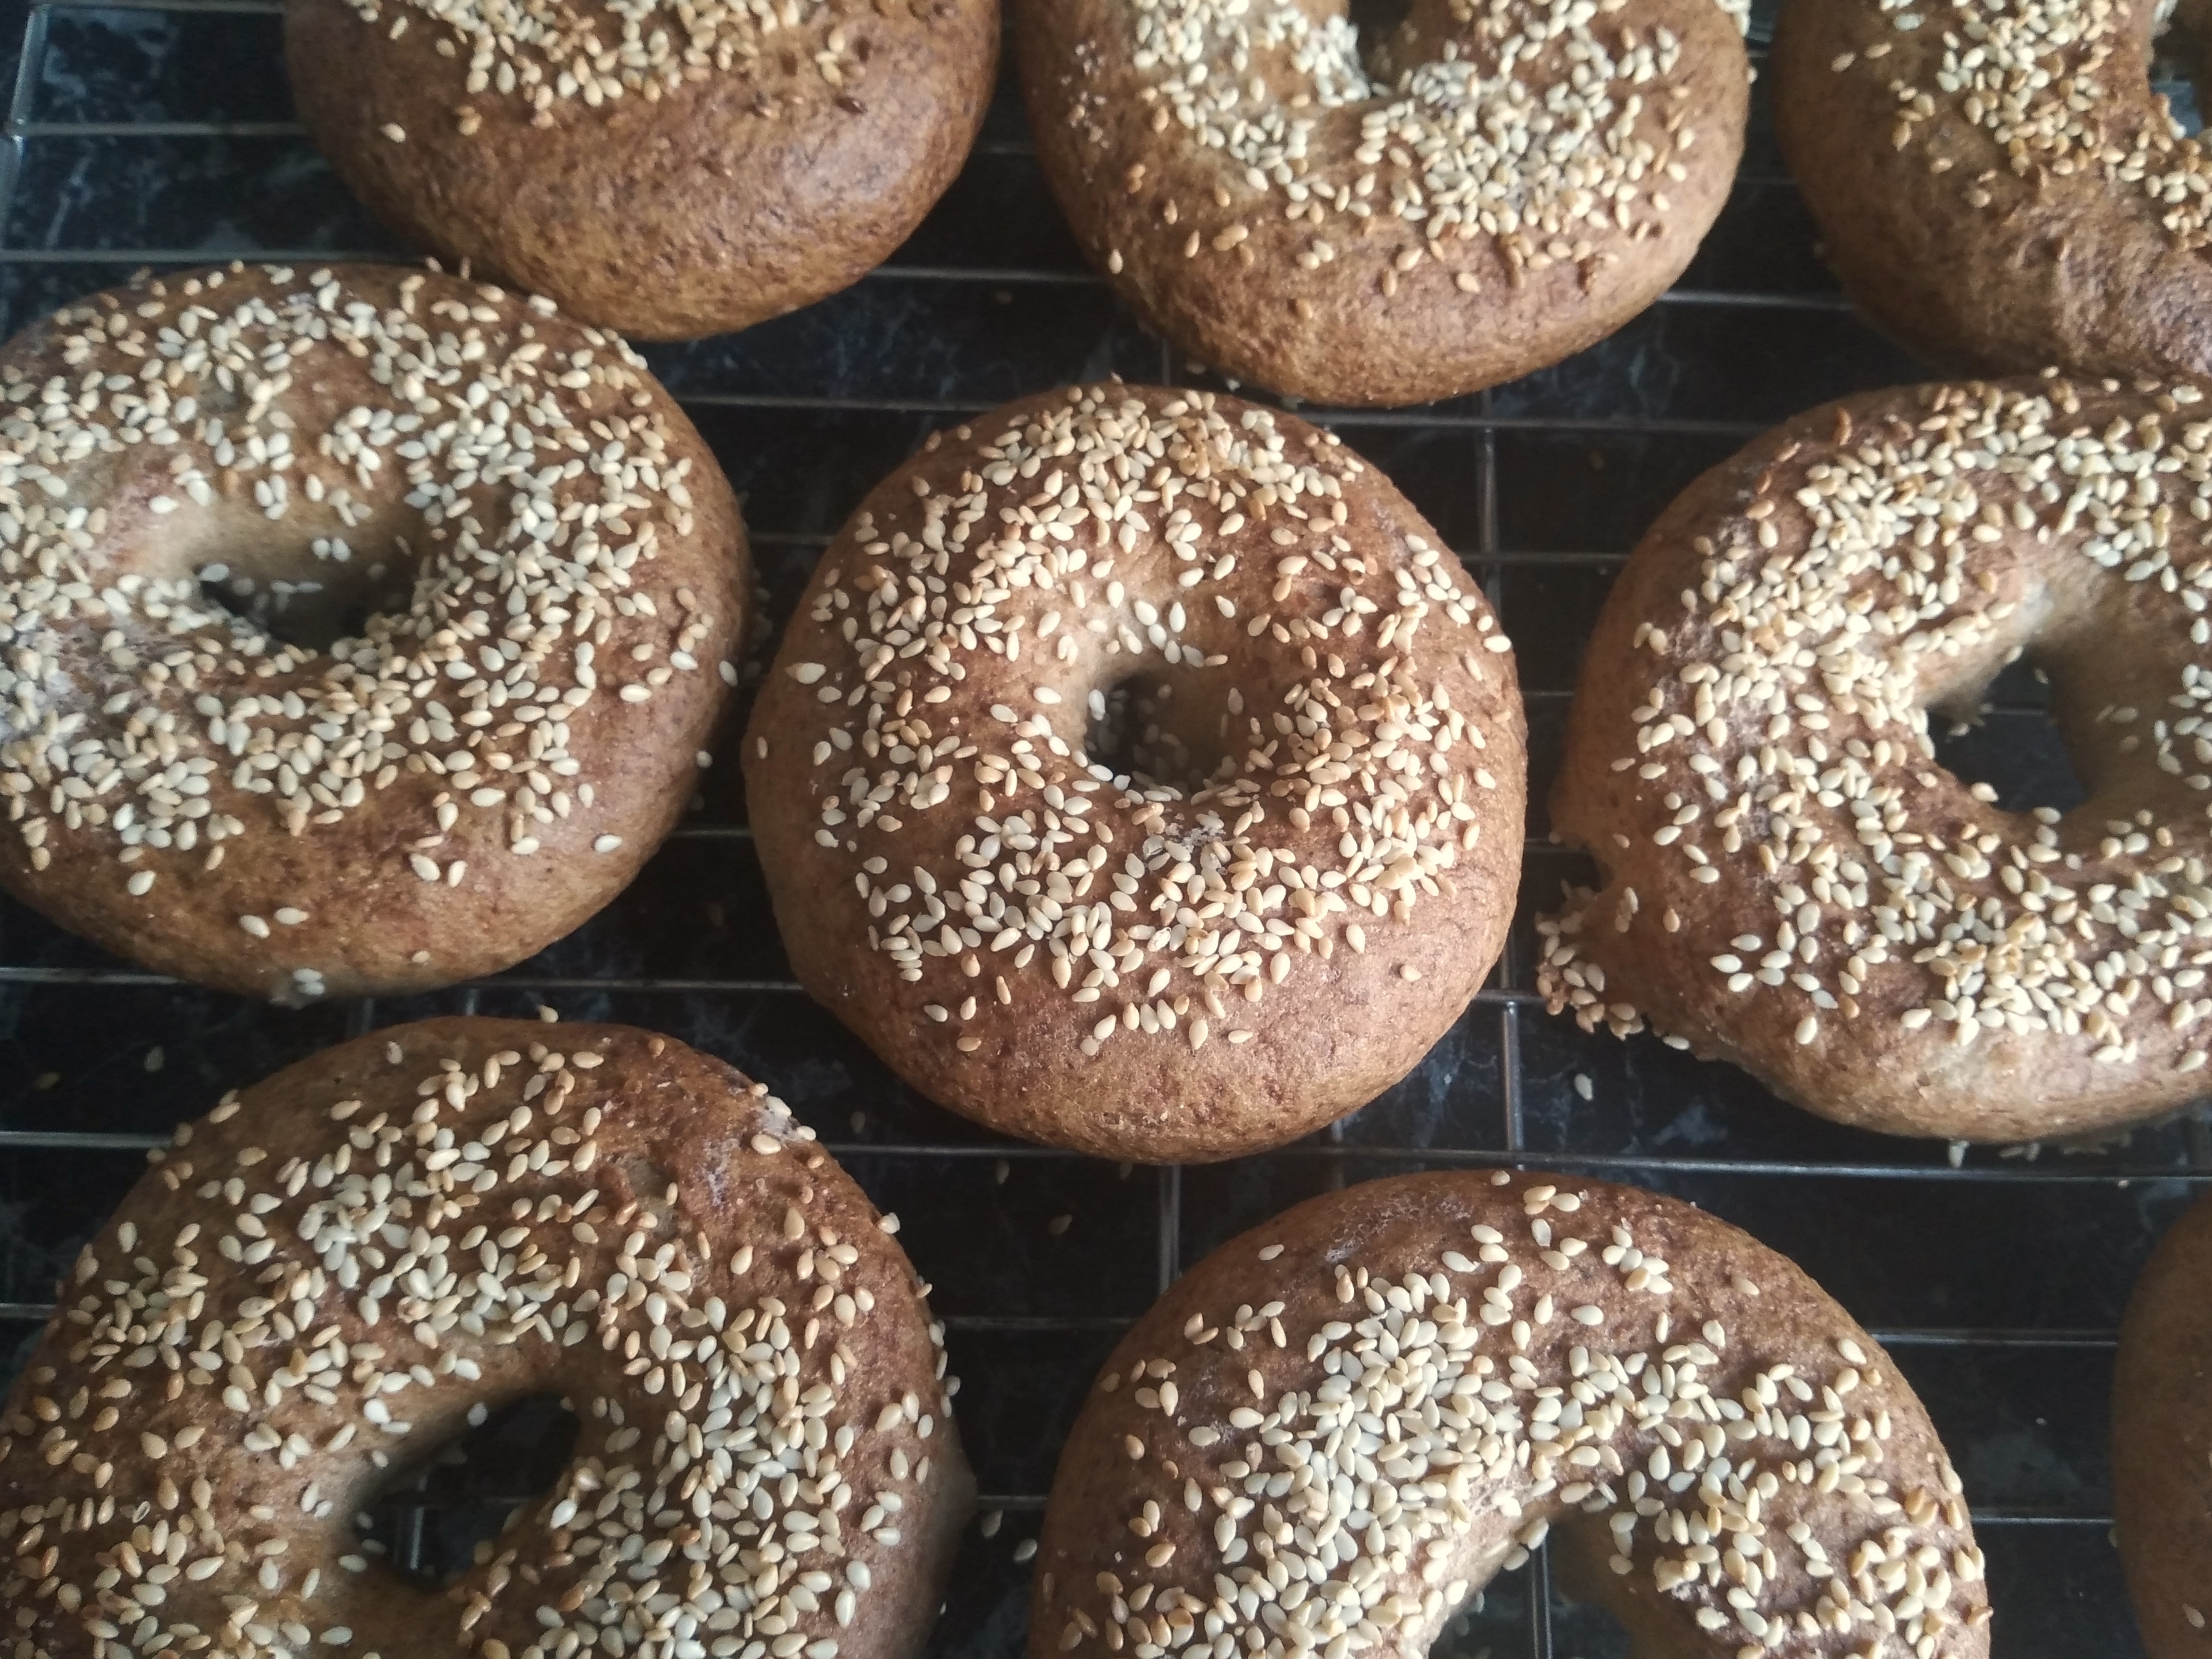
We are currently in isolation and half the family have covid and the other half are expecting to test positive any day now. Unfortunately, this has also coincided with me having baked my way through most of the bulk bags of gluten free flours and starches that I bought a few months ago, and it will take a few days for my online order for more to arrive. So, for now, I am experimenting with the flours I have left. And this is the result of that experimentation. I have decided to call these ‘wholemeal’ as it seems a good way to convey the wholemeal-type taste of these bagels.
Based on my experiments so far, I think you can mix up the flours as you like – you could even substitute them for white rice flour for more of a ‘white’ bread bagel, but do keep the corn starch and potato starch quantities the same, or you risk ending up with a very heavy bread. As usual, the cup measurements below are based on a 250 ml cup as equal to 1 cup. This makes 9 bagels. If you aren’t planning to eat these bagels on the day you make them, freeze them as soon as they are cool to keep them fresh for later.
What you need:
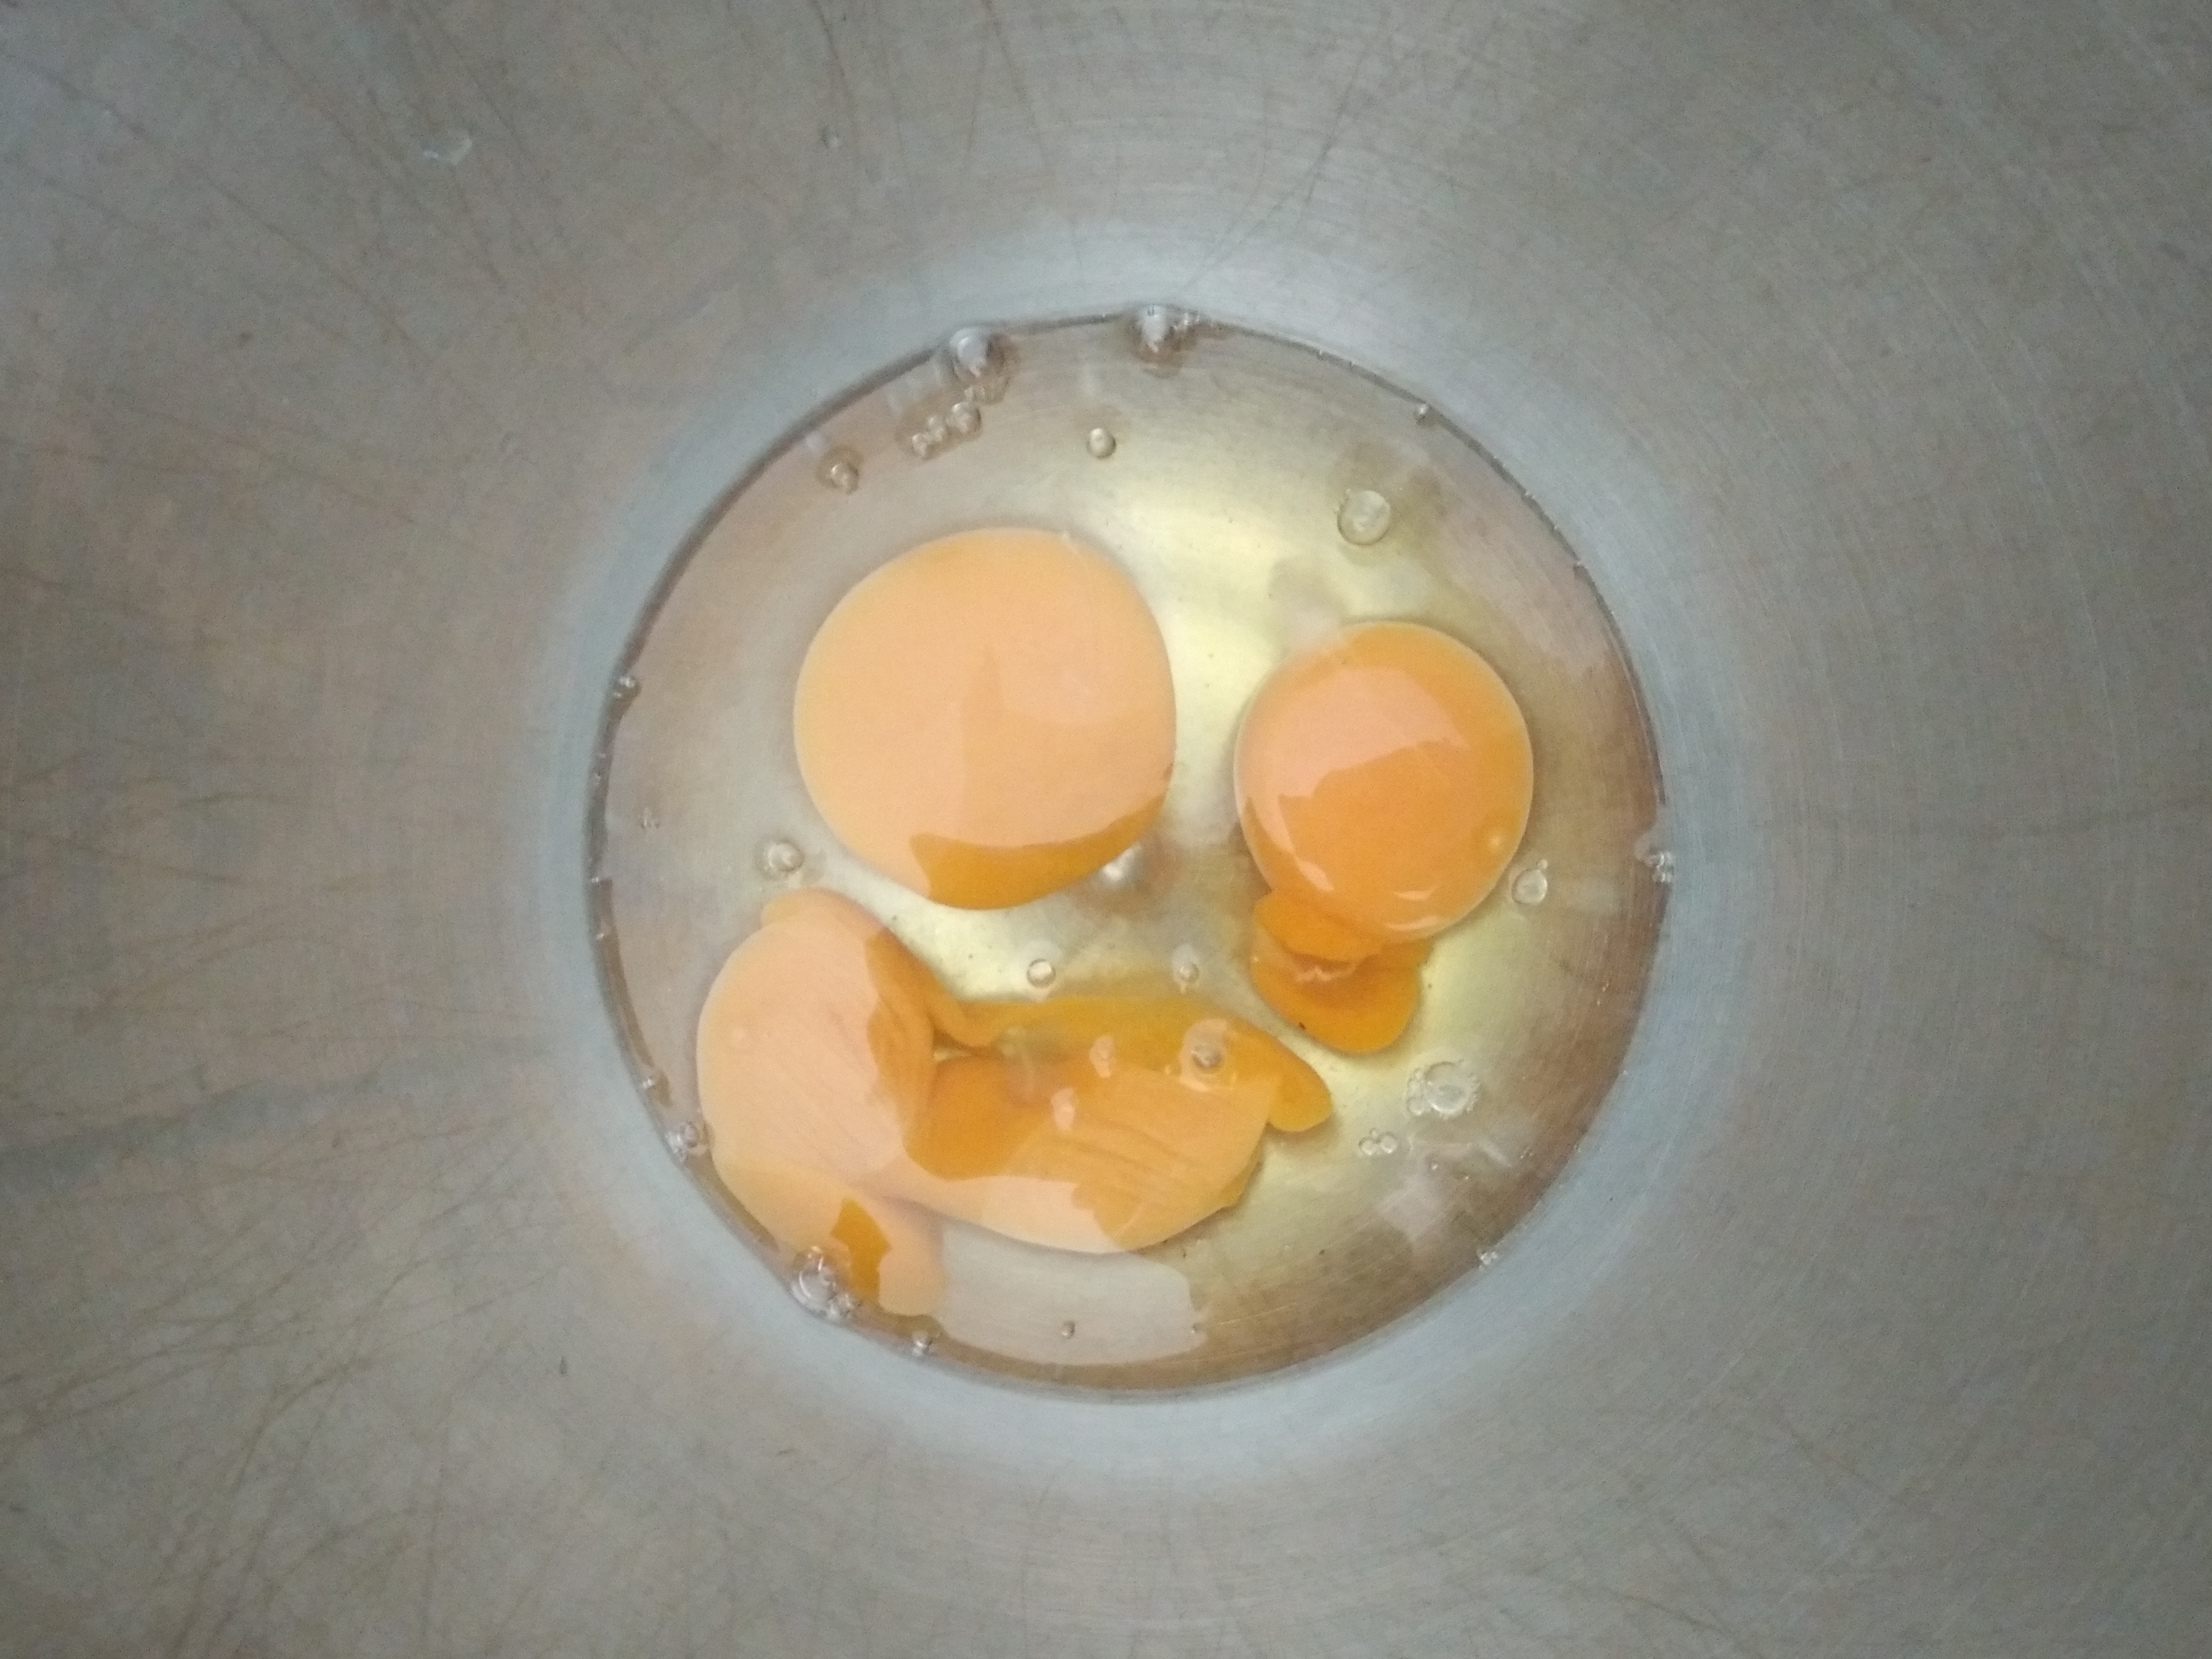
3 eggs
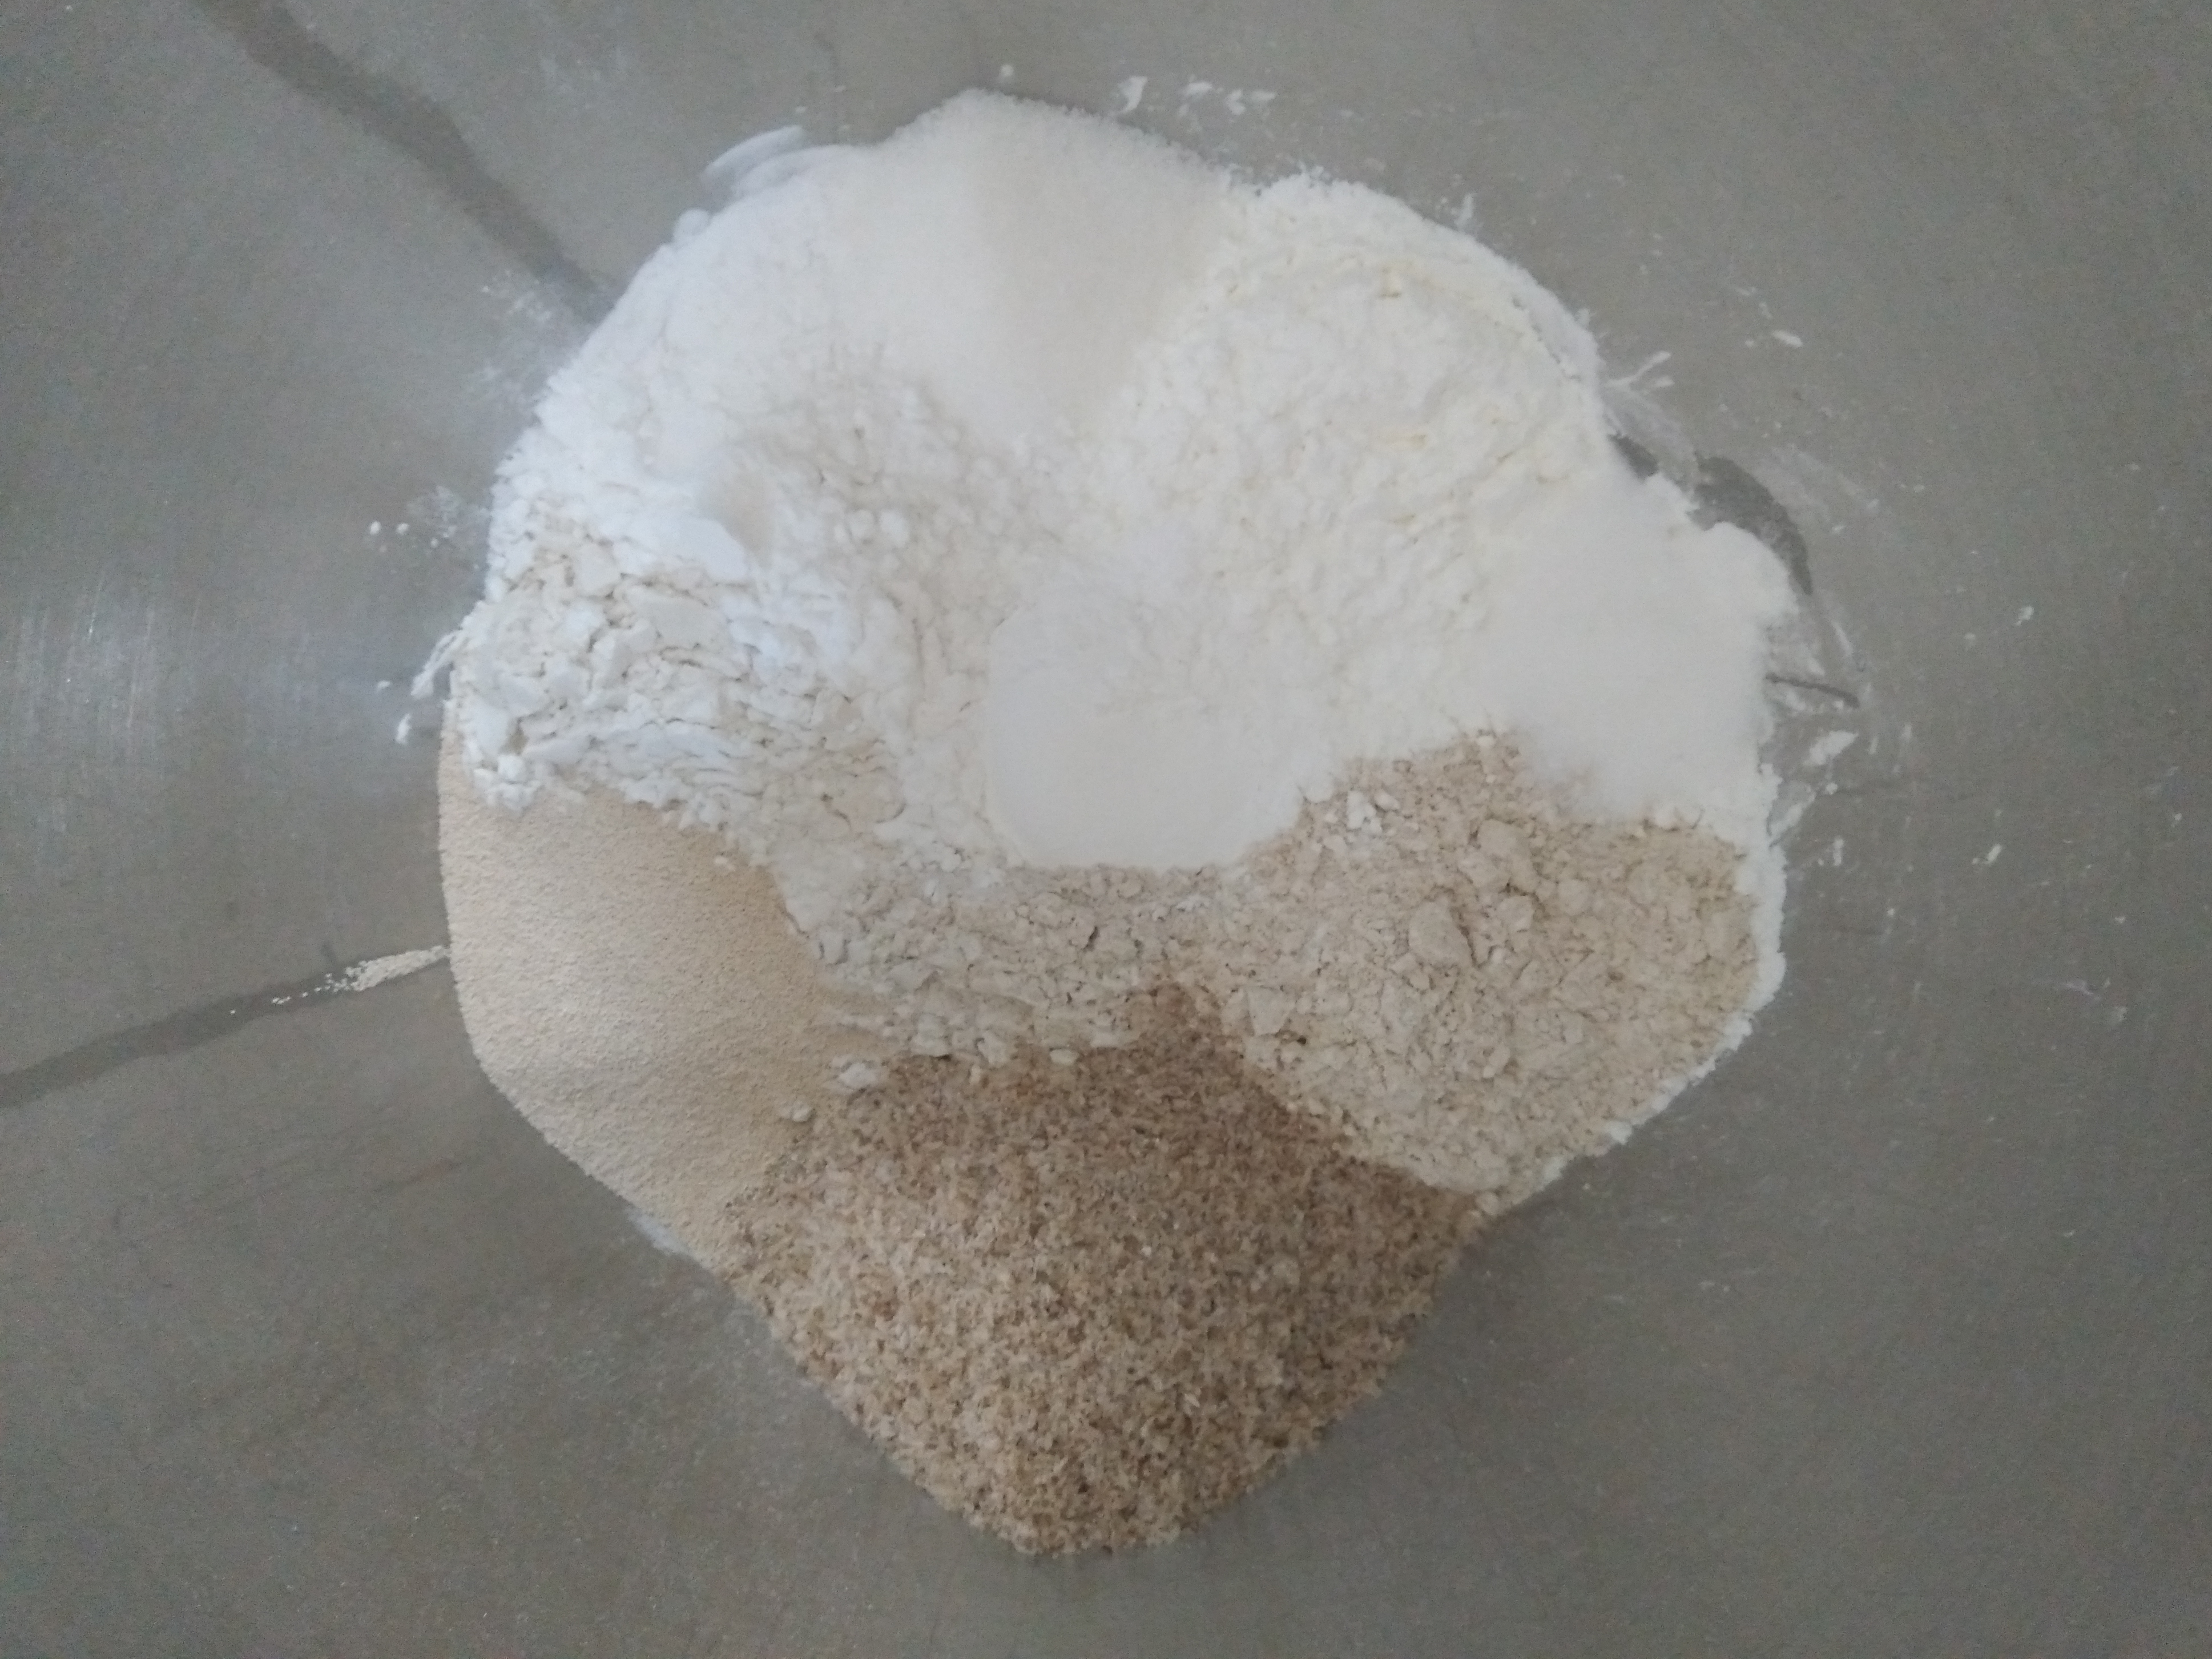
1 cup of buckwheat flour
½ cup of brown rice flour
½ cup of sorghum flour
½ cup of corn starch
½ cup of potato starch
5 tablespoons of psyllium husk
2 teaspoons of instant dried yeast
2 teaspoons of sugar
1 teaspoon of salt
1 tablespoon of baking powder
1 tablespoon of apple cider vinegar
1 ¼ cups of lukewarm water
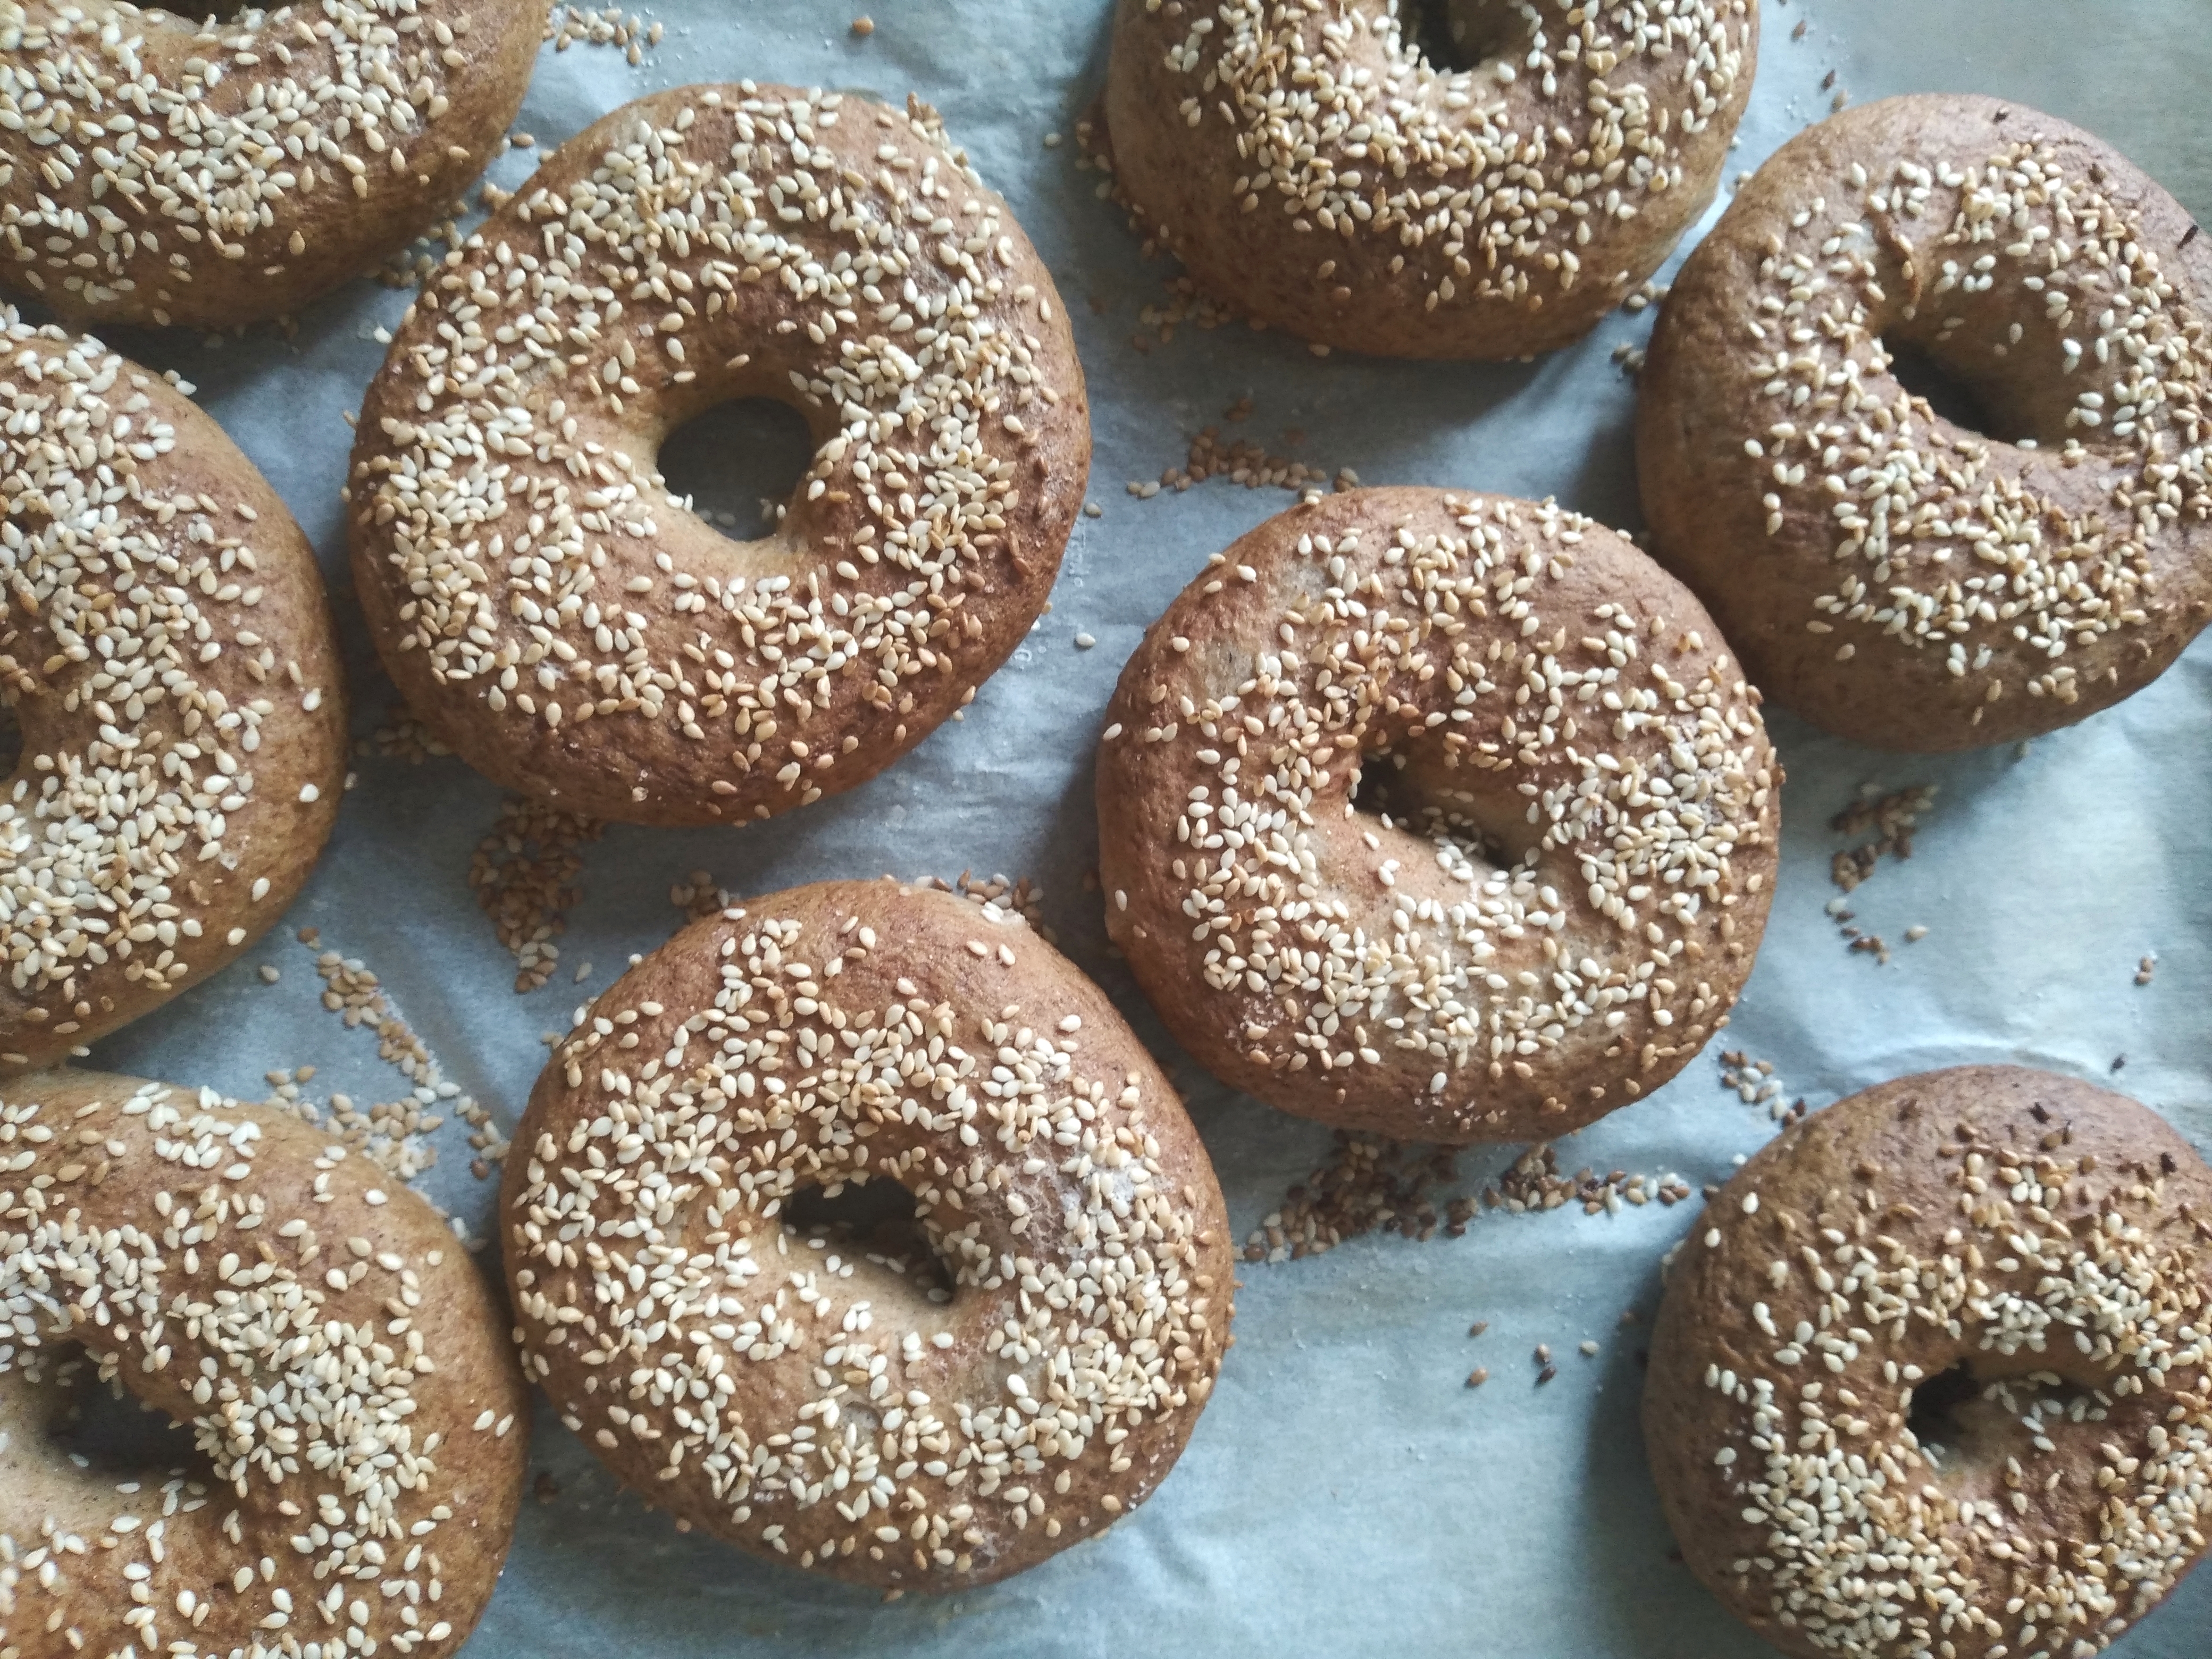
Bagel toppings of choice – I like a sprinkle of salt and seeds such as sesame or poppy seeds
What to do:
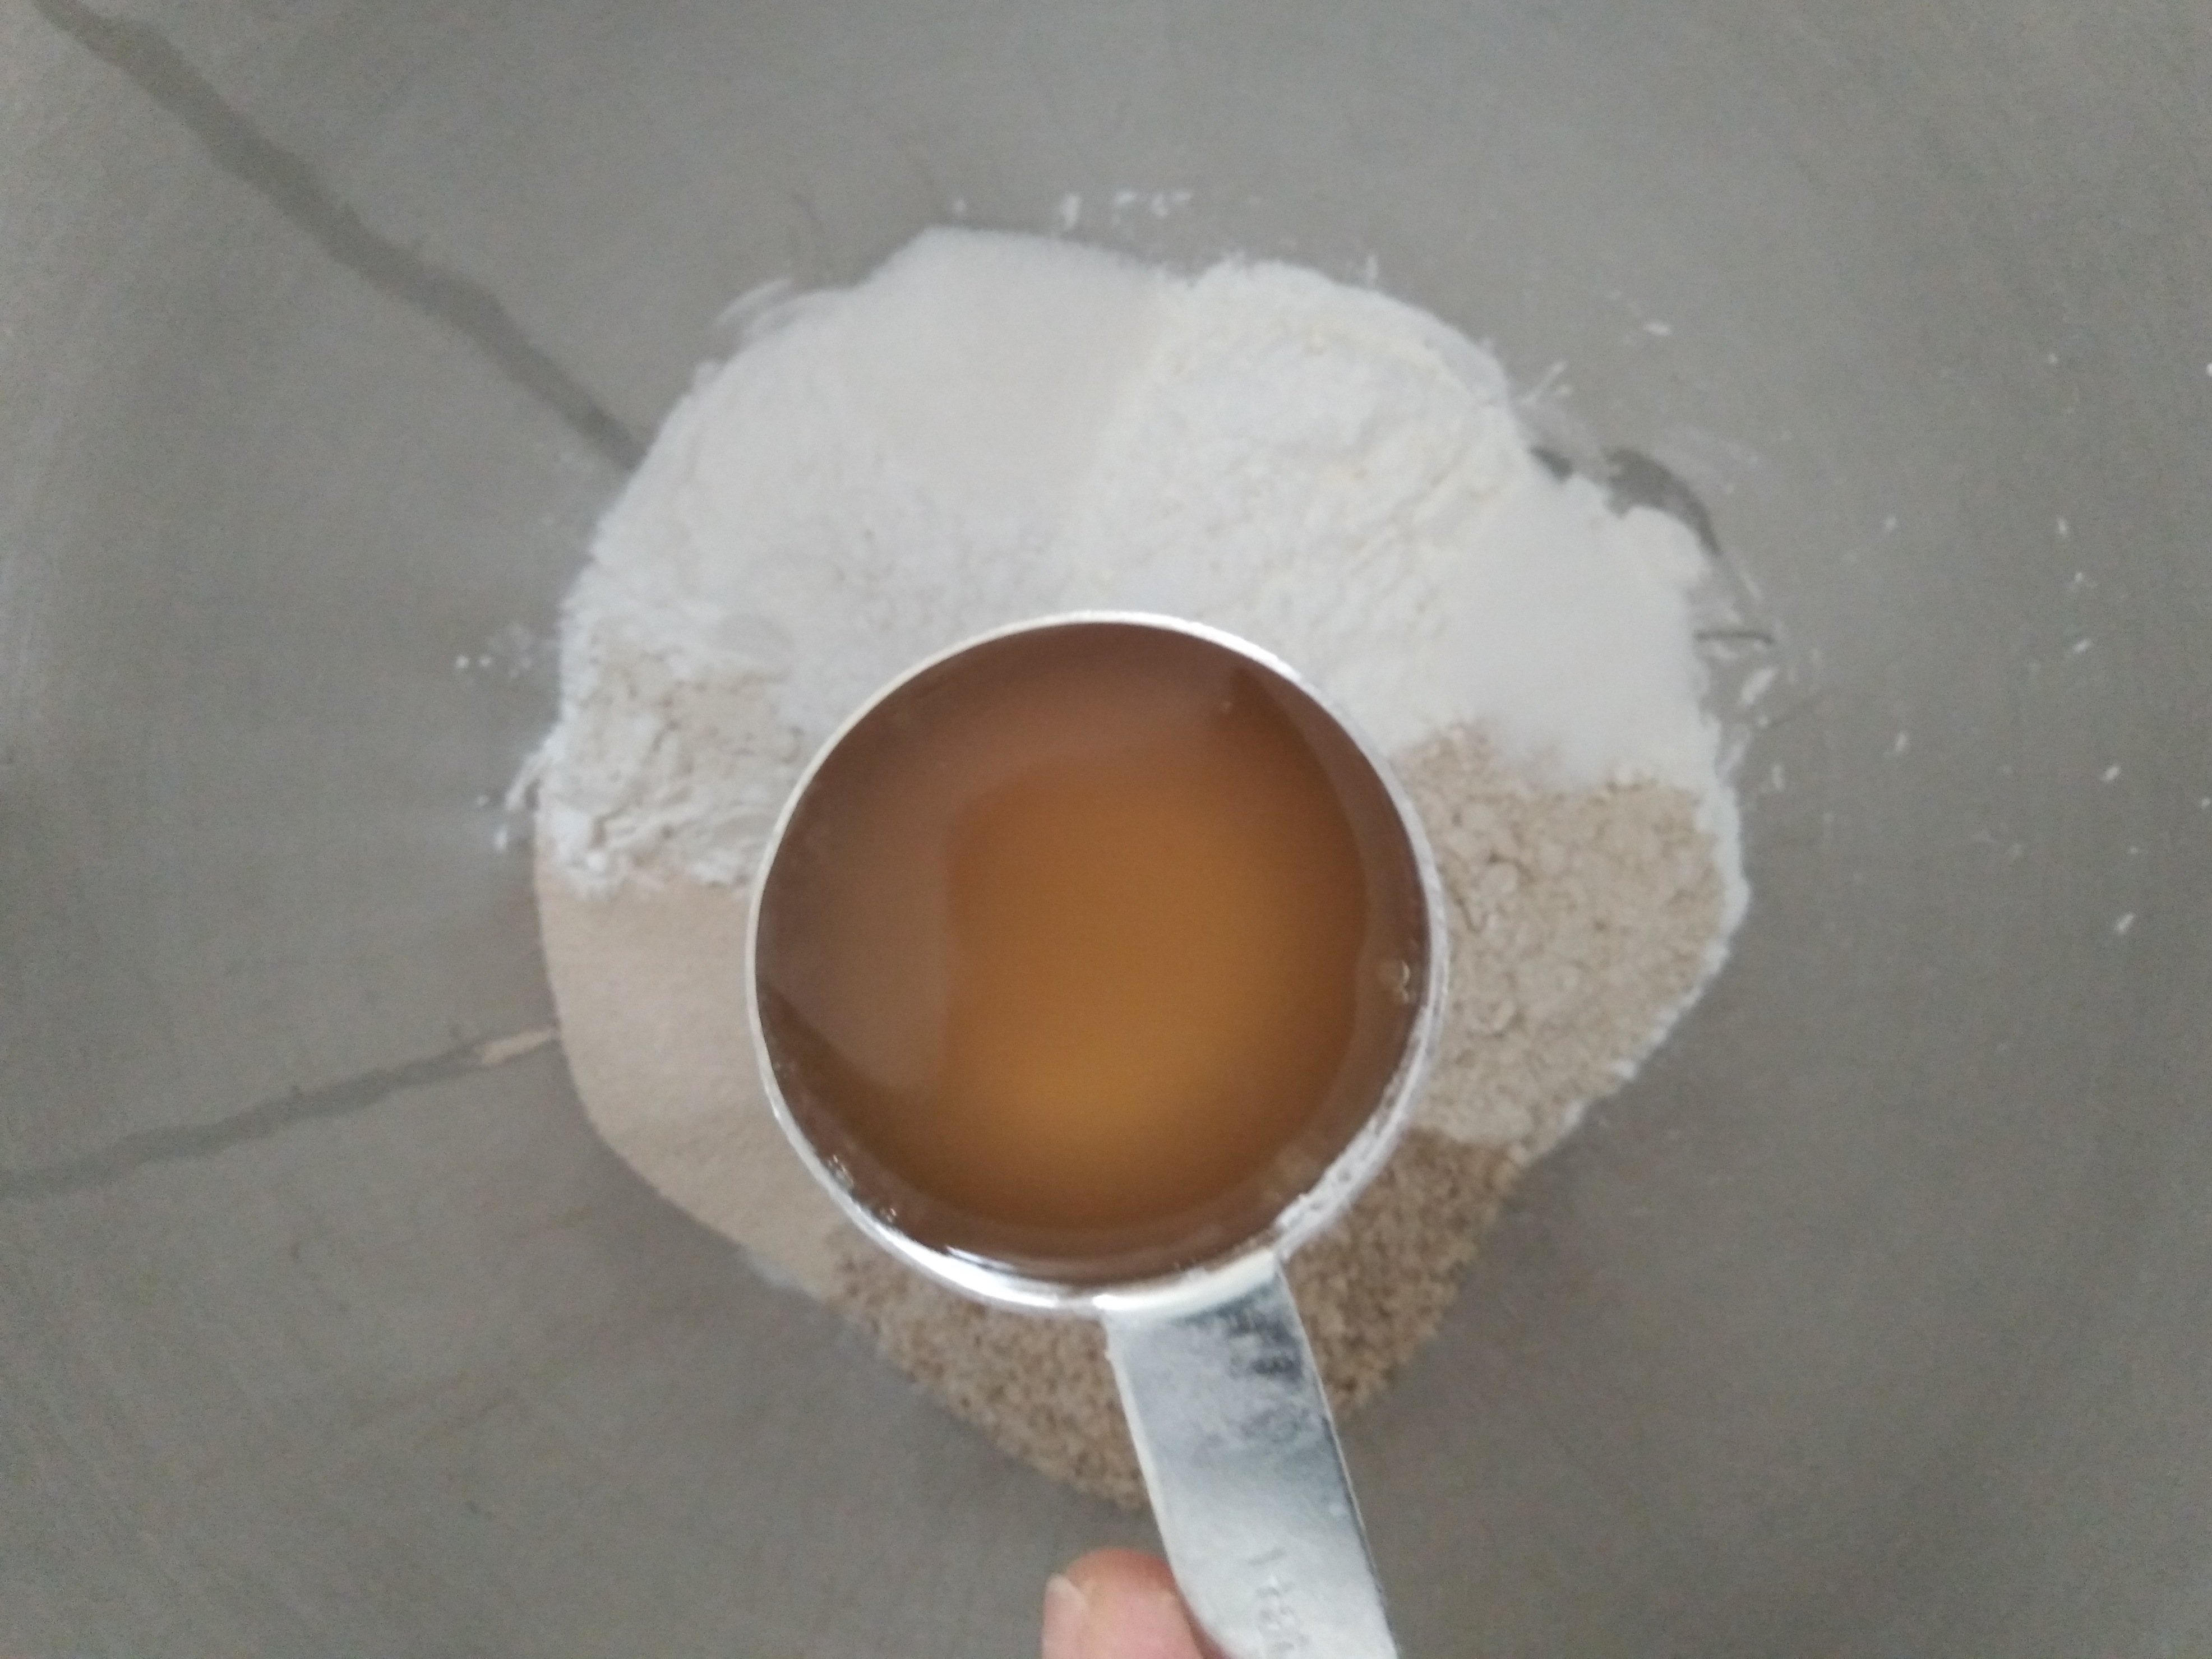
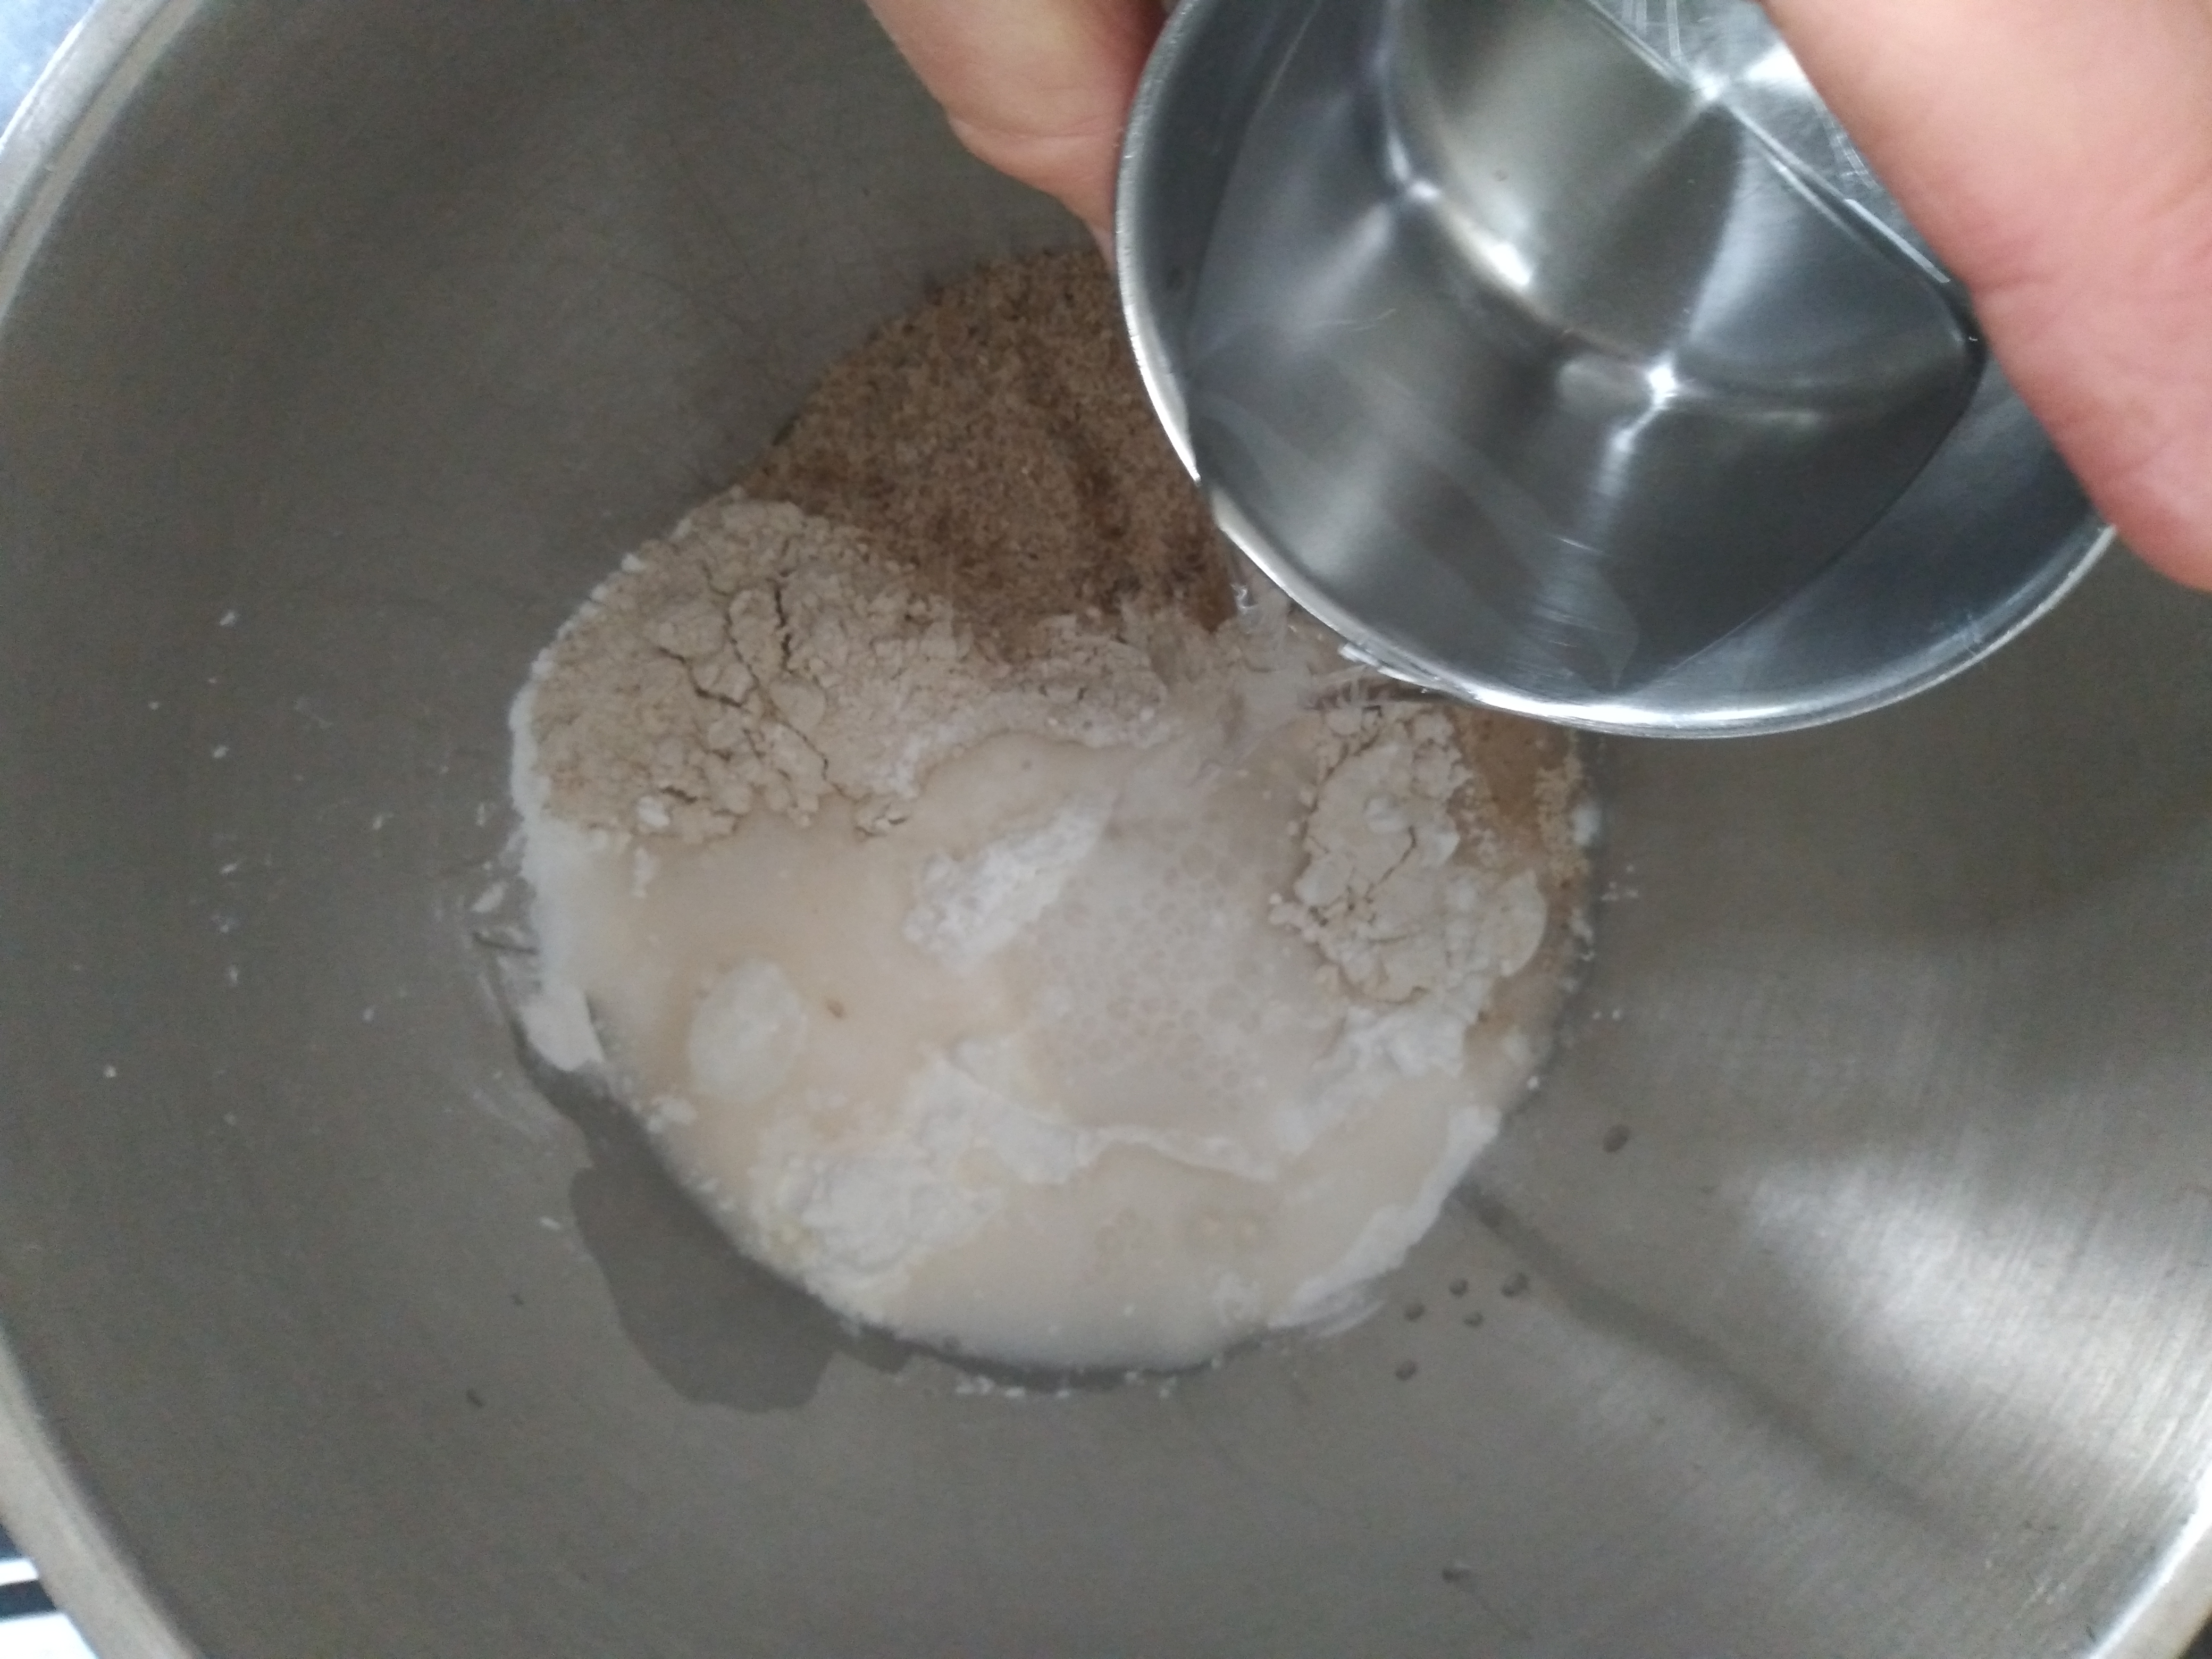
1. Put all the ingredients except the bagel toppings in a large bowl together and mix well. I do this with my stand mixer but you could use a handheld mixer or a wooden spoon and lots of hard work.
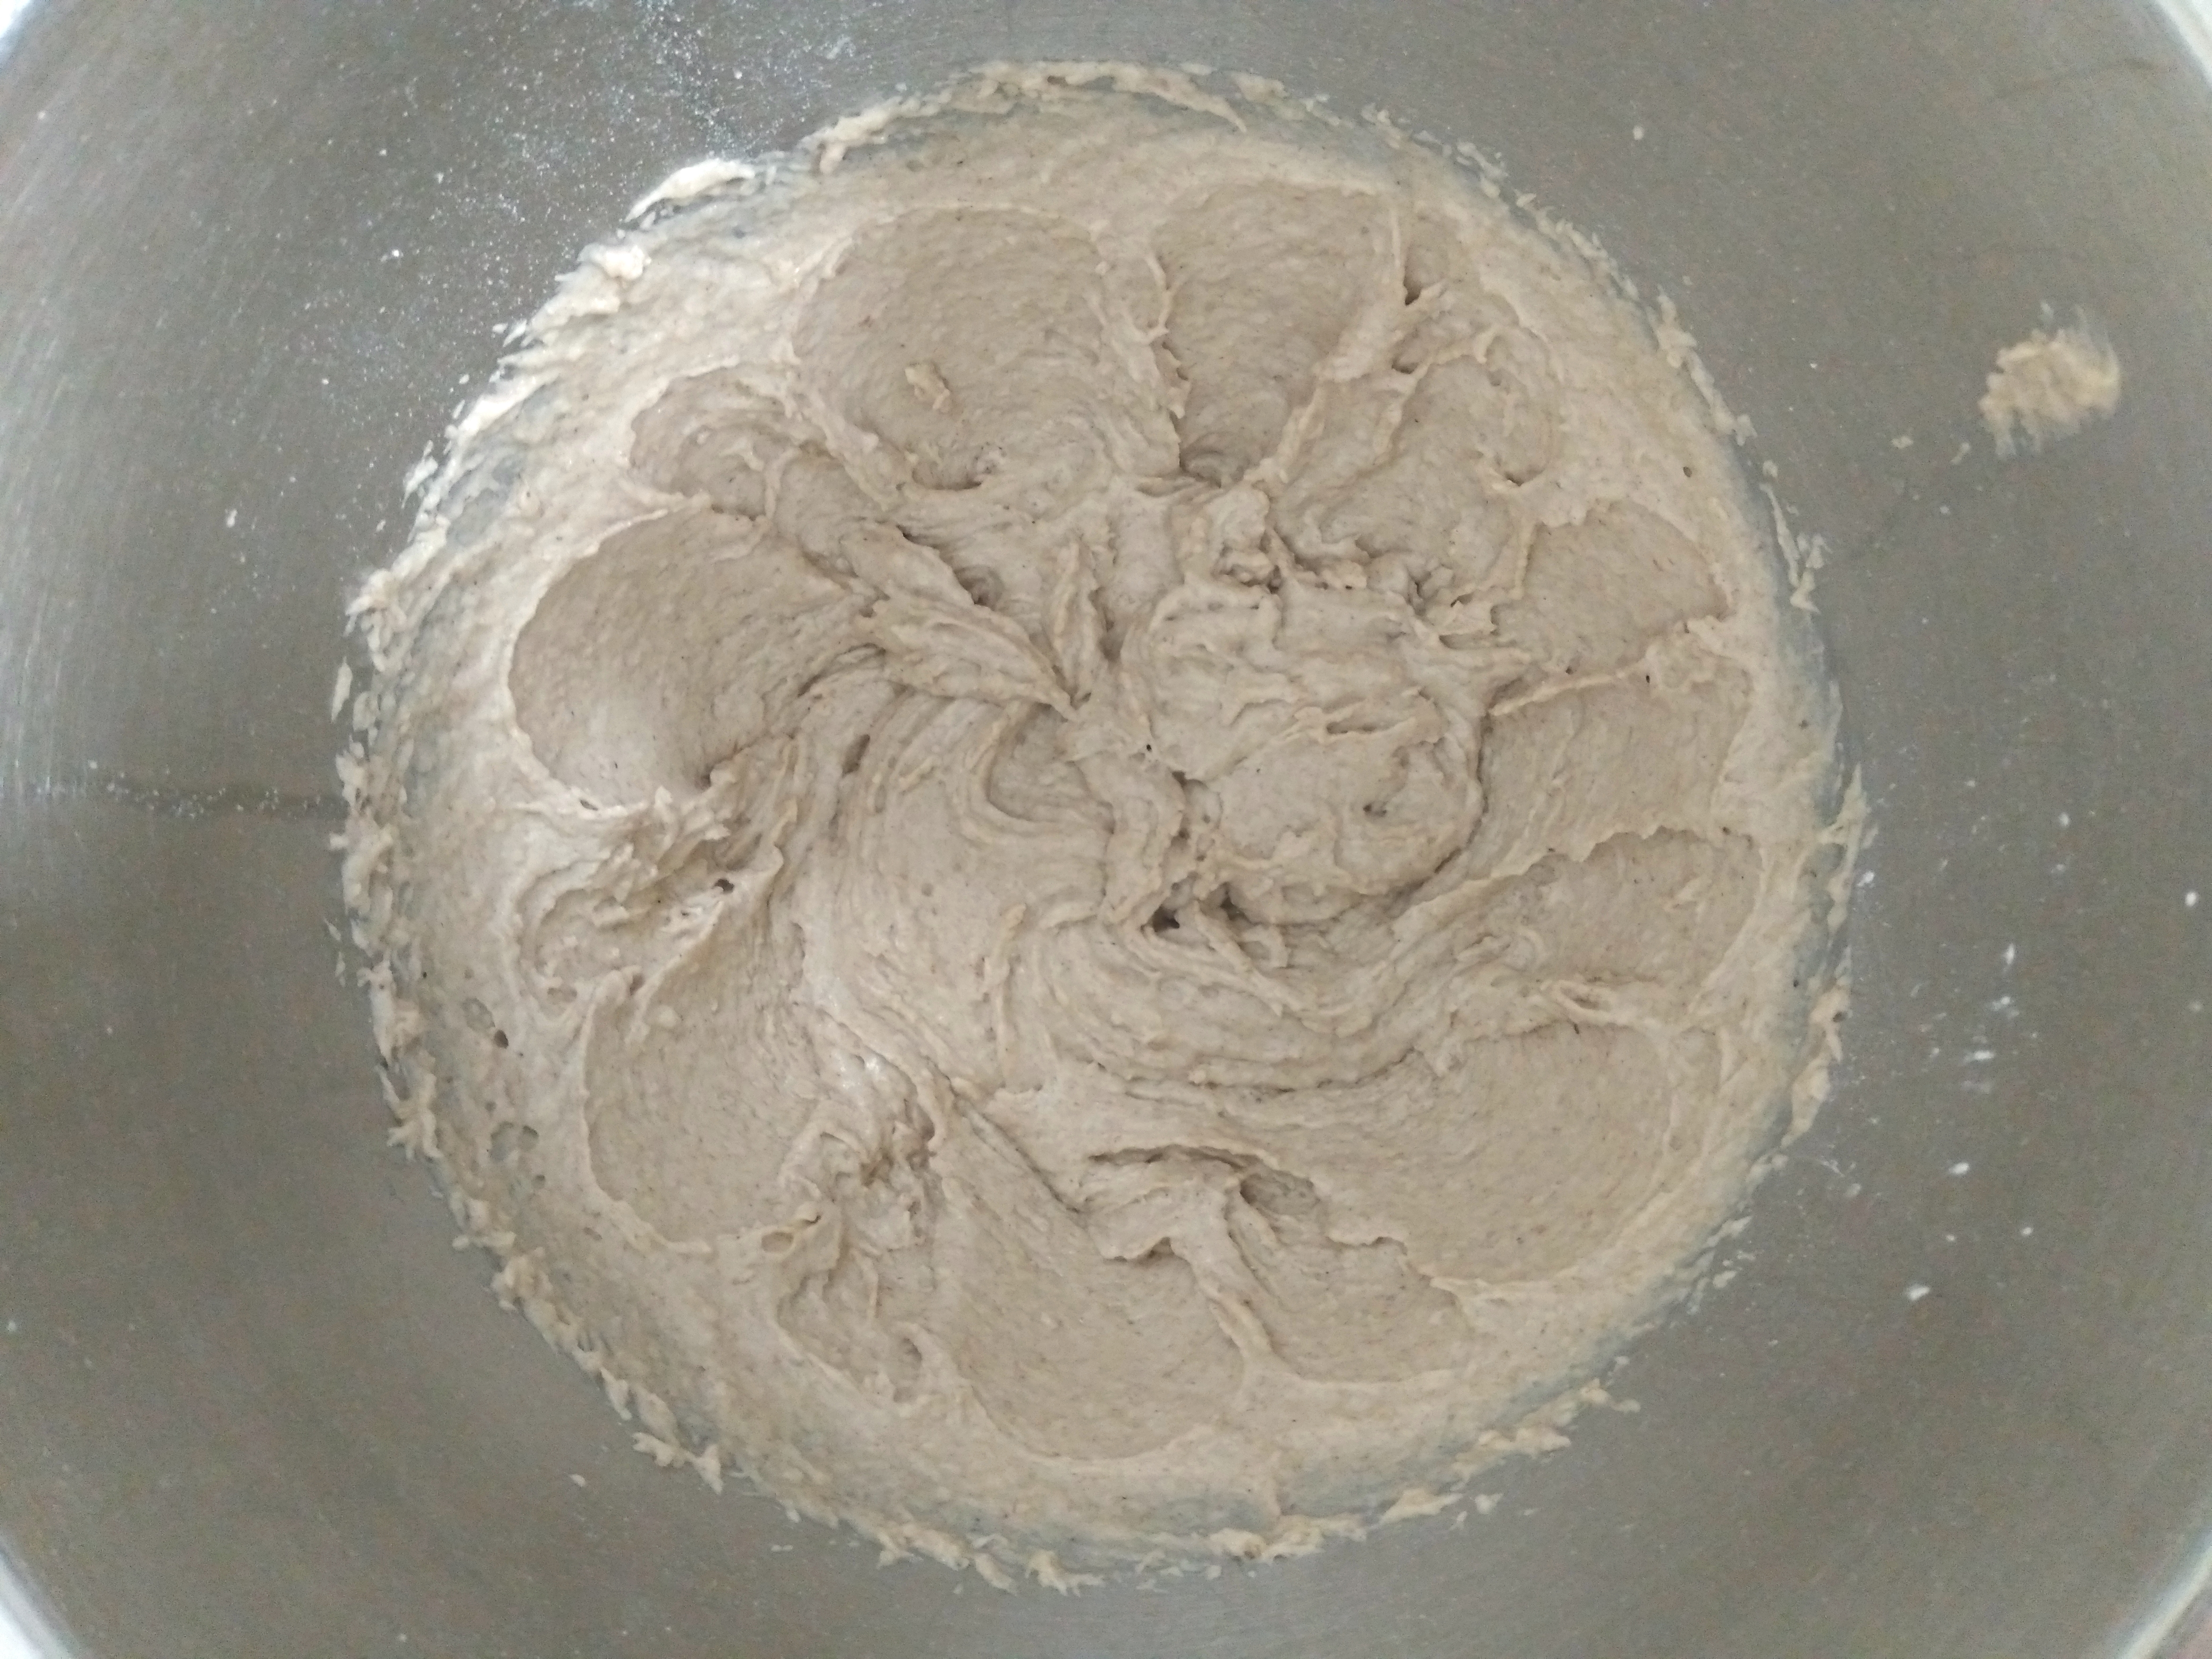
2. Cover the bowl with a clean, dry cloth and set aside to rest for about 5 minutes (this allows the psyllium to absorb the liquid and the dough to become more pliable).
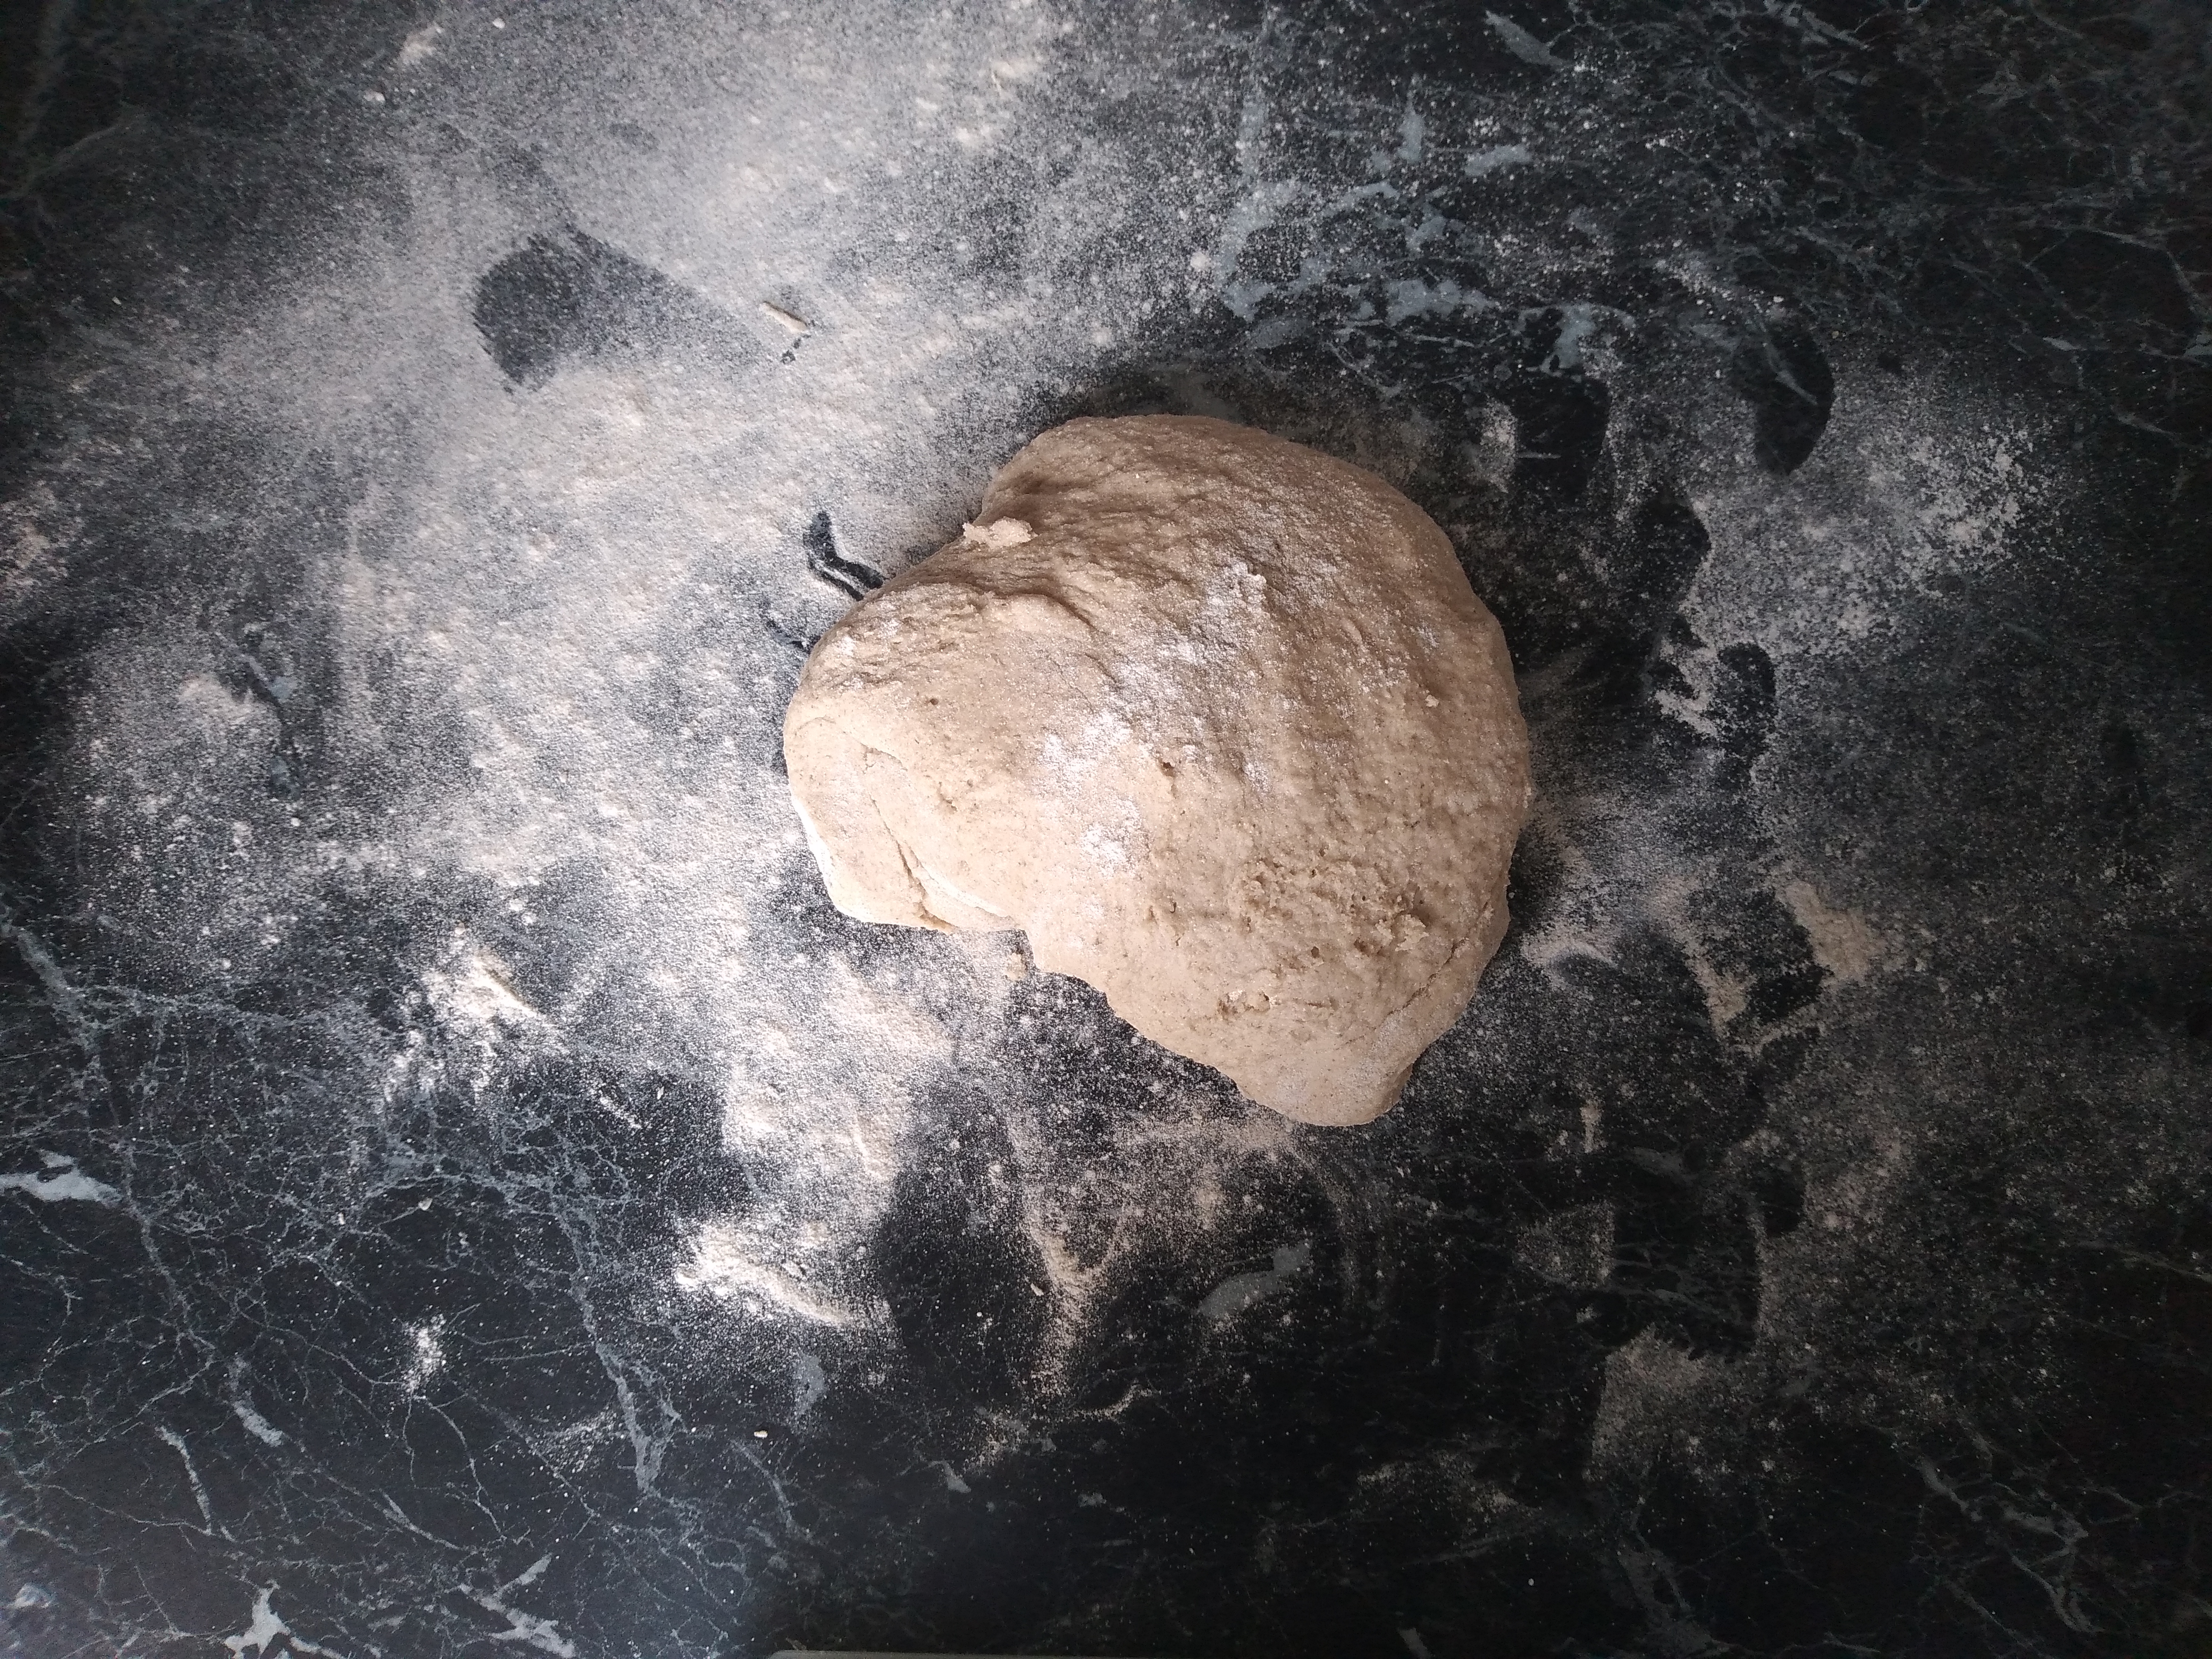
3. Flour a work surface well with any gluten free flour (such as buckwheat flour, rice flour etc) but not a starch (corn starch, potato starch or tapioca starch) as the starches are too powdery and will be messier. Tip the dough onto the floured surface and knead for a few minutes, adding a bit more flour if necessary, until the dough is not too sticky and is easy to shape.
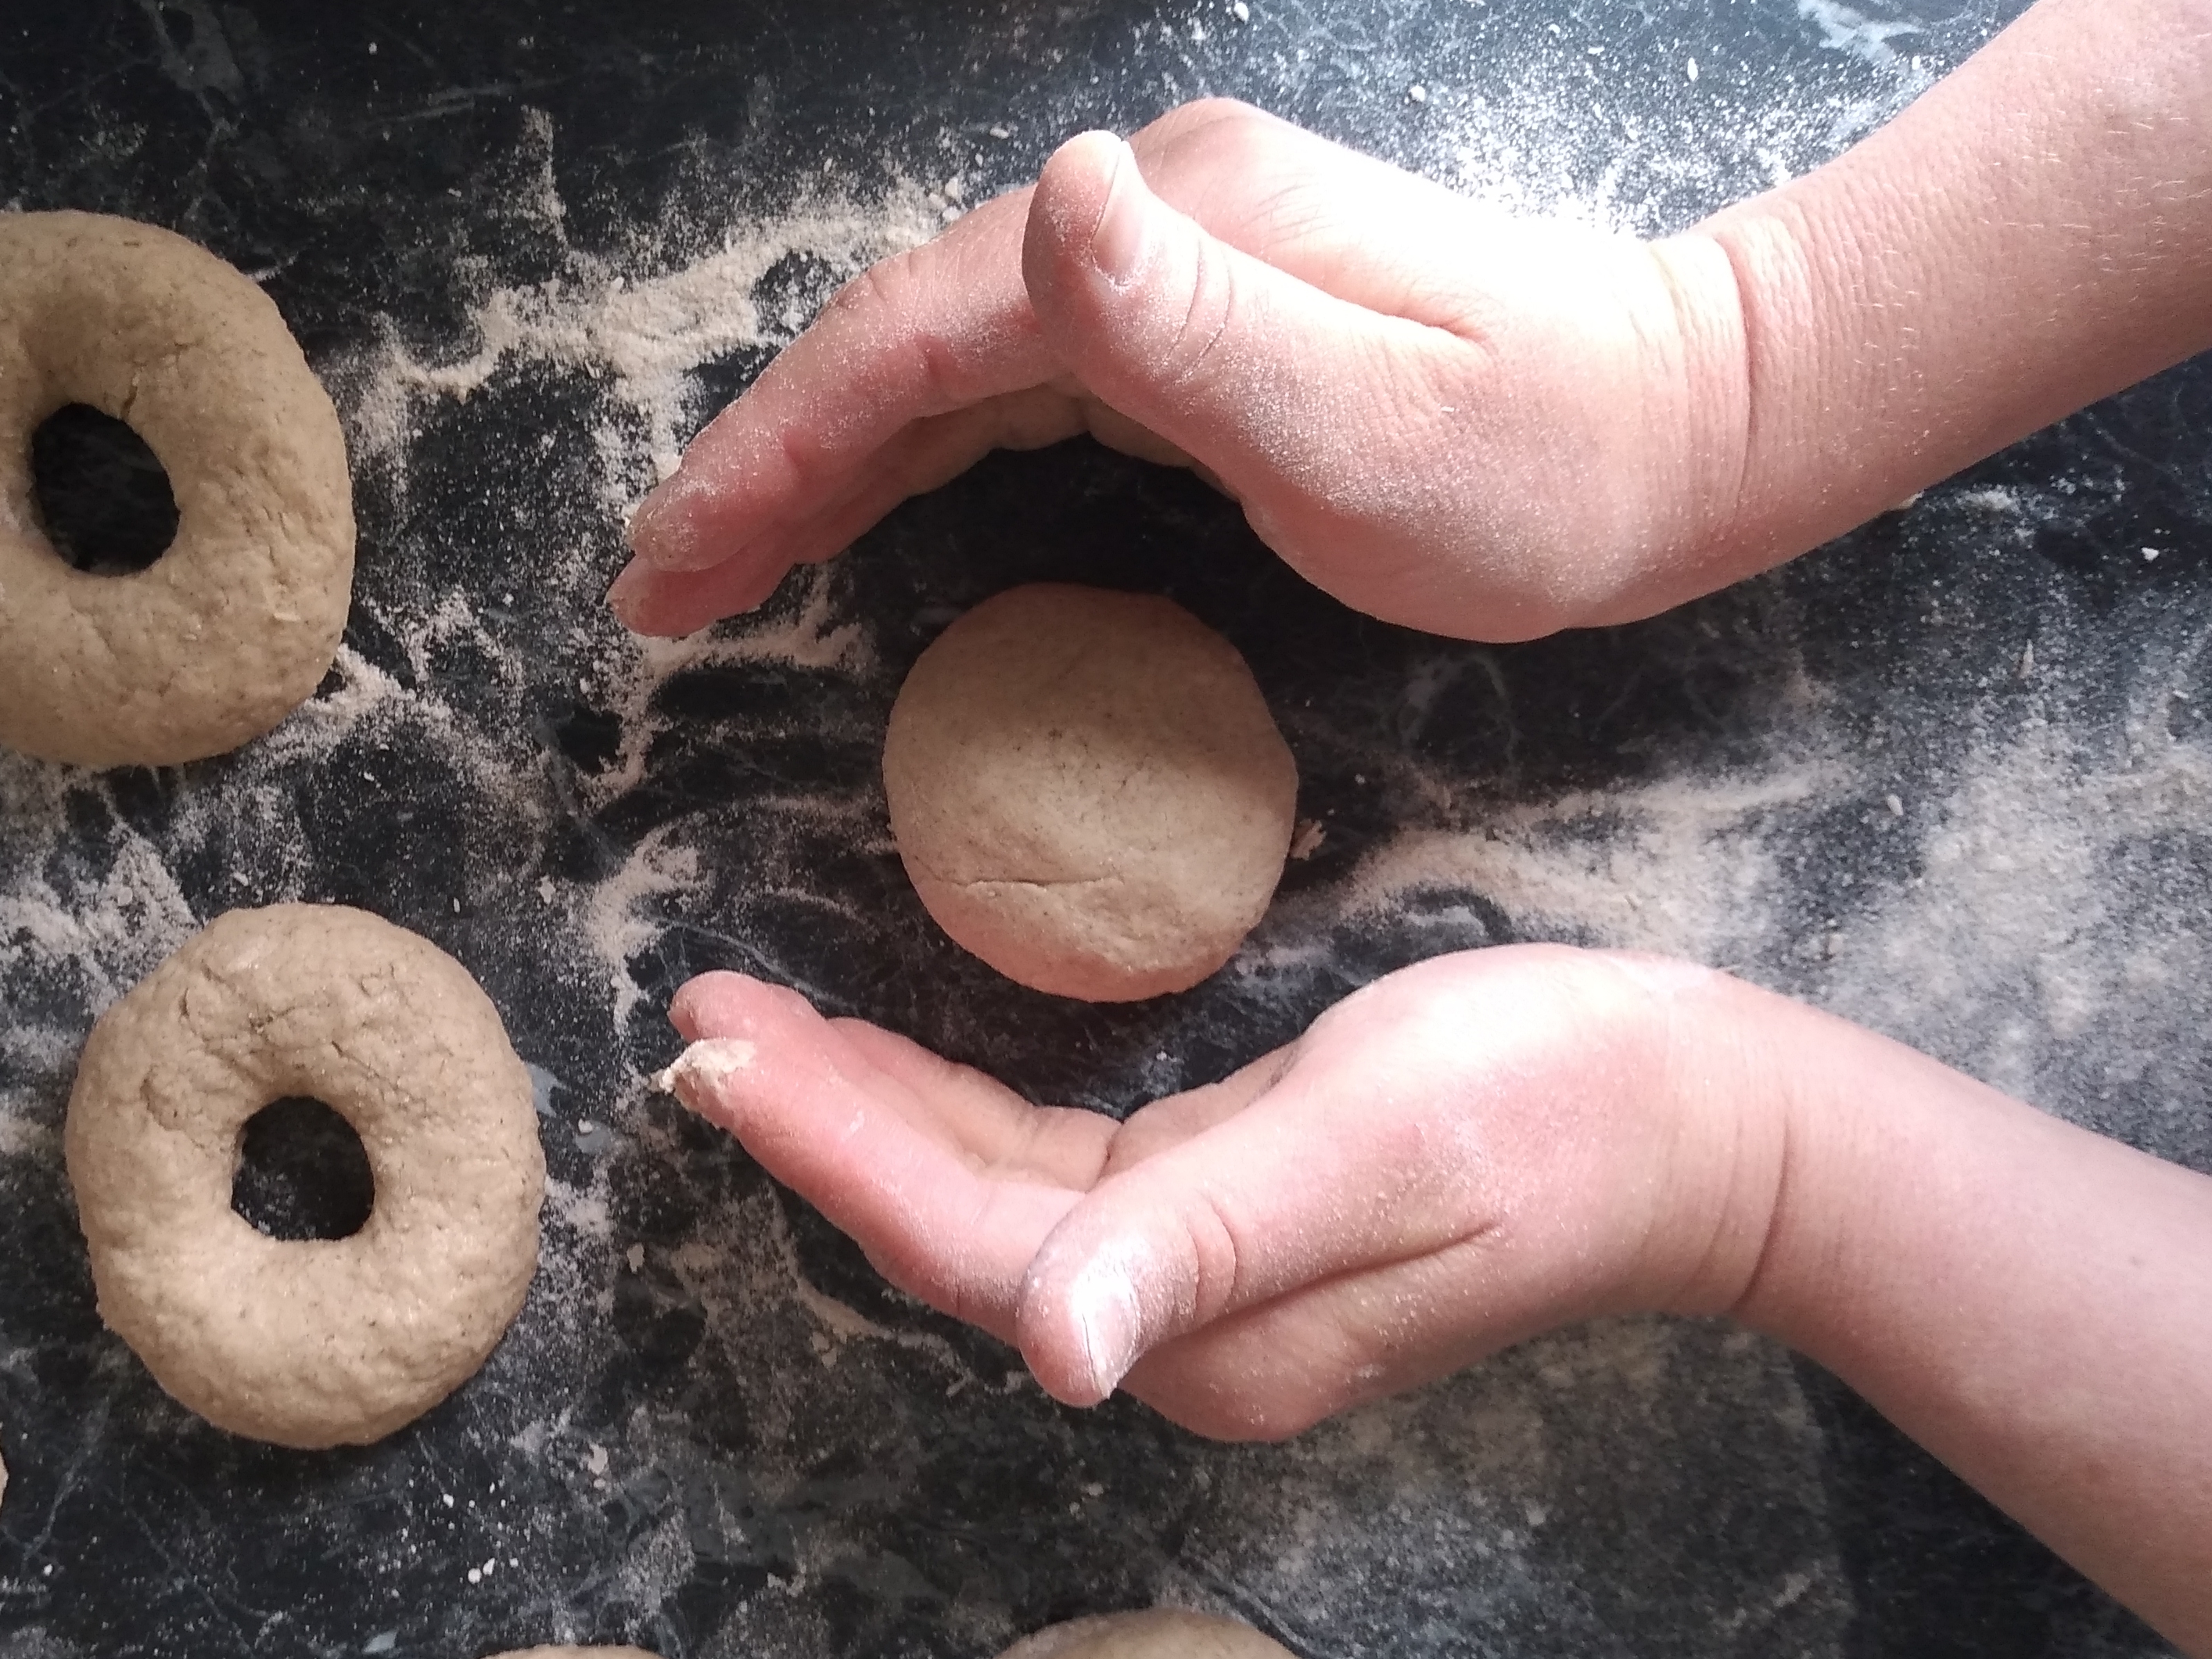
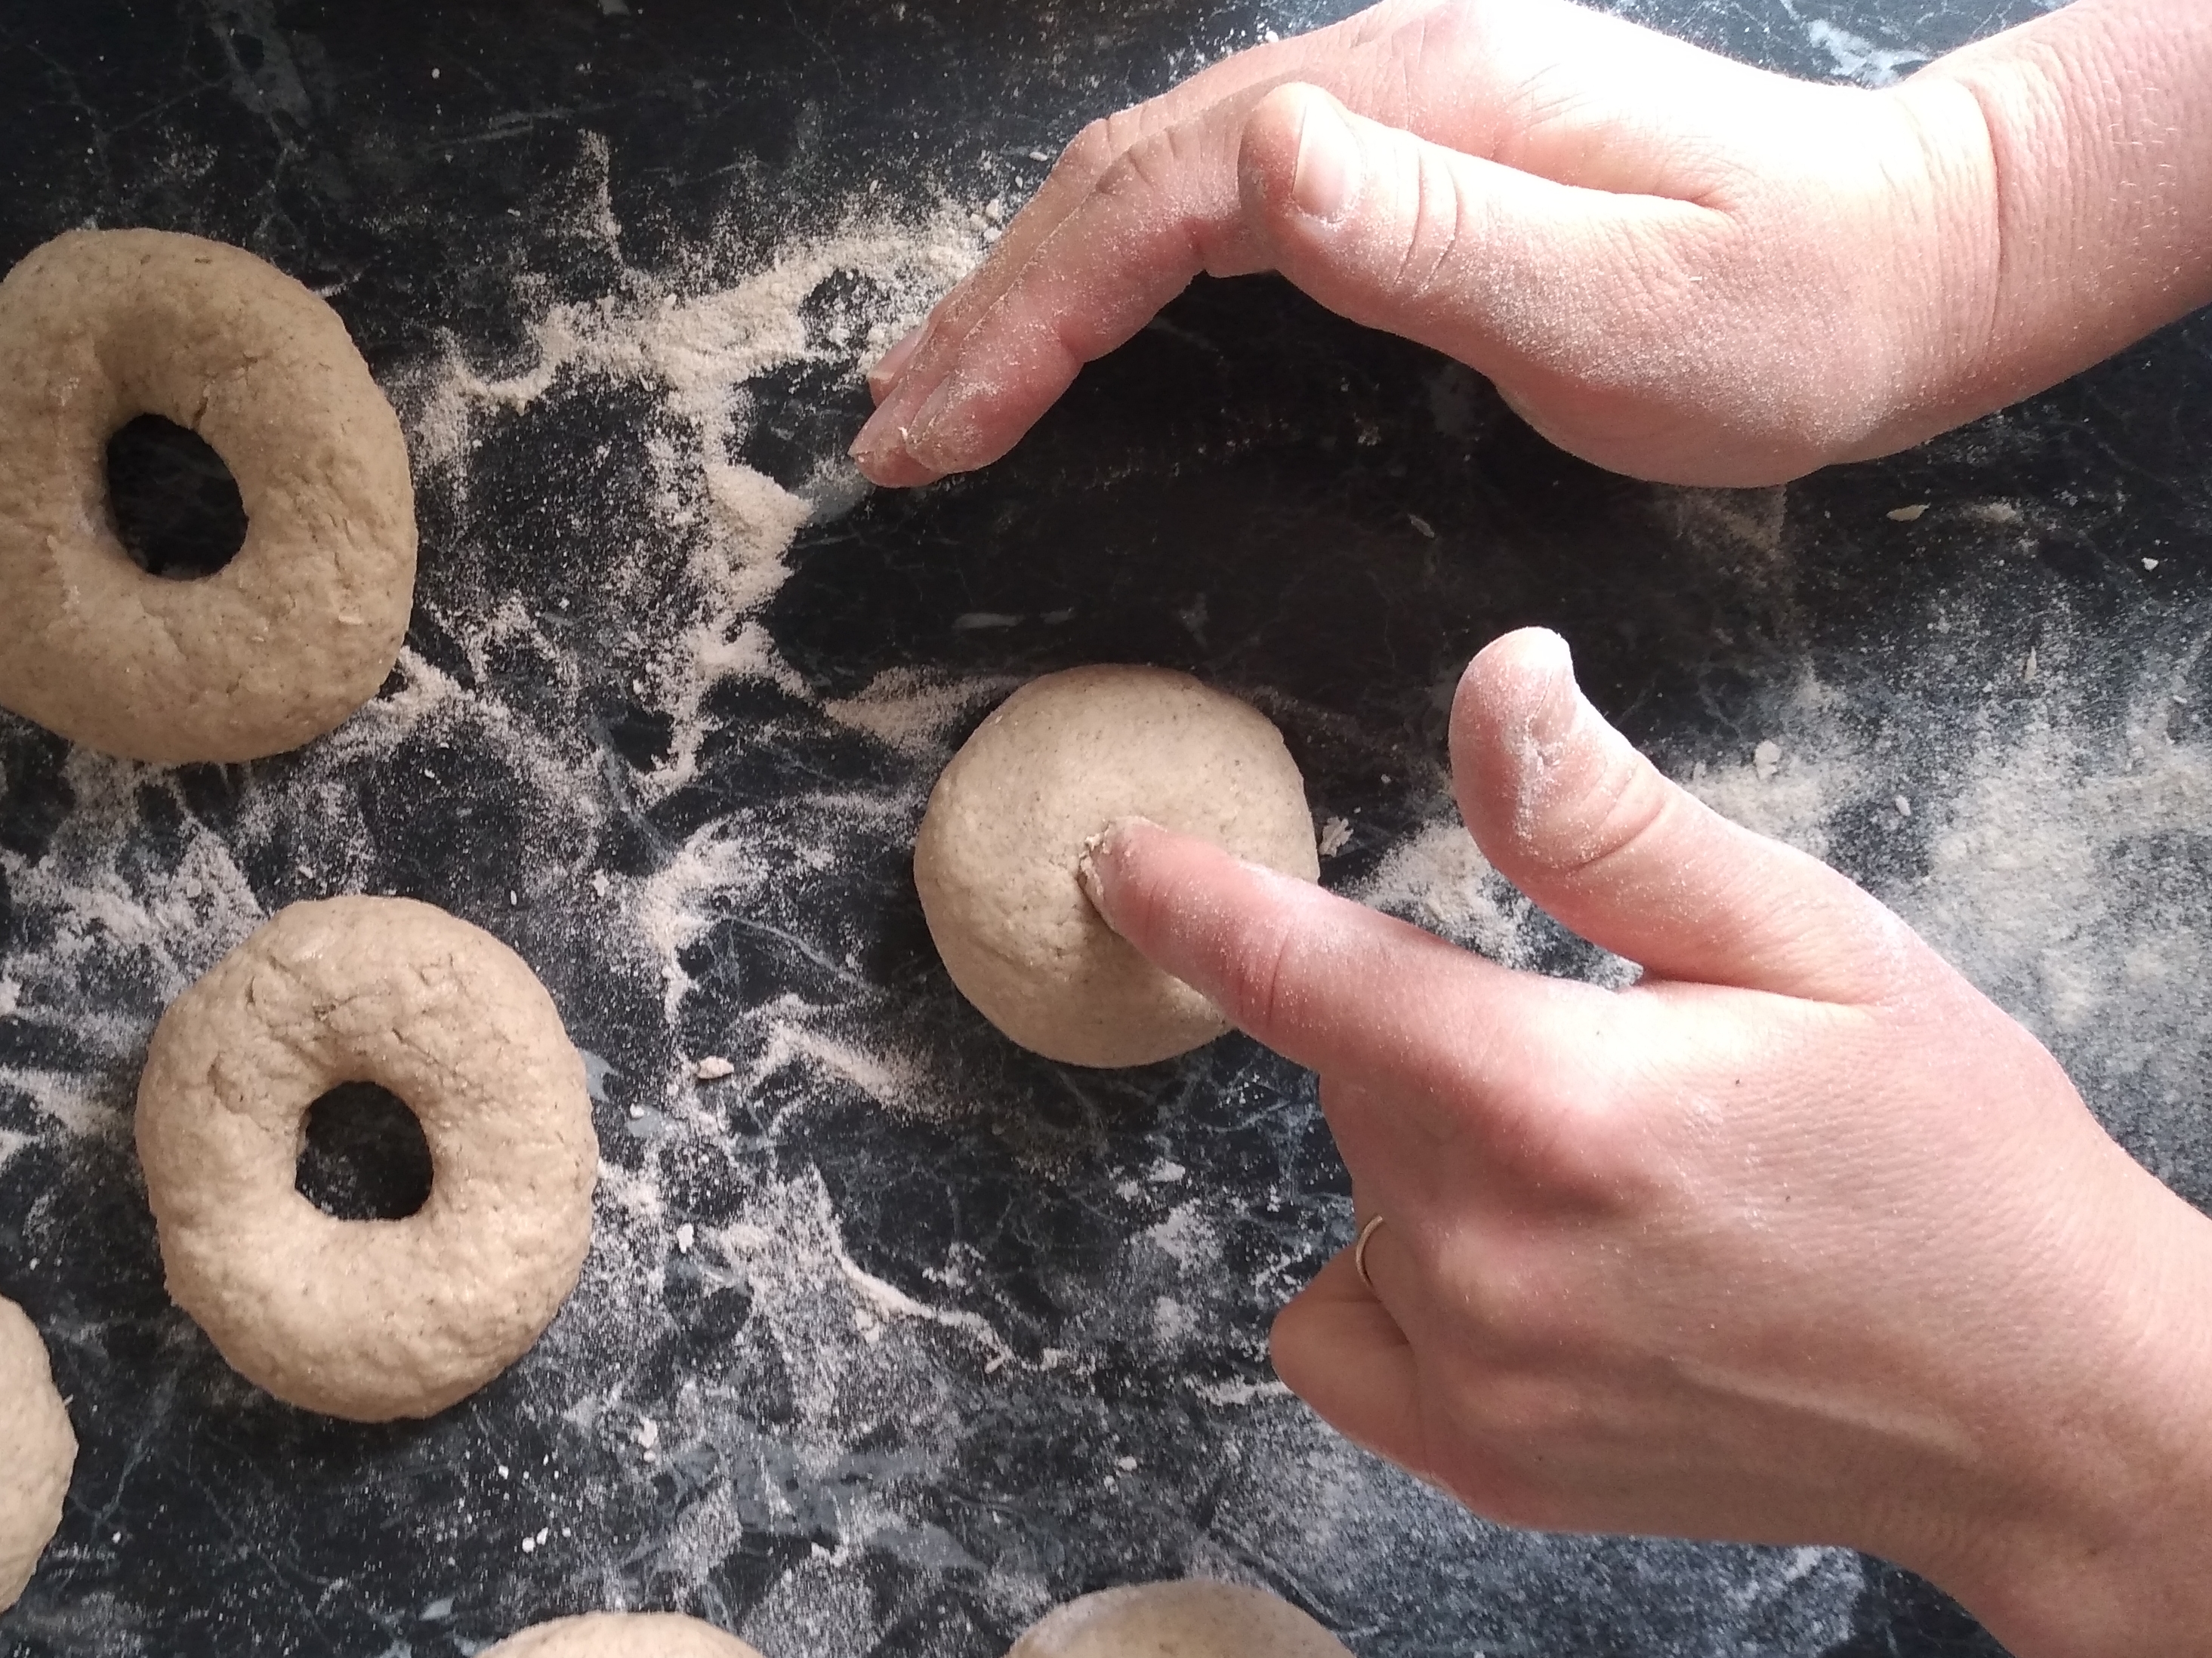
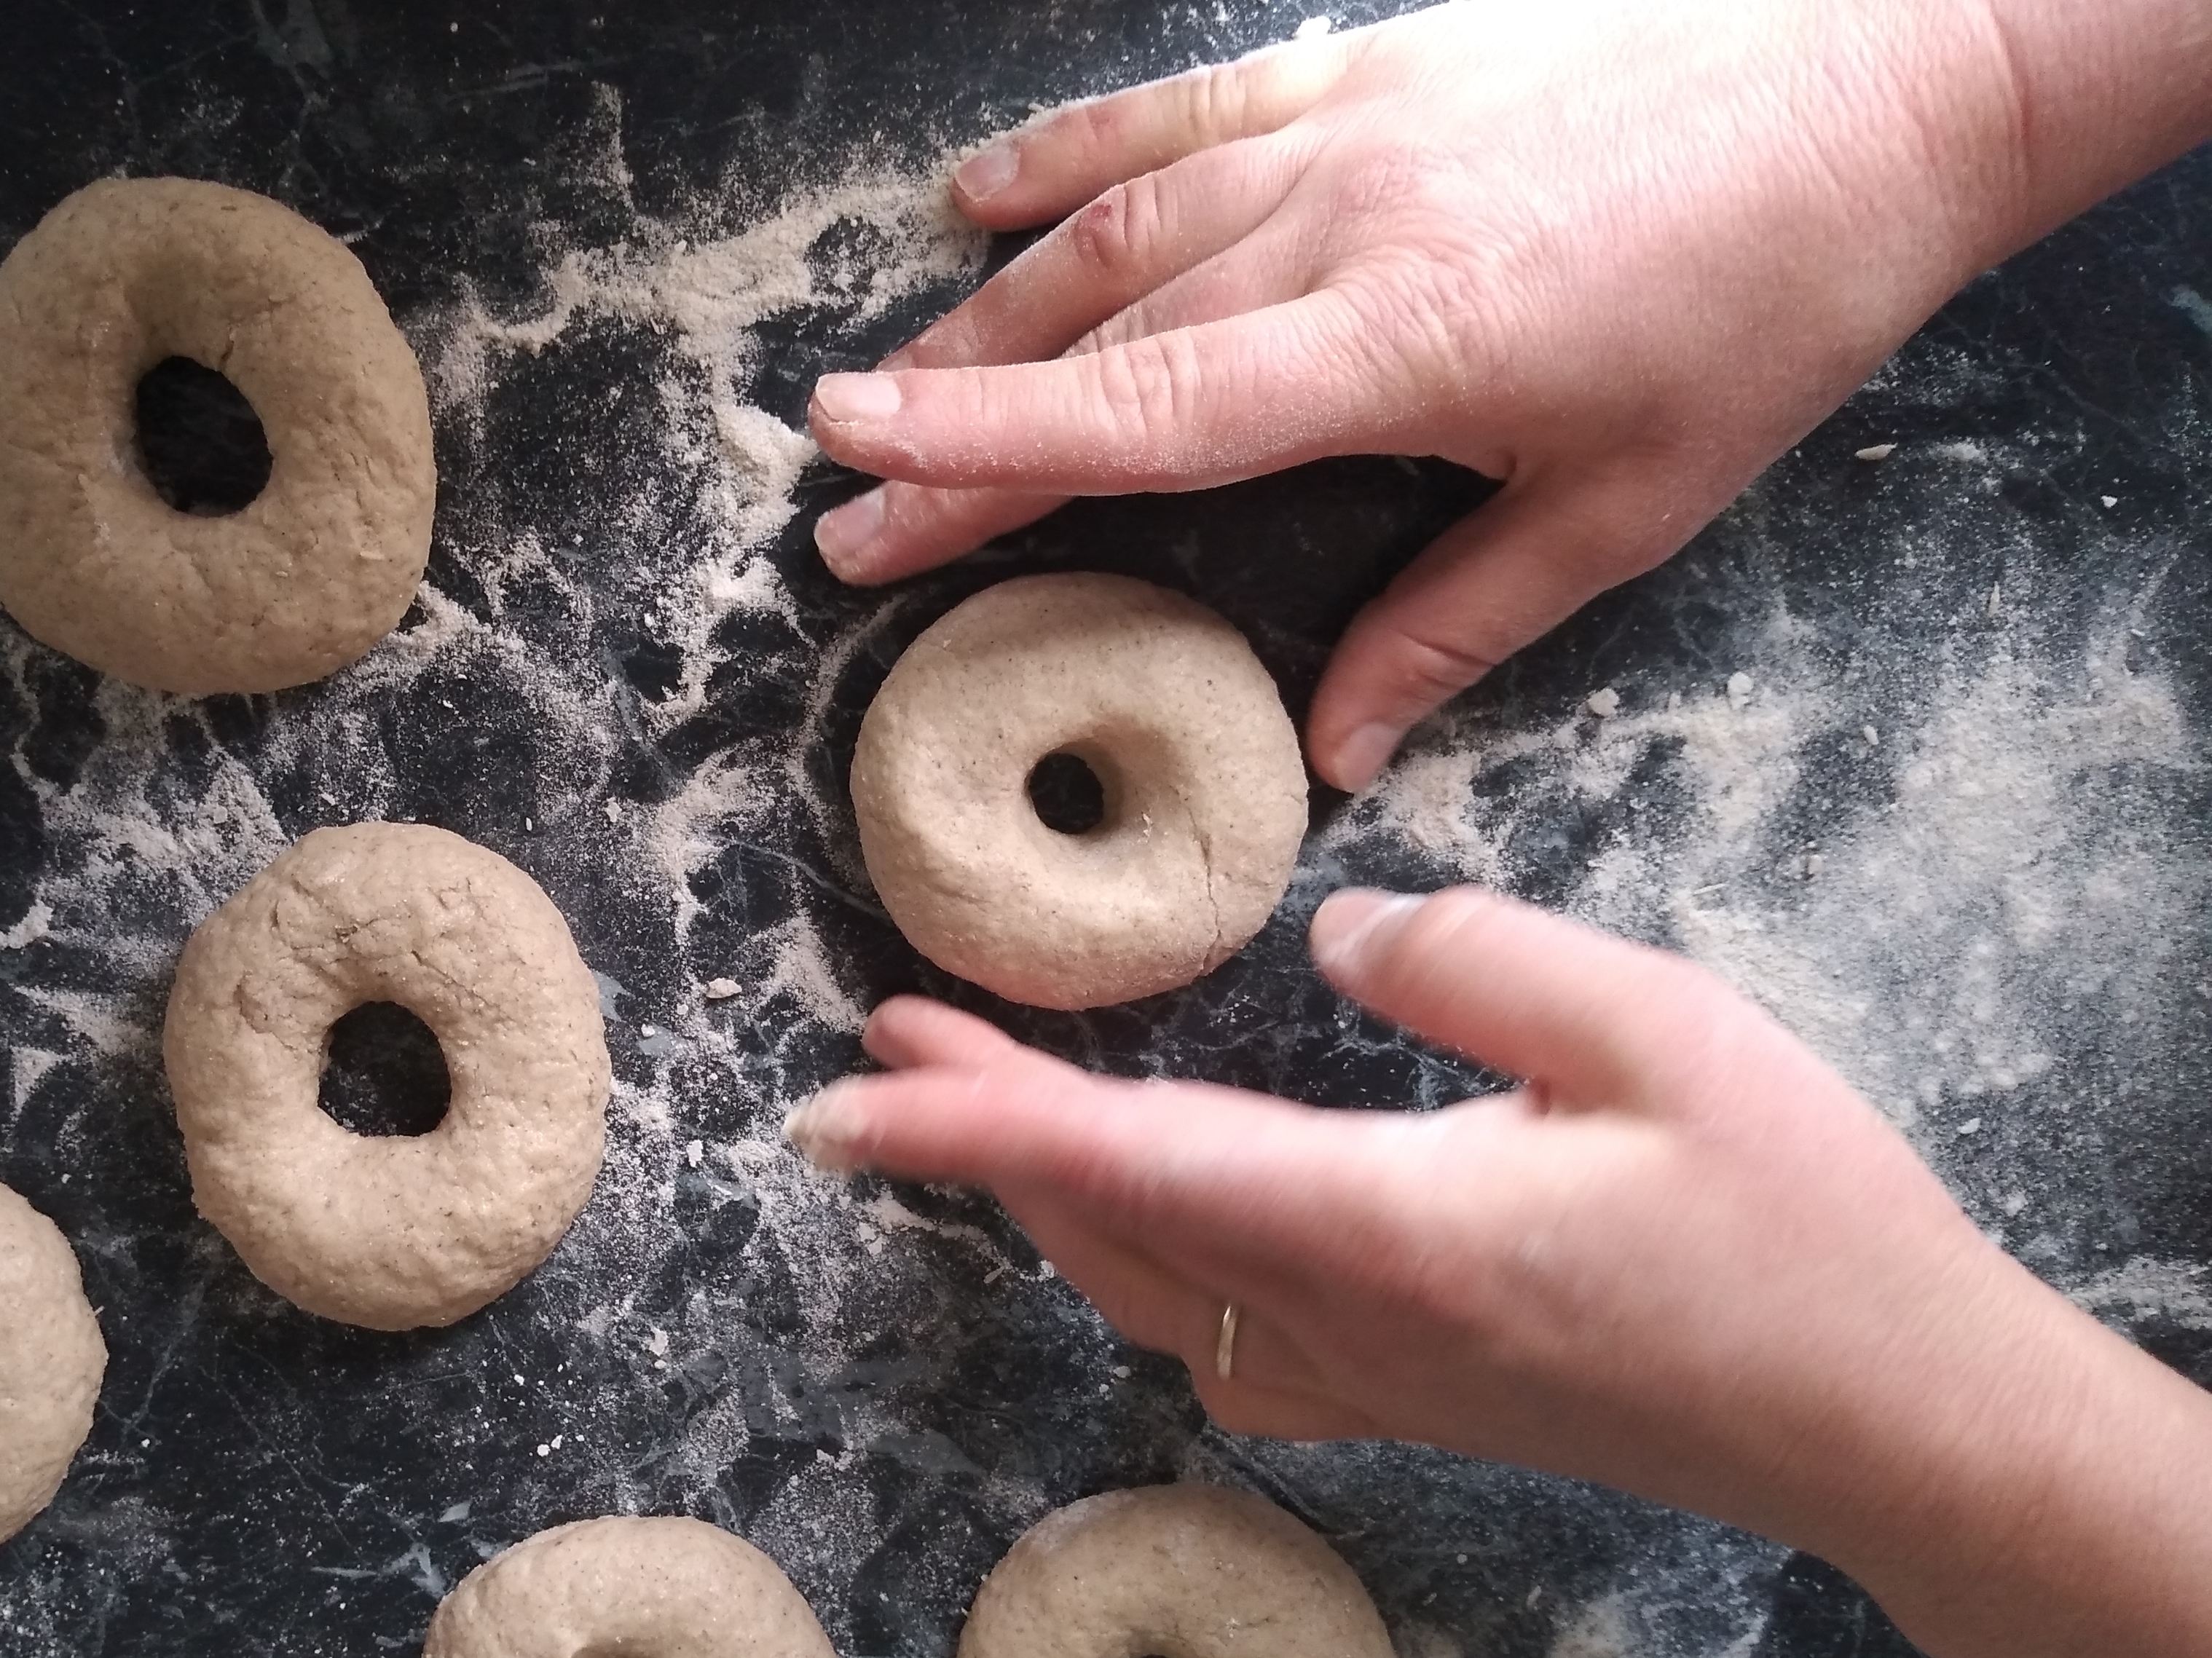
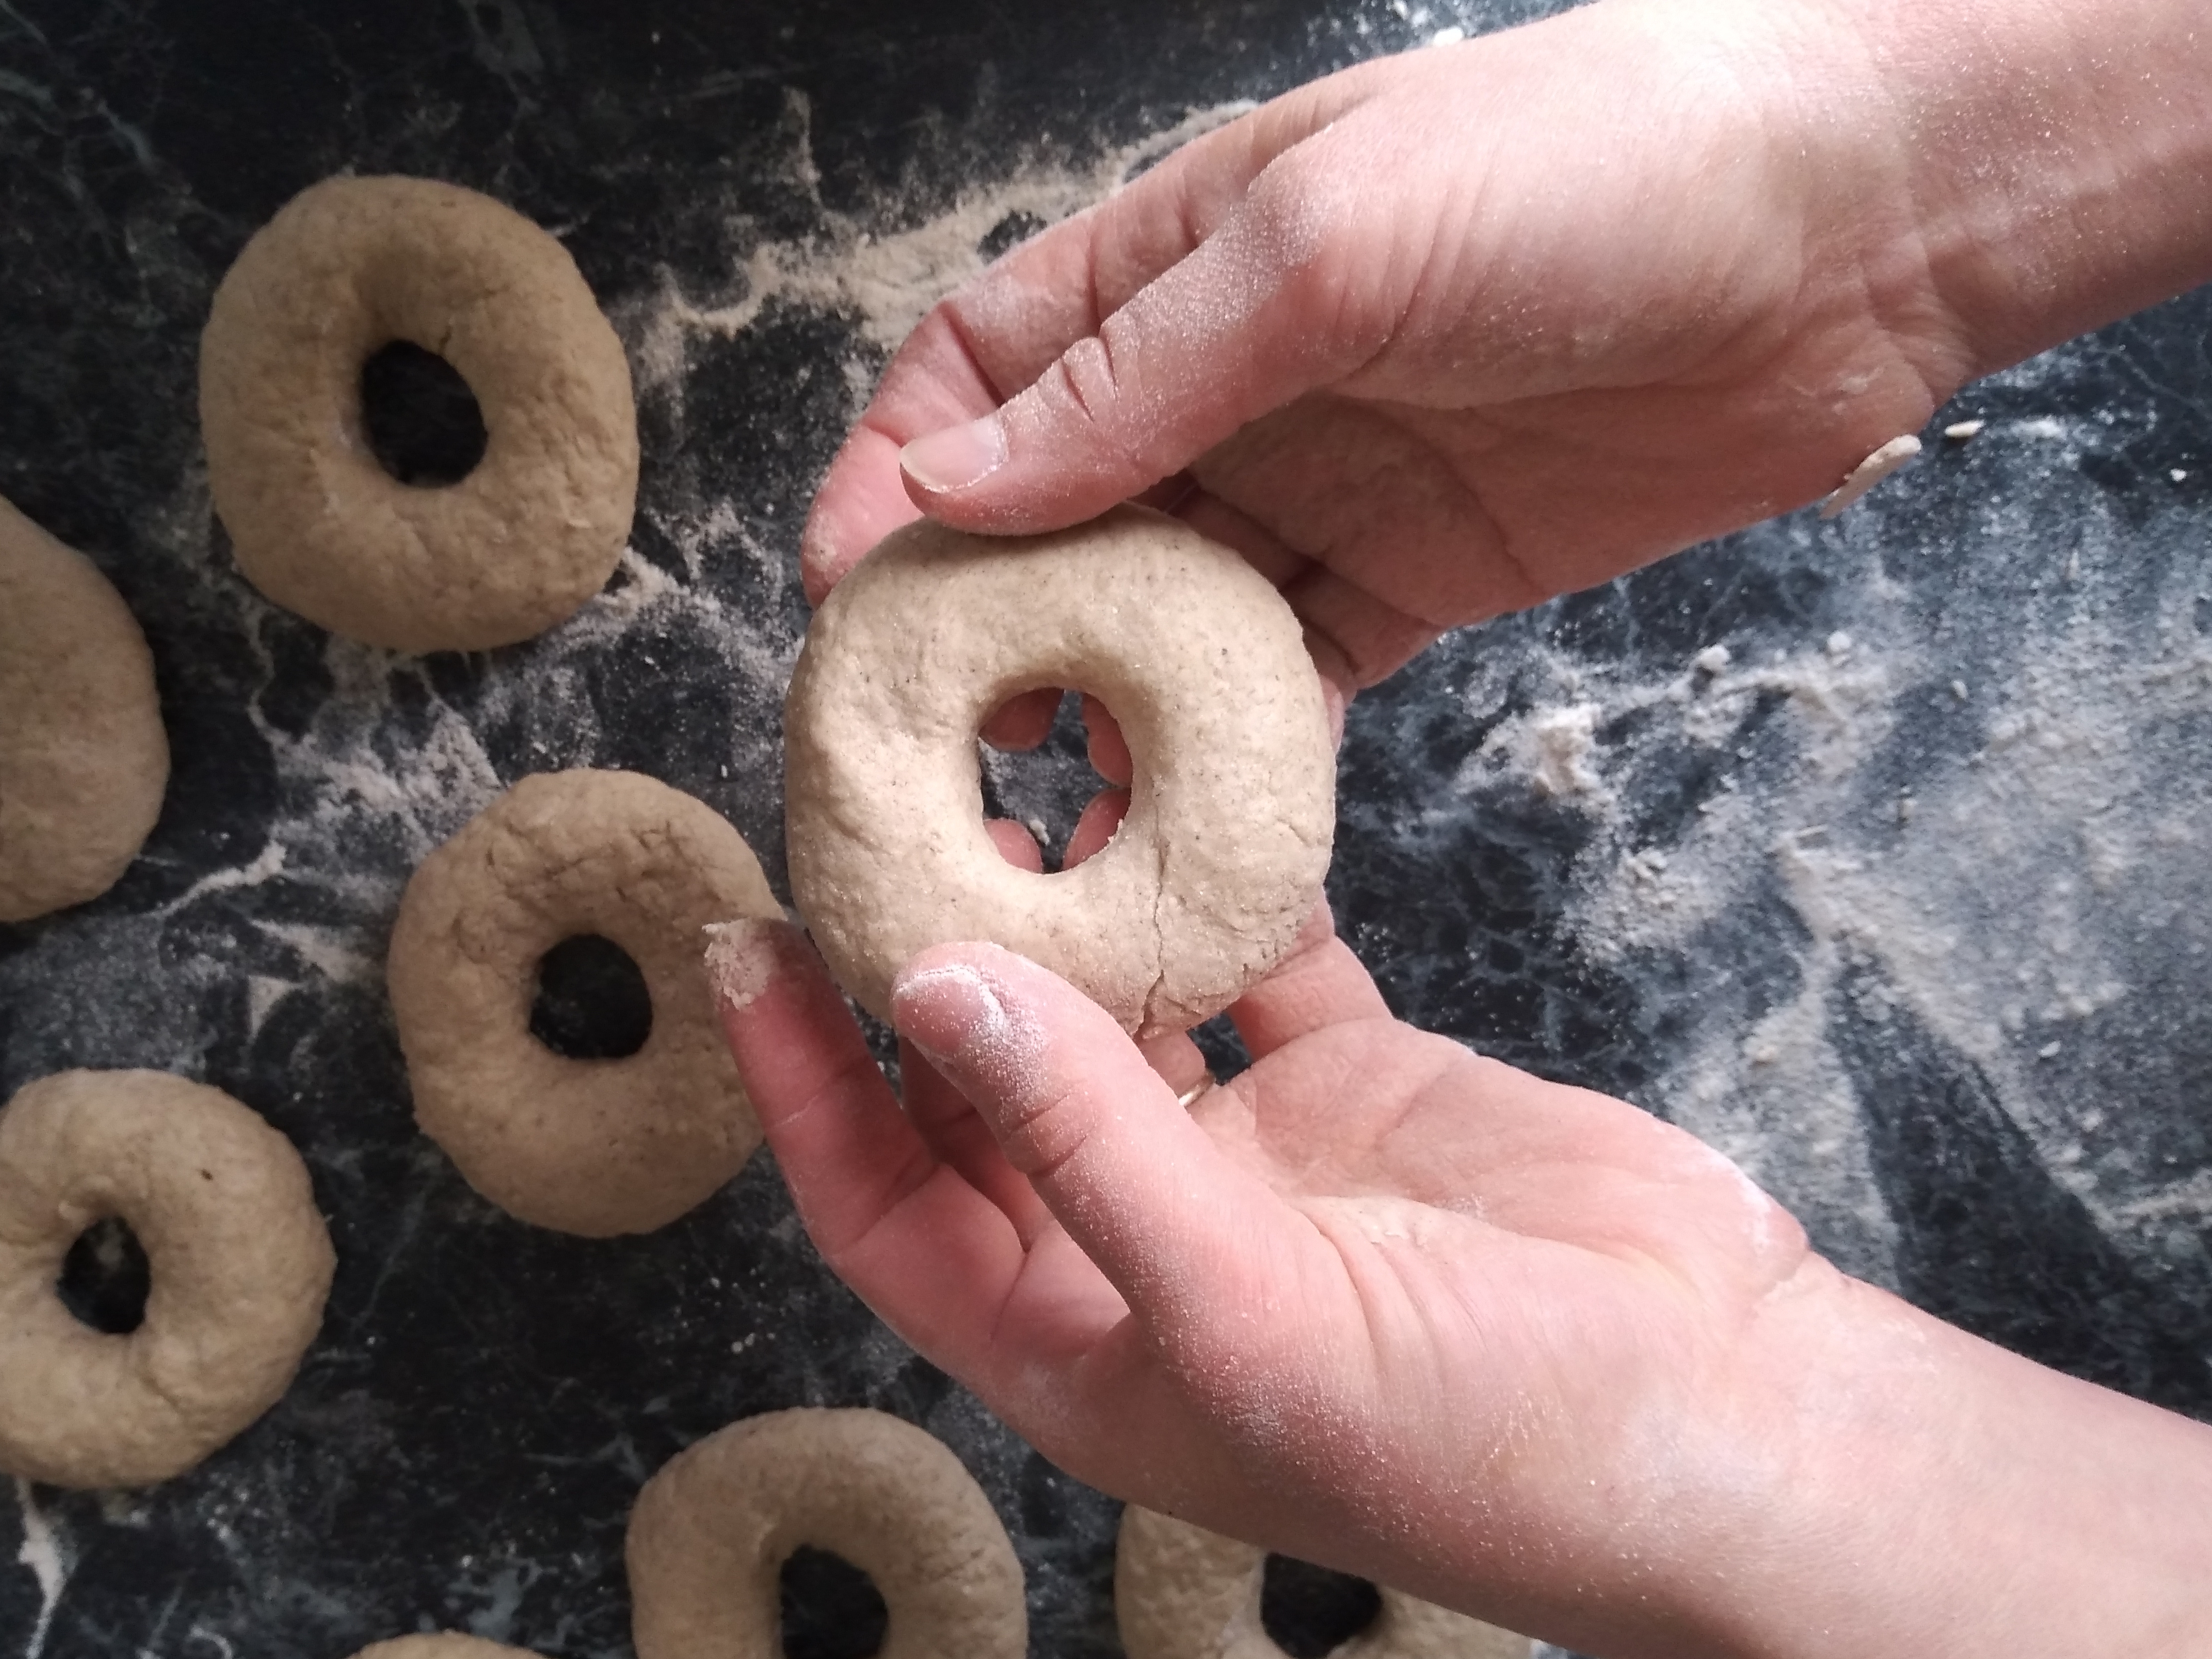
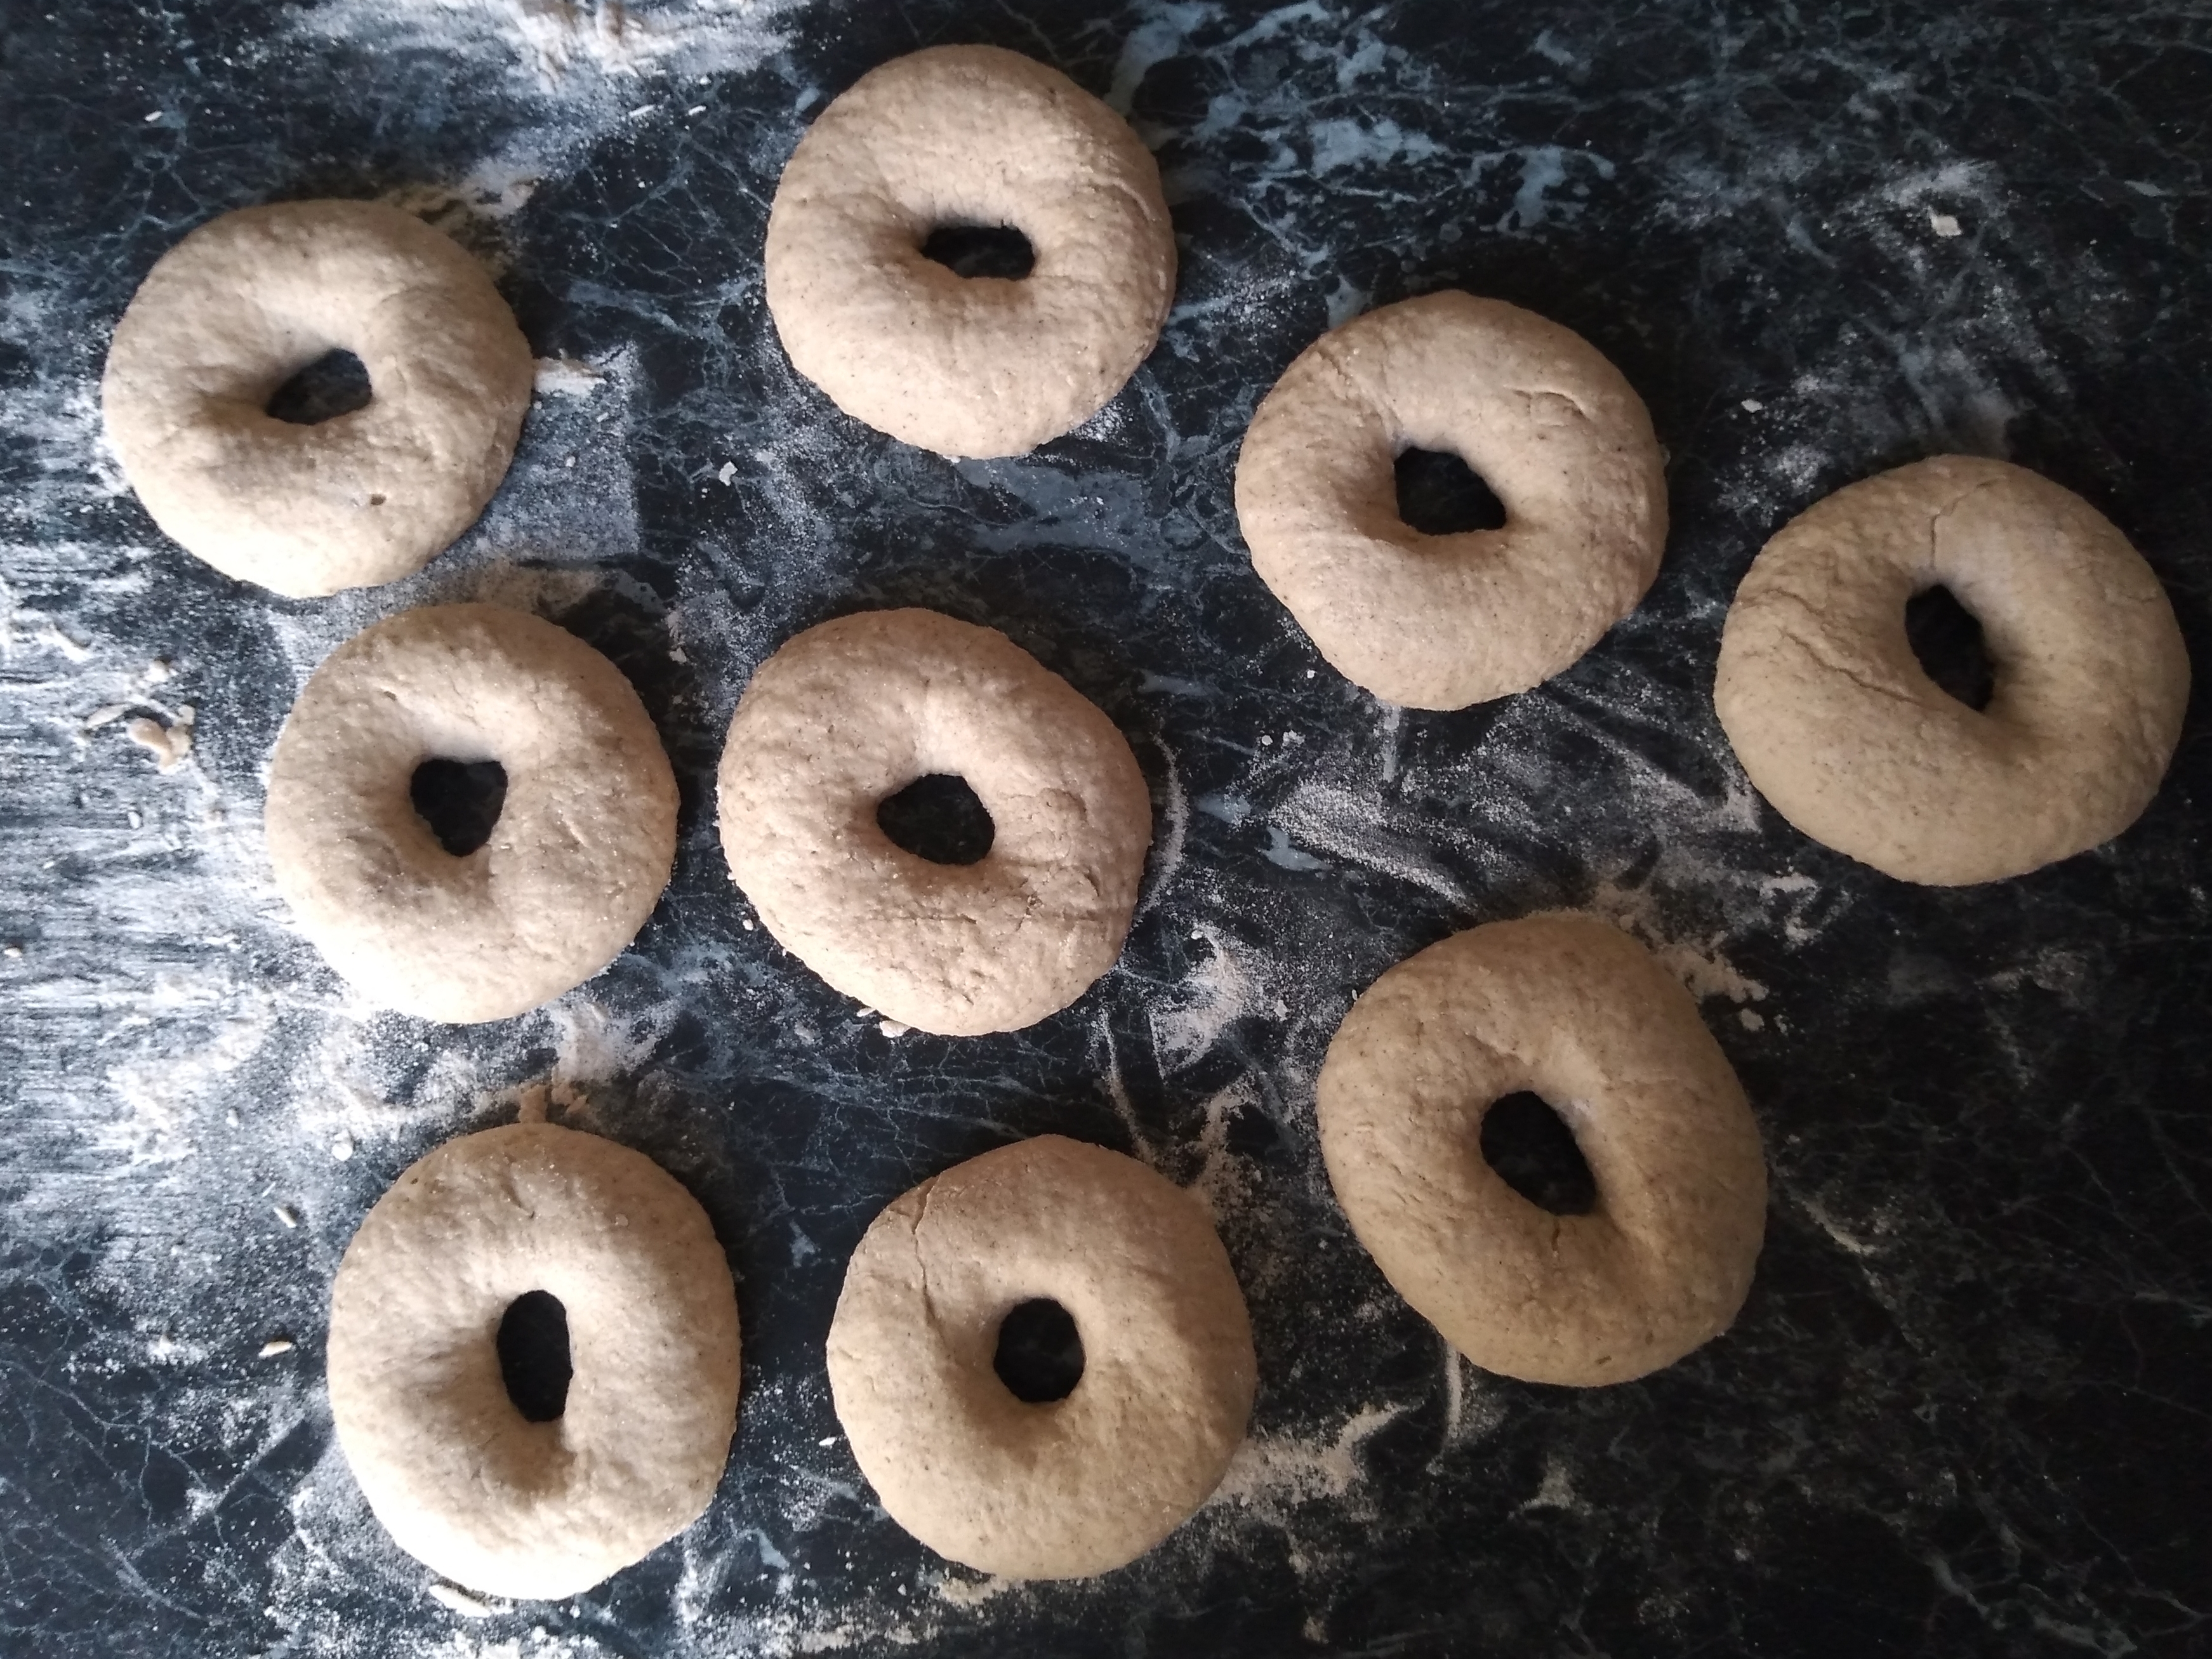
4. Divide the dough into 9 equal portions and shape each portion into a ring. To do this, roll the portion of dough into a ball between your hands and then swivel it between cupped hands on a well-floured work surface, before making a hole in the middle of the ball with a well-floured index finger. Expand the hole slightly by tugging the bagel apart gently with your hands, until you are happy with the shape. Hopefully the photos below will help explain the method better!
4. Cover the shaped dough with a damp cloth and leave to rise. My dough did not rise much at this point – I think my yeast is getting a bit old (but isolation means I can’t just go out and buy more!) and the room was quite cold. While the dough is rising, line a large baking tray or two medium trays with baking paper.
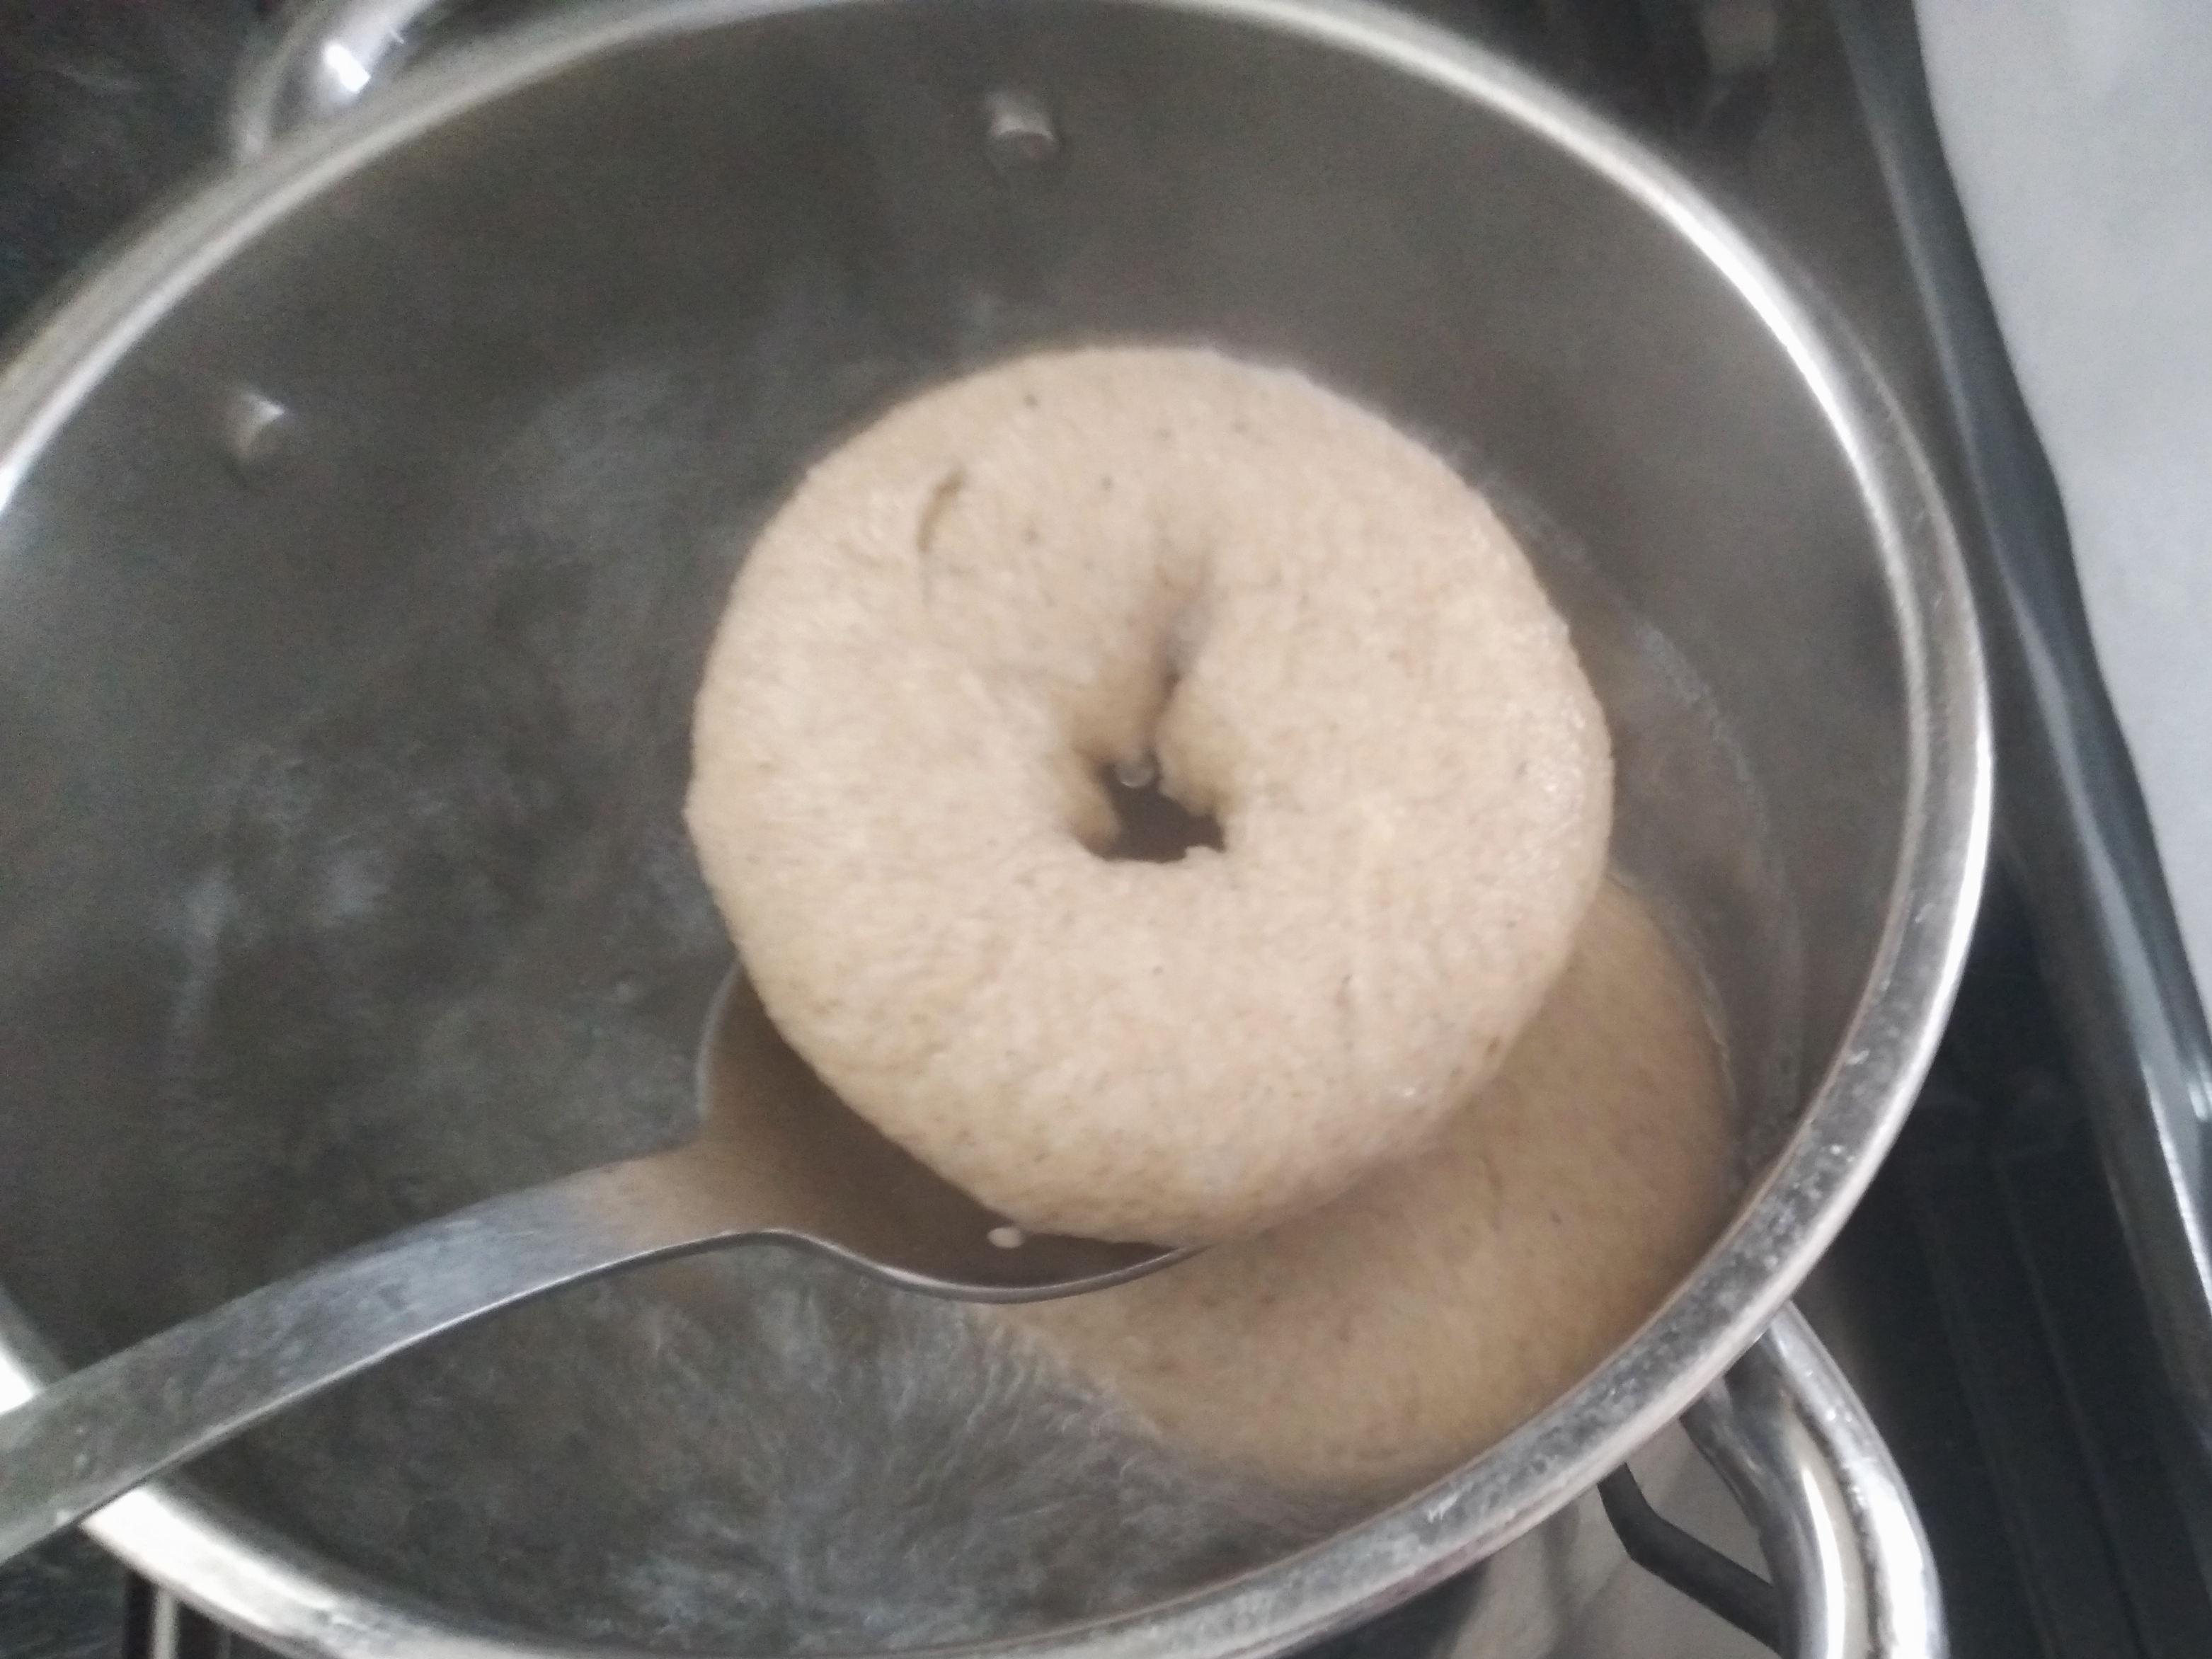
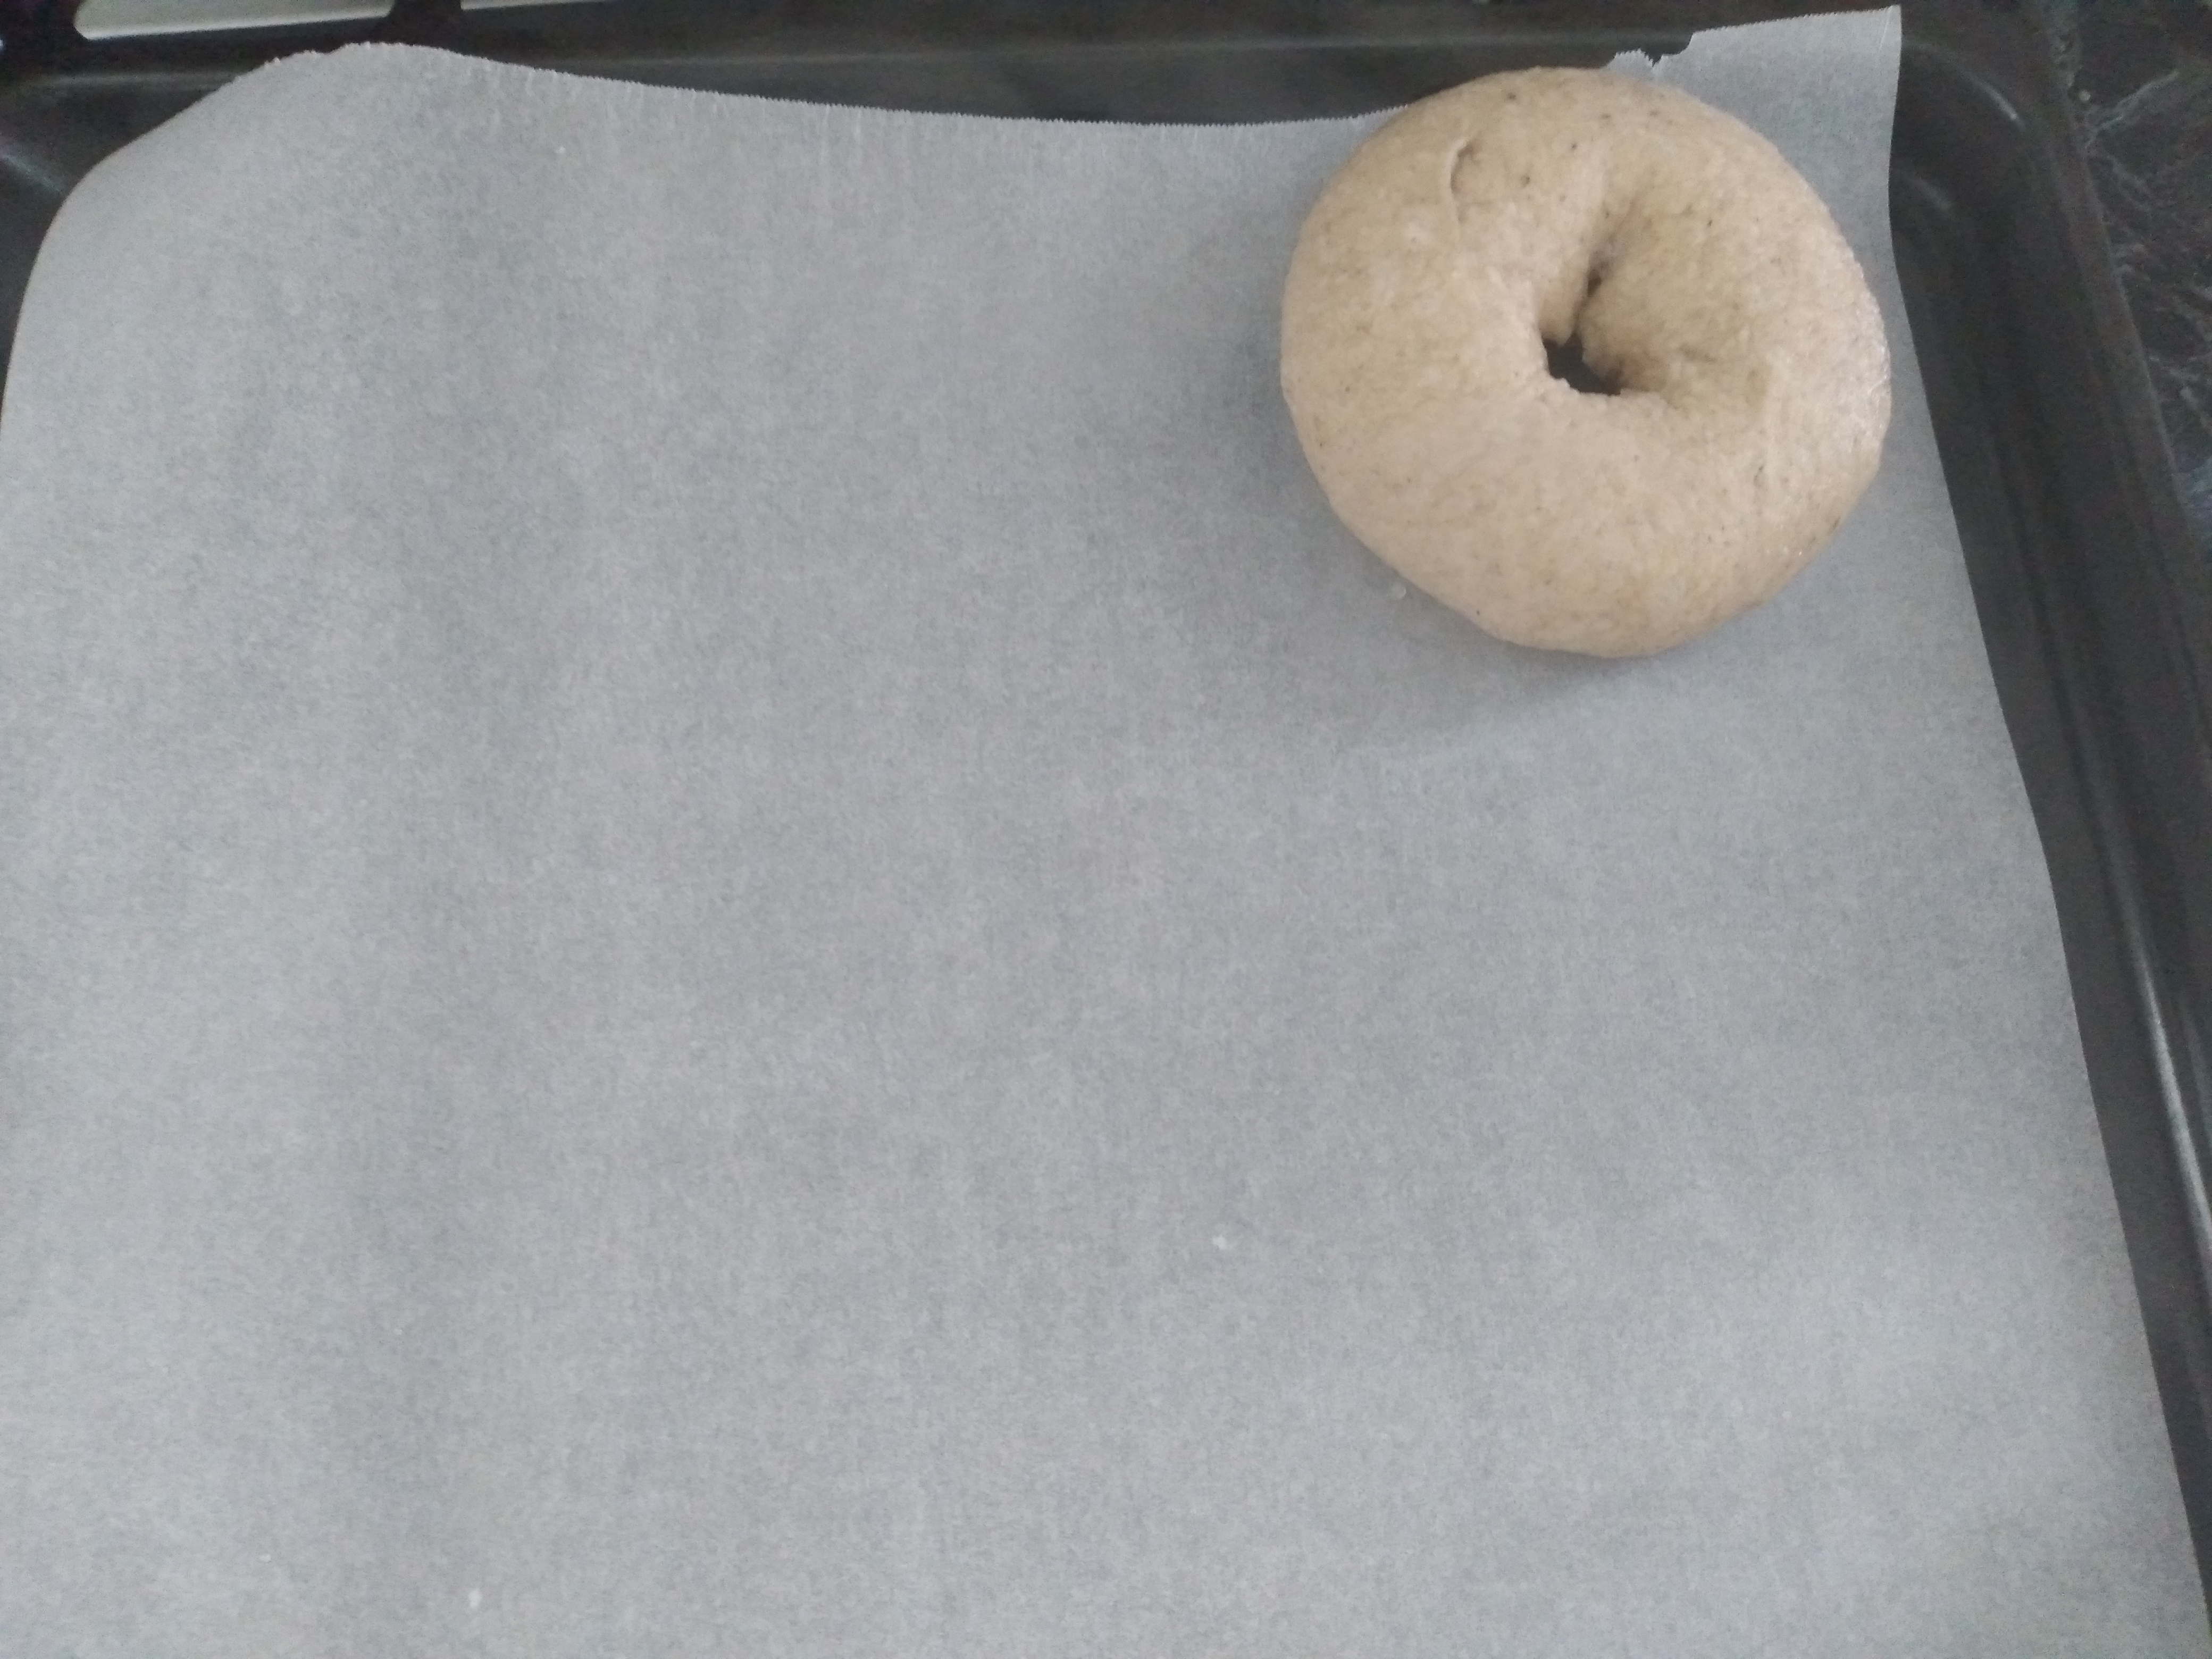
5. Once the dough has risen, pre-heat the oven to 220°C. Then, put a teaspoon of salt into a large saucepan, along with lots of boiling water, or boil the water in the pan. The amount of water will depend on the size of your pan – I think I used about 4 litres. Aim for the water to fill about two thirds of the pan. Heat the water until it reaches a vigorous boil (if you put boiling water into the pan, it will need to be heated back to a vigorous boil before you add the bagels). Then, using a slotted spoon, carefully put a couple of bagels into the water. The number of bagels per time will depend on the size of your pan, but err on the side of fewer rather than more bagels per time, so that they have sufficient space to float on the top of the water. Bear in mind the bagels will expand as they are boiled. Once the bagels have risen to the top of the water, boil them for a minute and then flip them with over with a spoon to spend a minute in the water on the other side. Then, carefully lift the bagels out of the water with a slotted spoon and place on to the lined baking tray. I found it best to put the side that was most recently in the water down on the pan. Repeat this process until all the bagels have been in the water.


6. As you take the bagels out of the water, sprinkle the tops with the toppings of your choice.
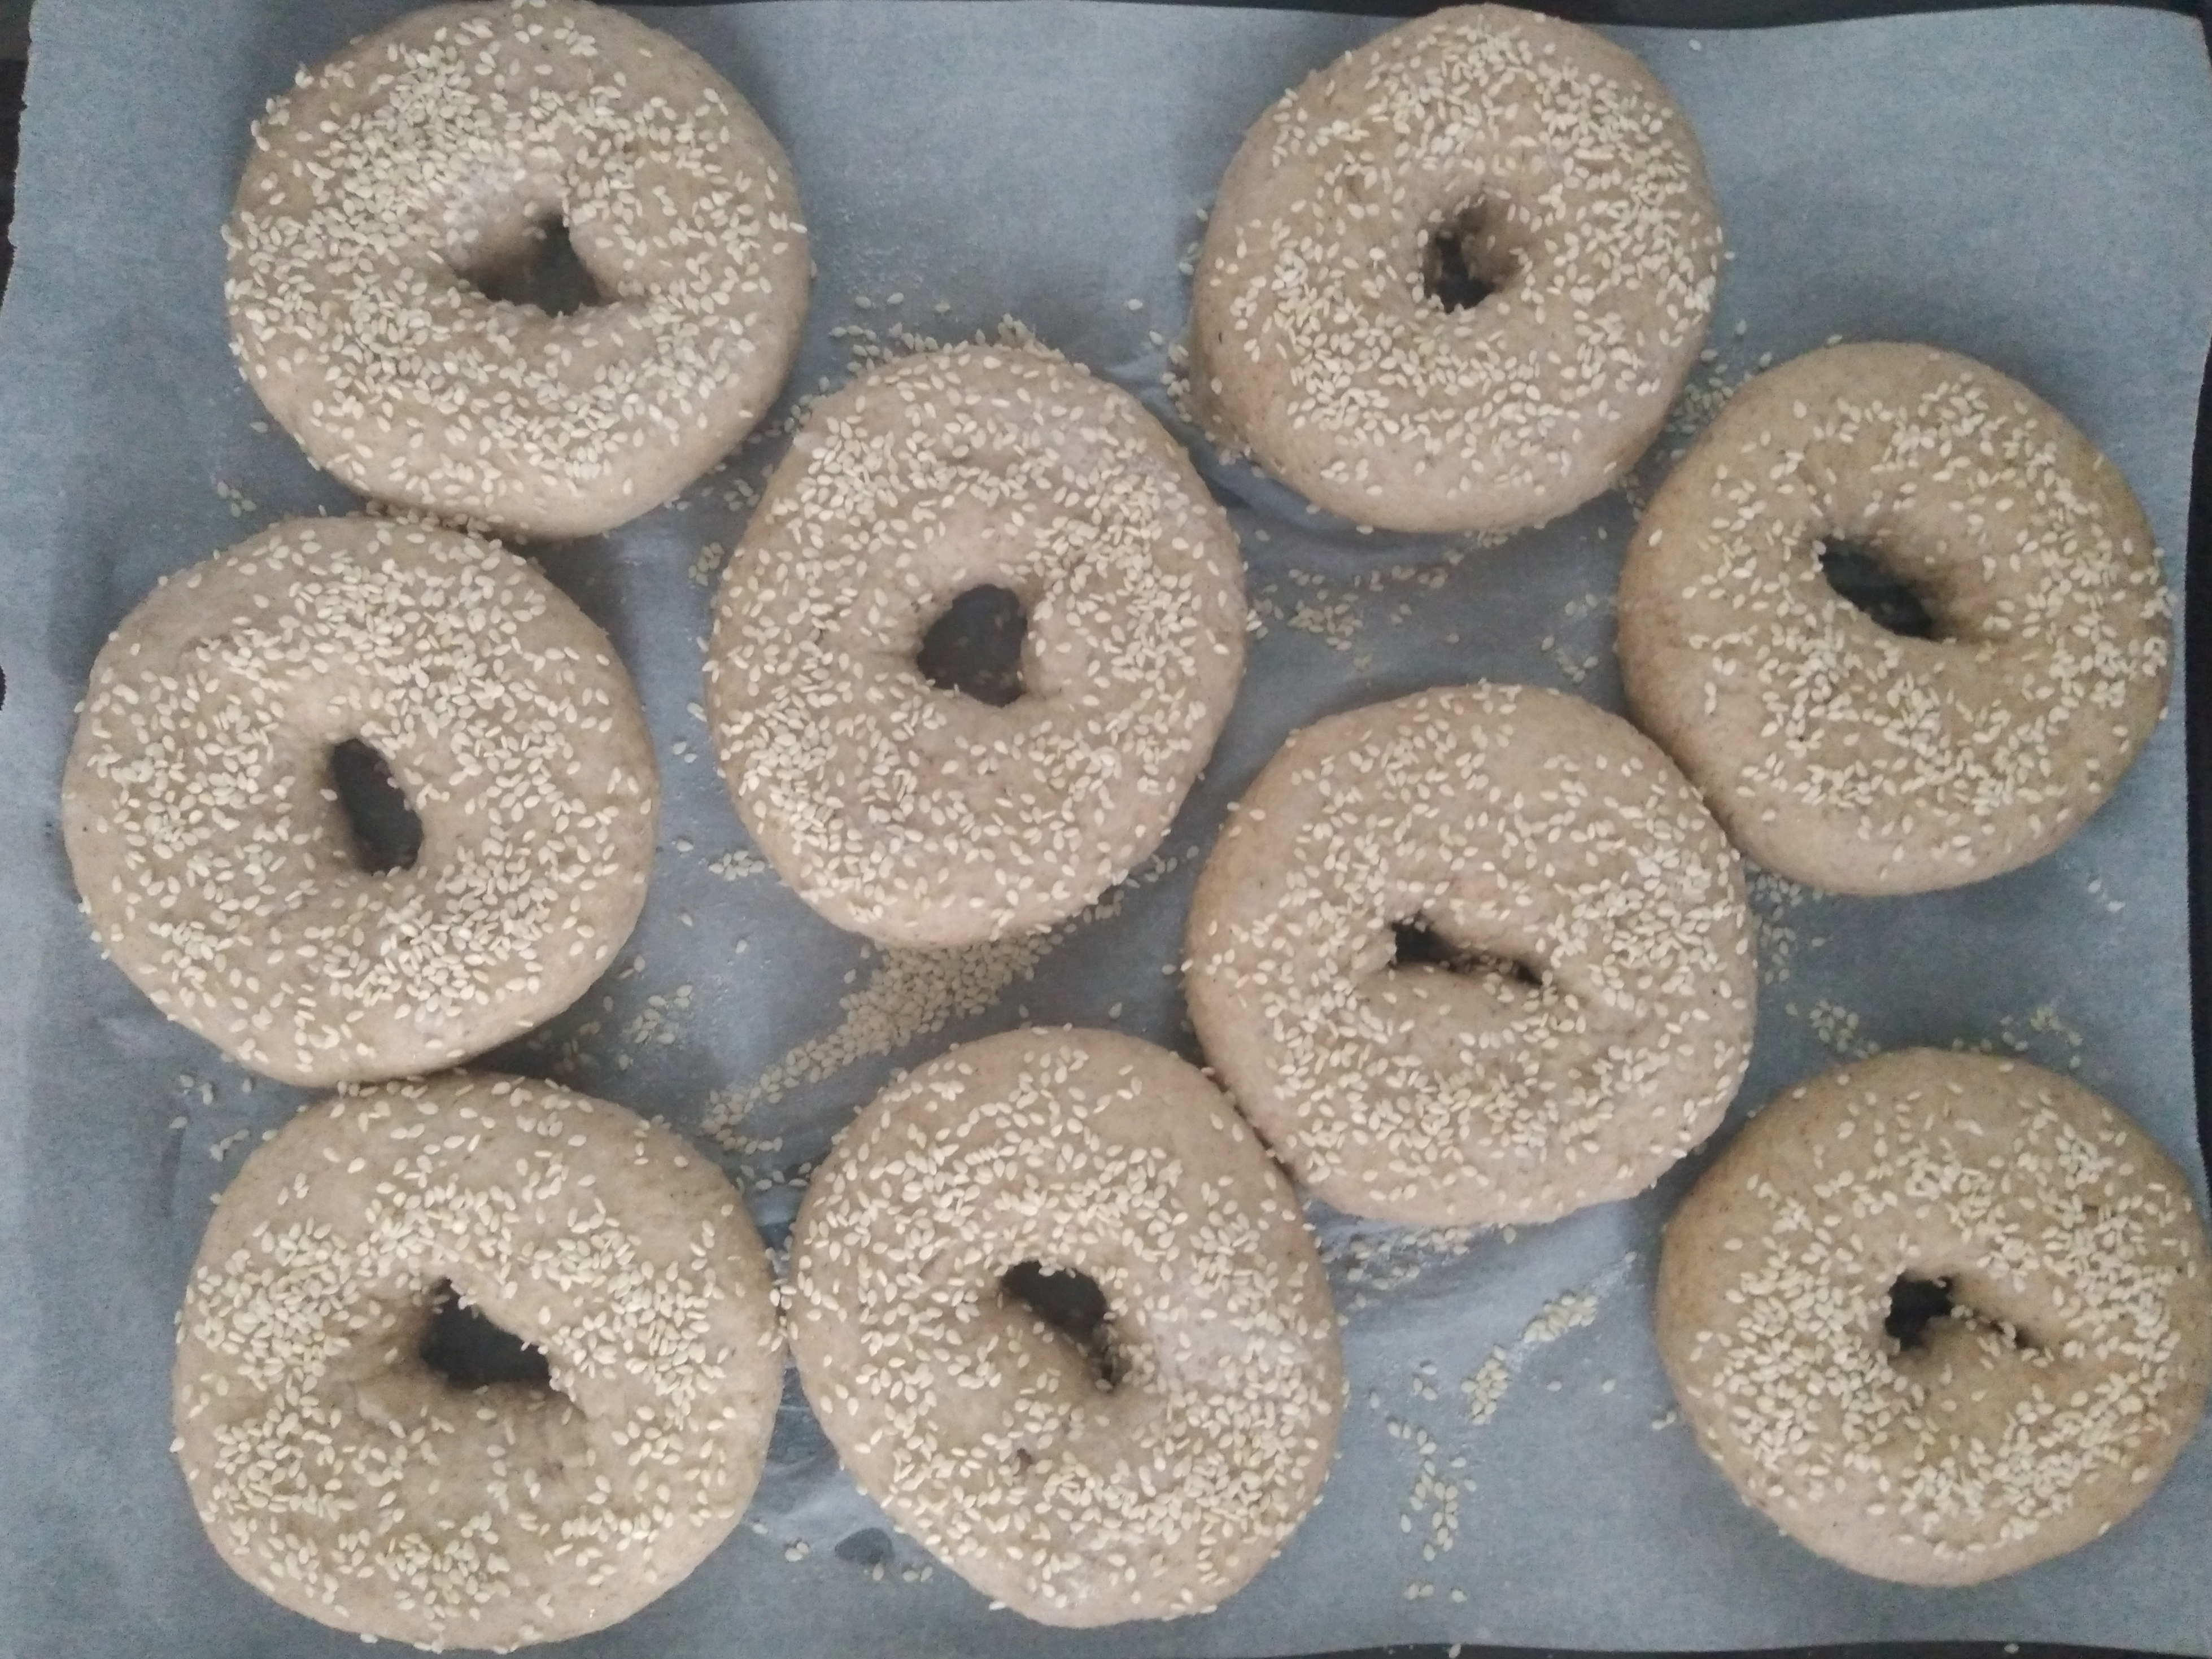
7. Once the bagels have all been boiled and topped, place the baking tray in the middle of the pre-heated oven for 20 to 25 minutes or until done.
8. Remove the bagels from the oven and cool before eating. I hope you enjoy them!

